|
Let's start the lesson.
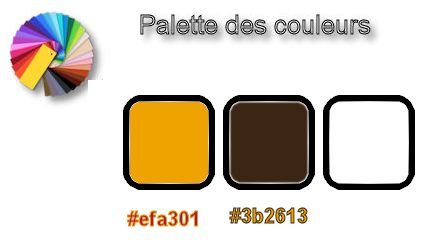
Used Colors
Preparation - Color Palette: Set your foreground color to #efa301 -Set your background color to
#3b2613

1.
Open Image ‘’Fond_Automne_2017’’- Window - Duplicate (or shift+D) - Close the original and proceed on the copy -Promote Background Layer = Raster 1
2.
Layers- Duplicate
3.
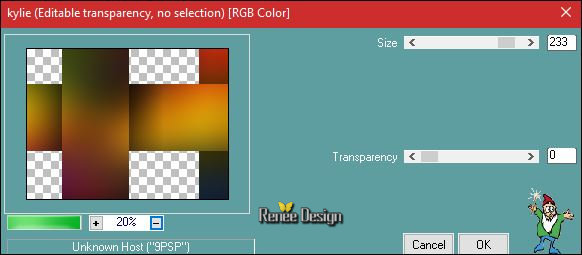
Effects –Plugins – Photoshopfun II- kylie ( patched
)

4.
Effects- Edge Effects- Enhance More
5.
Effec-Plugins – Toadies – What are you
20/20
6.
Selections –load/save selection –load selection from disc and select my selection: ‘’Automne_2017’’
7.
Promote selection to Layer
8.
Effects –Plugins- Unlimited – VideoRave - Twilight Colors 229/21/0
9.
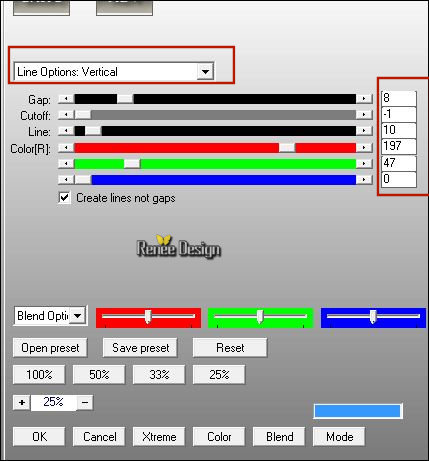
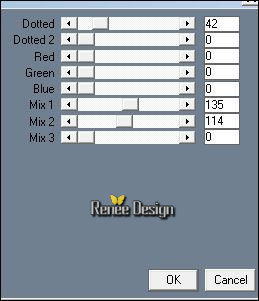
Effects –Plugins– AP[Lines ]
Silverling use the settings below

10.
Layers-Properties-Set the Blend Mode to " Hard Light "
Selections- Deselect All
11. Layers- Duplicate
12. Image - Mirror - Mirror Horizontal (Image - Mirror in older versions of PSP)
13. Layers- Merge- Merge Down
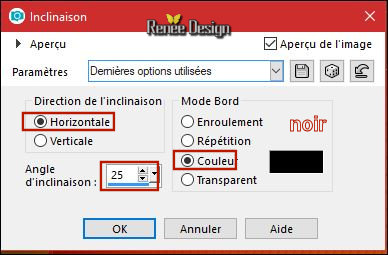
14. Effects- Geometric Effects- Skew use the settings below

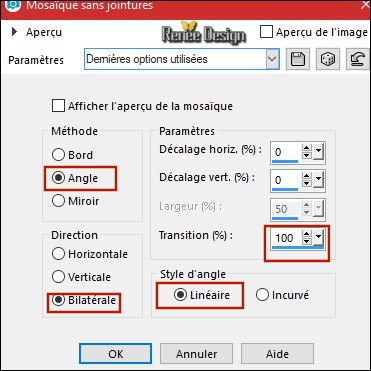
15. Effects- Image Effects- Seamless tiling use the settings below

16.
Repeat: Effects- Image Effects- Seamless tiling use the setting: Side By Side
17. Effects – 3D Effects –Drop Shadow with these settings 0/0/100/27 black
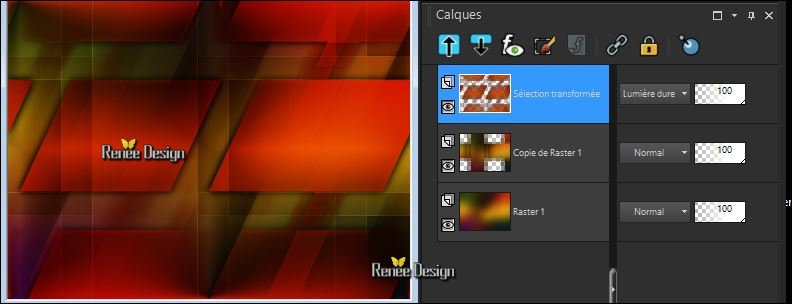
Your work and Layer Palette look like this now-You should have this result

-Close the second layer from the bottom =Copy of Raster 1
-
Activate the bottom layer =Raster 1
18. Layers- Merge- Merge Visible
- Open the second layer from the bottom and keep the layer active
19. Image -
Resize to 68 % - resize all layers not checked
20. Effects
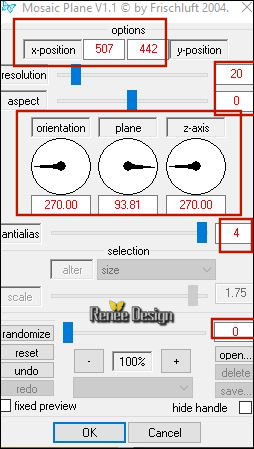
–Plugins – Frischluft – Mosaic Plane
(This filter needs time )

21. Effects- Image Effects- Offset with these settings: H = 0 and V = - 150
22. Layers- Duplicate
23. Image - Mirror - Mirror vertical ( Image - Flip in older versions of PSP)
24. Layers- Merge- Merge Down
25.
Layers-Properties-Set the Blend Mode to " Screen"
26. Layers- Duplicate
-Layers- Merge- Merge Down / Blend Mode to " Screen"
27.
Selections –load/save selection –load selection from disc and select my selection: ‘’Automne_2017_1’’
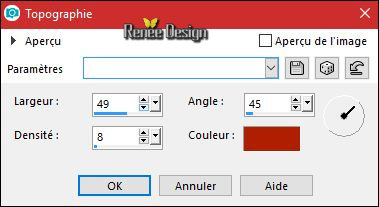
28. Effects
-Artistic Effects – Topography / Color #b52000

29. Layers- New Raster Layer
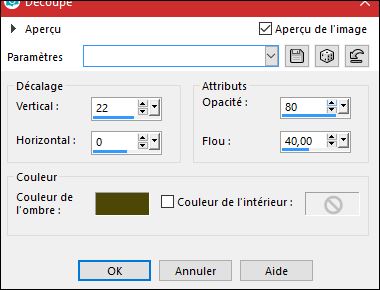
30. Effects- 3 D Effects- Cutout use the settings below / Color #56510c

Selections- Deselect All
31. Open the tube ‘’Renee_tube_Automne_2017_feuilles.png’’
- Edit - Copy- Activate your work -Edit - Paste as a new layer.
- Move it in the right place
32. Effects
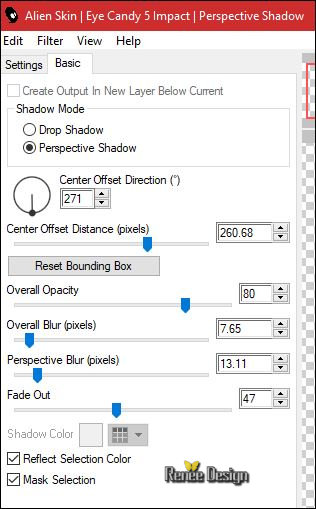
–Plugins – Eyecandy5 Impact – Perspective
Shadow use the settings below

33.
Open the tube ‘Automne_Image 1.png’’
- Edit - Copy- Activate your work -Edit - Paste as a new layer.
-
Move it in the right place
34. Activer
le tube ‘’ Renee_tube_Automne_2017_charette.png’’
- Edit - Copy- Activate your work -Edit - Paste as a new layer.
- Move tool / place your tube on the bottom left side of your image
35. Effects
-Plugins - TD Studio -HS[[001 Emo]]

36.
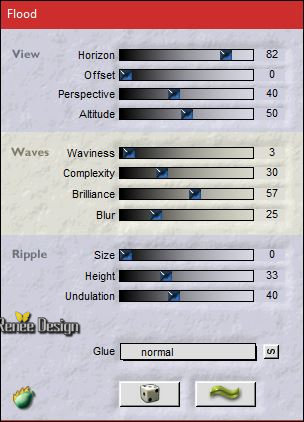
Effects – Plugins – Flaming Pear – Flood /click on the arrow
 and select my file- Preset ‘’ Automne_Flood
settings.q8r’ and select my file- Preset ‘’ Automne_Flood
settings.q8r’
can be used in any folder of your choice by clicking it. -3 Open it will be ok in your filter

- You may minimize your working area for a moment, but do not close, we will need it again soon
37. Open the
image ‘’ Image_Automne_2017’’
38.
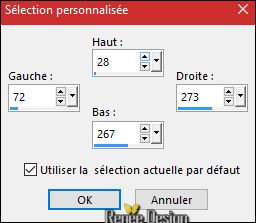
Activate Selection Tool -Custom Selection (S) -Rectangle with these settings 

- Edit- Copy- Edit-Paste as a New Image !!
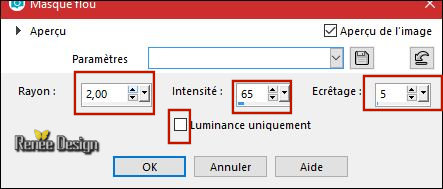
39. Adjust- Sharpness -Unsharp Mask with these settings

40. Effects
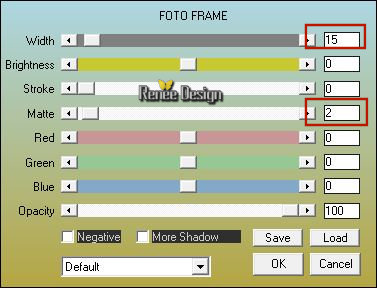
–Plugins – AAA Frame - Foto frame

41. Image -
Add borders-Symmetric checked 1 pixel #ffffff
42. Edit - Copy-
Activate your minimized image of point 37 !!! Edit - Paste as a new layer.
43. Effects- Image Effects- Offset with these settings: H = - 381 and V = 208
/Transparent
44. Open the tube ‘’ Renee_tube_Automne_2017_Epingle.png’’
- Edit - Copy- Activate your work -Edit - Paste as a new layer.
- With the move tool, move it in the upper left corner ( see finished image )
45. Layers- Merge- Merge Down
46. Effects – 3D Effects –Drop Shadow with these settings 4/5/42/6 black
47.
Set the opacity of this layer to 75%
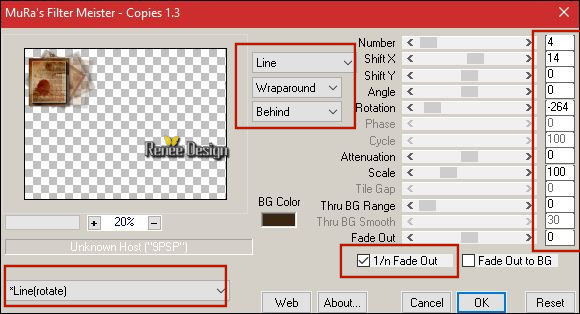
48.Effects – Plugins – Mura’s Meister – Copies use the settings below

49.
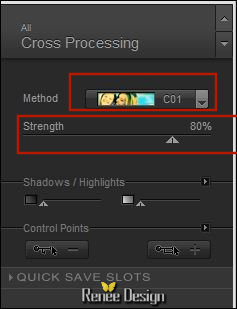
Effects –Plugins– Nick Color effex- Cross
Processing

50. Open the tube ‘’ Renee_tube_Automne_2017_bles.png’’
- Edit - Copy- Activate your work -Edit - Paste as a new layer.
- Move the tube to the right side
51.
Layers-Properties-Set the Blend Mode to "Soft Light"
52. Adjust-Sharpness -Sharpen
- Layer palette – Make Copy of Raster 1 active
53. Layers- New Raster Layer
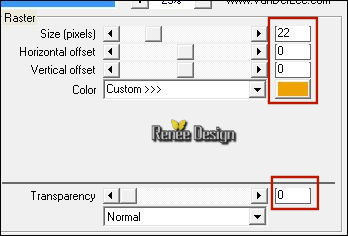
54. Effects
–Plugins –Vanderlee Unplugged X – Raster
/FG-Color #efa301

55. Effects
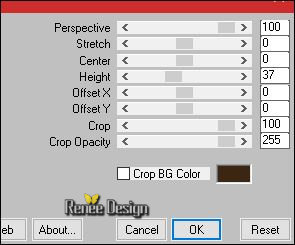
– Plugins – Mura’s meister – Perspective
Tilling

56. Effects – 3D Effects –Drop Shadow with these settings: 1/1/100/1 black
- To replace the top of the layer palette
57. Open the tube ‘’
Renee_tube_Automne_2017_cage-oiseaux.png’’
- Edit - Copy- Activate your work -Edit - Paste as a new layer and move to the bottom of your image .
58.
Set the opacity of this layer to 81%
59. Open the tube ‘’AnaRidzi1307.pspimage ‘’
60. Image
-Resize to 60%
- Edit - Copy- Activate your work -Edit - Paste as a new layer
- Move tool / place your tube on the right side of your image
61. Effects – 3D Effects –Drop Shadow with these settings: 1/35/85/39 black
62. Layers- New Raster Layer
63.
Selections –load/save selection –load selection from disc and select my selection: ‘’Automne_2017_2’’
64.
Color-Palette-Change your foreground color into #ffffff
Activate the Flood Fill Tool and fill the selection with the foreground color #ffffff
Selections- Deselect All
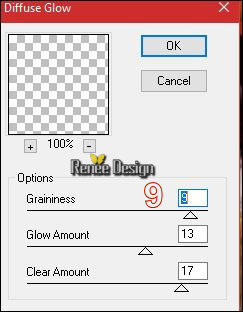
65. Effects
– Plugins – Distort – Diffuse Glow

66. Open the tube ‘’ Renee_tube_Automne_2017_forme.png’’
(You can draw a similar shape with the pen tool for your personal creations
)
- Edit - Copy- Activate your work -Edit - Paste as a new layer.
67. Effects- Image Effects- Offset with these settings: H = 2 and V = - 21
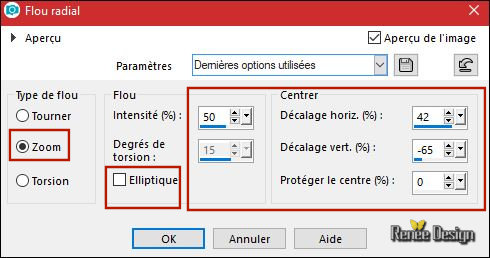
68. Adjust- Blur- Radial Blur use the settings below

69. Effects- Edge Effects- Enhance More
70. Layers-Properties-Set the Blend Mode to " Screen " -Set the opacity of this layer to 77%
71. Layers- Merge- Merge Visible
72. Layers- New Raster Layer
73.
Pot of Paint: Change the opacity of the color at 50%
Activate the Flood Fill Tool and fill the layer with the background color #3b2613
74.
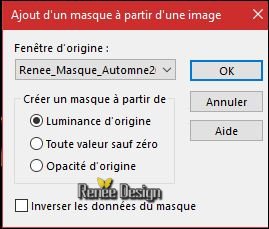
Layers- New Mask Layer from Image and select Mask:‘Renee_Masque_Automne2017’’

- Layers- Duplicate
- Layers- Merge- Merge Group
75.Layers-Properties-Set the Blend Mode to " Overlay"
76.
Layers- Merge- Merge Visible
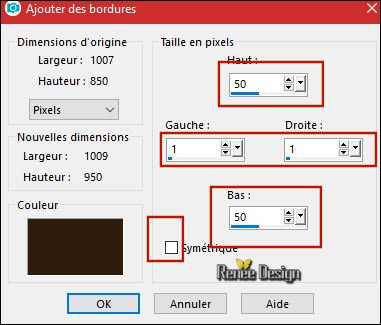
77.Image - Add borders-NOT Symmetric checked #3b2613

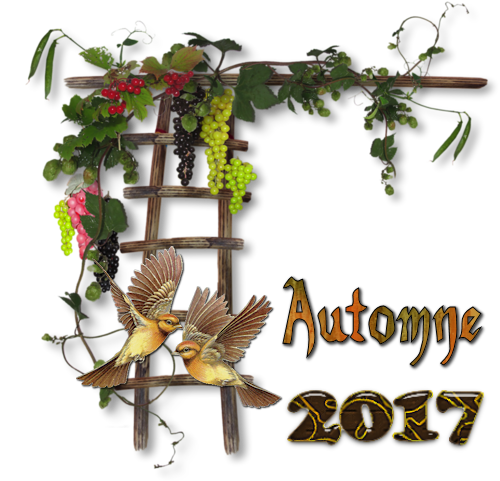
78. Open the tube ‘’ Tube_cadre_Automne 2017’’
- Edit - Copy- Activate your work -Edit - Paste as a new layer.
- Activate Move Tool (M) place against the top edge of your image
79. Open the tube Text - Edit - Copy- Activate your work -Edit - Paste as a new layer. Activate Move Tool (M) place against the top edge of your image
80.
Layers- Merge- Merge All (Flatten)
81. Adjust- Color-Fade Correction 16
Save as JPG
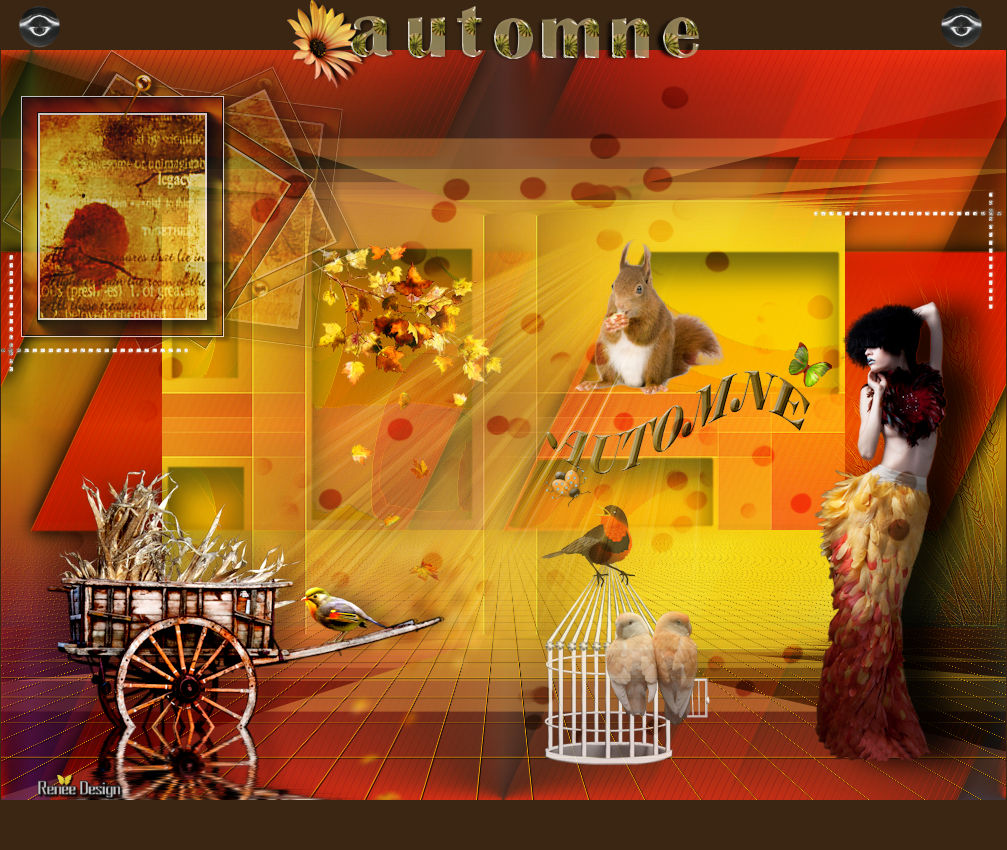
I hope you enjoyed this lesson
Renée
This lesson was written by Renée 29/08/2017
Edited and Update
2017
*
Any resemblance with an existing lesson is a coincidence
* Do not forget to thank the people who work with us and for us I have appointed the tubeurs and translators
Thanks
Renée
*
| 
 Translations


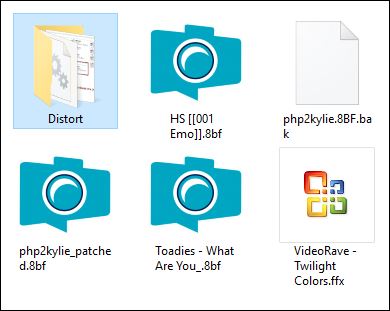


 If a plugin supplied appears with this icon it must necessarily be imported into Unlimited *
