|

(If, after editing Toadies in Unlimited, the color turns white or too light, then use Toadies not in Unlimited.Effects-Plugins-Toadies-Bitches Crystal : 37/39)
45. Layers-Properties-Set the Blend Mode to " Overlay"
46. Effects – 3 D-Effects – Drop Shadow with these settings: 2/15/68/32 Color Black
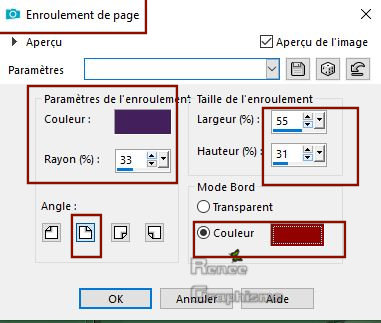
47. Effects- Image Effects -Page Curl with these settings-Color #43205c and #920003= Red
48. Open tube ‘’ Chlorophylle-deco 1’’
- Edit - Copy- Activate your work -Edit - Paste as a new layer
- Move Tool (M) Move to the right
- Layer Palette - Click on the third layer from the Bottom (Promoted Selection)
49. Open tube ‘’ Chlorophylle-deco 2’’
- Edit - Copy- Activate your work -Edit - Paste as a new layer.Do not move, it is in the right place
50. Lower the Opacity of this layer to 48%
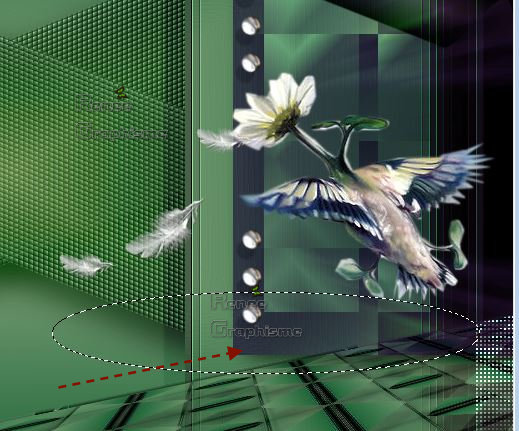
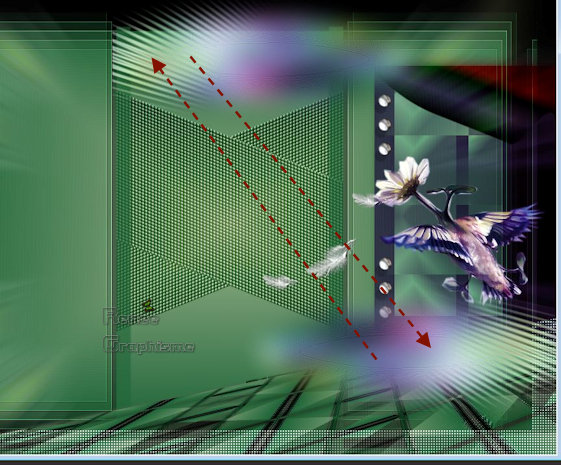
Your work and Layer Palette look like this now-You should have this result

51.To replace the top of the layer-palette
Open tube ‘’
ReneeTUBES_Oiseau_Chlorophylle’’ Edit - Copy- Activate your work -Edit - Paste as a new layer
- Move Tool (M) Move to the right
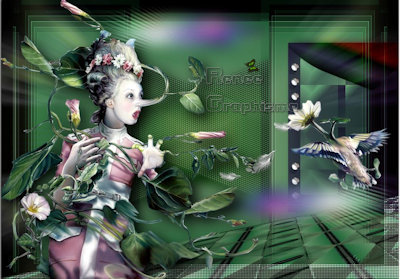
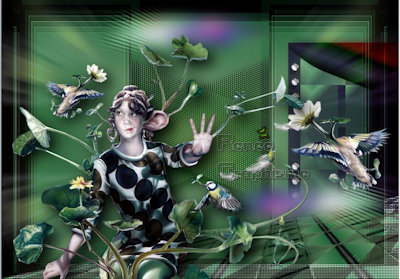
 61. Open tube ‘’ Renee_TUBES_AUTOMNE 1’’
62. Only tube 1 -Image - Resize to 60%
Edit - Copy- Activate your work -Edit - Paste as a new layer and move
I still have a folder with 3 person tube in the material (select one from)
For Tube 2,3,and 4 -Image Resize-Decrease to taste -Add as new layer and move
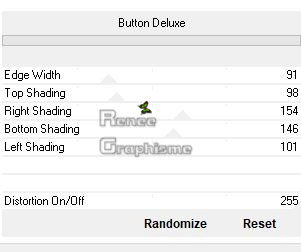
63. Effects – Plugins – Eyecandy 5 Impact – Perspective Shadow – Preset : ‘Drop shadow blury
61. Open tube ‘’ Renee_TUBES_AUTOMNE 1’’
62. Only tube 1 -Image - Resize to 60%
Edit - Copy- Activate your work -Edit - Paste as a new layer and move
I still have a folder with 3 person tube in the material (select one from)
For Tube 2,3,and 4 -Image Resize-Decrease to taste -Add as new layer and move
63. Effects – Plugins – Eyecandy 5 Impact – Perspective Shadow – Preset : ‘Drop shadow blury
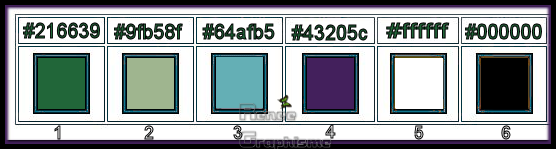
   64. Image - Add borders-Symmetric checked 1Pixel Color #216639=1
65. Edit Copy !!
66. Image - Add borders-Symmetric checked 10 Pixels Color #ffffff
67. Image - Add borders-Symmetric checked 1 Pixels Color #64afb5 = 3
68. Selections - Select None
69. Image - Add borders-Symmetric checked 45 pixels Color #ffffff
70. Effects- 3 D Effects- Drop Shadow with these settings: 6/ - 9 / 68 /42 Color Black
71. Selections – Modify – Expand with 20 pixels
72. Selections -Invert
73. Edit- Paste into Selection (is still in memory)
74. Adjust-Blur- Gaussian Blur: Radius 45
75. Effects –Plugins- Unlimited 2.0- ICNET Filters – Render - Color Clouds : 249
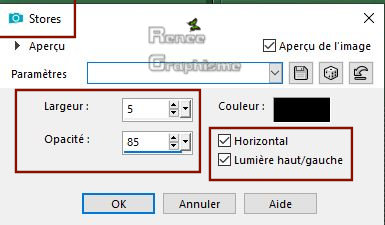
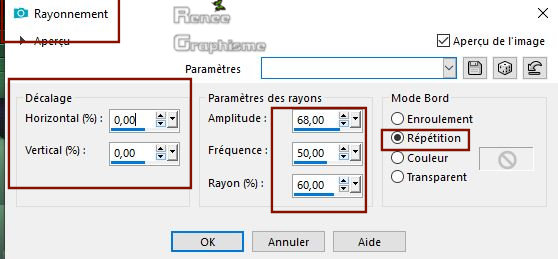
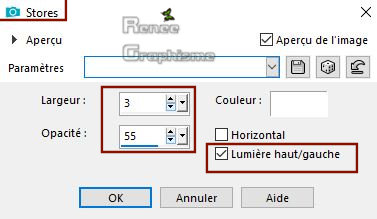
76. Effects- Texture Effects- Blinds use the settings below
64. Image - Add borders-Symmetric checked 1Pixel Color #216639=1
65. Edit Copy !!
66. Image - Add borders-Symmetric checked 10 Pixels Color #ffffff
67. Image - Add borders-Symmetric checked 1 Pixels Color #64afb5 = 3
68. Selections - Select None
69. Image - Add borders-Symmetric checked 45 pixels Color #ffffff
70. Effects- 3 D Effects- Drop Shadow with these settings: 6/ - 9 / 68 /42 Color Black
71. Selections – Modify – Expand with 20 pixels
72. Selections -Invert
73. Edit- Paste into Selection (is still in memory)
74. Adjust-Blur- Gaussian Blur: Radius 45
75. Effects –Plugins- Unlimited 2.0- ICNET Filters – Render - Color Clouds : 249
76. Effects- Texture Effects- Blinds use the settings below
 Selections- Select None
77. Image - Add borders-Symmetric checked 5 Pixels Color #43205c = 4
Selections- Select None
77. Image - Add borders-Symmetric checked 5 Pixels Color #43205c = 4
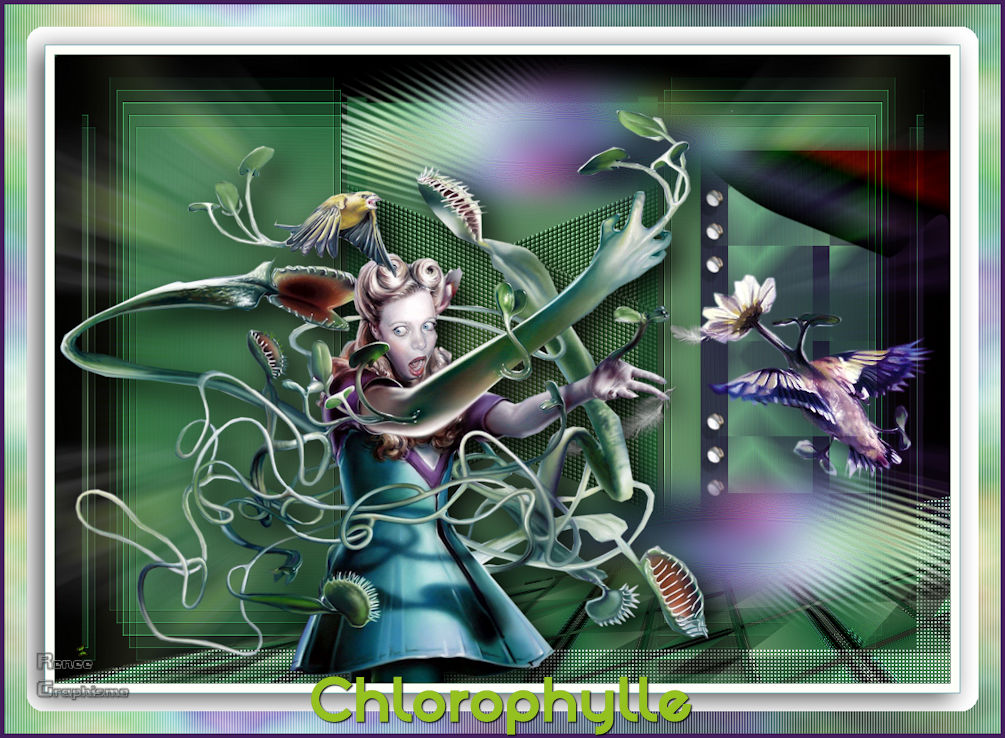
78.Open tube ‘’Titre’’ - Edit - Copy- Activate your work -Edit - Paste as a new layer and move
79. Image Resize to 1005 Pixels Width.
 Save as JPG
I hope you enjoyed this lesson
Renée
This lesson was written by Renée 18-07-2019
Edited and Update
2019
*
Any resemblance with an existing lesson is a coincidence
* Do not forget to thank the people who work with us and for us
I have appointed the tubeurs and translators
Thanks
*
|
 Translations


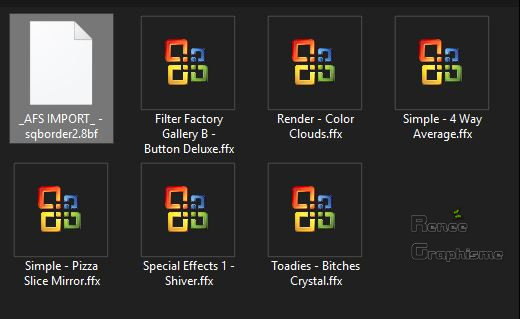


 If a plugin supplied appears with this icon it must necessarily be imported into Unlimited *