|
Let's start the lesson.
-
Material of the foreground: foregroundcolor to color
#710120 /Material of the background:backgroundcolor to color white
1. Open your image ''fond_chut_secret''/Promote Background layer =Raster 1
2. Effects-Plug-in - Unlimited 2.0 -
Sapphire Filters 03- SapphirePlugin_0216...

3. Layers- Duplicate / Image
Mirror
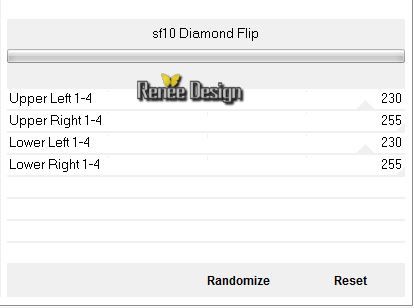
4. Effects-Plug-in-Unlimited
2.0-&<Background designer IV>sf10 Diamond Flip
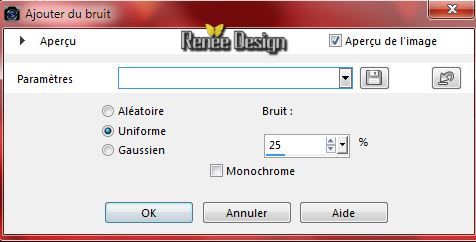
5.
Adjust-Add Remove Noise-Add Noise-with these settings
6.
Adjust-Blur-Gaussian Blur:Radius: 32
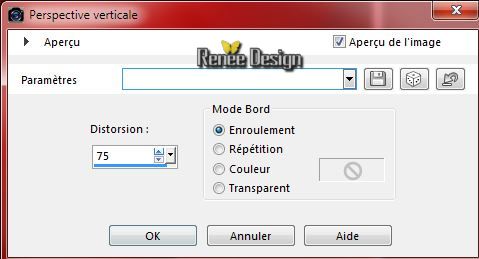
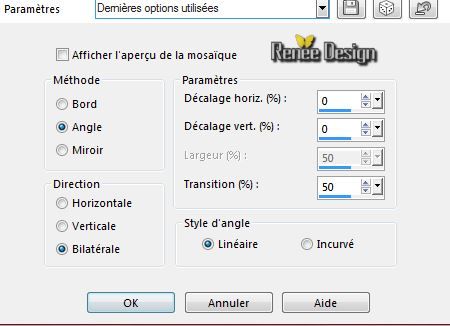
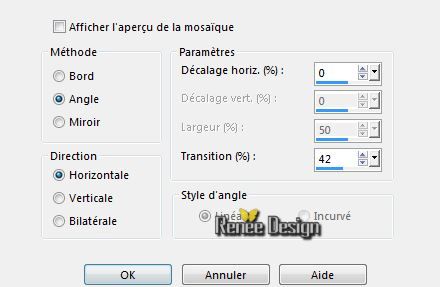
7.
Effects-Geometric Effects-Perspective-Horizontal with these settings
8.
Effects - 3D Effects - Drop shadow with these settings :0/0/68/45 color black
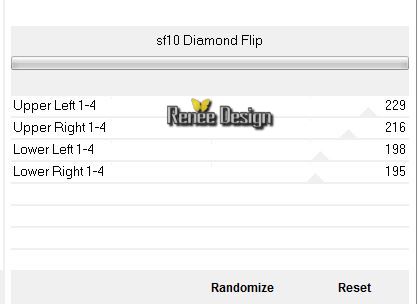
9. Effects-Plug-in - Unlimited 2.0
-&<Background designers IV>sf10 Diamond Flip
10.
Layers-Arrange-Move Down
- Activate the top of the layer-palette= Raster 1
11.
Effects- Distortion Effects- Warp with these settings
12.
In the Layerpalette, set Blend Mode to Difference and and set the layer opacity of this layer to 46%
13.
Layers- Merge-Merge Down - Rename
=Raster 1
14.
Selections - load/save selection - load selection from disk and choose my selection:''secret-1''
15.
Selections- Promote selection to layer
-
Selections- Deselect All
16. Effects - 3D Effects - Drop shadow ( with the same settings )
17. Layers- Duplicate
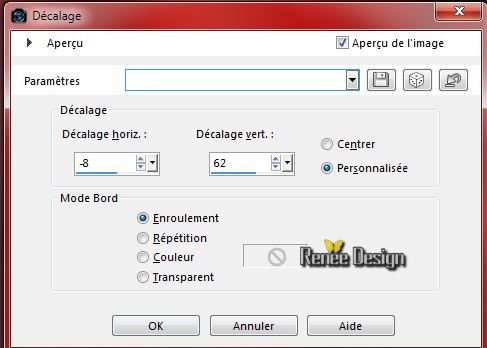
18.
Effects- Image Effects-Offset with these settings
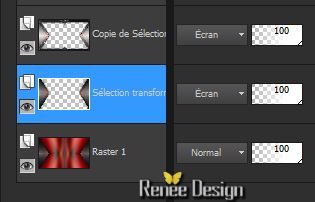
19.
In the Layerpalette, set Blend Mode to Screen
20.
Effects - 3D Effects - Drop shadow ( with the same settings )
21.
Layers- Merge-Merge Down
22.
In the Layerpalette, set Blend Mode to Screen
23. Layers- Duplicate
24.
Effects- Plug-in - Simple - Pizza Slice Mirror
25. Layers- Duplicate
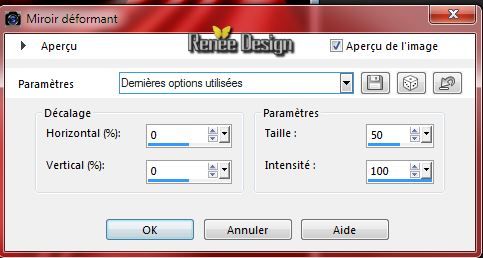
26.
Image Mirror
27.
Layers- Merge-Merge Down
28.
Effects- User Defined Filter - Emboss 3 using the default settings
You are there in your work
- Activate the bottom of the layer-palette =Raster 1
29. Effects- Plug-in -Unlimited 2.0 -
&<BkgDesigner s 10>I>4Way Average
- In the Layerpalette-activate the middle layer (promoted selection)
30.
Effects- Plug-in - Mura's Meister -Perspective
Tilling using the default settings
31.
Effects- Distortion Effects-Punch 50.
32.
Image -Flip
-
In the Layerpalette, set Blend Mode to Difference and and set the layer opacity of this layer to 73%
- Activate the top of the layer-palette
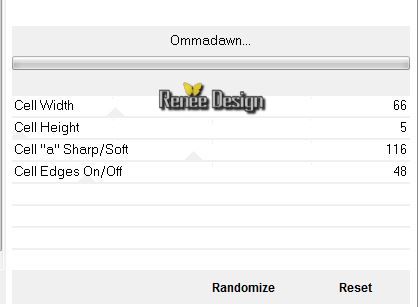
33.
Effects-Plug-in - Unlimited 2.0 -Toadies - Ommadawn
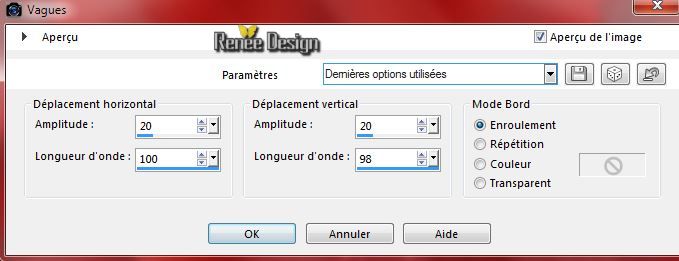
34.
Effects- Distortion Effects- Wave with these settings
-
In the Layerpalette, set Blend Mode to Screen and and set the layer opacity of this layer to 42%
35.
Effects - 3D Effects - Drop shadow with these settings 1/1/100/85 color black
36.
Open your tube''image_secret_formesVagues''- Edit/copy-Edit paste as a new layer on your working area /Do not move !
-In the Layerpalette, set Blend Mode to Screen - Opacity 100
37.
Open your tube''TriziaTube__Angels Fall First.psp''
Edit/copy-Edit paste as a new layer on your working area/With your move tool move to the bottom right corner
38.
Effects- Plug-in - Graphic plus Cross Shadow using the default settings
39.
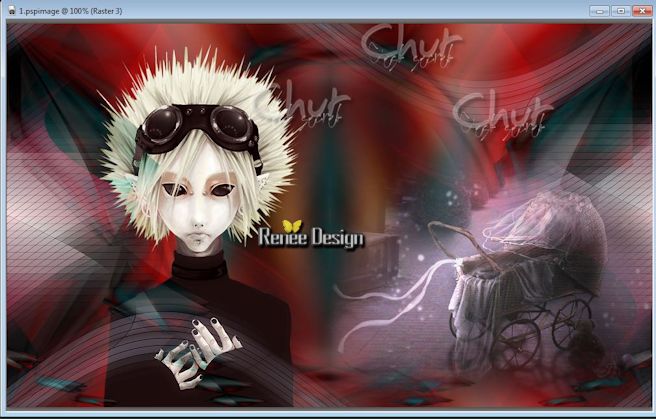
Open your tube''image_1_secret'' - Edit/copy-Edit paste as a new layer on your working area and move
- Activate the bottom of the layer-palette (Raster 1)
40.
Open your tube''trizia_Aion_.psp''
-Edit/copy-Edit paste as a new layer on your working area /With your move tool move to the
bottom left like this
41. Layers- Merge- Merge Visible
42. Layers- Duplicate
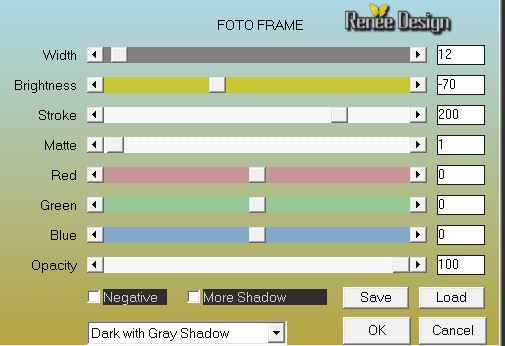
43.
Effects- Plug-in - AAA Frame- Foto frame with these settings
44.
Image Resize 85% Resize all Layers not checked
45.
Edit/copy-Edit paste as a new Image!!!
( minimize the copy)
and proceed with the original (we need the copy)
46.
Layers- Merge- Merge Visible
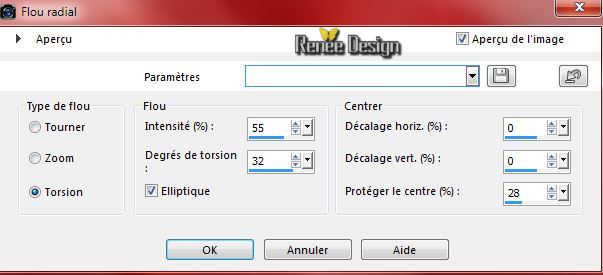
47.
Adjust-Blur-Radial Blur with these settings
48.
Effects-Image Effects-Seamless Tiling use the settings below
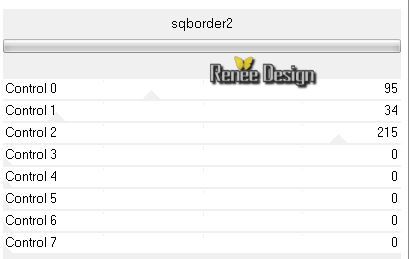
49.
Effects- Plug-in - AFS import- sqborder2 use settings below
50. Layers- Duplicate
51.
Image -Free Rotate - 90° to the left
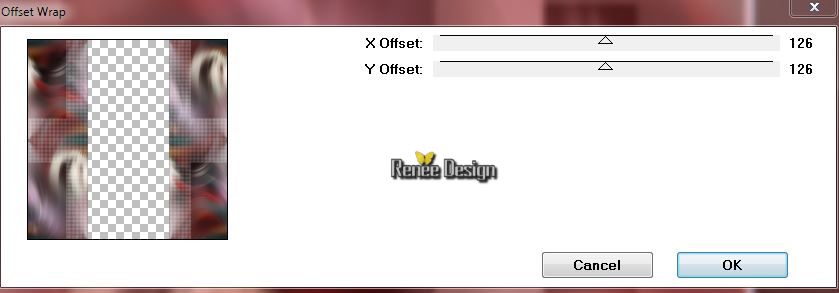
52.
Effects- Plug-in - - Teph's Trick - Offset Wrap
53.
Effects - 3D Effects - Drop shadow with these settings 1/1/85/25 color black
54.
Layers- Merge-Merge Down
55.
Activate your minimized image
-
Edit/copy- Edit/ paste as new layer (do not move it is in the right place) )
- In the Layerpalette, activate the "merged layer"
56. Layers- Duplicate
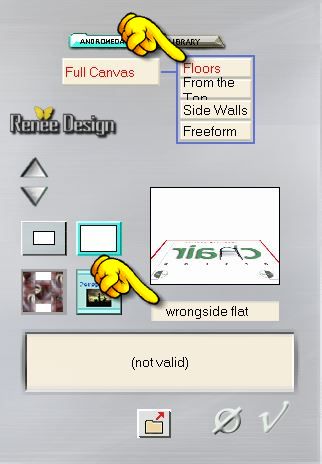
57.
Effects- Plug-in - - Andromeda Perpsective-Floors
- Wrongside Flat
58.
Effects - 3D Effects - Drop shadow with these settings 2/2/100/38 color black
- Activate the top of the layer-Palette
59.
Open your tube''13458166945_femmes.pspimage''
-
Edit/copy-Edit paste as a new layer on your working area
-
With your move tool move to the bottom left corner like this

60.
Image - Add borders-Symmetric checked:35 pixels color white
61.
Window - Duplicate , minimize the copy
and proceed with the original
62.
Image - Add borders-Symmetric checked:1 pixel #710120
63.
Image - Add borders-Symmetric checked:45 pixels color white
-Material of the foreground: foregroundcolor to this color #710120 /Material of the background:backgroundcolor to color white
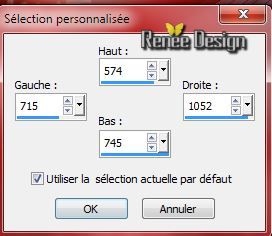
64.
Selection Tool ( S ) Custom selection use settings below
65.
Layers - new raster layer
66.
Pot of Paint-Opacity 60% /Activate Flood fill tool and fill the selection with the foregroundcolor
67.
Selections- Modify-Contract: 2 pixels/ Activate Flood fill tool and fill the selection with color white
68.
Selections- Modify-Contract: 4 pixels
69.
Layers - new raster layer
70.
Activate your minimized image
Edit/copy-Edit paste into selection
Selections- Deselect All
71.
Layers- Merge-Merge Down
72.Layers- Duplicate
73.
Effects-Plug-in -Unlimited 2.0 - I@talian Editors Effect - Effeto
fantasma 19/19
74.
Layers-Arrange-Move Down
-. In the Layerpalette, activate ( Raster1)
75. Layers- Merge-Merge Down
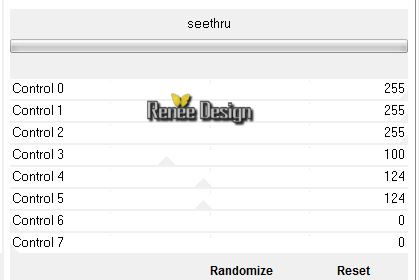
76.
Effects- Plug-in - Unlimited 2.0 - AFS Import - seethru
77.
Effects-Image Effects-Seamless Tiling use the settings below
78.
Open your tube''chut_decos''
-
Activate deco1-
Edit/copy-Edit paste as a new layer on your working area and move
-
On the same tube
- Activate ''deco2''-Edit/copy-Edit paste as a new layer on your working area and move
-
Layers- Duplicate and move
79.
Activate your Paint Brush ''chut_pinceau 1" in your PSP
-File: Export-Custom Brush enter a name.
80.
Open your Paint Brush: ''chut_pinceau 1" with these settings

stamp on the top with your black color/Layers- Duplicate -
Image Mirroir

81.
Open your tube ''texte_chut_secret'' Edit/copy-Edit paste as a new layer on your working area and move .Ore write your own text
82.
Image - Add borders-Symmetric checked:2 pixels color black
83.
Image Resize 995 pixels Width
Save as JPG
I hope you enjoyed this lesson
Renée
This lesson was written by Renée 21/09/2014
Placing
10/2014
*
Any resemblance with an existing lesson is merely a coincidence *
* Don't forget to thank the people who work for us and with us. I named the tubeurs - Testers and the translators.
Thanks Renée.
*
*
|
 Translations


 All rights reserved