|
Let's start the lesson.
-
Material Properties:Set your foreground color to#dfd6cd
- Set your background color to #645051

1.
File - New - Image 1125 x 605 pixels-(Right Mouse click and choose the background color
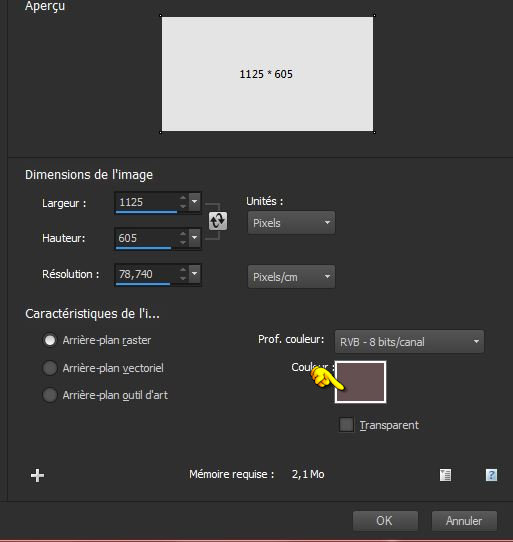
-
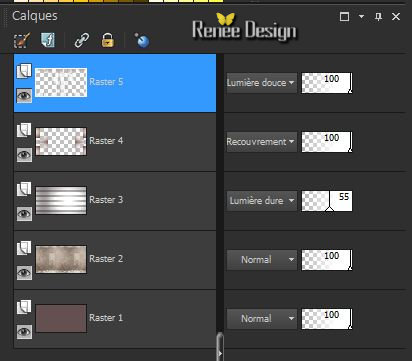
Promote Background Layer = Raster 1
1.
Activate the tube ‘’
Renee_tube_macabre_convoi_image_1 »You may minimize your tube for a moment, but do not close, we will need it again soon
-
Edit/copy- Edit/ paste as new layer (do not move it is in the right place)
2.
Adjust-Blur-Radial Blur with these settings
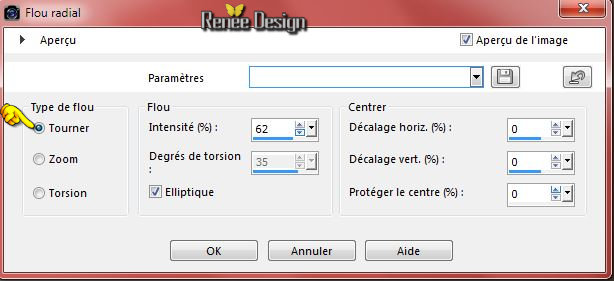
3. Effects – Plugins- AlphaWorks –
Horizontal Fade out : 150
4.
Effects –Plugins- Unlimited -ICNETFILTERS - Distortion Filters-
Cracked: 15
5. Effects- Image Effects- Seamless Tiling with these settings
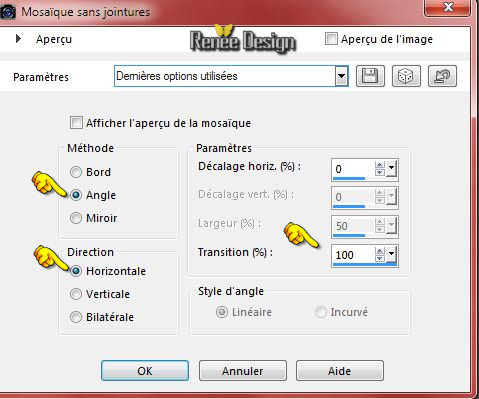
6. Effects-Edge Effects-Enhance More
7.
Activate the tube again ‘’
Renee_tube_macabre_convoi_image_1 »
-
Edit/copy- Edit/ paste as new layer (do not move it is in the right place)
8. Effects- Image Effects- Seamless Tiling with these settings

9. Double click on this Layer and set the Blend Mode to "Overlay"
10. Layers-Merge-Merge Down
11. Double click on this layer and set the Blendmode to "Soft Light "
-Set your foreground to gradient 'Foreground-background' -Prepare a sunburst gradient configured like this.
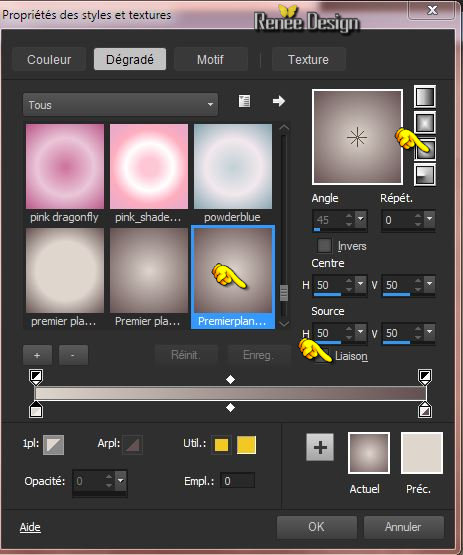
12. Layers-New raster layer
13.Activate Flood Fill Tool and fill the layer with the gradient
14. Effects
– Plugins– Rorshack Filters – Ripleyer with these settings
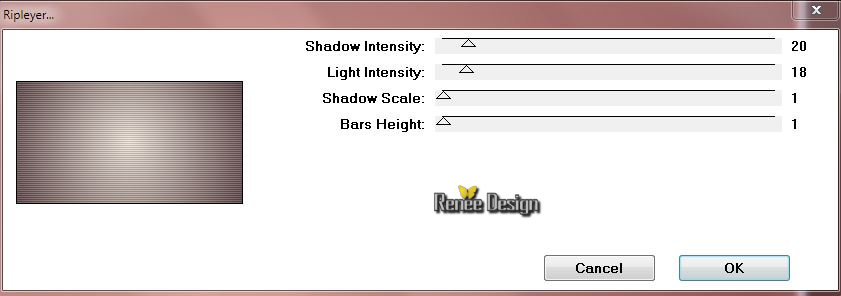
15. Double click on this Layer and set the Blend Mode to "Hard Light "
16.
Effects –Plugins- unlimited - Filter Factory Gallery Q-
Flecktone..with these settings.
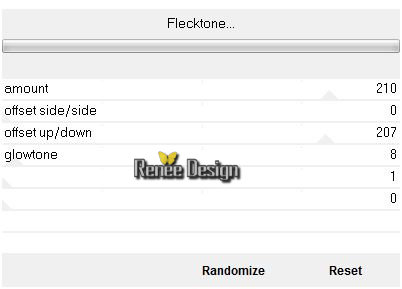
17.
I have lowered the opacity of that layer to 55%
18. Layers-New raster layer
19.
Selection Tool ( S ) Custom selection use settings below
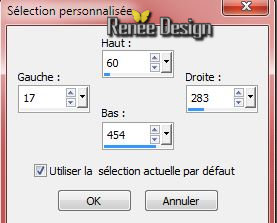
20. Activate Flood Fill Tool and fill the selection with the gradient
Selections-Deselect All
21. Effects- Image Effects- Seamless Tiling with these settings
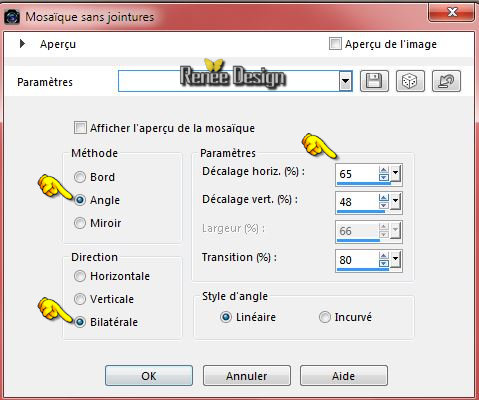
22. Effects
– Plugins– Graphic plus – Quick Tile 1 with these settings
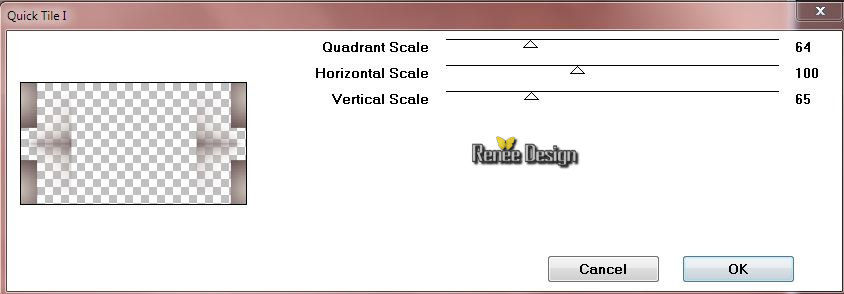
23. Double click on this Layer and set the Blend Mode to "Overlay"
24. Layers- Duplicate
25.
Layers-Merge-Merge Down
26. Activate the tube ‘’ Renee_tube_macabre_image_2bandes’’
-
Edit/copy- Edit/ paste as new layer (do not move it is in the right place)
27. Effects
– Plugins– Frishluft- Amiga Rulez with these settings / with the background color
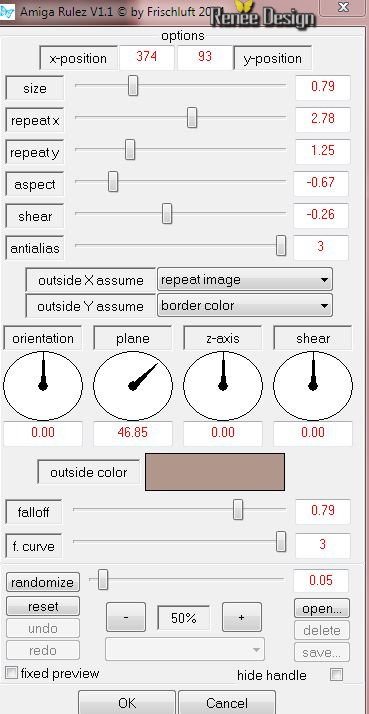
28. Double click on this layer and set the Blendmode to "Soft Light "
29.
Selections –load/save selection –load selection from disc and choose: ‘’
macabre_convoi_1’’
DELETE
- you should have this result:
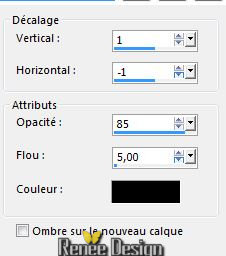
30.Effects-3D Effects-Drop Shadow with these settings
31. Activate the er
le tube ‘’
Renee_tube_macabre_convoi_lettre.pspimage’’
-
Edit/copy- Edit/ paste as new layer
32. Effects-Image Effects-Offset with these settings
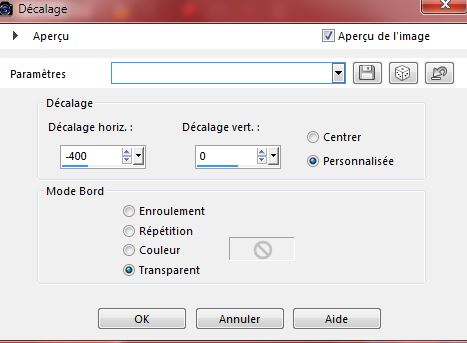
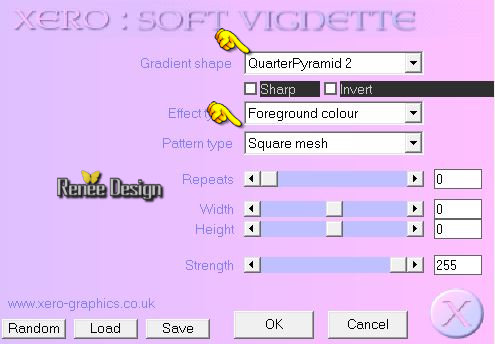
33. Effects
– Plugins– Xero – Soft vignette with these settings
34. Double click on this Layer and set the Blend Mode to "Hard Light "Set the layer opacity of this layer to 51%
- Material Properties:Set your foreground color to#a69686
35.Layers-New raster layer
36.
Selections –load/save selection –load selection from disc and choose: « macabre_convoi_2 »
37. Activate Flood Fill Tool and fill the selection with the foregroundcolor (3 clic in the selection)
38. Effects
– Plugins– Filtre Forge 2- Pattern with these settings -
To install the filter Forge 2-Unzip and install the filter-Starting the PSP and open a picture.
Go to Filter - Click to Help -Enter License Key
Please indicate the number and the name and OK -Now the filter is ready for use
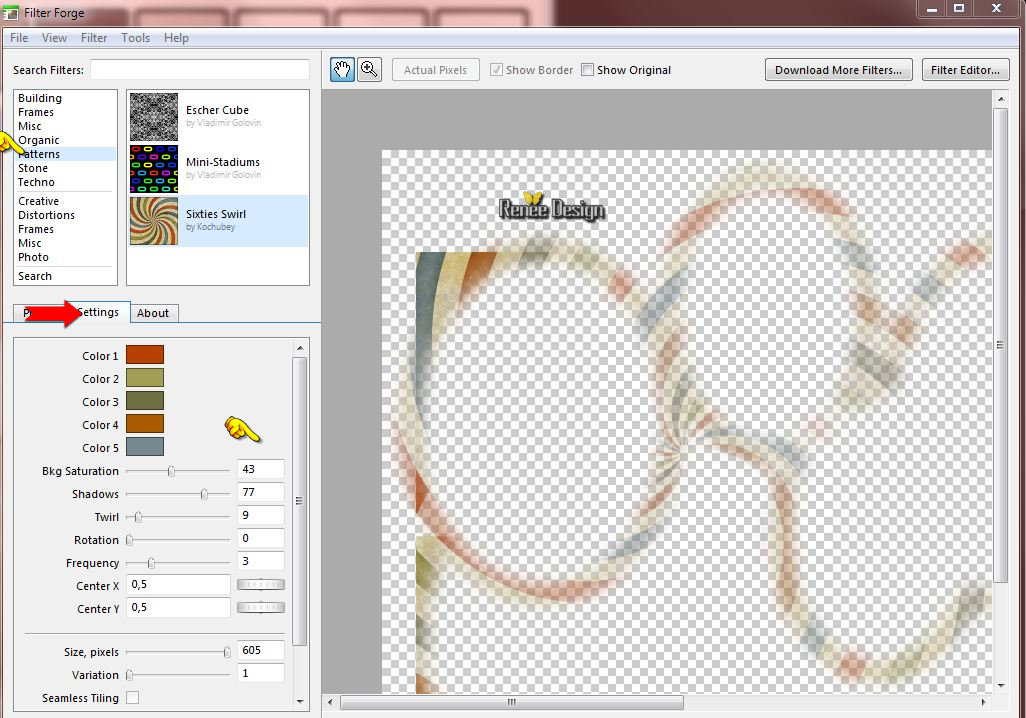
Selections-Deselect All
39. Double click on this Layer and set the Blend Mode to "Overlay"
40.
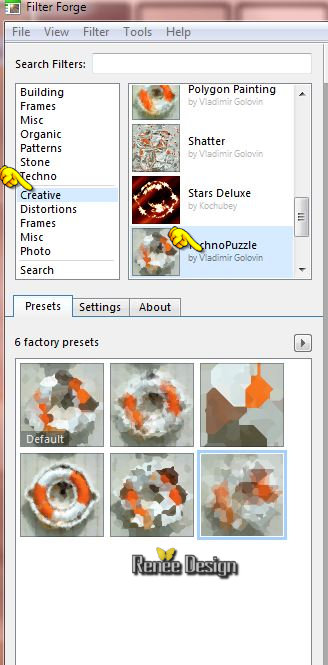
Effects- Plugins– Filter Forge! – Creative
–Techno puzzle with these settings
 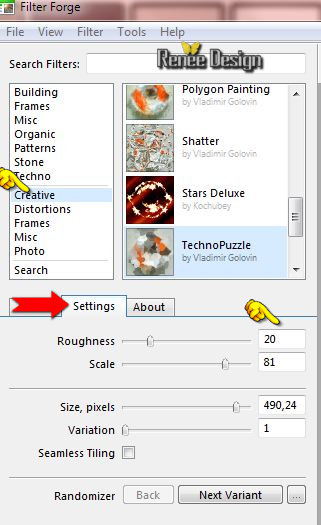
41. Effects-Edge Effects-Enhance More
42.
Effects –Plugins- Unlimited – It@lian Editors Effect– Bordo con Luci
60/62/62
- Material Properties:Set your foreground color to:#e7da43 - Set your background color to: #fc7422
43.
-Set your foreground to gradient 'Foreground-background' -Prepare a sunburst gradient configured like this.
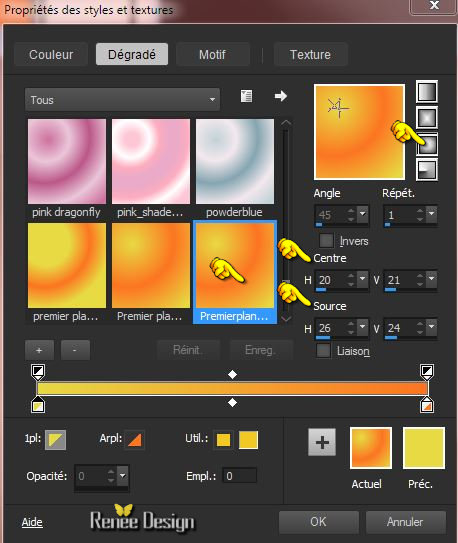
44.Layers- New raster layer
45.
Selection Tool ( S ) Custom selection use settings below
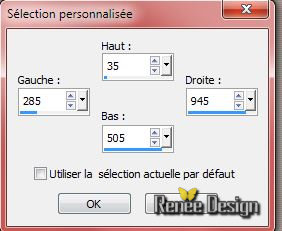
46. Activate Flood Fill Tool and fill the selection with the gradient
47. Effects
– Plugins– Almathera – A Puddle with these settings
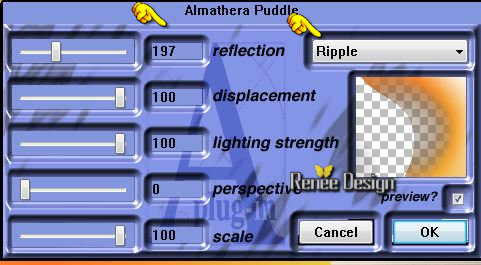
Selections-Deselect All
48. Effects
–Plugins- Flaming Pear - Flexify 2 with these settings
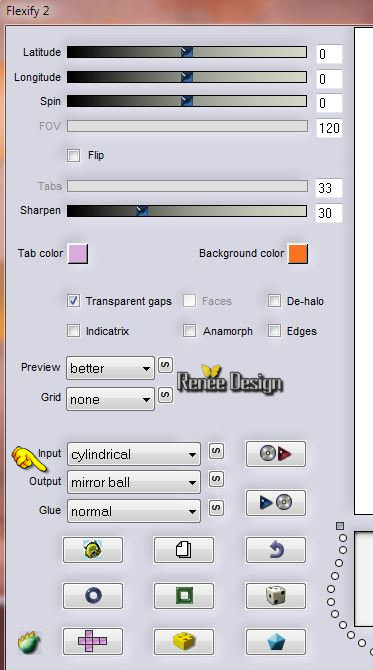
49. Effects-Image Effects-Offset with these settings
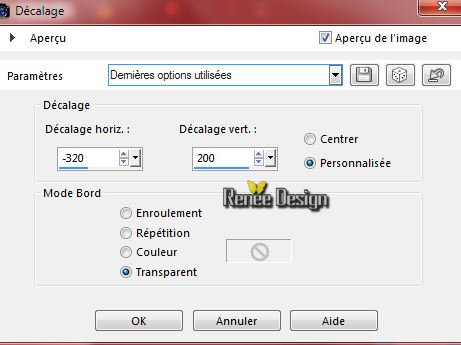
50. Double click on this Layer and set the Blend Mode to "Overlay"
51. Layers- Duplicate
52. Effects-Distortion Effects-Wave with these settings
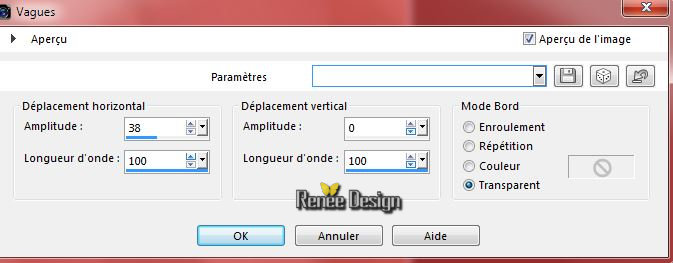
53.
I have lowered the opacity of that layer to 73%
54. Layers- Merge- Merge- Down
-Blend mode="Overlay"
55. Layers-New raster layer
56.
Selections –load/save selection –load selection from disc and choose:
« macabre_convoi_3 »
- Material Properties:Set your foreground color to: #ffffff- Set your background color to:#fc7422
57. Activate Flood Fill Tool and fill the selection with the foreground color #ffffff ( 2 clic in the selection)
Selections-Deselect All
58. Effects –Plugins- Unlimited - Krusty's FX vol.
I 1.0-Grid Mover with these settings (color effect will depend on the background color )
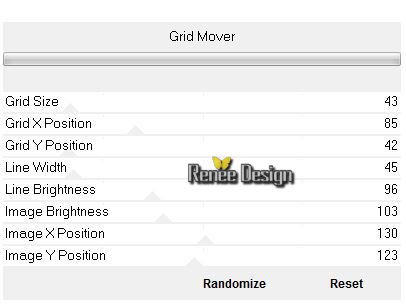
59. Effects
–3D Effects- Drop Shadow with these settings : 1/ -1/ 85 /5 black
60. Layers-New raster layer
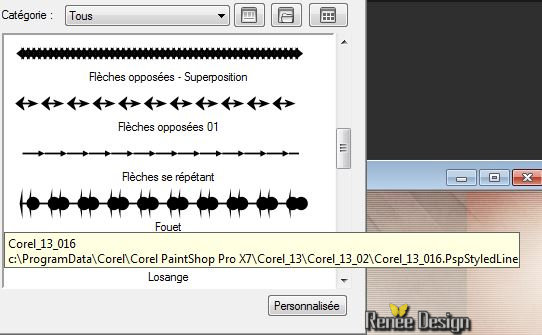
61. Activate Pen Tool -Line Style
‘’Corel_13_016. with these settings ’’

- Draw a line as shown in the example below
 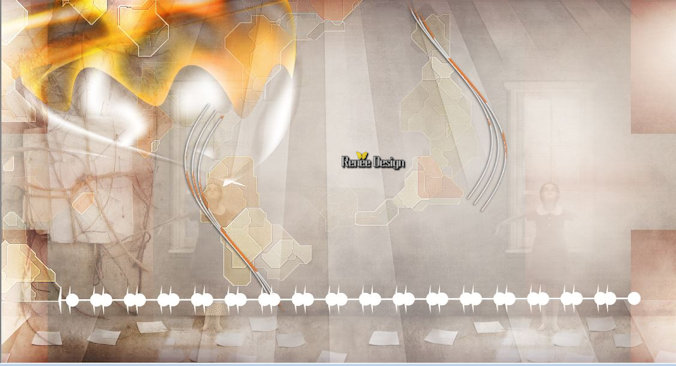
- Layers- Convert to raster layer
62. Effects
– Plugins– EyeCandy 5 – Glass -tab Settings/User settings choose my preset: ‘’macabre_convoi_glass’’
63. Double click on this layer and set the Blendmode to "Soft Light "
64. Effects –3D Effects- Drop Shadow with the same settings
Layer palette – Make raster 2 active
65.
Selections –load/save selection –load selection from disc and choose:
« macabre_convoi_4 »
66.
Selections-Promote selection to layer
67. Layers-Arrange-Bring to Top
68. Effects
– Plugins– L and K’s – Zitah with these settings
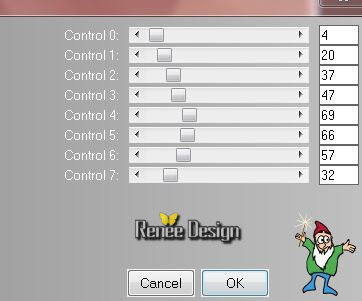
Selections-Deselect All
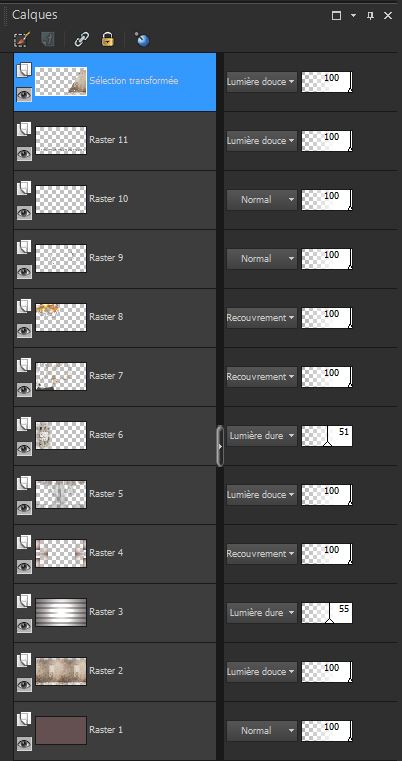
69. Double click on this Layer and set the Blend Mode to "Soft Light " –Opacity 100%
you should have this result:
-Layer -Palette - Stay on top ( Promoted selection )
70.
Effects –Plugins Unlimited - Italian Editors Effect-
Vignetta 188/141
71. Layers-New raster layer
72. Open the Brush image ‘’ pinceau_cracked_kitty’ in your psp
- File- Export Custom Brush-Give it a name ‘’ pinceau_cracked_kitty’
- Set the foreground color to: #645051-Activate your Brush Tool and choose the brush ‘’ pinceau_cracked_kitty’ with these settings
-Place the brush with the foregroundcolor #645051 to the right side as shown below

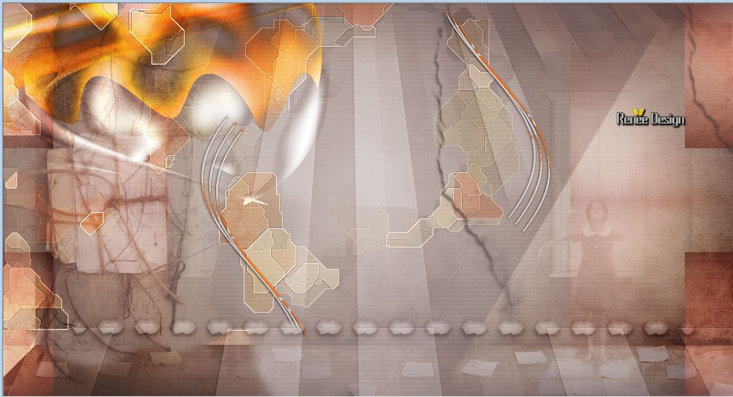
73. Effects
– 3 D Effects -Drop Shadow with the same settings
74. Layers- Merge- Merge Visible
75. Activate the tube ‘’ Renee_tube_pieuvre_macabre »
- Image
Resize a 71%
Edit/copy- Edit/ paste as new layer
-Move Tool-Move to the bottom right side - (see finished image)
76. Activate the tube ‘pngtubesno (113)»
- Image
Resize a 71%
-
Edit/copy- Edit/ paste as new layer-Move Tool-Move to the left side
77. - Double click on this Layer and set the Blend Mode to "Luminance Legacy"
78. Activate the tube ‘’macabre convoi_effet_fumee’’
-
Edit/copy- Edit/ paste as new layer-Move Tool-Move to the upper right side
79. Double click on this Layer and set the Blend Mode to "Multiply"
- You should have this result
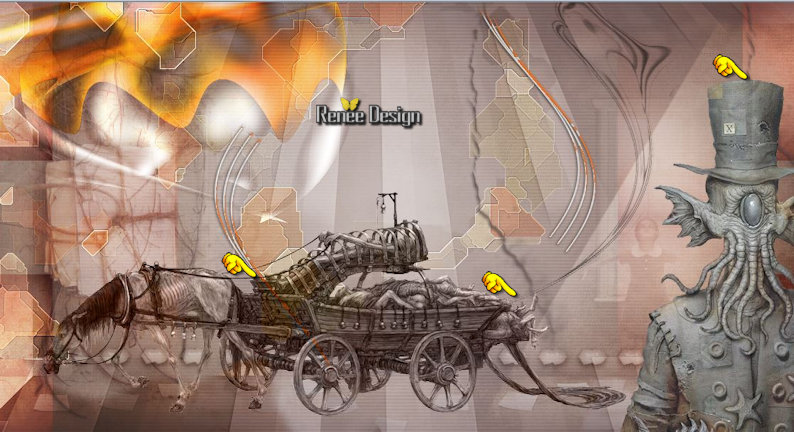
80. Activate the tube ‘’ texte_convoi_macabre.pspimage’’
- Edit/copy- Edit/ paste as new layer
81. Effects-Image Effects-Offset with these settings H -400 and V 150
82. Image - Add borders-Symmetric checked: 1 pixel black
83. Image - Add borders-Symmetric checked: 60 pixels white
84. Activate the
tube ‘’ Nuages_convoi_macabre.png »
-
Edit/copy- Edit/ paste as new layer
- Edit/copy- Edit/ paste as new layer-Move Tool-Move to the upper right corner
85. Image - Add borders-Symmetric checked: 1 pixel black
86. Image - Add borders-Symmetric checked: 10 pixels white
87. Activate the tube ‘’ coin_convoi_macabre’’
- Edit/copy- Edit/ paste as new layer
- Move Tool-Move to the upper left corner
88. Layers- Duplicate – Image Mirror
89. Layers- Merge- Merge- Down
90. Effects-3D Effects-Drop Shadow with the same settings
91. Activate Text Tool- Font ‘’ MetalMacabre’’ – Size 72 write your own text
(Font is into the zipfile)( Foreground color white and background color black )
92. Layers-Merge-Merge All
93. Activate the tube ‘’titre_convoi_macabre.png’’
-
Edit/copy- Edit/ paste as new layer and move
94. Activate the tube ‘’ texte_ils sont...’’
-
Edit/copy- Edit/ paste as new layer
- With your move tool place it to the bottom left side (see finished image)
95. Image - Add borders-Symmetric checked: 1 pixel black
96. Image
Resize a 995 pixels width
Save as JPG
I hope you enjoyed this tutorial .
Renée
This lesson was written by Renée 12/07/2015
edited and update
2015
*
Any resemblance with an existing lesson is merely a coincidence *
* Don't forget to thank the people who work for us and with us. I named the tubeurs - Testers and the translators.
Thanks Renée.
*
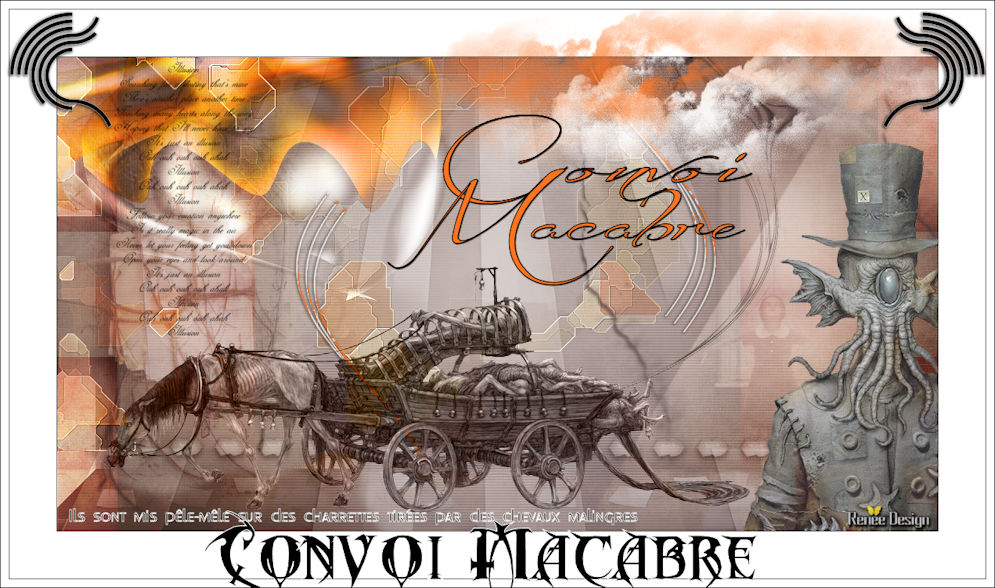
| 
 Translations


 When you see this logo the filter is imported in Unlimited


 All rights reserved