|
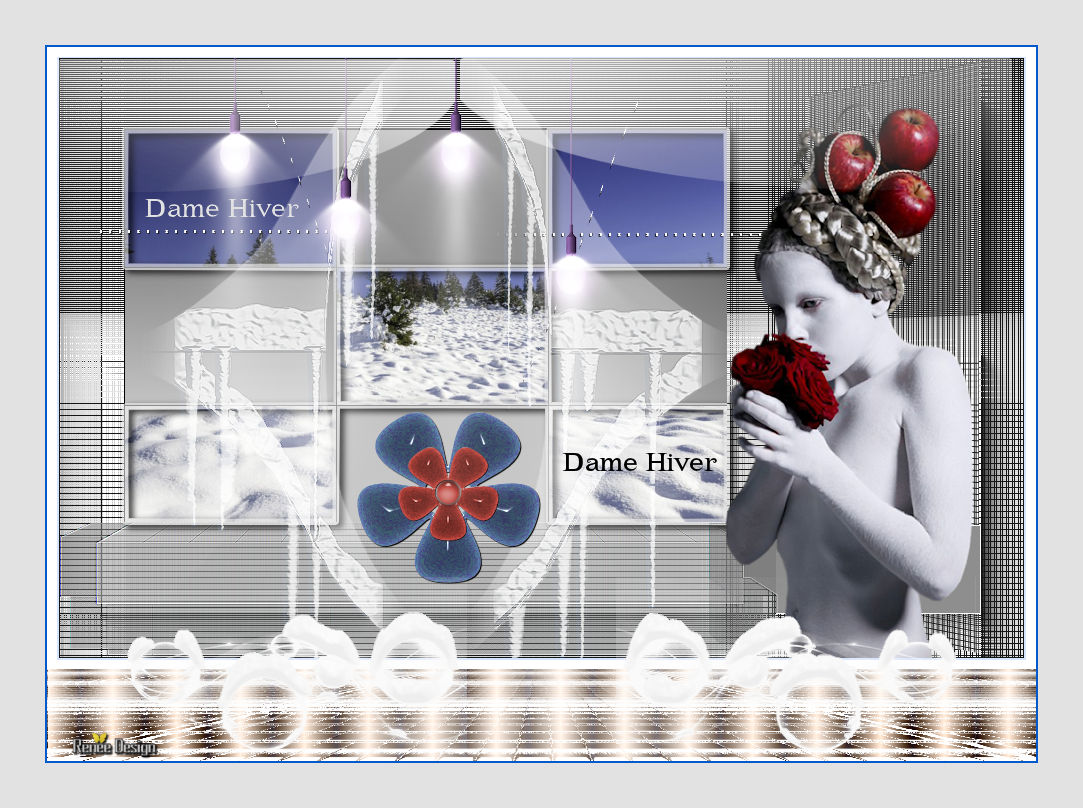
Let's start the lesson
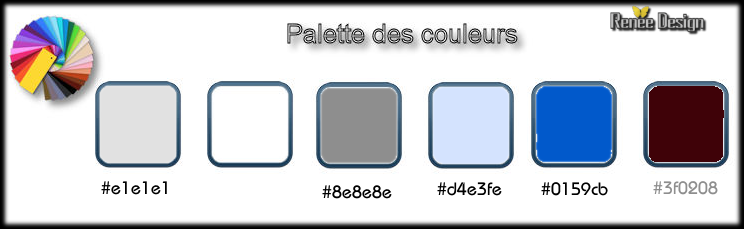
Color Palette- Set your foreground color to #e1e1e1 - Set your background color to #8e8e8e
1.
Open the Image ‘’Fond_dame_hiver’’/ Window - Duplicate (or shift+D) - Close the original and proceed on the copy -Promote Background Layer = Raster 1
2.
Effects –Plugins – Simple -Diamonds
3.
Effects – Plugins – AAA Frame Foto
Frame use settings below

4.
Effects –Plugins - Unlimited - Filter Factory Gallery M – Loom -
using the default settings 0/ 255
5. Layers- New Raster Layer
6.
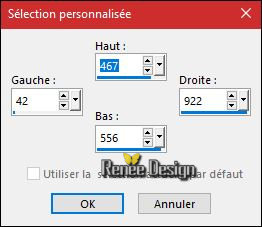
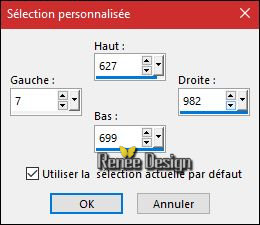
Activate Selection Tool -Custom Selection (S) -Rectangle with these settings
7. Activate Flood Fill Tool and fill the selection with the background color
Selections- Select None
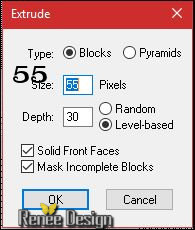
8. Effects –Plugins –Stylize – Extrude
9. Effects- Edge Effects- Enhance
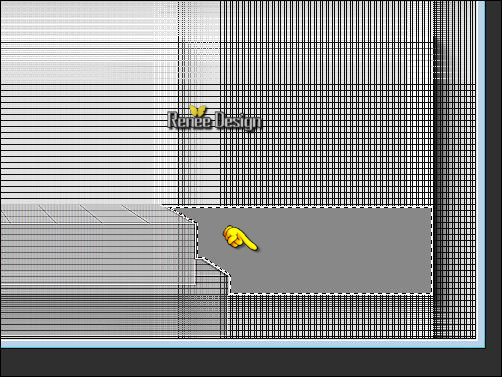
10.Activate your Magic Wand use settings below

Select this part
11.
Selections- Promote selection to Layer
Selections- Select none
12. Repeat :Effects –Plugins –Stylize – Extrude with the same settings
13. Layers- Merge- Merge Down
Activate the bottom layer in the layer palette = Raster 1
14.
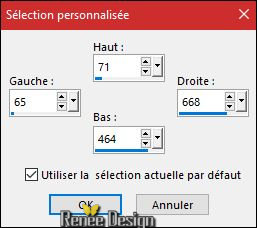
Activate Selection Tool -Custom Selection (S) -Rectangle with these settings
15.
Selections- Promote selection to Layer
Selections- Select none
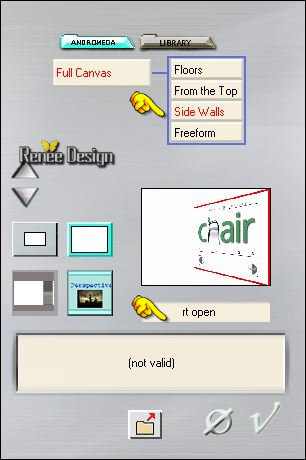
16. Effects –Plugins – Andromeda Perspective
- Activate the bottom layer in the layer palette = Raster 1
17.
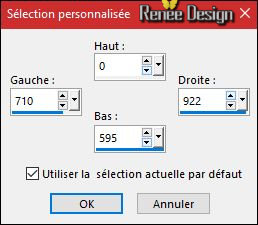
Activate Selection Tool -Custom Selection (S) -Rectangle with these settings
18.
Selections- Promote selection to Layer
19. Layers- Arrange- Bring to Top
20.
Adjust- Blur- Gaussian Blur : Radius 65
21.
Effects –Plugins - Unlimited – Toadies - Ommadawn...
90/90/0/0
22.
Selections –load/save selection –load selection from disc and select my selection: ‘’Dame_hiver_1’’
23. Layers- New Raster Layer
24.
Open the image ’’ image dame hiver’’
If you want use your own picture, take a picture with strong contrast
- Edit- Copy-Activate your work -Edit - Paste into Selection
25.
Selections- Modify- Select Selection Border-Both Sides

26. Color -Palette: Change the foreground color into texture and select my texture:
‘’or’’
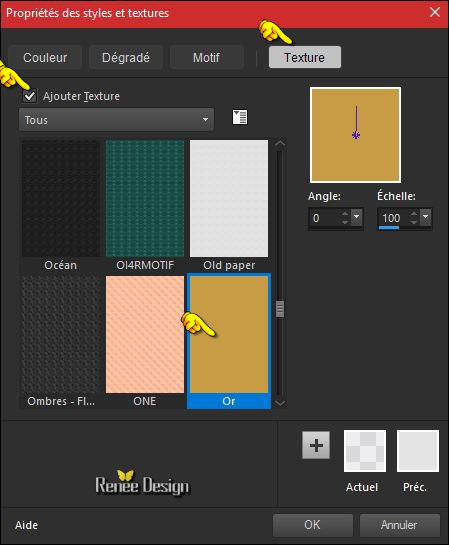
-Activate Food Fill Tool :fill the selection with the foreground/texture
27.
Effects –3D Effects – Drop Shadow with these settings : 3/4/85/10 black
Selections- Select none
28. Open the tube ‘’ Renee_tube_pomme
rose_TUBE_BY_ARTUS.pspimage
- Image
Resize to 65 %
- Edit - Copy- Activate your work -Edit - Paste as a new layer
-
Move to the bottom right side
29. Layers- New Raster Layer
30.
Selections –load/save selection –load selection from disc and select my selection: ‘’Dame_hiver_2’’
- Properties Foreground: Set your foreground color to #e1e1e1
31. Flood Fill Tool – Opacity of the color at 60%- Fill the selection with the foreground color #e1e1e1
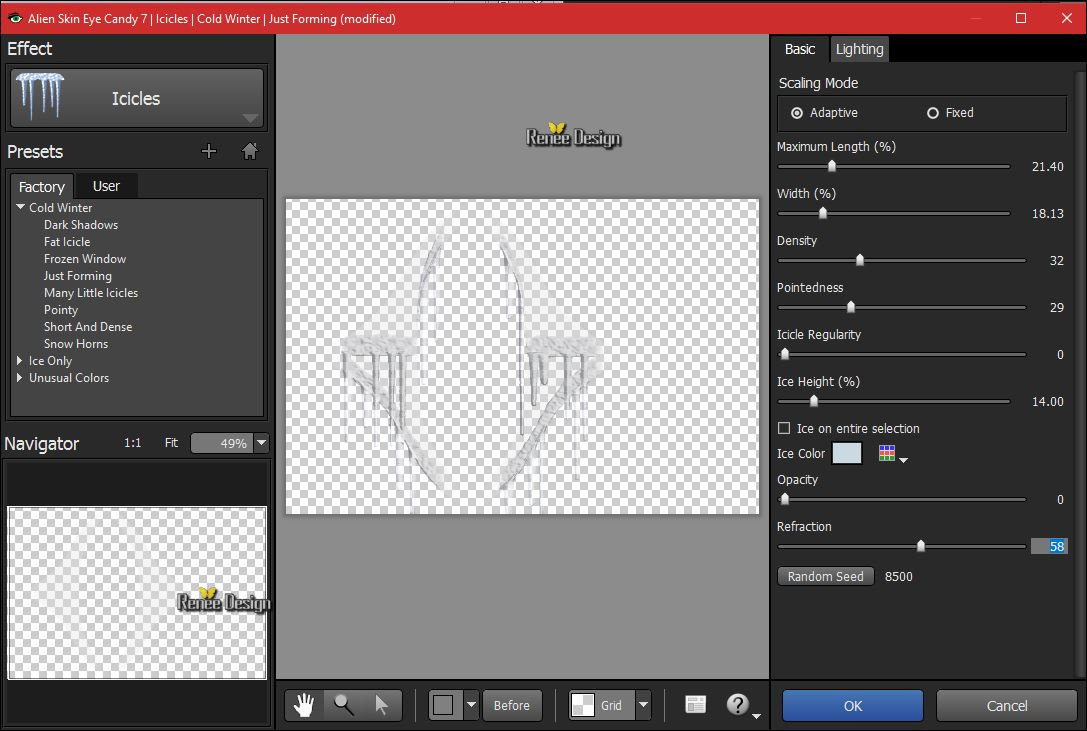
32. Effects
–Plugins – Alien skin -EyeCandy 7 – Icicles- Just
forming
If your filter does not give the same result // The effect "eye candy 7 image " is included with the material .Paste it as a new layer on your working area
33. Effects-Edge Effects- Enhance
Selections- Select none
You used the tube of eye candy? Layers- Merge- Merge Down
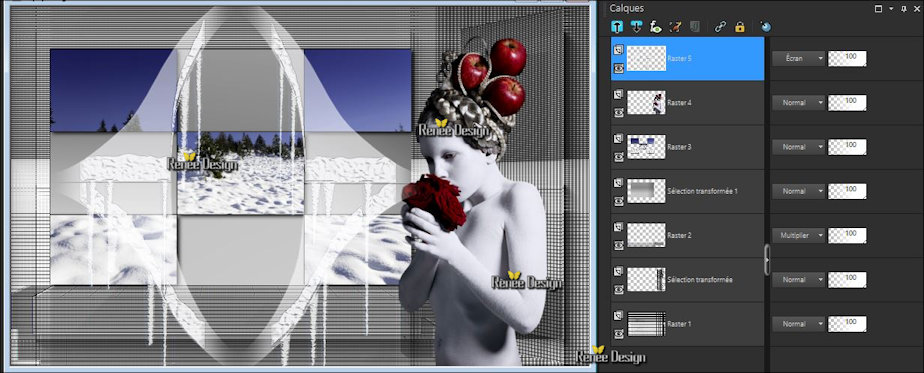
34. Layers-Properties-Set the Blend Mode to " Screen"
Your Layer palette look like this now-You should have this result
-
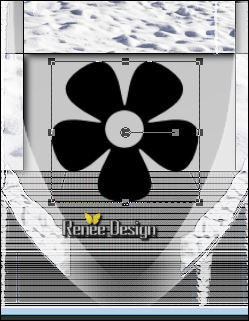
Put your Blume_2 shape in your Preset Shapes folder of psp
35. Choose the Preset Shapes tool ‘’Blume_2 " Draw an flower like this
Layers -
Convert to Raster Layer
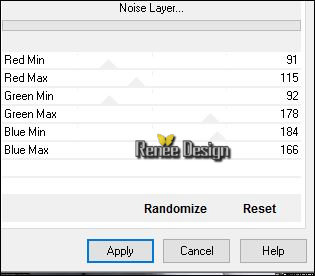
36.
Effects –Plugins- Unlimited - Andrew's Filters 7- Noise
Layer...
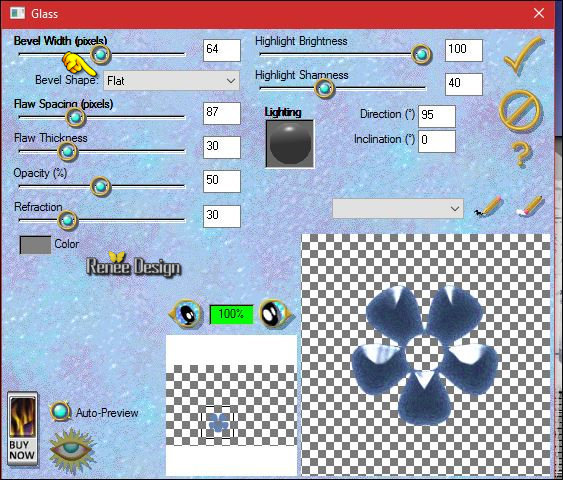
37.
Effects –Plugins –Eyecandy 3 – Glass with these settings
if you receive an error message, .jpg) >>Click OK and the filter opens >>Click OK and the filter opens
38. Effects
– 3D Effects Drop Shadow with these settings : 1/1/100/1 black
39. Layers- Duplicate – Image Resize to 55 % all layers unchecked
- place it in the middle of the large flower
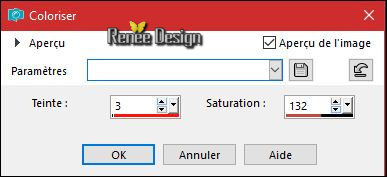
40. Adjust-
Hue and Saturation – Colorize (Now you can colorize whatever color you want! )
41. Layers- Merge- Merge- Down
42. Open the tube ‘’ Dame_hiver_point.png’’
- Edit - Copy- Activate your work -Edit - Paste as a new layer
- Place it in the middle of the flower (perhaps adjust the center of the flower )
43.
Layers- Merge- Merge- Down
44. Open the tube-‘’ Dame_hiver_lignes.png’’
- Edit - Copy- Activate your work -Edit - Paste as a new layer
45. Effects- Image Effects- Offset with these settings : H = - 111 and V = 100
/Transparent
46. Open the tube ‘Renee_Hiver_lampe’’
- Edit - Copy- Activate your work -Edit - Paste as a new layer
Move against the top edge (see finished image)
47. Image - Add borders-Symmetric checked: 2 pixels #d4e3fe
48. Open the tube ‘’ Hiver_double_rideau’’
- Edit - Copy- Activate your work -Edit - Paste as a new layer
- Move against the top edge (see finished image)
49. Image - Add borders-Symmetric NOT checked :Color #ffffff
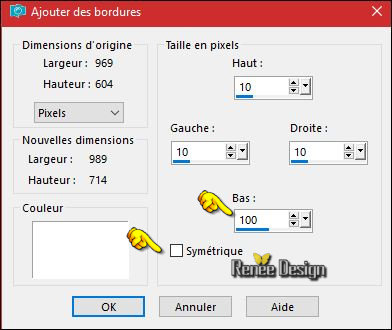
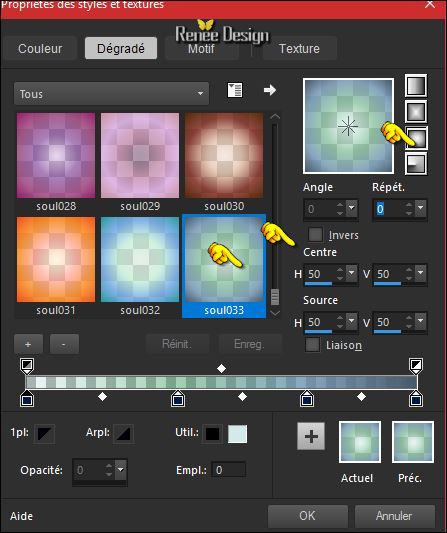
-
Color-Palette: Set your Foregroundcolor to gradient and select »soul_033’’- Prepare a sunburst gradient configured like this.
50. Layers- New Raster Layer
51.
Activate Selection Tool -Custom Selection (S) -Rectangle with these settings
52. Flood Fill Tool – Opacity of the color at 100% – Fill the selection with the gradient
Selections- Select none
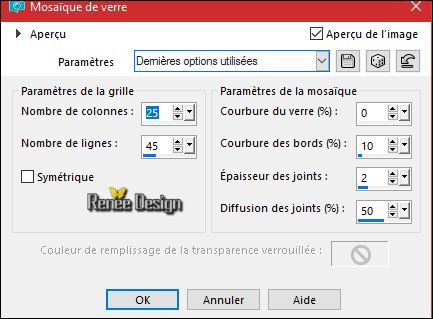
53. Effects
–Texture Effects – Mosaic Glas use settings below
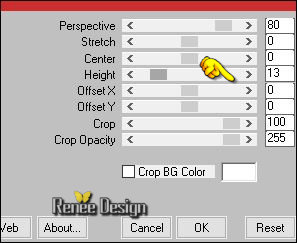
54. Effects
–Plugins – Mura’s Meister – Perspective
Tilling
55.
Effects –Plugins- Unlimited - Alf's Power Grads- Linear Tubes..using the default settings .
56. Open the tube ‘’hiver bulles’’
- Edit - Copy- Activate your work -Edit - Paste as a new layer
- Place it on the bottom left ( see finished image )
57. Layers- Duplicate – Image Mirror (CTRL+B)
58. Layers- Merge- Merge Down
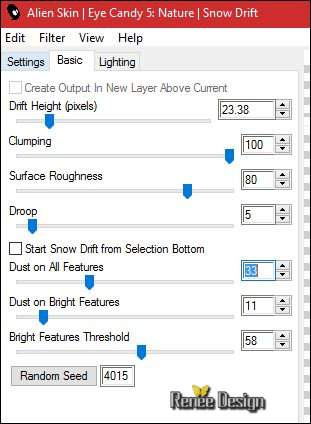
59. Effects
–Plugins – Alien skin EyeCandy 5 Nature – Snow
drift-use settings below -Color #ffffff
60. Image - Add borders-Symmetric checked: 2 pixels
#0159cb
61. Image - Add borders-Symmetric checked: 45 pixels #e1e1e1
62. Activate your Text Tool -Font ‘’ LehmannC’’ Write ‘’ Dame hiver ‘’ repeat the text with a different color and move
63. Layers- Merge- Merge All (flatten)
Save as JPG
I hope you enjoyed this lesson
Renée
This lesson was written by Renée 27/11/2016
Edited and Update
2016
*
Any resemblance with an existing lesson is a coincidence
* Do not forget to thank the people who work with us and for us I have appointed the tubeurs and translators
Thanks Renée *
*
| 
 Translations


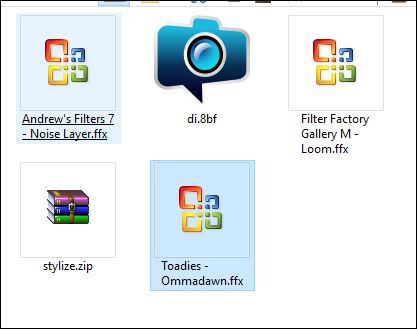


 If a plugin supplied appears with this icon it must necessarily be imported into Unlimited *

 _All rights reserved