|
Let's start the lesson.
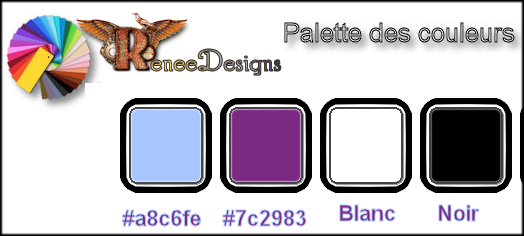
-- Preparation/ - Color Palette: Set your foreground color to #a8c6fe- Set your background color to#7c2983
1.
File: Open a new transparent Layer 1024 x 768 Pixels
2.
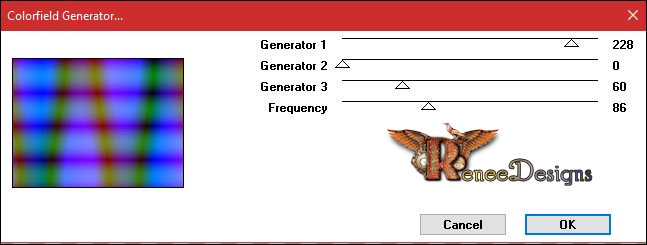
Effects – Unlimited or Plugins – VM Instant Art -
Colorfield Generator...
3.
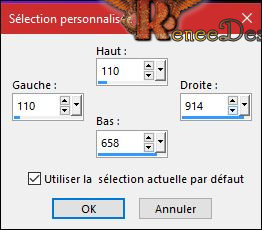
Activate Selection Tool -Custom Selection (S) -Rectangle with these settings
4.
Selections- Promote Selection to Layer
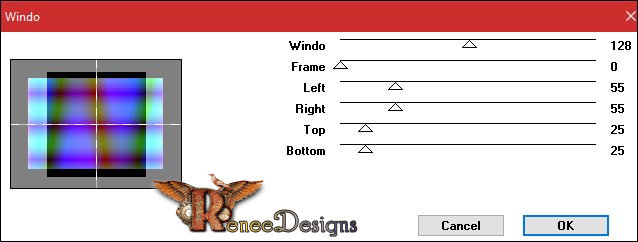
5.
Effects –Plugins – Mock – Windo (this filter can give slightly different colors it does not matter play with opacity of the Layer)
6.
Layers-Properties-Set the Blend Mode to" Overlay"
Selections- Deselect All
7.
Image -Free Rotate 90° right
8.
Effects- 3D Effects- Drop Shadow with these settings 0/0/80/40 color black
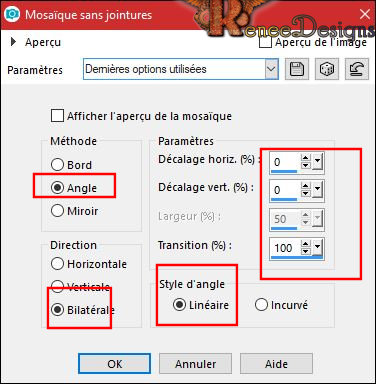
9.
Effects – Image Effects - Seamless Tiling use the settings below
10.
Effects – Texture Effects- Blinds /color
#741c3b
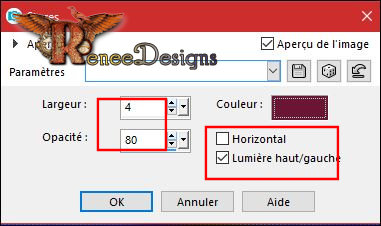
Do not add a new layer
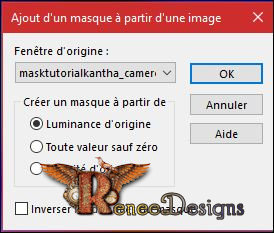
11.
Layers- New Mask Layer from Image ans select:
masktutorialkantha_camerontags.jpg ‘’
-
Layers- Merge- Merge Group
12.
Effects – Plugins – EyeCandy 5 Impact –
Extrude use the settings below

13.
Effects – Image Effects- Offset with these settings H =70 and V
=0
14.
Open the tube ‘’Etrange_City_image
-geometrique’’
-Edit - Copy- Activate your work -Edit - Paste as a new layer
15.Effects – Image Effects- Offset with these settings H = - 60 and V =
14
16.
Layers-Properties-Set the Blend Mode to" Screen "
17.
Effects- Reflection Effects-Feedback use the settings below

18.
Layers- Duplicate
19.
Effects – Plugins – Simple – Pizza Slice Mirror
20.Layers-Properties-Set the Blend Mode to" Hard Light "
-
In the Layerpalette: activate the layer underneath
21.
Effects – Plugins– Mura’s Meister /Perspective
Tilling -using the default settings
22.
Selections –load/save selection –load selection from disc and select my selection:
‘’Etrange_City_1’’
DELETE 
Selections- Deselect All
-
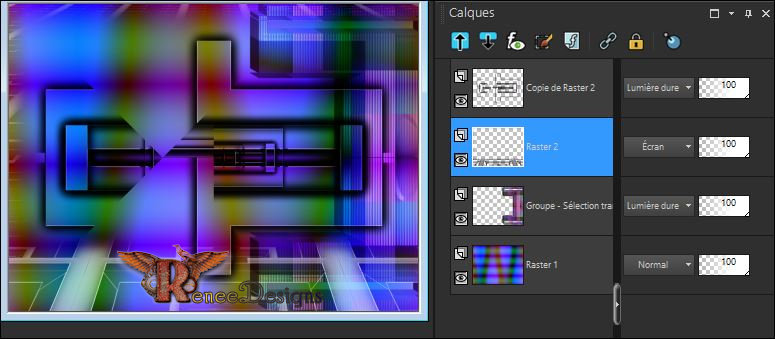
Your work and Layer Palette look like this now-You should have this result
23.
Open the tube ‘’ Etrange_City_boutique’’
-
Edit - Copy- Activate your work -Edit - Paste as a new layer
24.
Effects – Image Effects- Offset with these settings H = 209 and V = 77
25.
Layers-Properties-Set the Blend Mode to" Hard Light "-Set the Opacity of this layer to
83
-
To replace the top of the layers palette
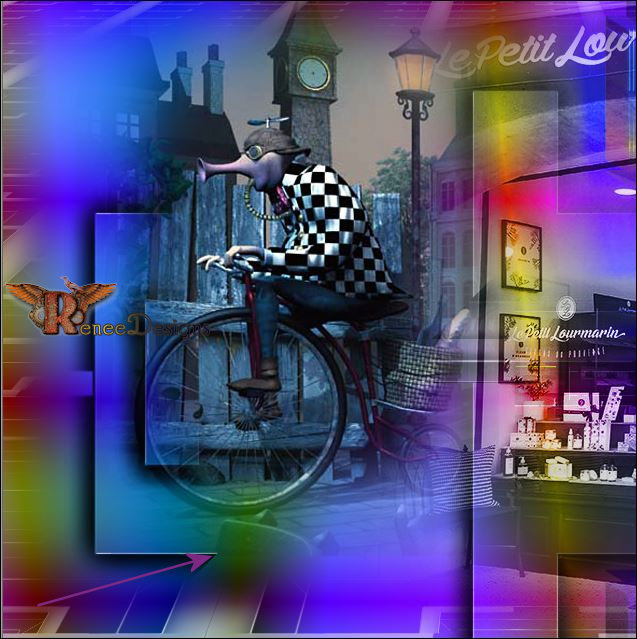
26.
Open the tube ‘’ Etrange_City_Image
1.pspimage’’
-Edit - Copy- Activate your work -Edit - Paste as a new layer
-
Move Tool (M) move it the right place as shown in the example below
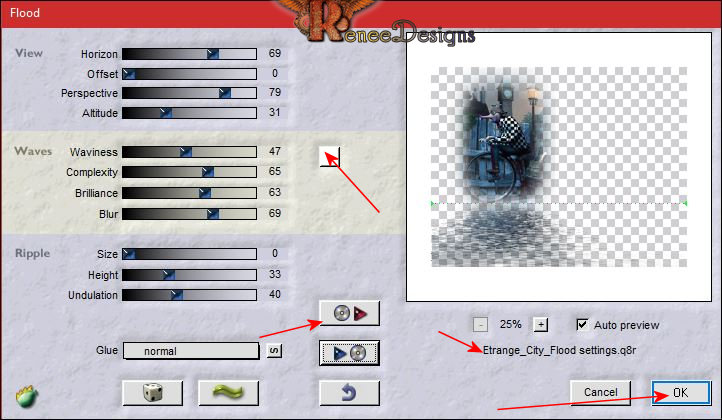
27.
Effects – Plugins – Flaming Pear – Flood- choose my preset click on the Preset
‘’Etrange_City_Flood settings.q8r’’
28.
Selections –load/save selection –load selection from disc and select my selection: ‘’Etrange_City_2’’
DELETE
Selections- Deselect All
29.
Layers- New Raster Layer
30.
Selections –load/save selection –load selection from disc and select my selection:
‘’Etrange_City_3’’
-
Preparation - Color Palette:
- Set your foreground color to #ffffff
31.
Activate the Flood Fill Tool / Change the opacity of the color to 50% -Fill the selection with the foreground color
(
3 clicks)
Selections- Deselect All
32.
Effects- Edge Effects- Enhance
33.
Effects –Plugins-ICNETS FILTERS/ Unlimited - Special Effects 1 -Pipes
(vertical) 121
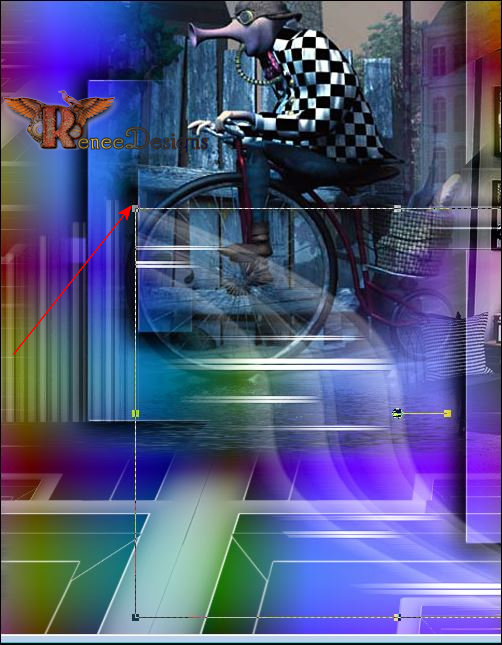
34. Open the
tube ‘’
Etrange_City_courbe.pspimage’’
-Edit - Copy- Activate your work -Edit - Paste as a new layer
-
Move Tool (M) move it the right place as shown in the example below
35.
Effects – Plugins-Unlimited - It@lian Editors Effect - Vetro -
http://www.italianeditors.com/ 17/18/255
36.Effects- Edge Effects- Enhance
37. Layers- New Raster Layer
38.
Selections –load/save selection –load selection from disc and select my selection: ‘’Etrange_City_4’’
39.
Activate the Flood Fill Tool and fill the selection with the foreground color
Selections- Deselect All
-
Preparation/ - Color Palette: foreground color remains white #ffffff- Set your background color to #000000
For the filter below it is the background color that gives the effect color of this filter (Renée opted for black )
40.
Effects – Plugins -Unlimited - [AFS IMPORT] – TWISTER /Control 0
to 47 others to 0
41.
Layers-Properties-Set the Blend Mode to" Dissolve "-Set the Opacity of this layer to 46
42.
Open the tube ‘’ Renee_TUBES_Etrange_city_
trapeziste’’
-Edit - Copy- Activate your work -Edit - Paste as a new layer
-
Move Tool /Move to the top left side of your image
43.
Open the tube
‘’Renee_TUBES_Etrange_city_ballons.pspimage’’
-Edit - Copy- Activate your work -Edit - Paste as a new layer
-
Move it in the right place ( see finished image )
44. Open the tube ‘’ ‘’Renee_TUBES_Etrange_City_insectes.pspimage’’
-
Edit - Copy- Activate your work -Edit - Paste as a new layer/ Move it in the right place ( see finished image )
45. Open the tube ‘’ ‘’Renee_TUBES_Etrange_City_Image2.pspimage
-Edit - Copy- Activate your work -Edit - Paste as a new layer
-Move Tool /Move to the bottom right side of your image
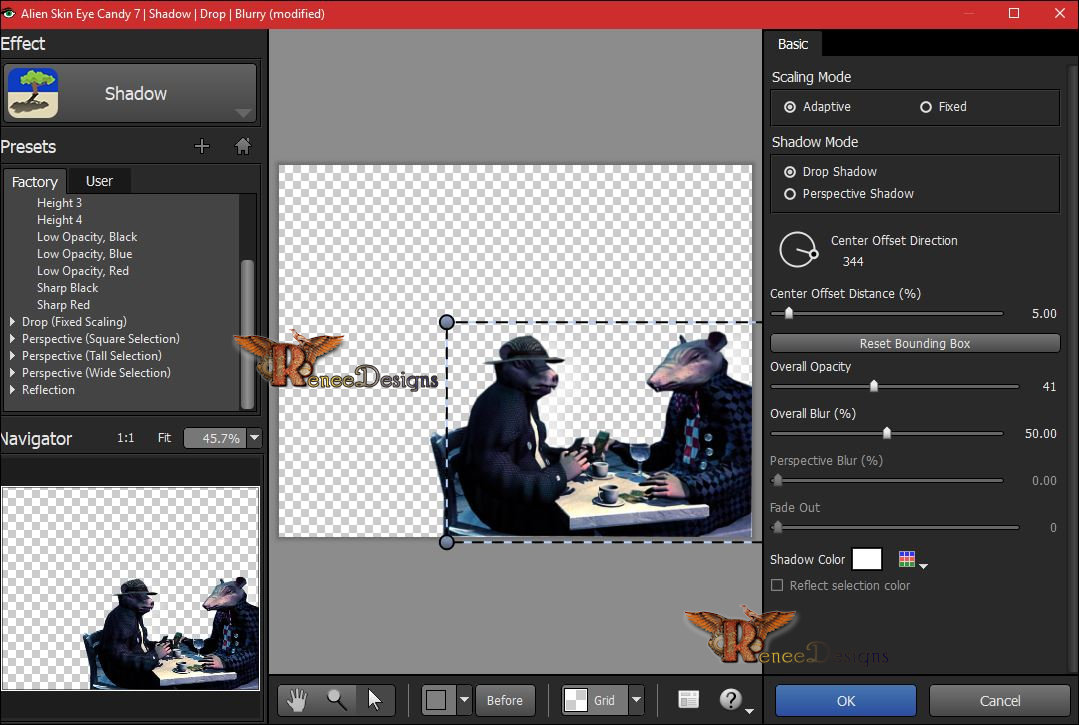
46.
Effects –Plugins – EyeCandy 7- Shadow /Basic
(
Do you have problems with this filter? Image is included in the zipfile )
47.Layers- Merge- Merge Visible
48.
Layers- New Raster Layer
49.
Selections –load/save selection –load selection from disc and select my selection:
‘’Etrange_City_5’’
50.
Activate the Flood Fill Tool –Change the opacity of the color to 60%/ Fill the selection with the foreground color(2 clicks)
Selections- Deselect All
51.
Attention Toolbar: Script checked.
Image- Toolbars - Script (checked)
- Psp script: Put the script in your script folder –restricted script from PSP
- Activate tool bar script: select the file:"Etrange City"
and click the little blue arrow and let it run.If you want to use different colors? than you should replace toggle execution mode( if you receive an error message, please disregard it and click ok. )

or proceed manually following this
Image - Add borders-Symmetric checked 1
pixel black
Image - Add borders-Symmetric checked 15
pixels #ffffff
Image - Add borders-Symmetric checked 1
pixel black
Image - Add borders-Symmetric checked 3
pixels #ffffff
Image - Add borders-Symmetric checked 1
pixel black
Image - Add borders-Symmetric checked 40
pixels #ffffff
52.
Image- Resize by 1005 Pixels Width.
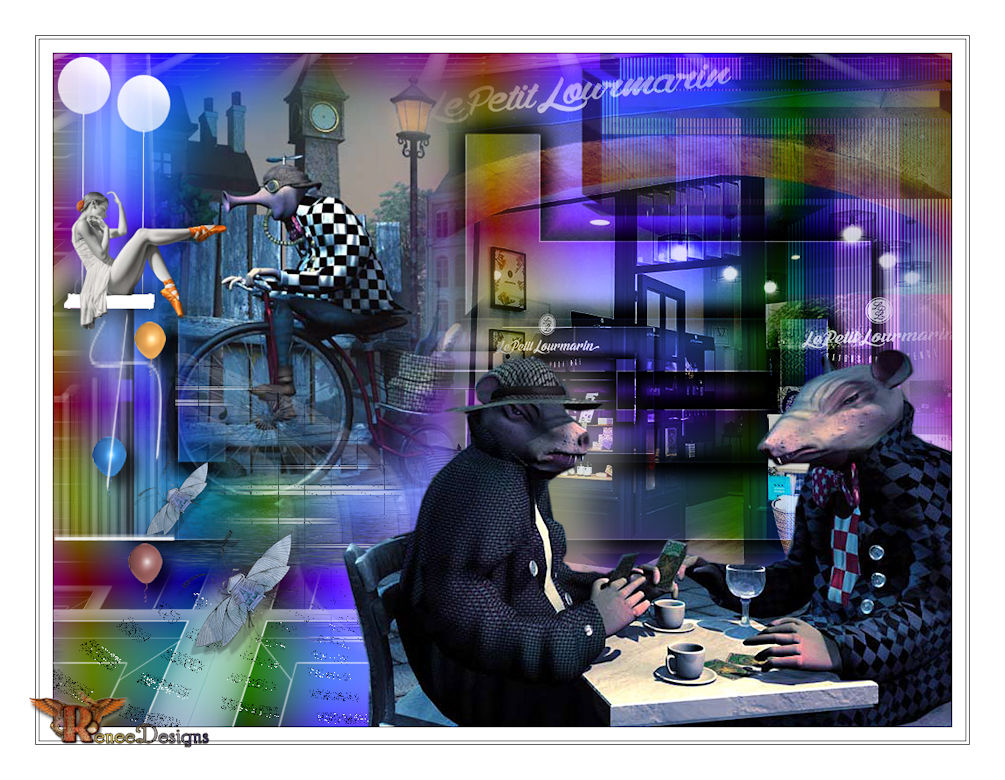
Save as JPG
I hope you enjoyed this lesson
Renée
This lesson was written by Renée 22 November 2017
Edited and Update
2017
*
Any resemblance with an existing lesson is a coincidence
* Do not forget to thank the people who work with us and for us I have appointed the tubeurs and translators
Thanks
*
| 
 Translations


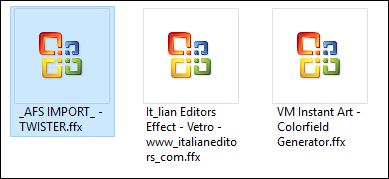


 If a plugin supplied appears with this icon it must necessarily be imported into Unlimited *