|
Let's start the lesson .
1. File - New - New Image 1015 x 615 pixels -Transparent
2.Material Properties:
Color Palette:-Select my file in the list ''JBlackNRed'' Put your foreground into a linear gradient with settings below. Set your Backgroundcolor to :#5f2c00
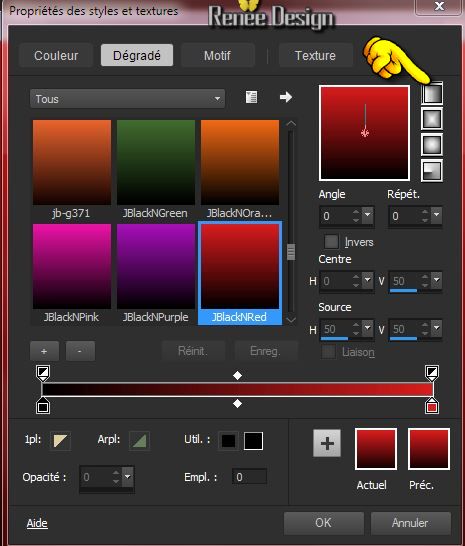
3. Activate Flood Fill Tool and fill the layer with the gradient
4. Effects- Pugins
- VM Experimental- Painting by Numbers with these settings 255/255
5. Repeat this Filter !
6. Selection Tool ( S ) Custom selection use settings below
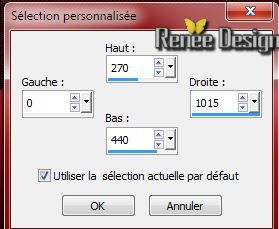
7.Layers - New raster layer
8. Activate Flood Fill Tool and fill the selection with the gradient
9. Effects- Texture Effects- Texture and choose ''motif
Carres.jpg"
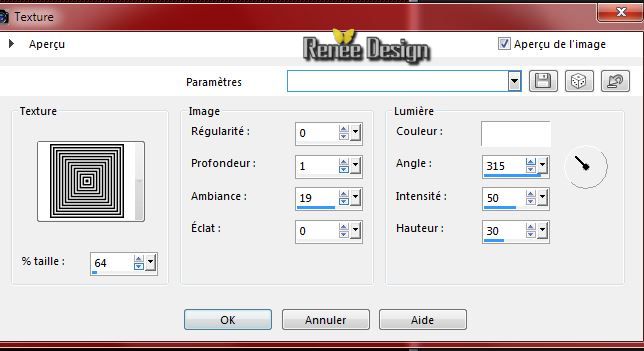
-Selections- Deselect All
10. Effects - 3D Effects-Drop Shadow use settings below
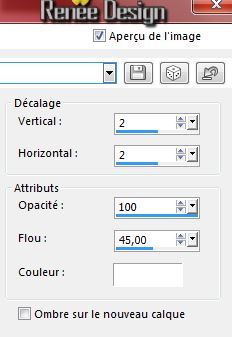
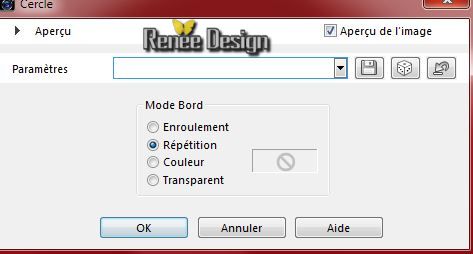
11. Effects- Geometric Effecte-Circle
12. Layers - New raster layer
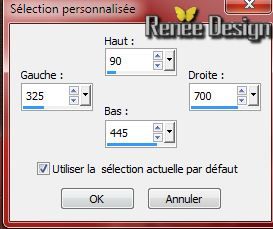
13.Selection Tool ( S ) Custom selection use settings below
- Color Palette: Set your Foregroundcolor to :#decea3. Set your Backgroundcolor to: #5f2c00
14. Pot of Paint-Opacity 50% -Activate Flood Fill Tool and fill the selection with the foregroundcolor
15. Selections-Modify-Contract 15 pixels
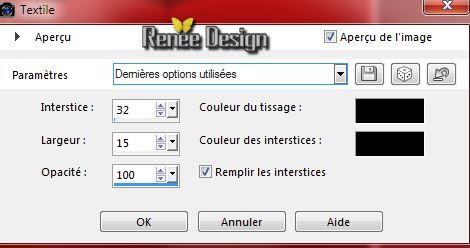
16. Effects- Texture Effects- Weave with these settings
Keep selected !
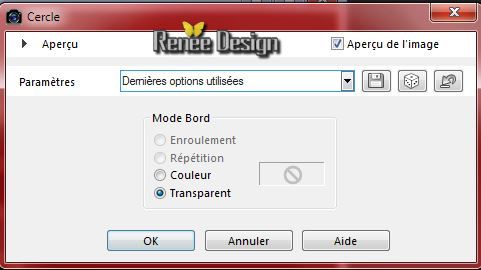
17. Effects- Geometric Effecte-Circle
18. Promote selection to layer
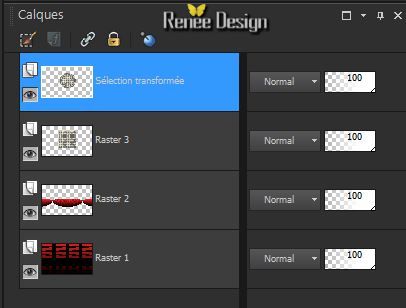
Your Layer Palette look like this now:
-Selections- Deselect All
- Layer Palette-activate
Raster 3
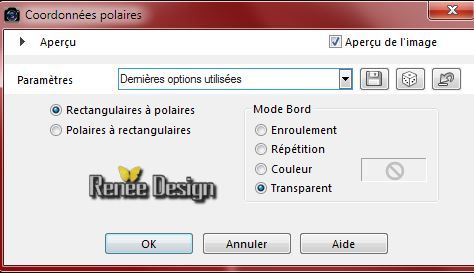
19. Effects- Distortion Effects-Polar Coordinates with these settings
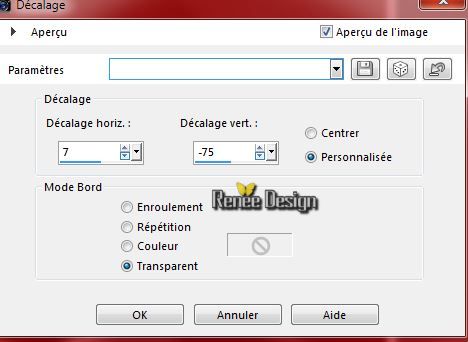
20.Effects- Image Effects- Offset with these settings
21. Layer Palette -Double click on this Layer and set the Blend Mode to "Luminance-Legacy"
- Layer Palette: activate Raster 2
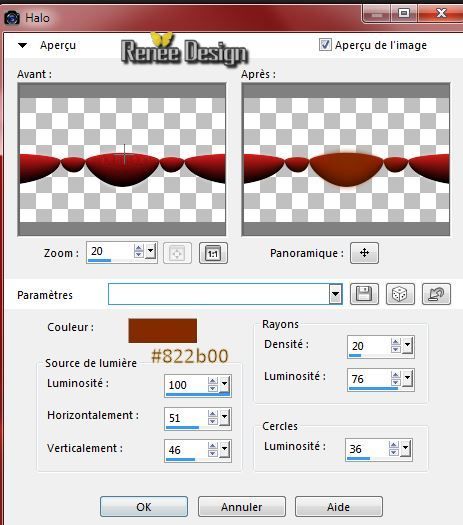
22. Effects-Illumination Effects-Sunburst with these settings
- Activate the top of the Layer-Palette
23. Layers- New Raster layer
24. Selections - load/save selection - load selection from disk and select:''gabry_1" -
25. Pot of Paint-Opacity 100% Activate Flood fill tool and fill the selection with the foregroundcolor
Selections Deselect All
26. Effects- Geometric Effects-Spherize
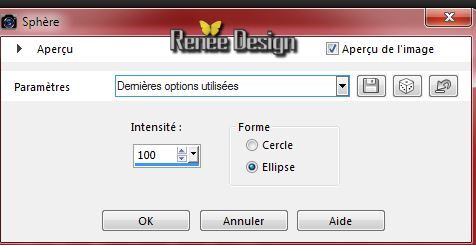
27.
Effects- Pugins -Eyecandy 5 Extrude-
tab Settings/User Settings and choose my preset ''gabry_extrude''
28.
Effects- Geometric Effects-Spherize

29.
Open your tube '''Gabry
woman 863.pspimage'' -Edit/copy-Edit paste as a new layer on your working area. With your move tool move to the left
30. Layers- Arrange- Move Down (come under raster 4)
-Activate the top of the Layer-Palette
31. Layers - New raster layer
32. Selections - load/save selection - load selection from disk and select:''gabry_2''
- Material of the foreground -
Select my file in the list ''JBlackNRed'' with the same settings
33. Activate Flood Fill Tool and fill the selection with the gradient
Selections- Deselect All
34. Effects- Pugins -Eyecandy _5 Glass-
tab Settings/User Settings and choose my preset '' glass_gabry''
35.
Open your tube ''gabry_image_1'' -Edit/copy-Edit paste as a new layer on your working area.
36.
Effects- Pugins Axion -Lens Flare with these settings
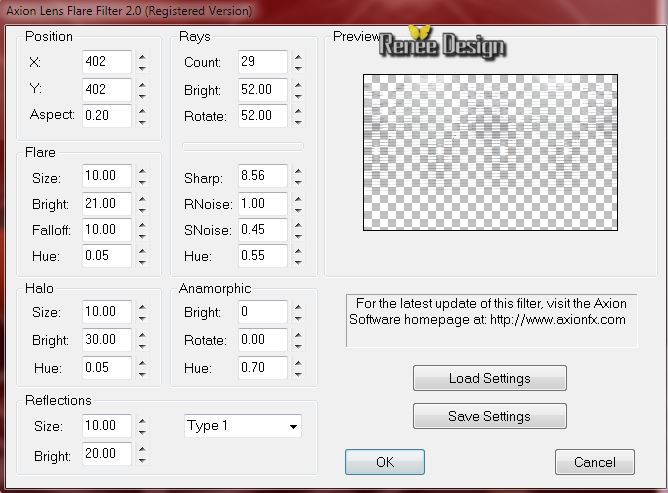
37.
Effects- Image Effects- Offset with these settings
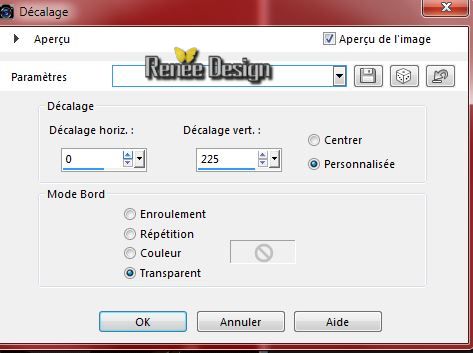
38.
Layers- Duplicate -Image Mirror
39.
Layer Palette -Double click on this Layer and set the Blend Mode to "Overlay"
40.
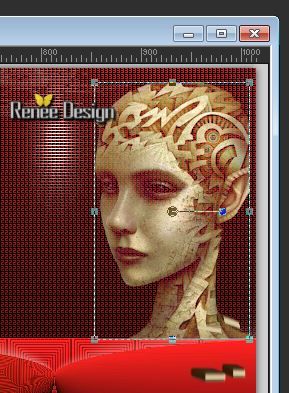
Open your tube '' Gabry-woman 864.pspimage''-Image
Resize 40%
Edit/copy-Edit paste as a new layer on your working area.
With your move tool move to the top right corner like this
41.
Layer Palette -Double click on this Layer and set the Blend Mode to "Lighten "
42.
Layers - New raster layer
43.
Selections - load/save selection - load selection from disk and select:''gabry_3
44.Color Palette: Set your Foregroundcolor to
color:#444444 (click 3 x into selection )
45.
Effects- Pugins - AP01 -Lines Silverling with these settings
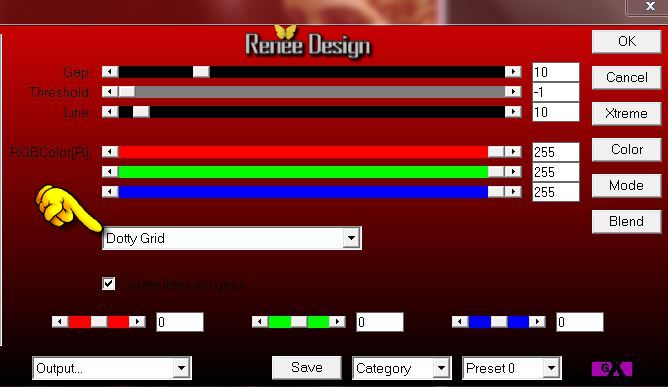
Selections- Deselect All
46. Effects- Pugins - Toadies - What are you with these settings 20/20
47.
Layer-New Raster Layer
48.
Material of the foreground: Select my file in the list: ''JBlackNRed'' Put your foreground into a linear gradient with these settings !
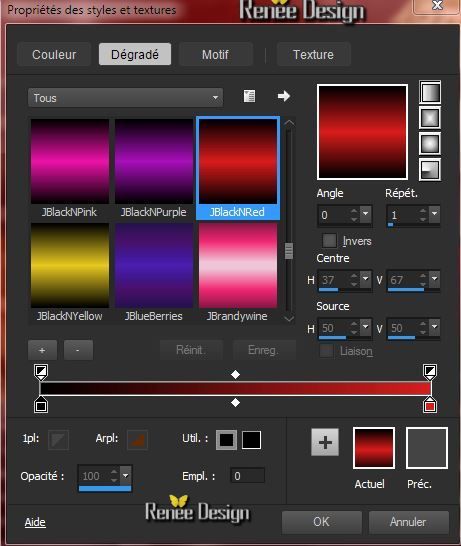
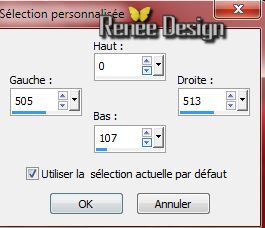
49.Selection Tool ( S ) Custom selection use settings below
50.
Activate Flood fill tool and fill the selection with the gradient
Selections- Deselect All
51.
Effects- Plugins -Mura's Meister - Copies with these settings
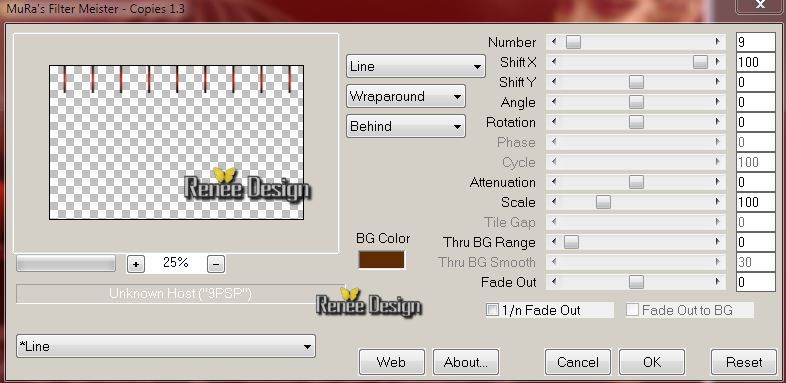
52.
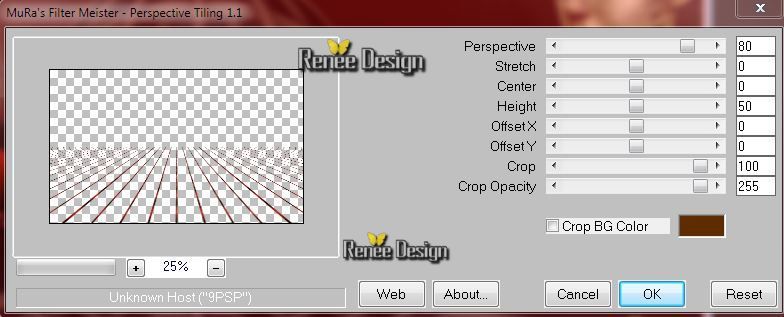
Effects- Pugins -Mura's Meister -Perspective
Tilling with these settings
53.
Layers- Arrange- Move Down (above
Raster 1)
54.
On the same layer (Raster 10)
55.
Repeat .Effects- Pugins -Mura's Meister
-Perspective Tilling with the same settings
56.
Layer Palette-Double click on this Layer and set the Blend Mode to "Difference"
- Activate the top of the Layer-Palette
57.
Layers- Merge- Merge Visible
58.
Layers - New raster layer
59.
Open your brush "pinceau''gabry_pinceau_oiseau''/ File- Export Custom Brush (Give it a name)
60. Activate Brush Tool and select my file in the list "gabry_pinceau_oiseau'' Color Palette: Set your Foregroundcolor to white

-
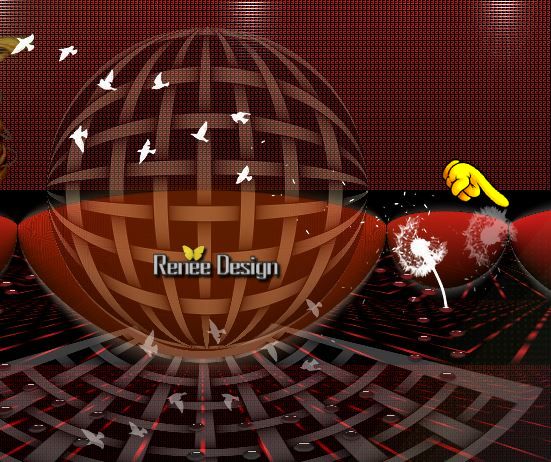
Stamp with the foreground color like this
61.
Layers- Duplicate -Image Flip
Eraser Tool:erase see example
62.
Open your brush ''gabry_pinceau ''/ File- Export Custom Brush (Give it a name)
63.
Activate Brush Tool and select my file in the list: "gabry-text "
-Stamp with the foreground color white in the top right corner

64.
Image - Add borders-Symmetric checked:1 pixel color black
65.
Image - Add borders-Symmetric checked:15 pixels color white
66.
Image - Add borders-Symmetric checked:1 pixel color black
67.
Image - Add borders-Symmetric checked:60 pixel color white
68.
Image - Add borders-Symmetric checked:1 pixel color black
69.
Selections-Select All
70.
Selection- Modify-Contract 20 pixels
71. Effects-3D Effects- Drop Shadow with these settings : 1/1/49/35 color black
Selections- Deselect All
72.
Open your tube ''gabry_deco_1''- Edit-Copy-Edit Paste as a new layer on your working area ( Do not move !!! )
73.
Open your tube "text ".Edit-Copy-Edit Paste as a new layer on your working area
74.
Image - Add borders-Symmetric checked:1 pixel color black
-Image-Resize 995 pixels Width
I hope you enjoyed this lesson
Renée
This lesson was written by Renée 8/09/2014
Created the
13/10/2014
*
Any resemblance with an existing lesson is merely a coincidence *
* Don't forget to thank the people who work for us and with us. I named the tubeurs - Testers and the translators.
Thanks Renée.
|