|
Let's start the lesson. 
-
Color Palette- Set your foreground color to color #fdaa49
- Set your background color to color #808080
1.
Open the Image ‘’fond_Gothique_21’’/ Window - Duplicate (or shift+D) - Close the original and proceed on the copy -Promote Background Layer =
Raster 1
2.
Effects –Plugins- Unlimited-ICNETFILTERS - Distortion Filters -
Scanline Shifter 143/23
3. Adjust-Sharpness- Sharpen More
4.
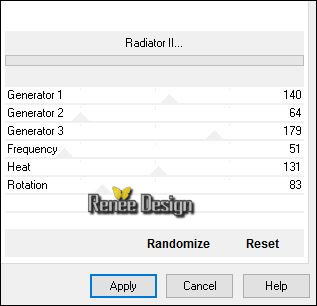
Effects –Plugins Unlimted2.0 – VM Distorsion – Radiator
II…use settings below
5. Effects –
User Defined Filter - Emboss3 using the default settings
6. Effects-Image Effects- Seamless Tiling using the default settings
7.
Layers- Duplicate
8.
Effects –Plugins - Unlimited 2.0- &<Bkg Designer sf10 I>-
ALFs Border Mirror Bevel 86/64
9. Image
Resize to 85% all layers not checked
- In the Layer-Palette: Double click on this Layer and set the Blend Mode to "Multiply"
10. Effects
– 3D Effects - Drop Shadow use settings below
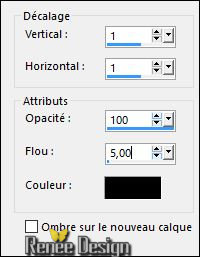
- Repeat- Drop Shadow with these settings - 1 /- 1
11. Layers- New Raster Layer
12.
Selections –load/save selection –load selection from disc and select my selection: ‘’
Gothique_21_selection’’
13. Activate Flood Fill Tool and fill the selection with the background color
14. Effects
– Texture Effects – Blinds with these settings /White

Selections- Deselect All
15. Layers- Duplicate
- Image -
Mirror(CTRL+B)
- Layers- Merge- Merge Down
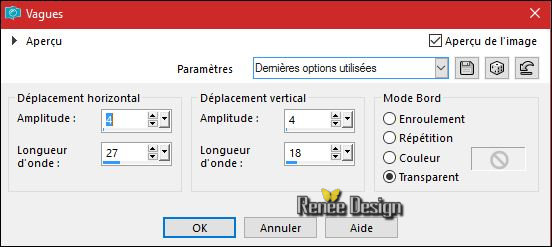
16. Effects
– Distorsion Effects – Wave use settings below
17. Effects – 3D Effects - Drop Shadow use settings below

18. Open the tube ‘’ Renee_tube_fragile’’
- Edit/ Copy-Back to your work-Edit - Paste as new layer on your working image
-
Effects- Image Effects- Offset with these settings:

- Activate your Pick Tool (K) Mode Scale - stretch on top that it fits (Hit the M key of your Keyboard to deselect the Tool)
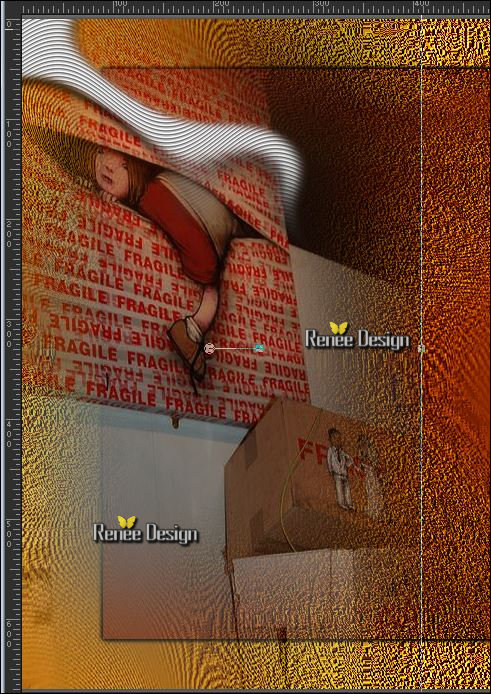
19. Layers- Arrange- Move Down
-Activate the top of the layer palette
20. Open the tube ‘’ Renee_tube_fuite’’
- Image
-Resize to 60%
- Edit/ Copy-Back to your work-Edit - Paste as new layer on your working image
- Do not move for this moment
21.
Layers- New Raster Layer
22.
Selections –load/save selection –load selection from disc and select my selection: -
Gothique_21_selection_1 »
23. Effects
– 3D Effects – Cutout with these settings
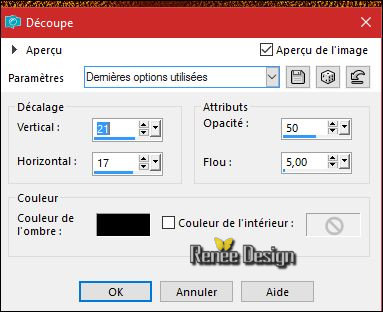
Selections- Deselect All
- Activate the tube from point 20 and move as shown in the example below
- Color Palette- Set your foreground color to color #ffffff
24. Layers- New Raster Layer Calques
25.
Selections –load/save selection –load selection from disc and select my selection: –« Gothique_21_selection_1 »
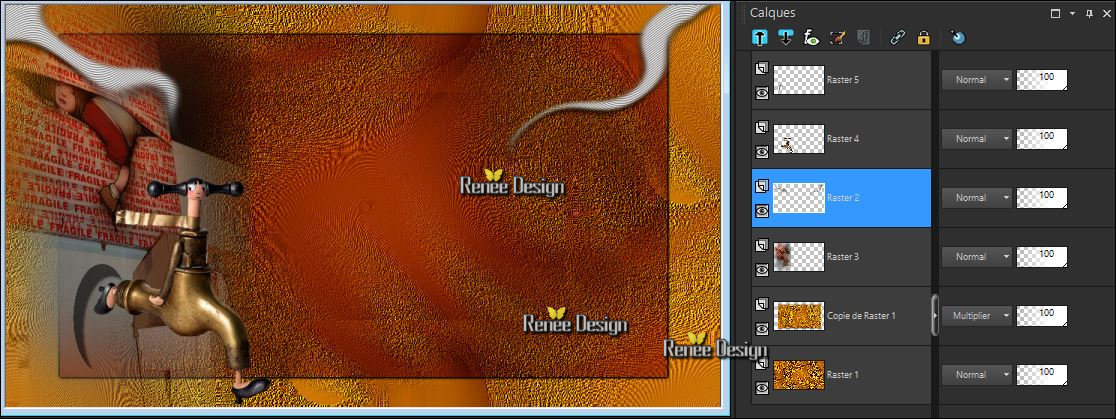
26.
Selections- Modify – Contract 10 pixels
27. Pot of Paint:Opacity of the color at 50% – Activate Flood Fill Tool and fill the selection with the foreground color #ffffff
Selections- Deselect All
28. Effects – 3D Effects – Drop Shadow with these settings : -2/1/50/8 black
- Layers- Arrange- Move 2 x Down
-Activate the top of the layer palette
29. Layers- New Raster Layer
30.
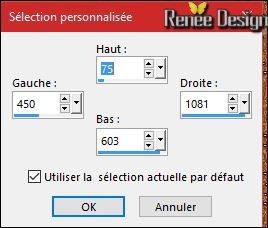
Activate Selection Tool -Custom Selection (S) -Rectangle with these settings 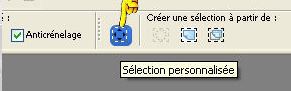
31. Pot of Paint:Opacity of the color at 50% –Activate Flood Fill Tool and fill the selection with the foreground color #ffffff
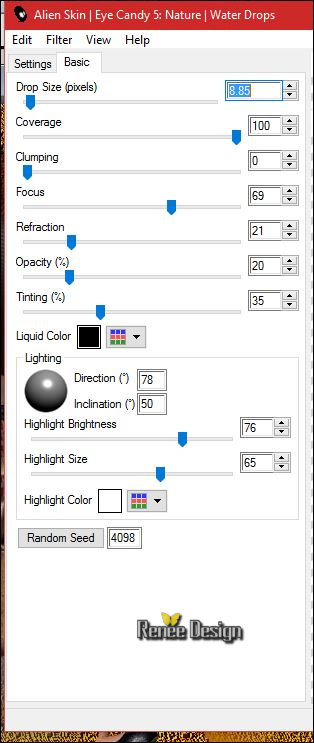
32.
Effects –Plugins – Eyecandy 5 Nature –Water drops use settings below /
Color: #232323
33. Effects
–Edge Effects –Enhance
34. Effects
– 3 D Effects – Buttonize

Selections- Deselect All
35.
Layers- Duplicate
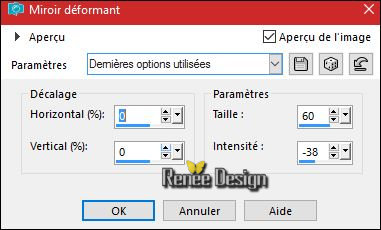
36. Effects- Distortion Effects- Warp with these settings
- In the Layer-Palette: Double click on this Layer and set the Blend Mode to "Multiply"
37. Effects
–Plugins- Unlimited2.0 – Toadies – Motion Trail using the default settings 135/134/146
- Repeat this filter with the same settings
- Activate the layer underneath (=Raster 7)- Double click on this Layer and set the Blend Mode to " Overlay"
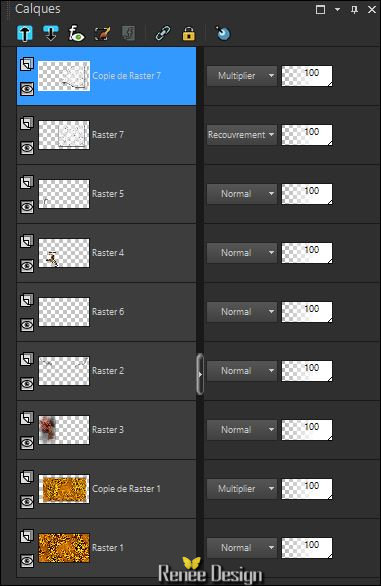
- Activate the top of the layer palette
Layer palette look like this now
38. Open the tube ‘’ Renee_tube-Fleshcrafter.pspimage’’
- Image
Resize 85 %
- Edit/ Copy-Back to your work-Edit - Paste as new layer on your working image
39. Effects- Image Effects-Offset with these settings:
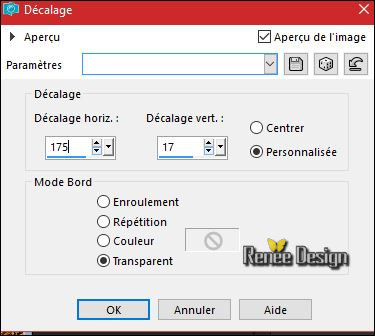
-
Set the layer Opacity of this layer to 81%
40. Layers- New Raster Layer
- Color Palette- Set your foreground color to color #852600
41. Activate Brush Image ‘’ gothique
–eclat’’ in your psp
-( File- Export -Custom Brush - Give it a name )
Activate Brush Tool and select my file in the list: ‘’ gothique –eclat’’ use settings below

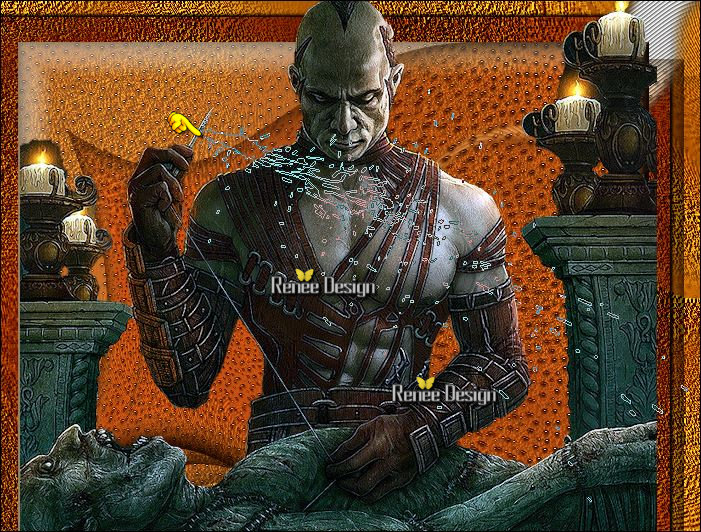
Stamp your brush at the right place by using your foreground color #852600 -As shown in the example below
- In the Layer-Palette: Double click on this Layer and set the Blend Mode to "Hard Light "
42. Layers- Duplicate
- Layers- Merge- Merge Down
43. Layers- New Raster Layer
- Color Palette- Set your foreground color to color #ffffff
44. Activate Brush Tool and select my file in the list: «gothique_main » use settings below

- Stamp your brush at the right place by using your foreground color#ffffff
45. In the Layer-Palette: Double click on this Layer and set the Blend Mode to "Exclusion" -Set the layer Opacity of this layer to 67%
Activate Pick Tool (K) and place order to obtain this effect as shown in the example below

-
Hit the M key of your Keyboard to remove the Nodes
46. Layers- New Raster Layer
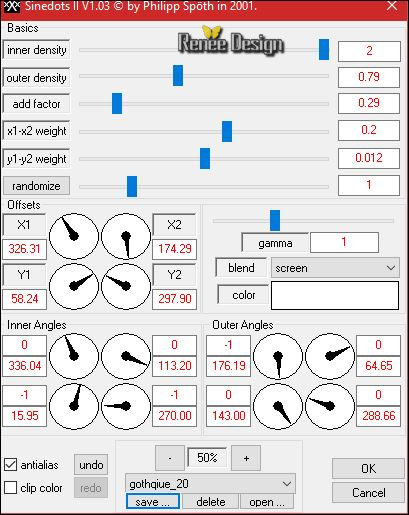
47. Effects
–Plugins – Dragon Fly – Sinedots II use settings below
- Do not move !!
ATTENTION !!!Do you have problems with this?-image ‘’effect-Sinedot image ’ is included in the zipfile and paste as a new layer on your working area and Move !!!)
- In the Layer-Palette: Double click on this Layer and set the Blend Mode to "Soft Light"
48. Effects- Edge Effects- Enhance
- Layer- Palette- Make Raster 2 active
49. Layers- Duplicate
50. Layers- Arrange- Bring to Top
51. In the Layer-Palette: Double click on this Layer and set the Blend Mode to "Hard Light" -Set the layer Opacity of this layer to 59%
52. Effects- Image Effects- Offset with these settings: H = 0 and V = 32
53. Image - Add borders-Symmetric checked: 1 pixel #232323
54. Image - Add borders-Symmetric checked: 30 pixels #fdaa49
55. Image - Add borders-Symmetric checked: 1 pixel #232323
56. Activate the Magic Wand and select the Border of 30
pixels
57.
Effects –Plugins -Unlimited – Factory Gallery N – Yage using the default settings
58.
Adjust- Blur- Gaussian Blur: Radius 35
-
Selections- Deselect All
59. Image - Add borders-Symmetric checked: 40 pixels #852600
60.
Activate the Magic Wand and select the Border of 40 pixels
61.
Selections- Promote Selection to Layer
54.
Effects –Plugins- Unlimited2.0 – Scribe- 4way mirror 128/128
62.
Effects –Plugins- Unlimited2.0 - °v° Kiwi`s Oelfilter -
Setzboard 118
63.
Selections- Invert
- Activate the layer underneath (=Background Layer )
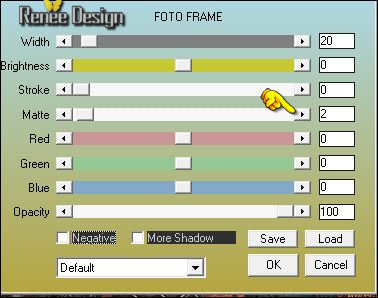
64. Effects
–Plugins– AAA Frame – Foto frame use settings below
65.
Selections - Invert
- Activate the top of the layer palette
(Promoted selection Layer )
66.
Effects –Plugins-Unlimited – FunHouse- Moire Mirror... 59
Selections- Deselect All
67. Open the tube "titre" -Edit -Copy- Back to work-Edit Paste as a new layer and move
68. Image - Add borders-Symmetric checked: 1 pixel #852600
69. Image
Resize to 999 Pixels Width
Save as JPG
I hope you enjoyed this lesson
Renée
This lesson was written by Renée 02/08/2016
Edited and Update
*2016
Any resemblance with an existing lesson is a coincidence
* Do not forget to thank the people who work with us and for us I have appointed the tubeurs and translators
Thanks Renée *
*
| 


 Translations


 When you see this logo the filter is imported in Unlimited

 All rights reserved
