|
-
Preparation - Color Palette: Set your foreground color to #961f0e
-Set your background color to #ffffff
1.
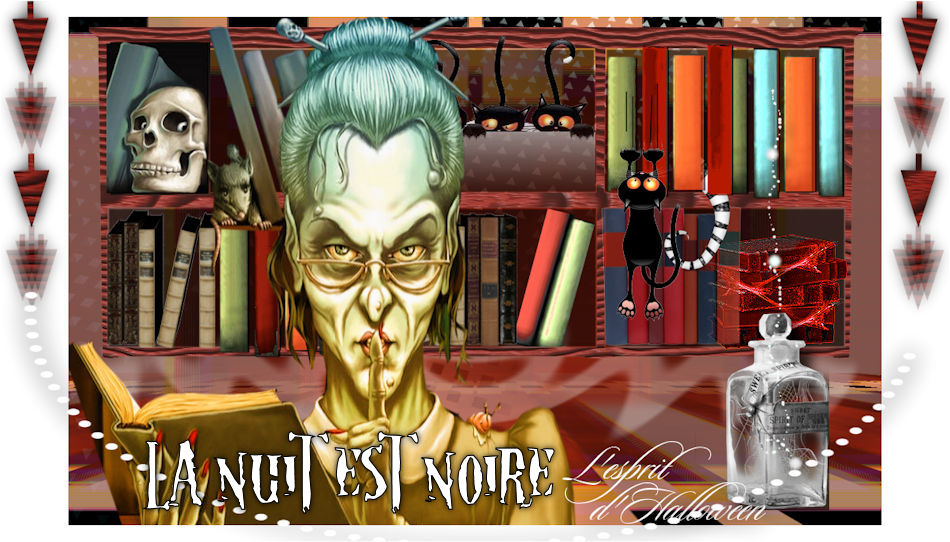
Open your image ‘’ Halloween_La nuit est noire’’/
Window - Duplicate (or shift+D) - Close the original and proceed on the copy -Promote Background Layer = Raster 1
2.
Effects –Plugins – FM Tiles Tools – Blend Emboss using the default settings
3.
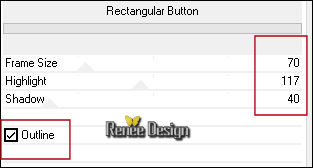
Effects –Plugins -ICNETFILTERS - Buttons & Frames- Rectangular
Button
4.
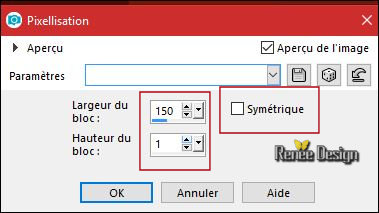
Effects – Distortion Effects –
Pixelate
5.
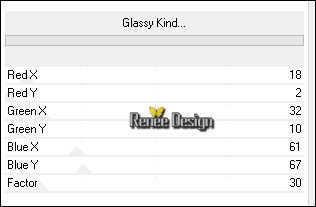
Effects - Plugins -Unlimited - Andrew's Filters 9- Glassy
Kind...
6. Layers- Duplicate
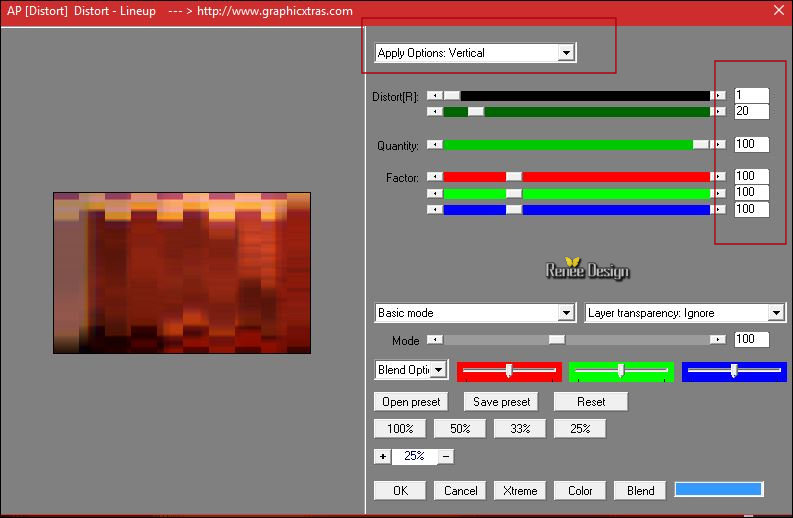
7. Effects –Plugins – Filter AP [Distort] Distort Lineup
(other version AP 09 )
8. Effects –
Plugins – Mirror rave – Quadrant Flip using the default settings
- Activate in the layer palette Raster 1
9. Layers- Arrange- Bring to Top
10.
Adjust-Blur- Gaussian Blur: Radius : 45
- Repeat :Adjust-Blur -Gaussian Blur with the same settings
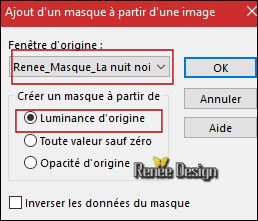
11. Layers- New Mask layer from Image and select Mask‘’Renee_masque_La nuit noire’’
- Layers- Duplicate
- Layers- Merge- Merge Group
12.
Layers-Properties-Set the Blend Mode to " Screen'
13. Adjust- Color-Fade Correction-Amount of correction 24
- Activate the layer underneath ( Copy of Raster 1)
14. Layers- Duplicate
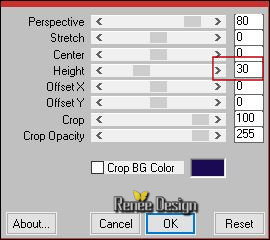
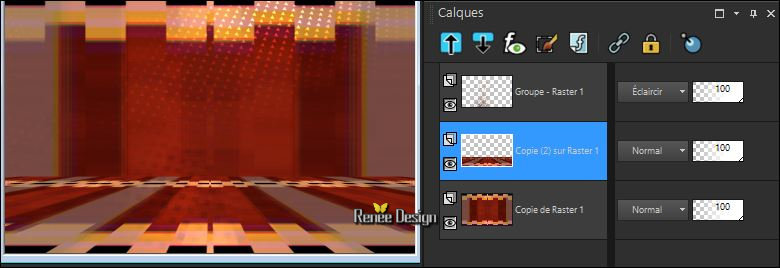
15. Effects
–Plugins – Mura’s meister – Perspective Tilling use the settings below -Color black
Your work and Layer Palette look like this now-You should have this result
16.
Selections –load/save selection –load selection from disc and select my selection: ‘’ Halloween_La nuit_
est_ noire_1’’
DELETE 3 times
17. Layers- New Raster Layer
18. Activate Flood Fill Tool and fill the selection with the background color #ffffff
Selections- Deselect All
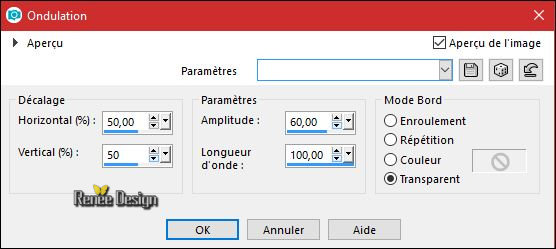
19. Effects- Distortion Effects- Ripple with these settings
20.
Layers-Properties-Set the Blend Mode to " Screen'
- To replace the top of the layer- palette
21.Open your tube ‘’ Renee_la_nuit_noires-Tubes_DECOS’’( Do not close)
- Open the tube ‘’bibliotheque’’
- Edit - Copy- Activate your work -Edit - Paste as a new layer.
- Activate Move Tool (M) move it a little at the top of your image
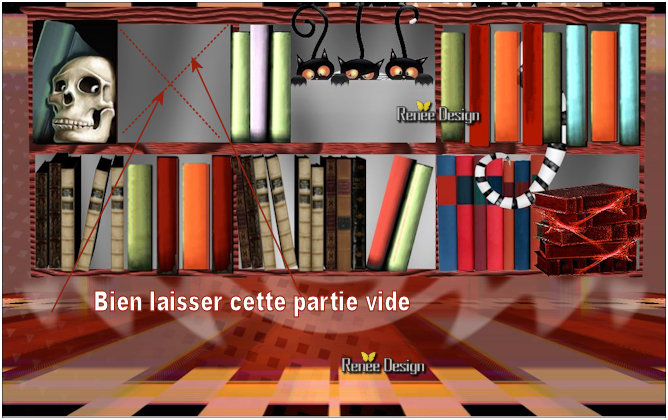
22. Use the tube to decorate the library according to your wishes.
-
In the supplies are the following:
-Several Books
-3 Tails ( Choose any or all that is of interest to you.)
- 3 Cats
- Skull
Place it in the library to beautify them
23.If you want to change the color of "books" or other things
- Flood fill Tool (F) >> Activate Color Changer Tool
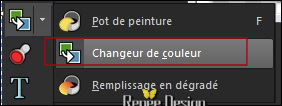
- Put the selected replacement color in the foreground of the color palette
 and apply to each part you wish to modify and apply to each part you wish to modify
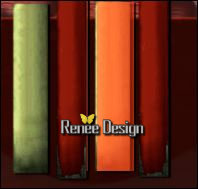
- When you have everything set to your liking you must have this if you place them like me
(attention to the empty part shown on capture below '' important '' for the choice of the tube used in this work )
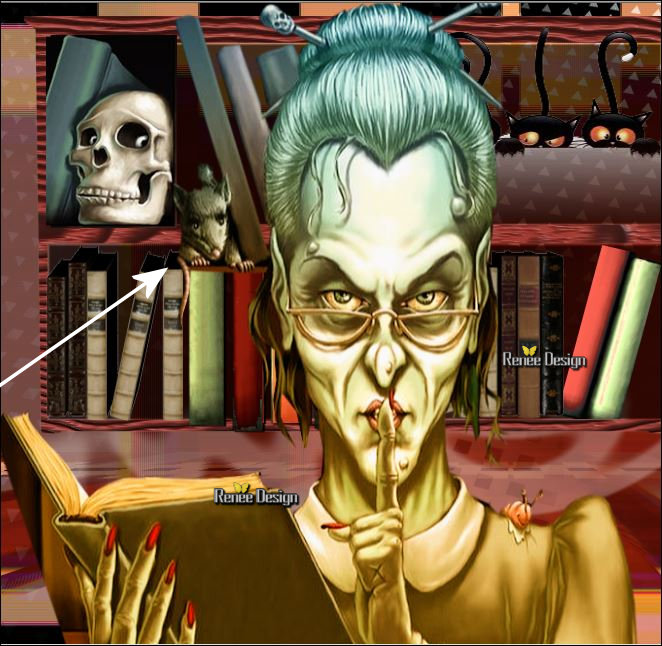
24. Open your tube ‘’ Renee_tubes_Halloween_2017.pspimage’’
- Activate the layer ‘’pour le tuto_nuit_noire’ of the tube
- Edit - Copy- Activate your work -Edit - Paste as a new layer.
- Move as shown in the example below
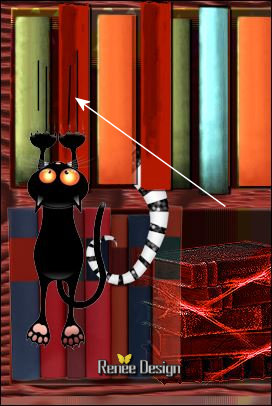
25. Open your tube ‘’ Renee_la nuit_noire_chat.png’’
- Edit - Copy- Activate your work -Edit - Paste as a new layer.
- Move as shown in the example below
26. Activate Pen Tool - with these settings

Set your foreground color to black - Draw a line as shown in the example below(Layers- Convert to raster layer )
27. Open your tube’’ Renee_la nuit_noire_Flacon.png’’
- Edit - Copy- Activate your work -Edit - Paste as a new layer.
- Move Tool (M) move the tube on the bottom right corner
28. Layers- Merge- Merge Visible
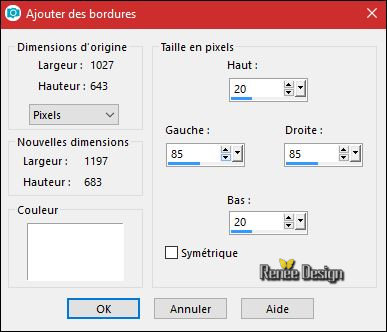
29.Image - Add borders:
Symmetrical NOT checked #ffffff
30. Open your tube ‘’ Renee_la nuit_noire_Fleches.png’’
- Edit - Copy- Activate your work -Edit - Paste as a new layer.
31. Objects-Align-Top
32. Open the tube ‘’
Renee_la_nuit_noire-Tube_deco_finale.png’’
- Edit - Copy- Activate your work -Edit - Paste as a new layer.
33. Open the "text ‘’Halloween.png’’
-Edit - Copy- Activate your work -Edit - Paste as a new layer and move
34. Image - Add borders-Symmetric checked 1 pixels #ffffff
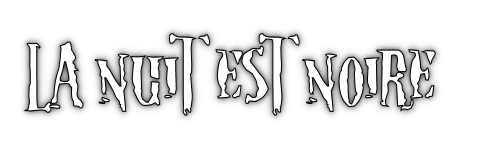
35. Activate Text Tool -Font of your choice ''write "La nuit
est noire" -"The night is black" Color and shadow according to your choice
36. Image
Resize to 950 Pixels width
*******************************************************************************************
If you want to add the animation ... then continue

-
Open your work in the animation shop. Duplicate twice
-
Edit - Select all
-
Open the animation ''Renee-animation-Halloween .gif '' in your Animation shop
- Animation-Resize the animation to 250 x
395 pixels
-
Edit - Select all– Editer Copy
-
Activate your work
- Paste into selected frame
- The animation is now hanging on your mouse. Place it in the top right corner
-
This tutorial is done - save it as gif
I hope you enjoyed this lesson
Renée
This lesson was written by Renée 12/09/2017
Edited and Update
2017
*
Any resemblance with an existing lesson is a coincidence
* Do not forget to thank the people who work with us and for us I have appointed the tubeurs and translators
Thanks
Renée
| 

 Translations


 If a plugin supplied appears with this icon it must necessarily be imported into Unlimited *