|
Let's begin
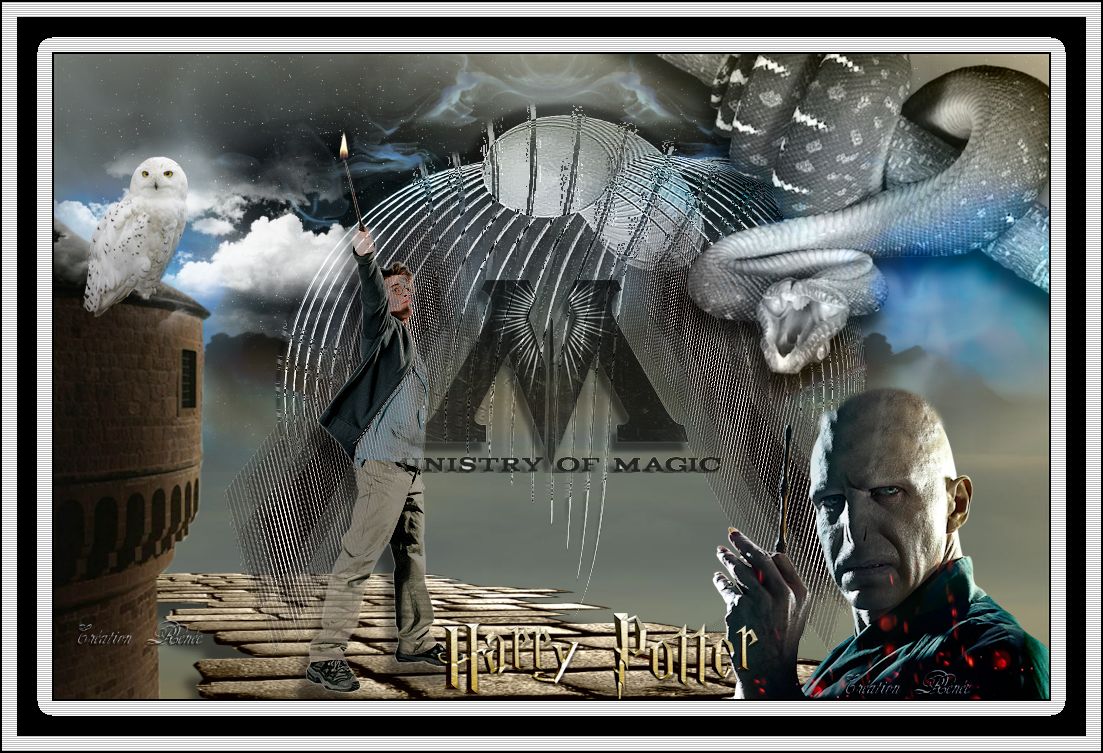
Harry Potter -the Ministry of Magic
1. Open ''fond_harry
Potter'' on va travailler dessus
2. Open the tube
''CFS_Pavement '' /Edit/ copy- Edit/ paste as new layer
3. Effects- Image Effects-Offset:
H= 0 et V= -260 / transparent
4 Layer - New raster layer. / Flood Fill Tool: Fill the layer with this color:
#cccccc
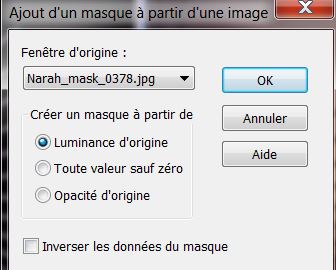
5. Layers-New Mask layer from Image choose:''Narah_mask_0378''
6. Layers-Merge -Merge Group
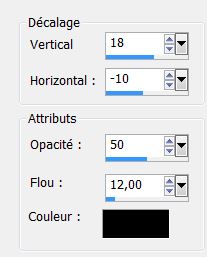
7. Effects - 3D Effects-Drop Shadow:
8. Effects - Image Effects-Enhance More
9. Effects - Flaming
Pear - Flexify2

10. Blend Mode on this layer "Luminance" and the Opacity 100%
11. Image mirror
12. Layer - New raster layer.
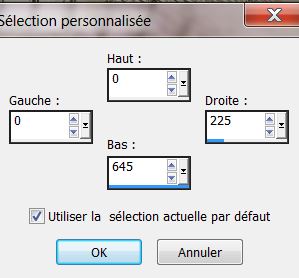
13. Selections-Custom selections with these settings:
14. Flood Fill Tool: Fill the selection with this color:
#57504d
15. Effects – Plugins VM Experimental –
TeeWee to 0/0
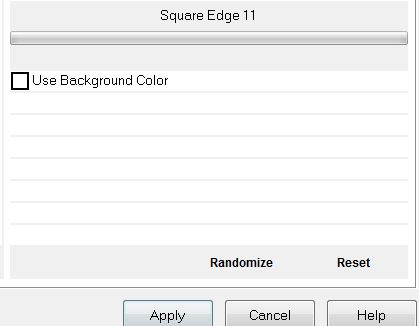
16. Effects–Plugins Unlimited 2.0 - Edge
Square – Square Edge 11
17. Selections -Select none
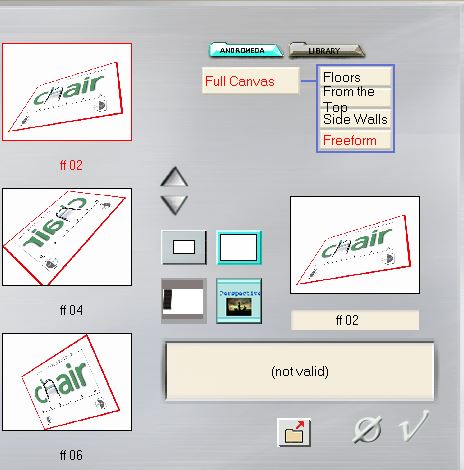
18. Effects-Plugins Andromeda -
Perspective– Freeform- ff02
19. Effects-Plugins Toadies - What
are you 11/11
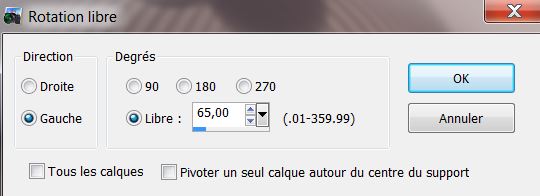
20. Image - Free Rotate 65 left
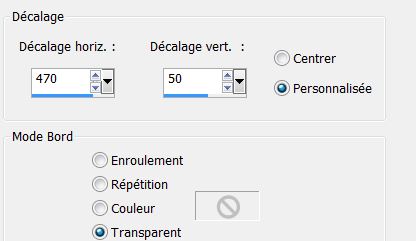
21. Effects- Image Effects-Offset
22. Layers-Duplicate - image
mirror
23. Layers-Merge -Merge down / Image Effects-Enhance More
24. Open the tube
''steampunk7_logane'' aktivate tube 1/Image-Resize 110% Edit/ copy- Edit/ paste as new layer and place
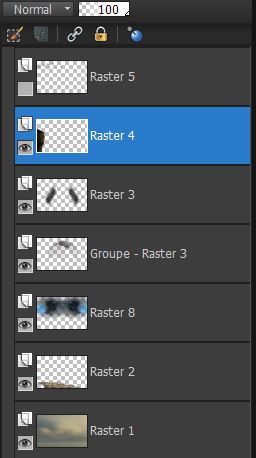
25. Aktivate your layer: Raster 2
26. Open the tube
''ciel_stellato'' Edit/ copy- Edit/ paste as new layer and place move upwards
-Your Layer Palette looks like this now
27. Aktivate the top of the Layers palette
28. Open the tube ''nuage'' Edit/copy-Edit/paste as a new Layer / and place left to the tower
29. Open the tube
''ministere_magie'' Edit/copy-Edit/paste as a new Layer /(do not move, it is the right place)
30.
Blend Mode of this layer "Hard Light" and the opacity down to 69%
31. Open the tube de'' @
ann_031005_sbowOwlWhite_TD'' .Eraser Tool: erase the brown part .
Image Resize 35%.
Edit/copy-Edit/paste as a new Layer .Place on the tower
32. Open the tube
''harry_potter ''Edit/copy-Edit/paste as a new Layer ad place
33. Open the tube
''ap_Shlange5'' '' with your pick tool: move to the upper right corner
Blend Mode of this layer "
luminance"
34. Open the tube
''voldemort '' Edit/copy-Edit/paste as a new Layer ad place
35. Open the tube ''flamme'' Edit/copy-Edit/paste as a new Layer with your pick tool move to the stick of Harry
36. Layers-Merge-Merge all ( Flatten)
37. Image - add borders symmetric
2 pixels black
38. Image - add borders symmetric
50 pixels white
39. Image - add borders symmetric
2 pixels black
40. With the magic wand: select the white border 50
pixels
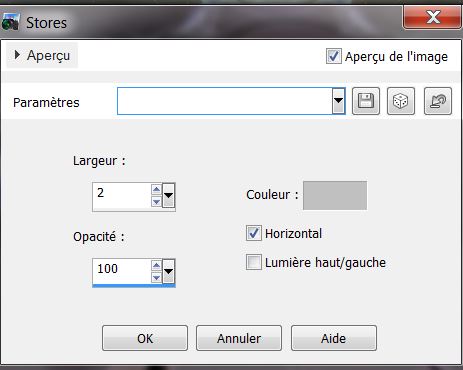
41. Effects - Textureffects-Blinds
- color: #c0c0c0
42. Selections-Modify-Contract:15
pixels
43.Layers-New raster layer - Flood Fill Tool: Fill the layer with this color: black
44. Selections-Select none
That's it !! You've done it !
Renée
This lesson was written by Renée
Created
the 4/04/2013
*
Any resemblance with an existing lesson is merely a coincidence
Don't forget to thank the people who work for us and with us. I named the tubeurs - Testers and the translators.
Thanks Renée
*

| 


 Transalations