|
Let's start the lesson.
-
Preparation
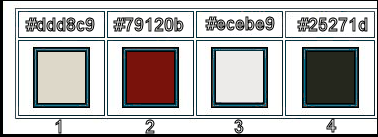
- Material Properties: Set your foreground color to color #ddd8c9 = 1 – Set your background color to color #79120b= 2

-
Set your Foregroundcolor to foreground-background linear gradient configured like this
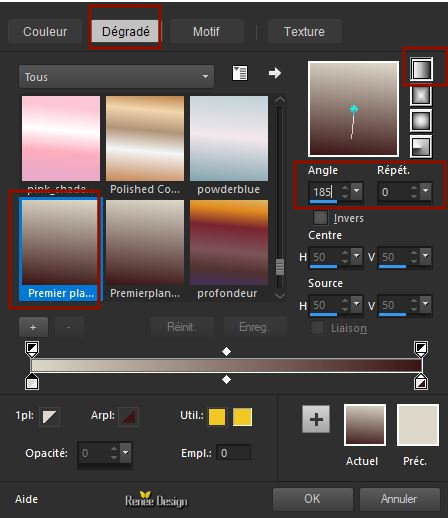
1.
File: Open a new transparent layer 1015 x 585 pixels .
2.
Activate Flood Fill Tool
 –
Flood Fill the layer with the gradient –
Flood Fill the layer with the gradient
3.
Effects –Plugins- Unlimited 2.0 - &<BKg Designer sf10 II> - Line Side Line
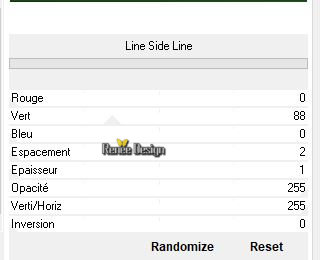
4.
Layers- New Raster Layer
5.
Activate Flood Fill Tool
 - Flood Fill the layer with the gradient
6.
Effects -Plugins- Unlimited 2.0 - &<BKg Designer sf10 II> - PIX
Sector Mosaic : 25/25
7.
Effects-Edge Effects- Enhance More
9.
Effects –Plugins- Unlimited 2.0 – VM Experimental -
Oscilloscope... with these settings: 53/255/64/174
10.
Activate your Magic Wand with these settings

-
Select the two black parts
DELETE

Keep Selected
11.
Effects – 3 D-Effects – Drop Shadow with these settings: 2/2/64/12 black
12.
Activate the tube ‘’ Renee_TUBES_Good_time’’
Edit - Copy- Activate your work -Edit - Paste as a new layer.
–Place in the middle and slightly up
13.
Layers- New Raster Layer
Selections- Invert
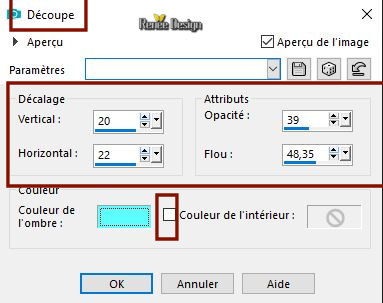
14.
Effects – 3 D- Effects – Cutout use the settings below / Color #5bffff
Selections- Deselect All
15.
Layers- Duplicate
16.
Image - Mirror - Mirror Horizontal (Image - Mirror in older versions of PSP)
17.
Layers- Merge- Merge Down
18.
Layers- Duplicate
19.
Effects – Distortion-Warp use the settings below
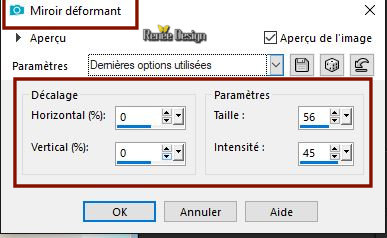
20.
Layers-Properties-Set the Blend Mode to " Color"(Legacy)
21.
Layers- New Raster Layer
22.
Set your background color to color #25271d=4-Activate Flood Fill Tool
 - Flood Fill the layer with the background color ( 4)
23.
Layers- New Mask Layer-From Image and select Mask
''Monaiekje mask 32''
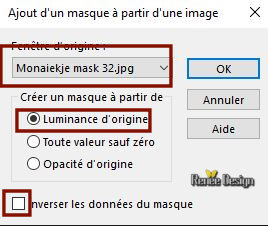
-
Layers- Merge- Merge Group
24.
Effects – Plugins – Andromeda perspective use the settings below
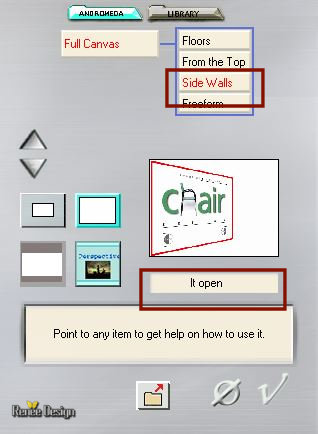
-
Repeat /Plugins -Andromeda with the same settings
25.
Effects – 3 D-Effects – Drop Shadow with these settings:
2/2/64/1 black
26.
Effects –Plugins- Unlimited 2.0 – ColorRave -Color Cocktail 2.1
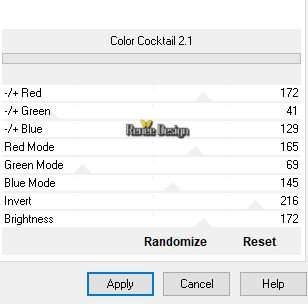
27.
Effects –Plugins- Unlimited 2.0 - Color Effects - Saturation to
Brightness with these settings : 123/152/255
28.
Layers-Properties-Set the Blend Mode to " Hard Light "-Reduce the opacity of this layer to 85%
29.
Effects – 3 D-Effects – Drop Shadow with these settings: 1/1/64/1 black
-
Material Properties: Set your foreground color to color #79120b = 2 – Set your background color to color #ecebe9 =3
-Set your Foregroundcolor to foreground-background radial gradient configured like this
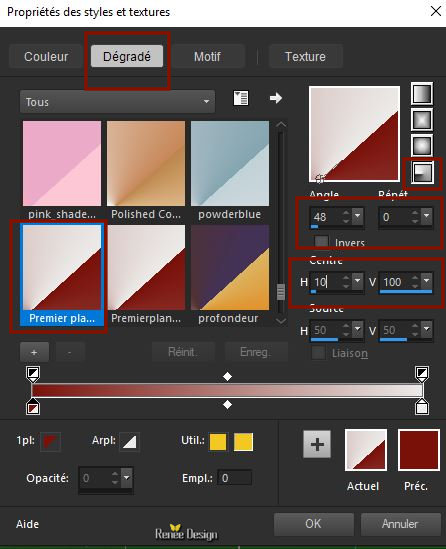
30.
Layers- New Raster Layer
31.
Flood Fill Tool  - Opacity 50%
– Flood Fill the layer with the Gradient (Flood fill tool back to 100%)
32.
Effects- Distortion Effects-Pinch use the settings below -Strength % 100
33.
Effects –Plugins- Unlimited 2.0 – Toadies – Weaver : 79/47/222
34.
Layers- Duplicate
35.
Effects –Plugins- Unlimited / ICNETFILTERS _Tile & Mirror -
Mirror ( horizontal )
36. Layers- Merge- Merge Down
37.Activate Selection Tool -Custom Selection (S) -Rectangle with these settings

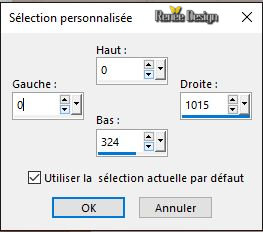
38.
Selections- Promote selection to Layer
39.
Effects –Geometric Effects – Circle– Transparent
40.
Effects-3D- Effects - Chisel use the settings below
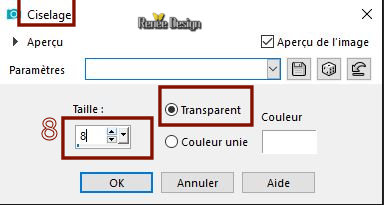
Selections- Deselect All
41.
Layers-Properties-Set the Blend Mode to " Overlay"
-Layerpalette: Activate the layer underneath= Raster 5
42.
Layers-Arrange- Move 4 times down above Raster 2( as shown in the example below )
43.
Layers-Properties-Set the Blend Mode to " Hard Light "
-
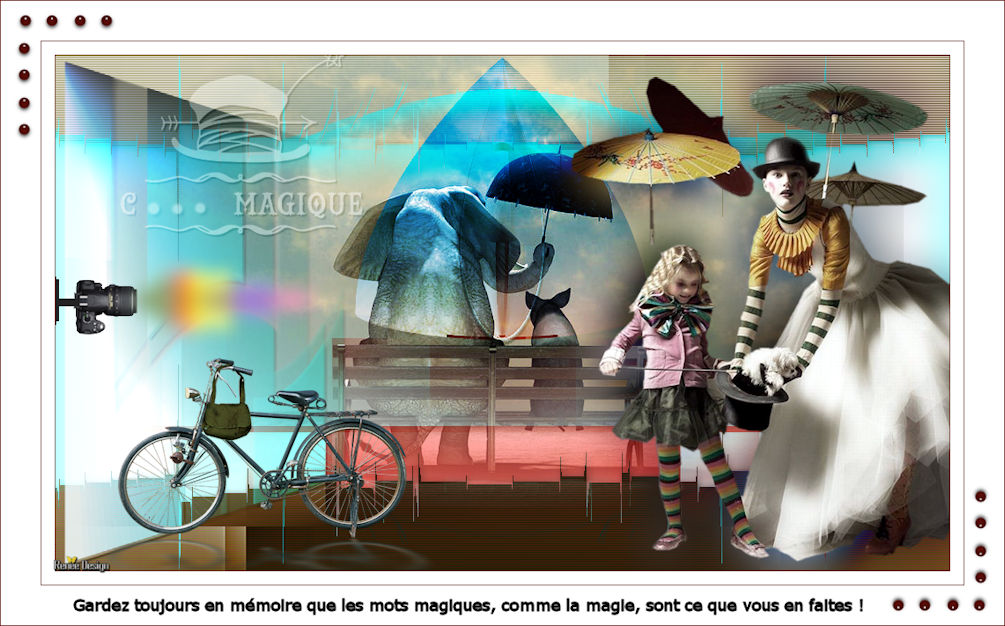
Your work and Layer Palette look like this now-You should have this result
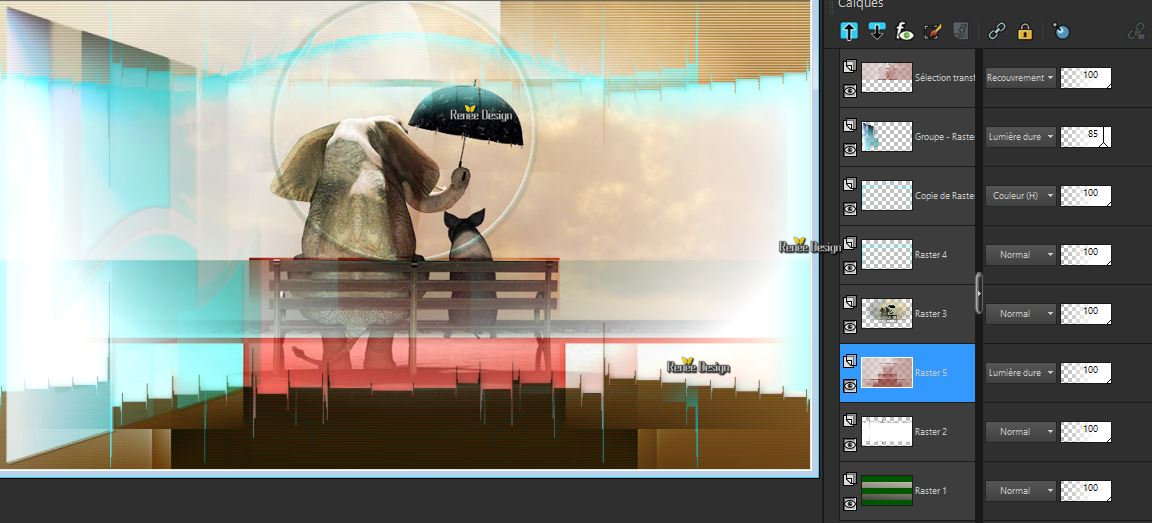
-To replace the top of the layer-palette ( Promoted Selection)
44.
Effects –Geometric Effects – Circle– Transparent
-
Repeat: Effects –Geometric Effects – Circle– Transparent
45.
Effects –Plugins- Unlimited 2.0 - ICNET - Color Filters - Blue
Sky: 176/128
46.
Layers- Duplicate
47.
Activate the tube ‘’ Renee_TUBES_Cirque 3.pspimage’’
48.
Image-Resize to 80 %
-
Edit - Copy- Activate your work -Edit - Paste as a new layer.
Activate your Move Tool (M) move to the right side (see finished image)
49.
Layers- Duplicate- Layers- Arrange Move Down
50.
Adjust-Blur- Gaussian Blur: Radius 15
51.
Layers-Properties-Set the Blend Mode to "Difference"
- To replace the top of the layer-palette
52.
Activate the tube ‘’ Renee_TUBES_velo ‘’
53.
Image -Resize to 60%
- Edit - Copy- Activate your work -Edit - Paste as a new layer.
-
Activate your Move Tool (M) move to the bottom left side (see finished image)
54.
Effects - Plugins - Eyecandy 5 Impact -
Perspective shadow – Preset /reflect in front
55.
Activate the tube ‘’ Magique_texte’’Edit - Copy- Activate your work -Edit - Paste as a new layer.
Activate your Move Tool (M) move to the top left side (see finished image).
56.
Layers-Properties-Set the Blend Mode to " Soft Light "
57
Activate the tube ‘’ Renee_Magique _Photo’’
-
Edit - Copy- Activate your work -Edit - Paste as a new layer.
-
Activate your Move Tool (M) move to the left side (see finished image)
58. Image - Add borders-Symmetric checked #79120b=2
59.
Image - Add borders-Symmetric checked 15 Pixels #ffffff
60.
Image - Add borders-Symmetric checked 1 Pixel #79120b=2
61.
Image - Add borders-Symmetric checked 45 Pixels #ffffff
62.
Image - Add borders-Symmetric checked 1 Pixel #79120b=2
63.
Activate the tube ‘’Magique-Deco ‘’ Edit - Copy- Activate your work -Edit - Paste as a new layer.Do not move
64.
Write your sentence or paste in place my sentence
65.
Layers- Merge- Merge All ( flatten)
66.
Image -Resize to 1005 pixels width
Save as JPG
I hope you enjoyed this lesson
Renée
This lesson was written by Renée
11-01-2019
Edited and Update
2019
*
Any resemblance with an existing lesson is a coincidence
* Do not forget to thank the people who work with us and for us I have appointed the tubeurs and translators
Thanks
*
|

 Translations


