|
Let's begin
1.
File:Open the image ''fond_popART '' Promote Background Layer =raster 1
2. Layers-Duplicate
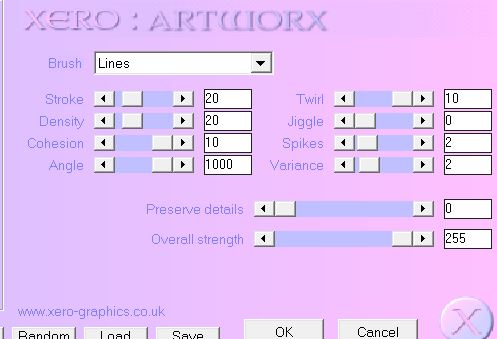
3. Effects- Plugins - Xero -
Artworx
4. Effects – Plugins Unlimited
2.0 Filter Factory Gallery Q/ Gravity Blossom

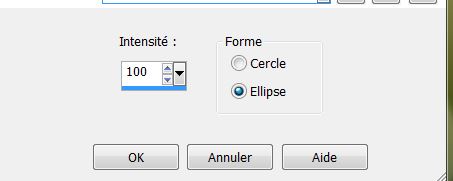
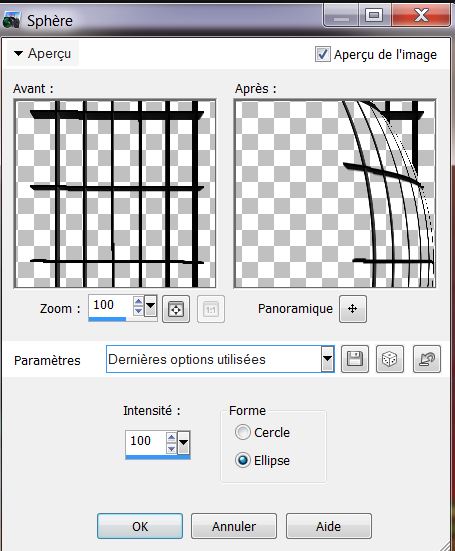
5. Effects -Geometric Effects -Spherize
6. Effects-Plugins Mura's Meister -
Perspective Tilling

7. With the magic wand
select the transparent part of the upper layer
8. Layers- New Raster layer
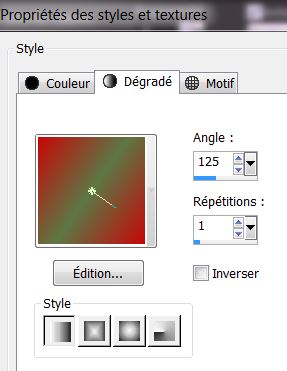
9. Material Properties: Foreground color to color: #c60808 Background color to color:
#5c7745
10. Prepare a Linear Gradient as configured
11. Flood Fill Tool: Fill the selection with the gradient
12. Effects -Plugins L&K 's
/Les Zitah / default
13. Selections-Deselect all
14. Layers- New Raster layer
15.
Selections - Load/save selection - load selection from disk and select:''renee_popART_1''/ Flood Fill Tool: Fill the selection with the gradient
16. Selections-Deselect all
17. Effects -Edge Effects-Enhance More
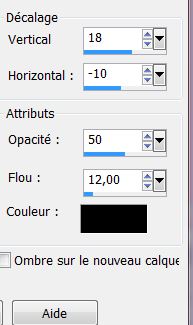
18. Effects 3D Effects-Drop Shadow/black
19. Layers- New Raster layer
20. Flood Fill Tool: Fill the layer with the FG-Color#c60808
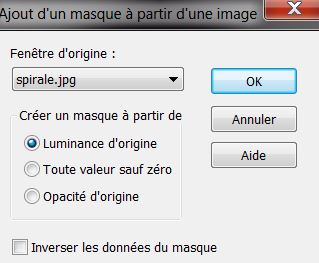
21. Layers- New Mask Layer From Image and choose Mask:
''spirale.jpg''
22. Layers- Merge- Merge Group
23. Effects - 3D Effects-Drop Shadow/black with the same settings
24. Activate
tube ''hdr_27mars2008_061_2_3-garage'' Edit/copy- Edit - paste as a new layer (do not move it is in the right place)
25. Activate the bottom of the layers-Palette(le raster 1)
26. Selections-Custom Selection with these settings
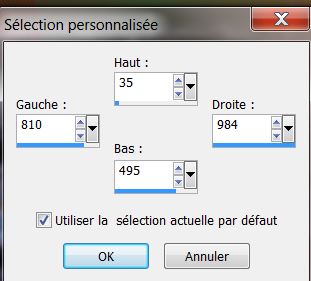
27. Selections- Promote selection to layer
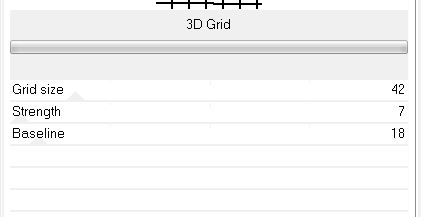
28. Effects- Plugins
Toadies – 3 D Grid
29. Effects - Plugins -
Transparency - Eliminate white
30.Selections-Deselect All
31. Layers- Arrange- Bring to Top
32. Effects-Plugins EyeCandy 5
extrude and choose my preset ''renee_popART_extrude''
33. Effects -Geometric Effects -Spherize
34. Activate tube
''MAGIE486'' Edit/copy- Edit - paste as a new layer and move to the right
35. Effects - 3D Effects–
Cutout

36. Activate tube
''nicole-etrange-oiseau-2013'' Edit/copy- Edit - paste as a new layer and move
37. Activate tube
''nicole-femme-58-2012'' Edit/copy- Edit - paste as a new layer
38. Image/-Resize
60% all layers not checked-(and place)
39. Activate tube''image_popART_image_1''Edit/copy- Edit - paste as a new layer (do not move it is in the right place)
40. Activate tube ''titre
'' Edit/copy- Edit - paste as a new layer and move
41. Image - Add borders symmetric : 2 pixels black
42. Image - Add borders asymmetric / #a42518

43. Activate tube "
titre_2_renee_popart'' Edit/copy- Edit - paste as a new layer and move
44.Image - add borders symmetric : 10 pixels black
45. Image Resize
985 pixels Width
*
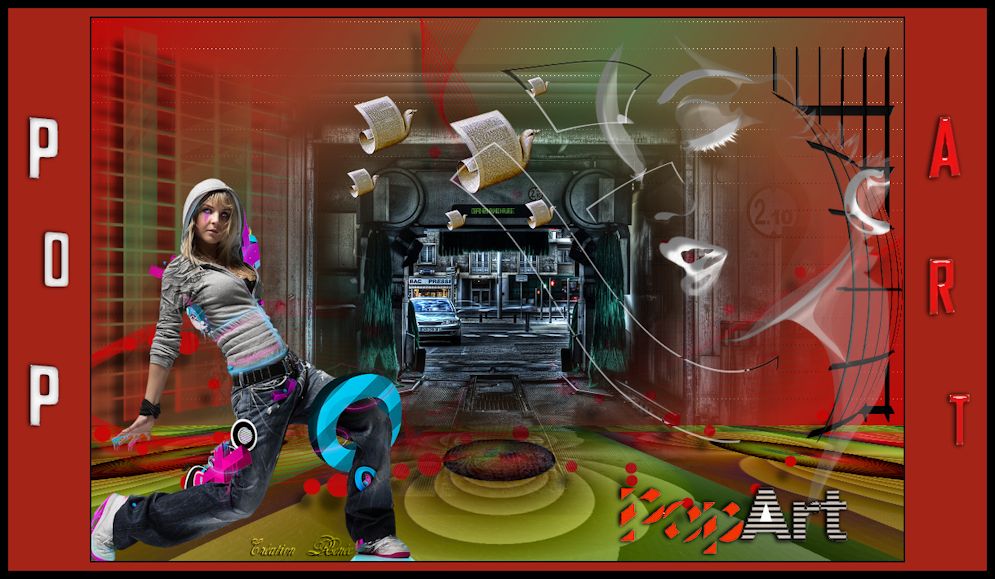
I hope you enjoyed this lesson
Renée
This lesson was written by Renée
Created the
7 april 2013
*
Any resemblance with an existing lesson is merely a coincidence
*
Don't forget to thank the people who work for us and with us. I named the tubeurs - Testers and the translators.
Thanks Renée.
*

| 

 Translations