|
Let's start the lesson.
-
Preparation
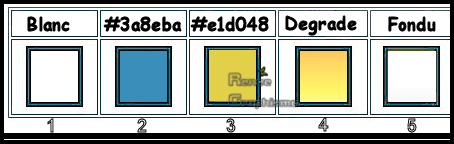
- Material Properties: Set your foreground color to color #fffffff = 1 – Set your background color to color #3a8eba= 2
1. Open the BG-Image ‘’Fond-Rencontre-printemps’’- Promote Background Layer =Raster 1
2. Adjust- Blur-Gaussian Blur-Radius 45%
3. Effects – Plugins - Simple – Blintz
4. Effects – Plugins – Simple –Half Wrap
5. Effects-Plugins- Unlimited 2.0 - Filter Factory Gallery A -
Zoom In with these settings : 104/83/212/224
6. Adjust- Sharpness-Sharpen More
7. Effects-Plugins- Unlimited 2.0 - Filter Factory Gallery A -
Zoom Out with these settings : 82/120/216/211
8. Adjust- Sharpness-Sharpen More
9. Layers- Duplicate
10. Effects –Plugins- Unlimited 2.0 - Filter Factory Gallery B –
Vibes /Vibrations at 2
11. Effects – Plugins – Simple – Blintz
12.Layers-Properties-Change the Blend Mode to " Overlay " and Lower the Opacity to 44%
-
Properties foreground: - Change foreground material into gradient and select :Fading white (Corel_06_028) –Put your foreground on the linear gradient with settings below

13. Layers- New Raster Layer
14. Selections –load/save selection –load selection from disc and select my selection:
‘’Rencontre-printemps -1’’
15. Activate Flood Fill Tool
 –
Fill the selection with the gradient (2 or 3 clicks) –
Fill the selection with the gradient (2 or 3 clicks)
Selections- Deselect All
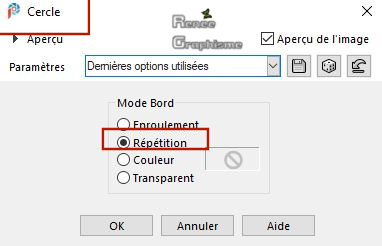
16. Effects – Geometric Effects – Circle use the settinge below
17. Layers- Duplicate
18. Effects – Image Effects – Offset with these settings: H = 0 and V = 33
/Transparent checked
19.Layers-Properties-Change the Blend Mode to " Screen "
20. Layers- Merge - Merge Down
21. Effects –Plugins Unlimited 2. - It@lian Editors Effect -
Effetto Fantasma with these settings : 0/17
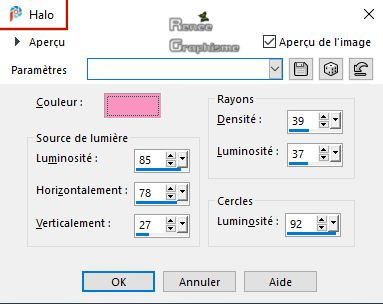
22. Effects – Illumination Effects Sunburst use the settings below -Color #fb93c2
-
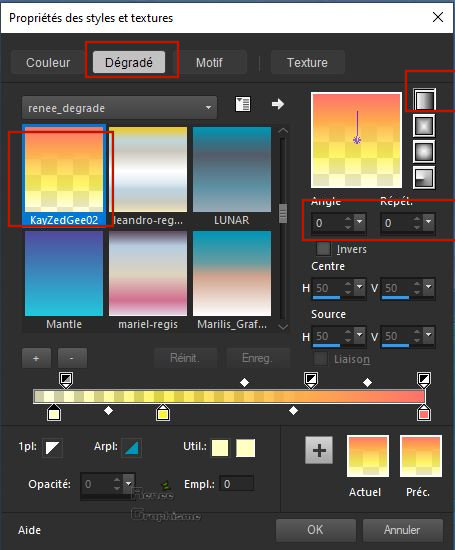
Properties foreground: - Change foreground material into gradient and select :‘’KayZedGee02’’ –Put your foreground on the linear gradient with settings below
23. Layers- New Raster Layer
24. Selections –load/save selection –load selection from disc and select my selection:
‘’Rencontre-printemps -2’’
25. Activate Flood Fill Tool
–
Fill the selection with the gradient
26. Adjust Blur-Gaussian Blur- Radius 5%
27. Effects –Plugins -Unlimited 2.0 – Toadies – Weaver with these settings : 255/ 14
/255
Selections- Deselect All
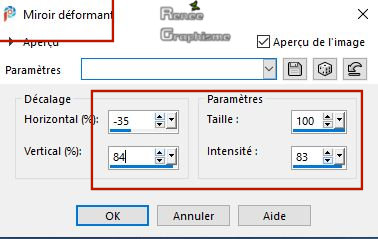
28. Effects – Distortion Effects- Warp use the settings below
29. Layers-Properties-Lower the Opacity to 36%
-
Color Palette: Set your Foreground color to color #ffffff=1
30. Layers-New Raster Layer
31. Selections –load/save selection –load selection from disc and select my selection: ‘’
’Rencontre-printemps -3’’
32. Activate Flood Fill Tool
–
Fill the selection with the FG-Color =1
Selections- Deselect All
33. Open the tube ‘’Rencontre-Printemps-Image 1’’ - Edit - Copy- Activate your work -Edit - Paste as a new layer
34. Objects - Align- Bottom
43. Layers-New Raster Layer
35. Selections –load/save selection –load selection from disc and select my selection: ‘’
’Rencontre-printemps -4’’
36. Activate Flood Fill Tool
–
Fill the selection with the FG-Color = 1 ( 3 clicks)
Selections- Deselect All
37. Adjust- Blur Gaussian Blur-Radius 35%
38. Open the tube ‘’Rencontre-Printemps-Image 2’’- Edit - Copy- Activate your work -Edit - Paste as a new layer
-Activate Move Tool (M) place against the bottom edge of your image
39. Layers-New Raster Layer
40. Selections –load/save selection –load selection from disc and select my selection: ‘’
’Rencontre-printemps -5’’
41. Color Palette: Set your Foreground color to color #e1d048=3
Activate Flood Fill Tool –
Fill the selection with the FG-Color =3 (2 clicks )
Selections- Deselect All
41 a. Open the tube '’Rencontre-Printemps-Image 3’’ (nuages) -Edit - Copy- Activate your work -Edit - Paste as a new layer
Activate Move Tool (M) place back up slightly
42. Open the tube ‘’Rencontre-Printemps-Image 5’’ - Edit - Copy- Activate your work -Edit - Paste as a new layer
-Activate your Move Tool (M) place it in the right place as shown in the example below
43. Layers- Arrange- Move Down above the Copy of Raster 1 (see screen)
-
Your work and Layer Palette look like this now-You should have this result
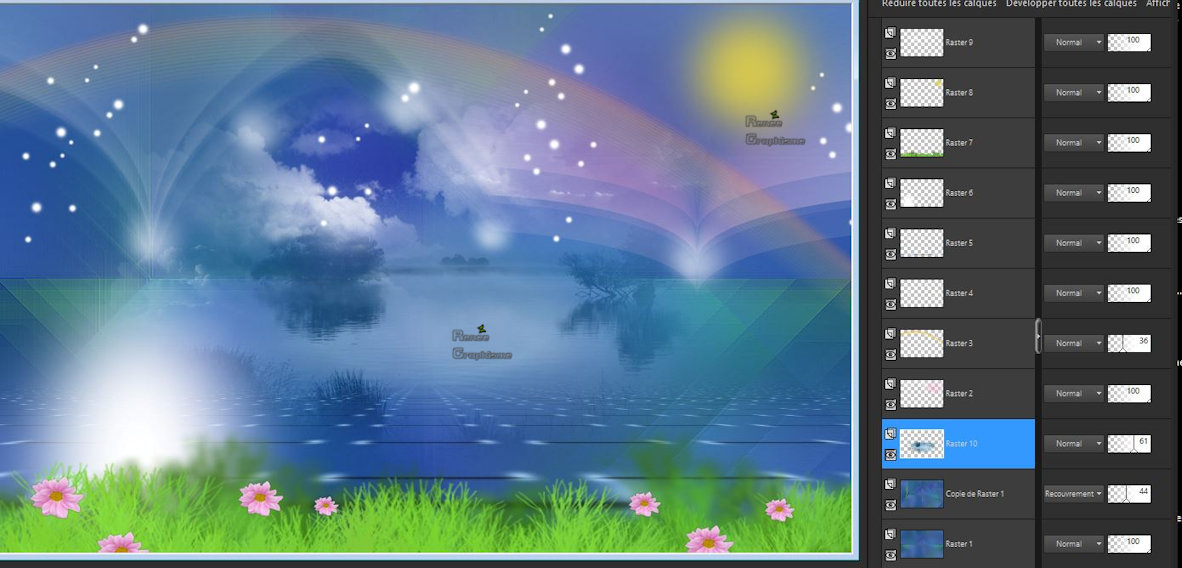
44. Effects –Plugins- Unlimited 2.0- Graphic plus – Colorize
167/145/121/165 -Lower the Opacity of this Layer between 61 and 67%
45. To replace the Top of the Layer-Palette
Open the tube ‘’Rencontre-Printemps-Image 4’’ - Edit - Copy- Activate your work -Edit - Paste as a new layer
46. Pick Tool: (K) on your keyboard -Enter these parameters for the X: 93,00 and Y:73,00 positions on the Toolbar
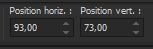 93 / 73
Hit the "M" key of your Keyboard to deselect the Tool
47. Open the tube -‘Renee_TUBES_Mars 6’’ Activate raster 1, 4 and 5 of this tube
Edit - Copy- Activate your work -Edit - Paste as a new layer
-
Activate your Move Tool (M) place it in the right place (see finished image )
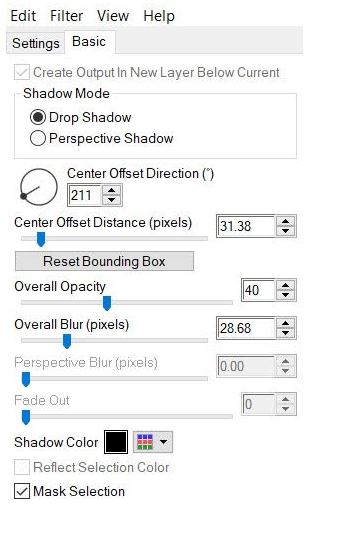
- Drop Shadow according to your taste
- Renée used this shadow-Effects-Plugins-
Eyecandy5-Impact-Perspective Shadow with these settings
48. Open the tube ‘’ Rencontre-PrintempsTitre.png’’ -Edit - Copy- Activate your work -Edit - Paste as a new layer
-
Activate your Move Tool (M) place it in the right place (see finished image )
49. Layers- Merge- Merge All
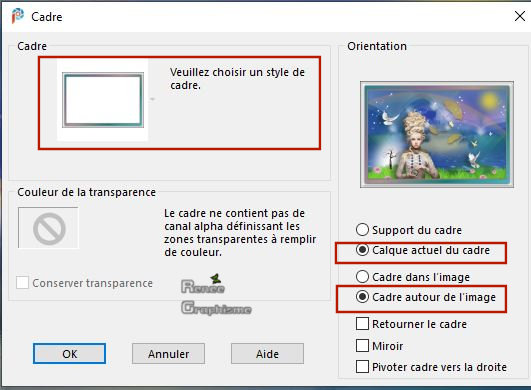
50. Image – Picture Frame and select my file ‘’ cadre-renee-printemps " use the settings below
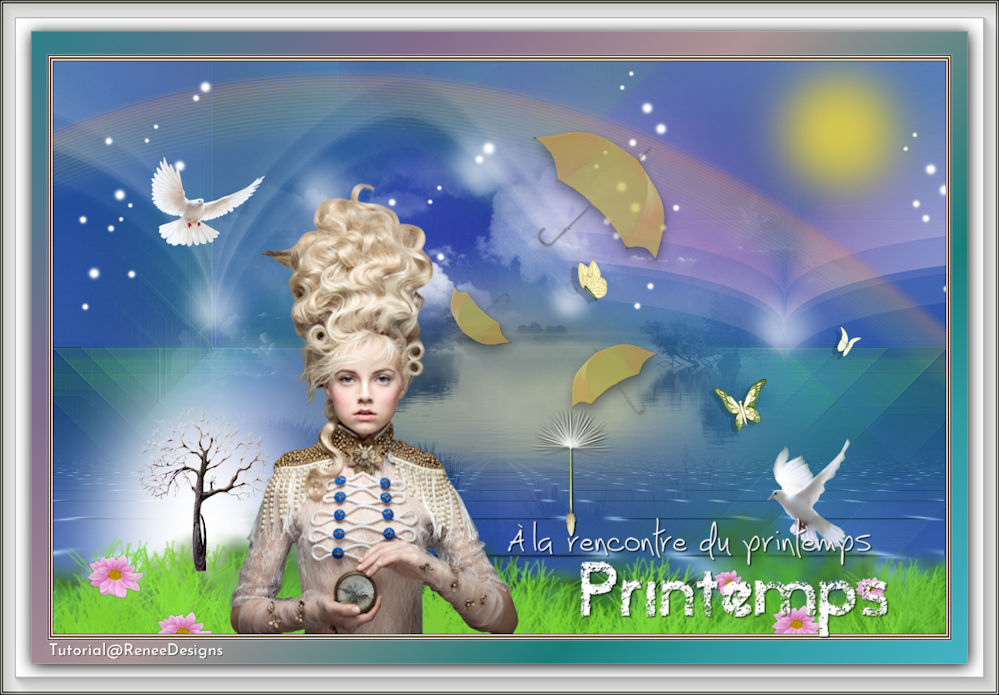
51. Image Resize to 999 Pixels Width.
Save as JPG.
I hope you enjoyed this lesson
Renée
This lesson was written by 30/01/2020
Edited and Update
2020
*
Any resemblance with an existing lesson is merely a coincidence
* Do not forget to thank the people who work with us and for us. I have appointed the tubeurs and translators
Thanks
*
|
 Translations