|
Let,s begin
1.
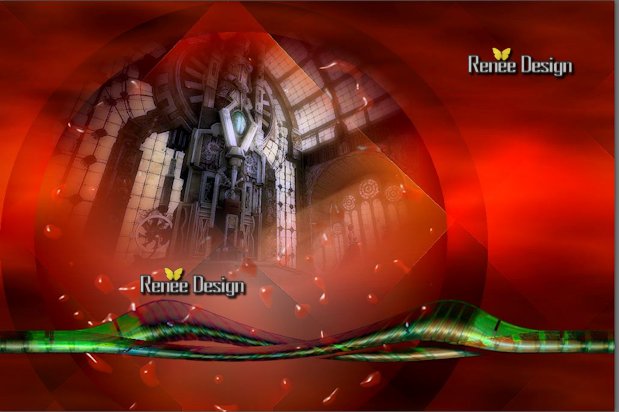
Open this image ''fond_monde_steampunk''/ Promote Background Layer=Raster 1
2.
Layers-Duplicate
3.
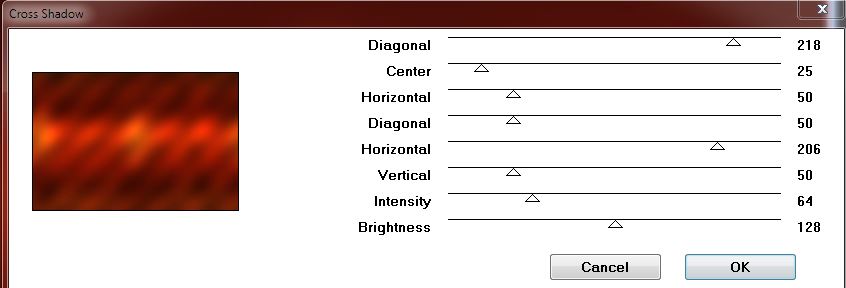
Effects - Plugins Graphic plus - Cross shadow
4.
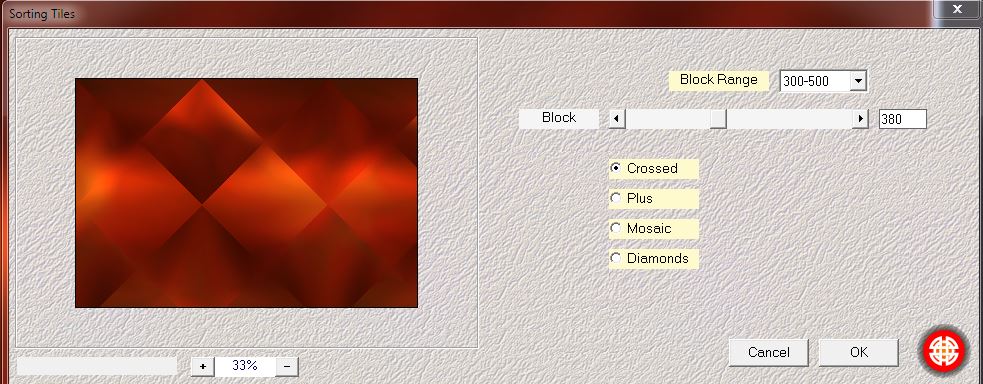
Effects- Plugins Medhi- Sorting Tiles
5.
Effects-Edge Effects -Enhance
6.
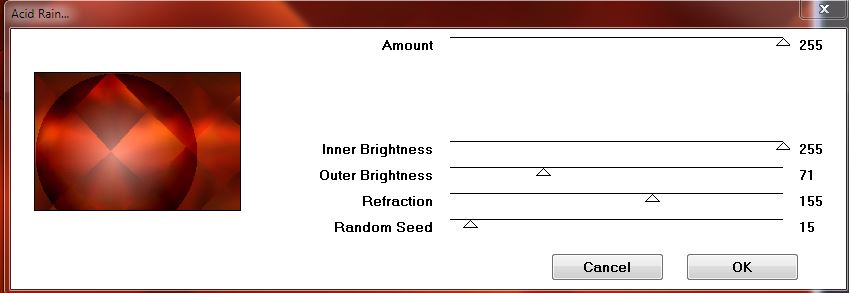
Effects -Plugins VM Natural - Acid Rain
7.Selections - load/save selection - load selection from disk and choose : ''monde_steampunk''
8.
Selections- Promote selection to layer
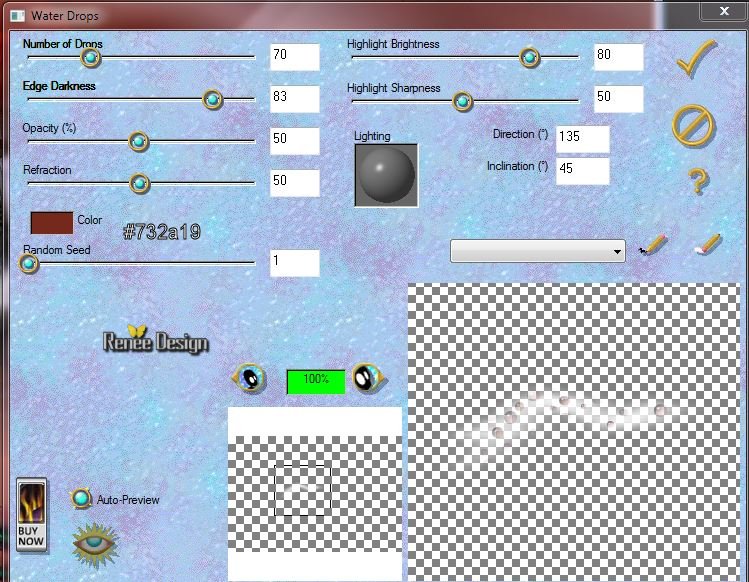
9.
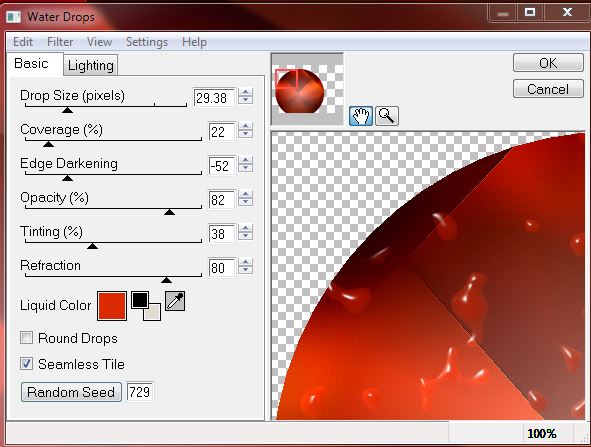
Effects -Plugins EyeCandy 4000/ Water Drops
With these colors
#dc270c /
#000000 / #e0dbd5 /
Materials-Properties: Forgroundcolor to color #651101 Backgroundcolor to color: White
10.
Selections-Invert
11.
Activate the layer underneath (Copie de Raster
1)
12.
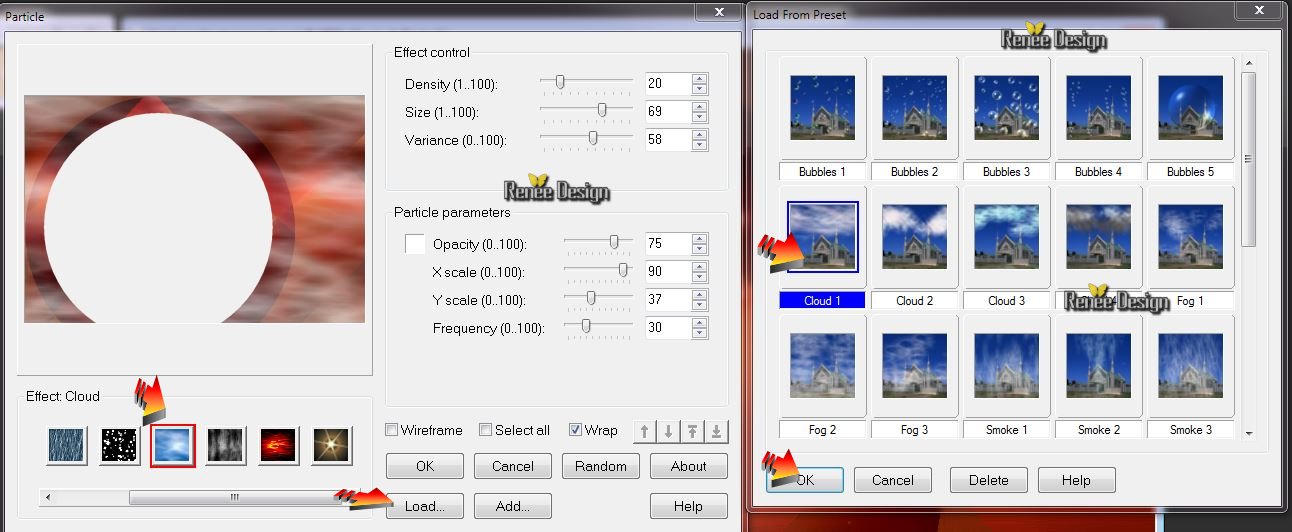
Effects-Plugins Ulead Particle
Example 1
Click on Load
>>>Cloud1>>ok >>>
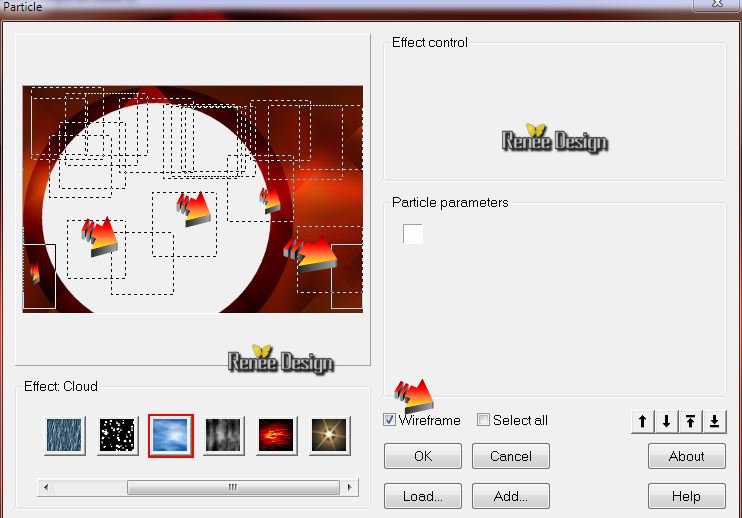
Example2
Check Wireframe/ You see those boxes that you fill with clouds.
you will find the effect is good then click OK
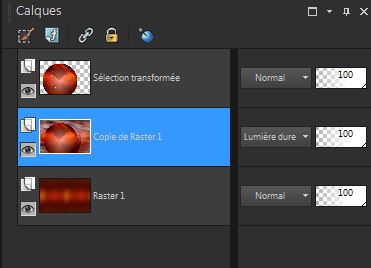
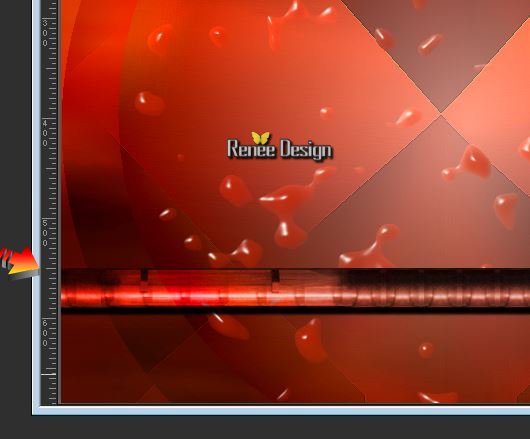
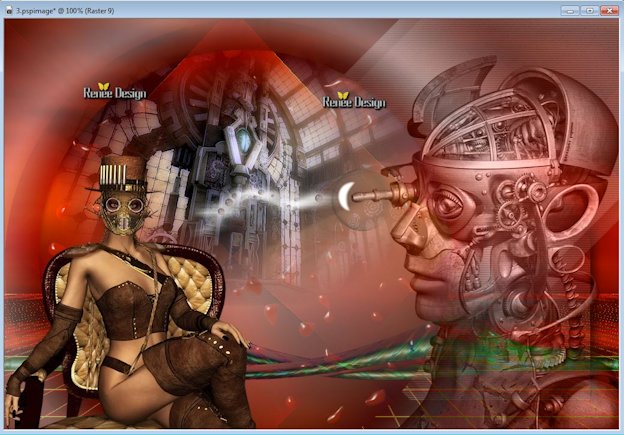
13. Blend Mode "Hard Light "
Your work is like this right now
Keep Selections
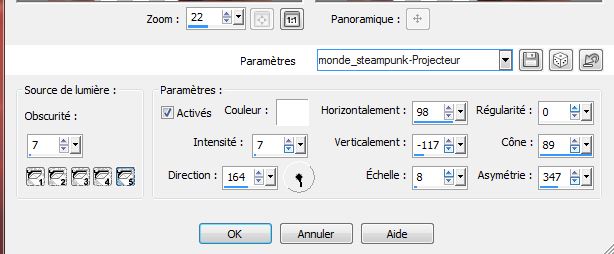
14. Effects
- Illumination Effects-Lights- /Preset
''monde_steampunk-projecteur' (Preset comes into your presets folder of PSP)
Or settings manually here
15.
Selections-Select none
Aktivate the Top of the layers palette
16 .
Open the tube ''mode_steampunk_barre 1'' - Edit/copy-Edit paste as a new layer
17
Use the arrows on your keyboard to slide your image up to 550 pixels high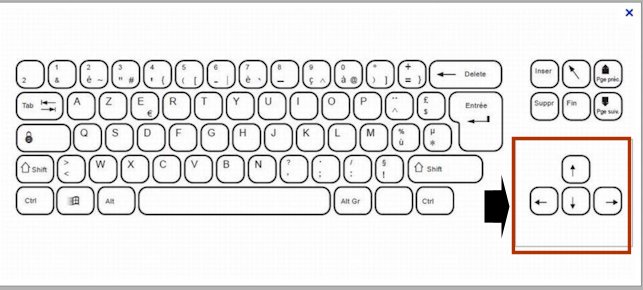
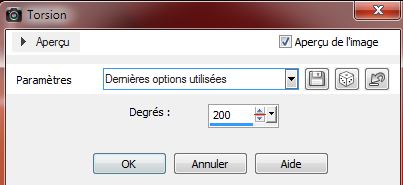
18 . Effects
- Distortion Effects -Twirl
19. Layers-Duplicate/ Image Mirror / Layers-Merge-Merge Down
20. Blend Mode "Difference"
21. Open the tube ''monde_steampunk-photo-edge-of-twilight.pspimage'' /
Image Resize to 60% /Edit/copy-Edit paste as a new layer and place
22.
Effects-Plugins -Xero XL- Bad dream .(default )
Your Layer Palette looks like this now
23.Aktivate the bottom of the layers-palette (Raster 1) - Layers-Duplicate
24. Effects-Plugins
Vanderlee UnPlugged X - Raster

25. Effects-Plugins
Mura's Meister -perspective Tilling
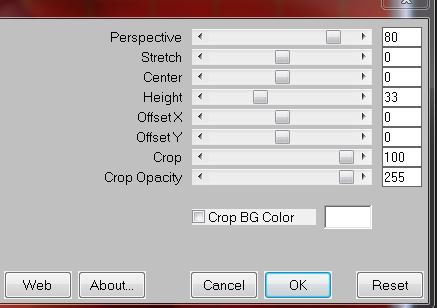
26. Effects
- Edge Effects- Enhance More
Aktivate the Top of the layers palette
27.
Layers-New Raster Layer.
28.
Selections - load/save selection - load selection from disk and choose :
''monde_steampunk_1''
29 .
Material Properties: Foregroundcolor to color white
30. Set the opacity of your colors at 60% /Flood Fill Tool: Fill the selection with White
31.
Selection Select none
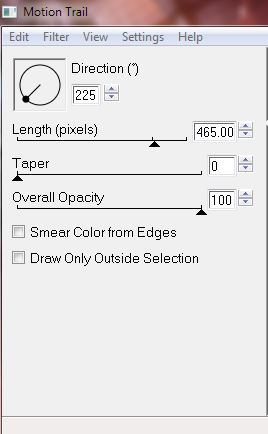
32. Effects- Plugins EyeCandy 4000- Motion trail
33. Layers-Duplicate
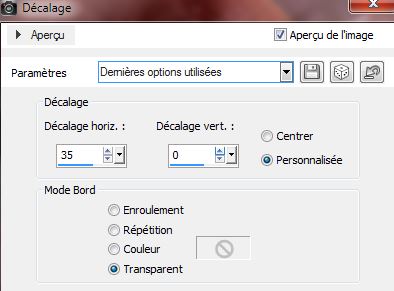
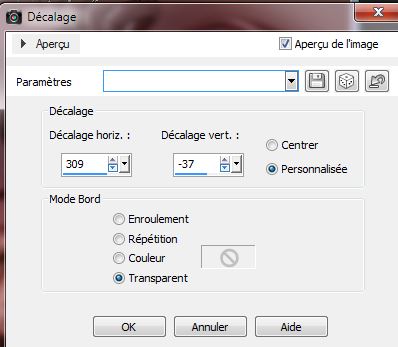
34. Effects-
-Image Effects -Offset
35. Lower the opacity down to 26%
36. Activate the layer underneath. Lower the opacity down to
40%
Your work is like this right now
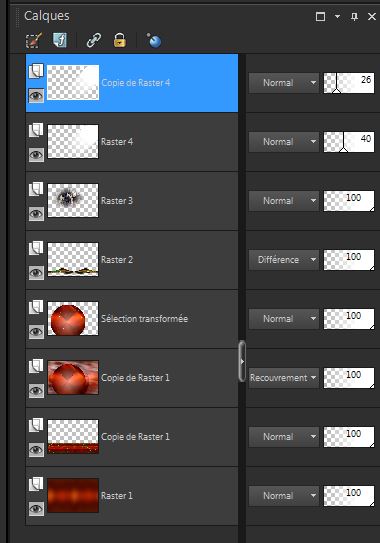
37. Layers-Merge-Merge-Down/Lower the opacity to 47%
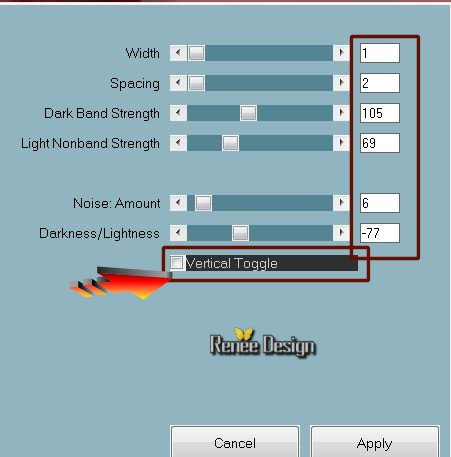
38.
Effects - Plugins PhotoEffex - Scanlines
39. Effects
- 3D Effects-Drop Shadow 8/8/62/21 black
40.
Selections - load/save selection - load selection from disk and choose
''monde_steampunk_2''
41.
Selections-Promote Selection To Layer
42. Effet
- 3D Effects-Drop Shadow (With the same settings)
43.
Selections-Select none
44. Image -Flip - Layers-Arrange-Move Down - Blend Mode "Hard Light"
45.
Selections - load/save selection - load selection from disk and choose ''monde_steampunk''
/Delete
Keep Selections
46.
Back to the top layer (Raster 4)
47.
Adjust-Blur-Gaussian Blur: Radius: 35
48. Layers-New Raster Layer
49.
Effects -Plugins EyeCandy 5 Impact / Backlight /Preset ''
monde_steampunk_backlight''
50.
Selections-Select none
51. Open the tube'' Krysteampunk-03-02-14''/On the tube hidden layers like this and then : Layers Merge -Merge Visible
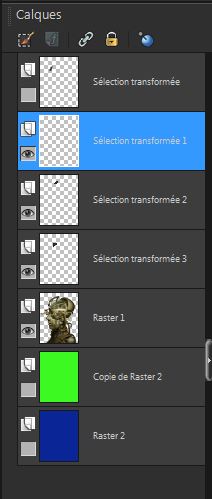
Image Resize to 70% /Edit/copy-Edit paste as a new layer and place
52. Effects-
Image-Effects- Offset
53. Blend Mode"Luminance "(Legacy)
54.
Layers-New Raster Layer.
55.
Selections - load/save selection - load selection from disk and choose :
''monde_steampunk_3'' / Flood Fill Tool: fill the selection with your foregroundcolor white -click 2 times in the selection
56. Effects-Plugins
-Eye Candy 3.1 /water drops
You have this?  Click OK and the filter will open Click OK and the filter will open
57.
Selections-Select none
57. Open the tube ''monde_steampunk_bulle'' /Edit/copy-Edit paste as a new layer and place

59. Open the tube ''monde_steampunk_image1'' /Edit/copy-Edit paste as a new layer and place
60. Effects
- Edge Effects-Enhance More
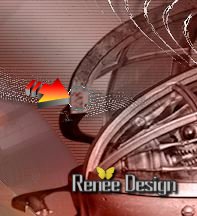
61. Eraser tool: Erase that little piece of road where the arrow is (like this)
62. Open the tube ''KRYSSTEAMPUNK-03-02-14.003.pspimage" /Image/Mirror
Edit/copy-Edit paste as a new layer . Good place like this
63. Layers-Merge- Merge Visible
64. Image - Add Borders - Symmetric checked 5 pixels color: #9f0f00
65.
Selections-Select All
66. Image - Add Borders - Symmetric checked 50 pixels #ffffff
67. Effects
-3D Effects-Drop Shadow

68.
Selections- Invert
69.
Layers-New raster Layer
70. Open the tube ''monde_steampunk_element2'' /Edit/copy-Edit paste into selection
71.
Selections-Select none
72. Image - Add Borders - Symmetric checked 20 pixels : #503524
73. Open the tube Text. Edit/copy-Edit/paste as a new layer and place. Or write your own text
74. Layers-Merge- Merge Visible
75. Image-
Resize 995 pixels Width
I hope you enjoyed this lesson
Renée
This lesson was written by Renée 30/01/2014
Created the
02/2014
*
Any resemblance with an existing lesson is merely a coincidence
*
Don't forget to thank the people who work for us and with us. I named the tubeurs - Testers and the translators.
Thanks Renée

| 

 Translations