|
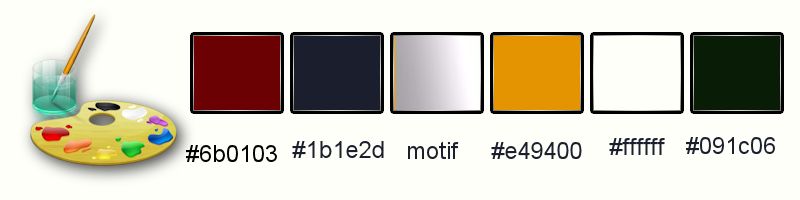
Let's start the lesson.Open the Color-Palette
1.
Open the Background image : ‘’fond_steampunk_28’’ – Window - Duplicate (or shift+D) - Close the original and proceed on the copy -Promote Background Layer =Raster 1
2.
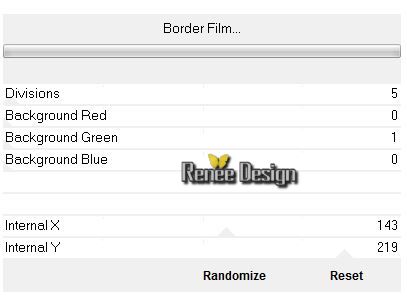
Effects-Plugins - Unlimited 2.0 - Filter Factory Gallery F- Border
Film..with these settings.
3. Effects-Plugins – Simple – Pizza Slice Mirror
4.
Selections - load/save selection - load selection from disk and select my file : ’’steampunk_28_1’’
5.
Selections-Promote selection to layer
Material Properties: Set your foreground color to #6b0103 -Set your background color to#ffffff
6. Effects-Plugins - L en K landksiteofwonders-
Katharina 12/ 0
Selections- Deselect All
7.
Selections - load/save selection - load selection from disk and select my file :« Steampunk_28_2 »
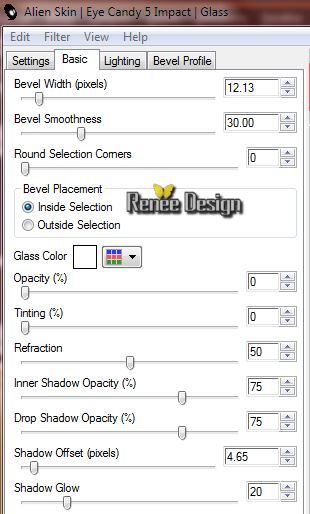
8. Effects-Plugins–Eye Candy 5 –Impact – Glass – Clear with these settings
Selections- Deselect All
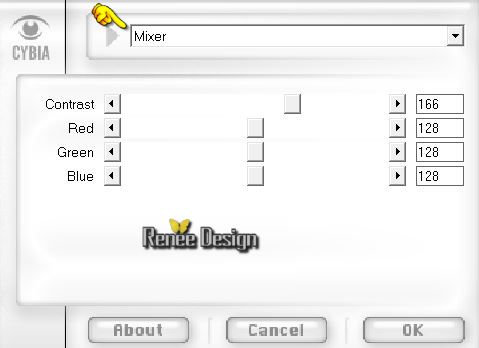
9. Effects-Plugins- Cybia -Mezzy-Mixer with these settings
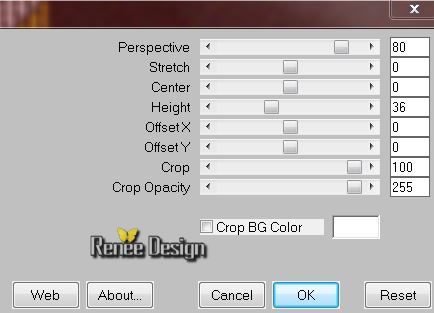
10. Effects-Plugins – Mura’s Meister – Perspective
Tilling with these settings
11. Effects-Plugins – Eye Candy 5 impact –Extrude with these settings

- Layer Palette -Double click on this layer and set the Blendmode to Screen
12. Activate the tube ‘’ Steampunk_28_image_1’’
- Edit/copy- Edit/ paste as new layer on your working area
- With your Move Tool- you place the tube against the bottom edge
13. Activate the tube ‘’ Renee_tube_steampunk_poule.pspimage’’
- Image
Resize with 68%
- Edit/copy- Edit/ paste as new layer on your working area
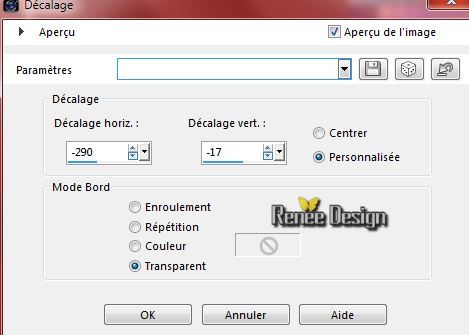
14. Effects-Image Effects-Offset with these settings
15. Effects-3D Effects-Drop Shadow with these settings:1/1/45/100 black
Activate the bottom of the Layer Palette =Raster 1
16.
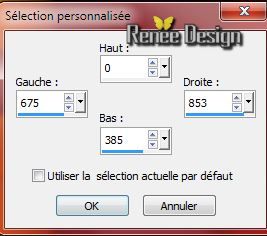
Selections-Custom Selection with these settings
17.
Selections-Promote selection to layer
Selections- Deselect All
- Material Properties: Set your foreground color to #1b1e2d -Set your background color to #e49401
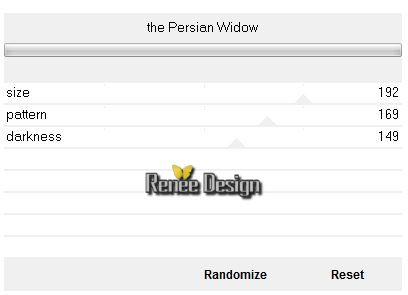
18.
Effects-Plugins -Unlimited 2.0 - Kang 2- the Persian
Widow with these settings
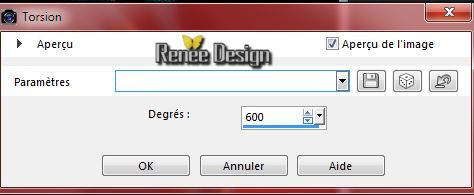
19. Effects- Distortion Effects-Twirl of 600
- Activate the top of the layer-Palette
20. Activate the tube ‘’ chat_fantaisie’’
-Activate Freehand Selection Tool-Lasso-Point to Point-select the cat
- Edit/copy- Edit/ paste as new layer on your working area and move
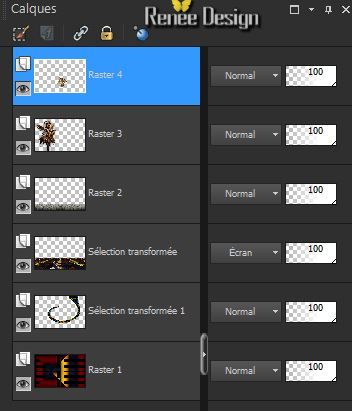
Your layer palette looks like this:
21. Layers- New raster layer
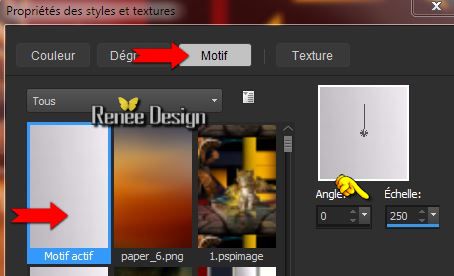
Open the Pattern and choose ‘’motif_steampunk_28 ‘’ in your PSP
22. Color Palette :Foreground to pattern ‘’motif_steampunk_28 ‘’ with these settings
23.
Selections - load/save selection - load selection from disk and select my file : ’steampunk_28_3 »
24. Activate Flood Fill Tool and fill the selection with the foreground pattern
Selections- Deselect All
25. Layer Palette -Double click on this layer and set the Blendmode to "Dissolve " and set the layer opacity of this layer to 53%
-
Activate your Eraser -Erase a little color away from the cat
-- Material Properties:Set the foreground color to #e49400 -Set your background color to
#1b1e2d
26. Layers- New raster layer Selections - load/save selection - load selection from disk and select my file : ‘’ steampunk_28_4’’
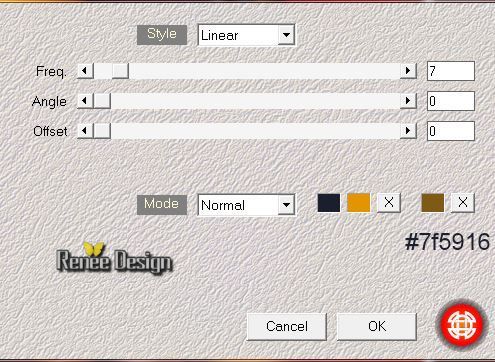
27. Effects-Plugins – Medhi –Wavy Lab with these settings
Selections- Deselect All
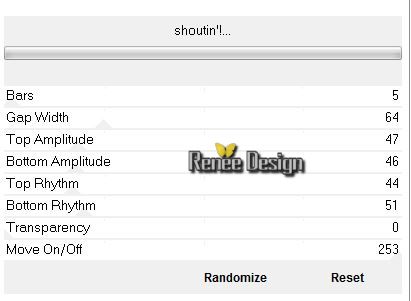
28. Effects-Plugins- VM Extravaganza- shoutin'!..with these settings.
29.
Effects-Plugins – EyeCandy 5 Nature –Snow Drip-Tab-Settings-User Settings and choose my Preset ‘’ steampunk_28_SnowDrift’’
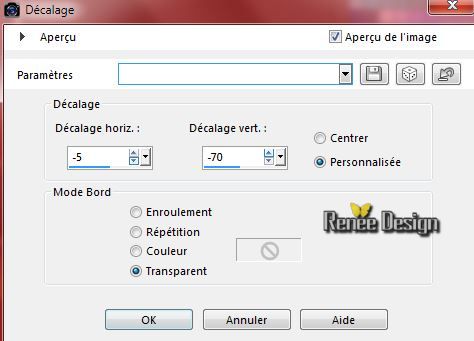
30.
Effects-Image Effects-Offset with these settings
- Activate the bottom of the layer-Palette =Raster 1
31. Layers- Duplicate
32. Adjust-Blur-Gaussian Blur: Radius 55
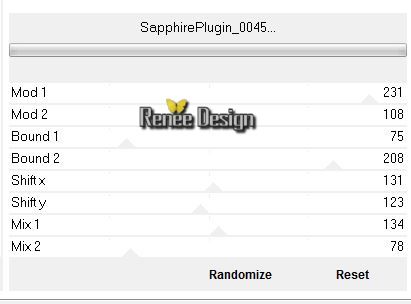
33.
Effects-Plugins – Unlimted 2.0 - Sapphire Filters
01/SapphirePlugin_0045..with these settings .
34.
Selections - load/save selection - load selection from disk and select my file : ‘’steampunk_28_5’’
-
Hit the Delete Key of your Keyboard
35. Selections- Invert
36.
Effects-Plugins - Eyecandy 5 Impact – Bevel- tab Settings/User settings choose my preset:
‘’Bevel_steampunk_28’’
Selections- Deselect All
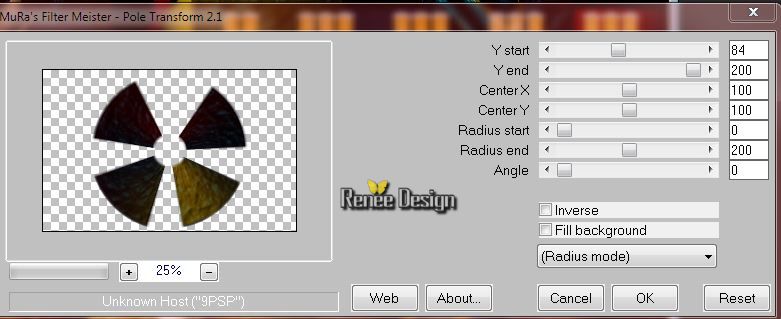
37. Effects-Plugins - Muras’s Meister –Pole Transformation with these settings
38 . Effects- Edge Effects-Enhance More
- Activate the top of the layer-Palette
39. Activate the tube ‘’ Steampunk_28_image_2.pspimage’’
Edit/copy- Edit/ paste as new layer on your working area (do not move it is in the right place)
- Properties Foreground: set the foreground color to white
40. Layers- New raster layer
41.
Selections - load/save selection - load selection from disk and select my file : ‘’ steampunk_28_6’’
42. Activate Flood Fill Tool and fill the selection with the foreground color white (on the right side you will see nothing that is normal)
Selections- Deselect All
43. Activate the tube « Steampunk_28_image_3.pspimage’’
- Edit/copy- Edit/ paste as new layer on your working area (do not move it is in the right place)
44. Layer Palette -Double click on this layer and set the Blendmode to Screen -Set the layer opacity of this layer to 71%
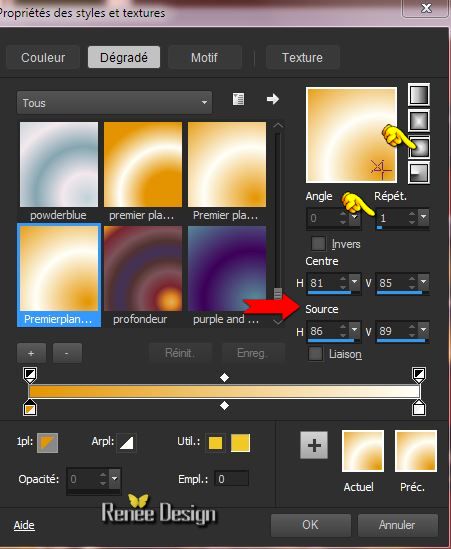
-Color Palette: Set your foreground color to #e49400- Set your background color to #ffffff
45.
Prepare a Sunburst Gradient as configured
46. Layers- New raster layer
47.
Selections - load/save selection - load selection from disk and select my file : ’steampunk_28_7’’
48. Activate Flood Fill Tool and fill the selection with the gradient
Selections- Deselect All
49. Layers-Merge-Merge Visible
50. Open the Script - ‘’ Steampunk_28’’
-
View - Toolbars - Script checked !! -as shown in the example below
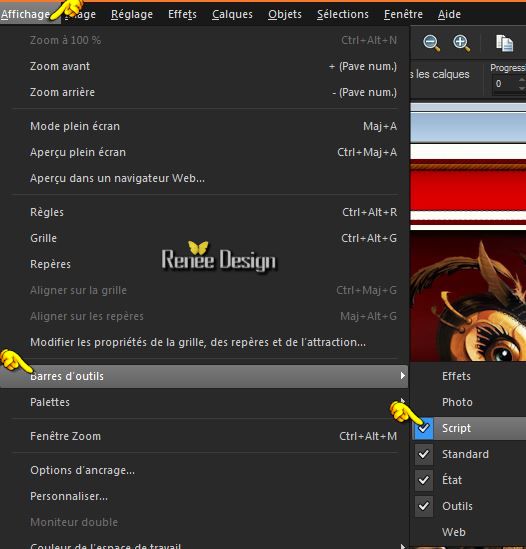
51. Activate toolbar Script, choose my file in the list Steampunk_28 >> click the little blue arrow and let the script run and when it asks click OK -To change the colors, toggle execution mode

I have tested the script in psp 11 it works
he will tell you to run –he will do it
if you do not see the border colors -
These are the colors I used for this lesson and they do it manually as shown below
- 1
pixel #091c06
- 5
pixels white
- 5
pixels red #6b0103
- 50.
pixels white
- 1
pixel #091c06
- 5
pixels yellow #e49400
- 5
pixels red#6b0103
- 15
pixels white
- 1
pixel #091c06
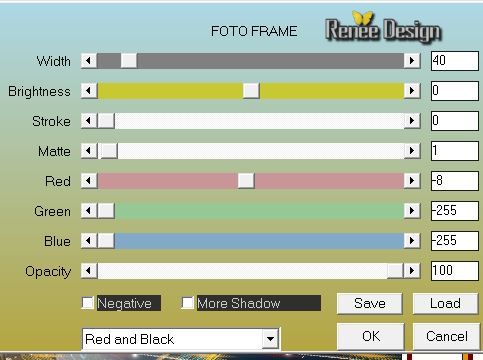
52. With the magic wand select the white border of 50 pixels
53. Effects-Plugins – AAA Frame- Foto Frame with these settings
54. Effects-Plugins - EyeCandy 3.1 – Motion Trail with these settings ( it will give you a refusal click ok it will work)

Selections- Deselect All
55. Activate the tube "text "/Edit/copy-Edit paste as a new layer on your working area and move
56.
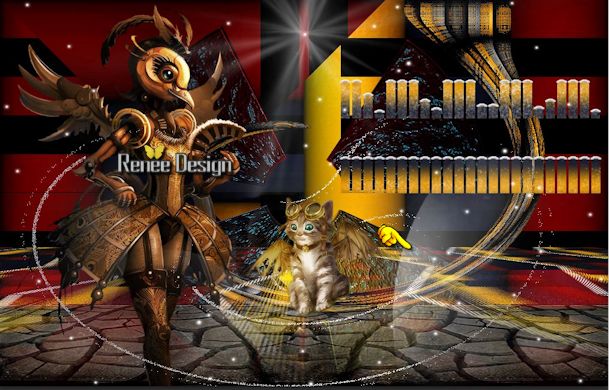
Layers - Merge - Merge All
57. Image
Resize with 945 Pixels Width
Save as JPG
I hope you enjoyed this lesson
Renée
This lesson was written by Renée 28/02/2015
Placing
2015
*
Any resemblance with an existing lesson is merely a coincidence *
* Don't forget to thank the people who work for us and with us. I named the tubeurs - Testers and the translators.
Thanks Renée.
*
| 
 Translations


 * When you see this logo the filter is imported in Unlimited *

 All rights reserved