|
Let's start the lesson.

1. Open the image ‘’fond_steampunk_31’’ –Window - Duplicate (or shift+D) - Close the original and proceed on the copy -Promote Background Layer =Raster 1
2. Activate the tube ‘’ renee_tube_steampunk_technical »
- Image
Resize a 70%
- Edit/copy- Edit/ paste as new layer on your working image (do not move it is in the right place)
3. Material Properties-Set your foreground to #b0cece -Set your background color to white
4. New Art Media Layer
5. Activate Marker Tool
Round tip large with these settings

-with the foreground color - draw two lines like this as shown below
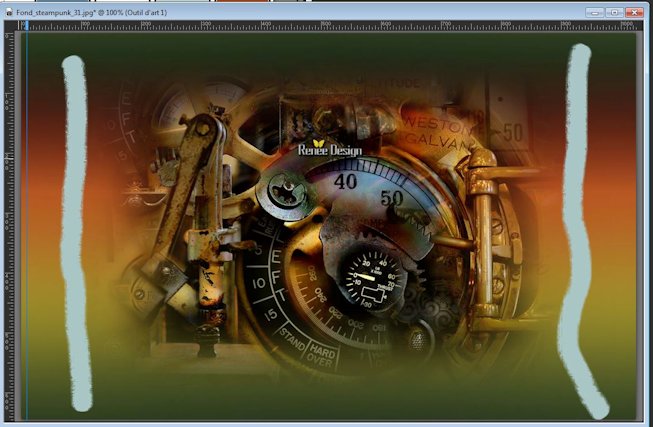
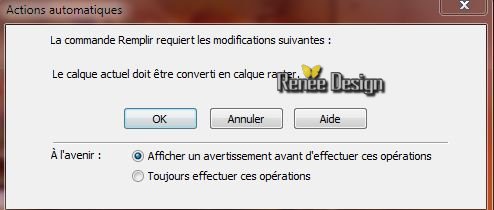
6. Adjust - Blur (tic OK in the windows that opens) Convert to raster layer
– Adjust-Blur-Gaussian Blur: Radius: 35%
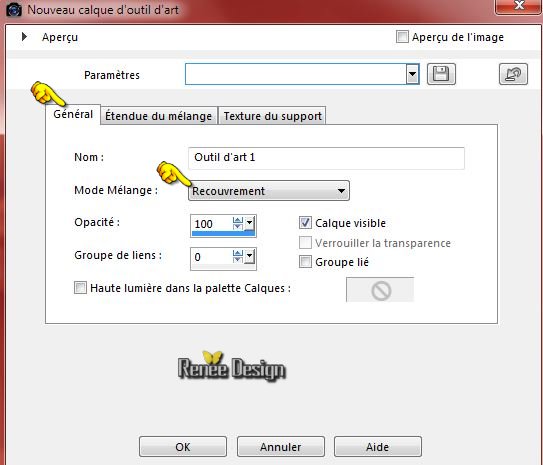
7. New Art Media Layer
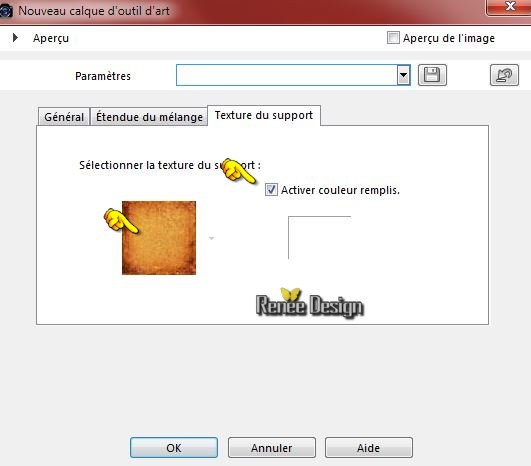
You will see this window-**** General =Blend mode =Overlay ****Blend ranges =Red channel
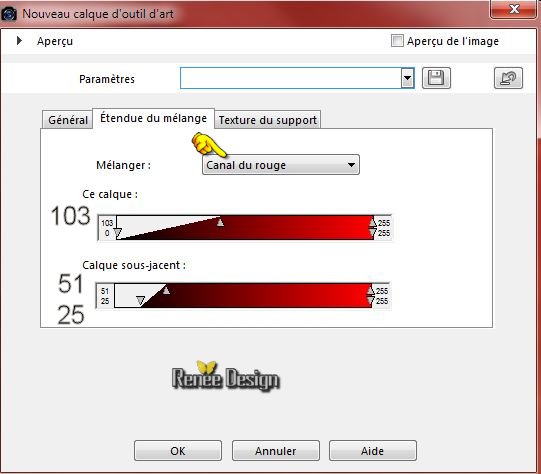
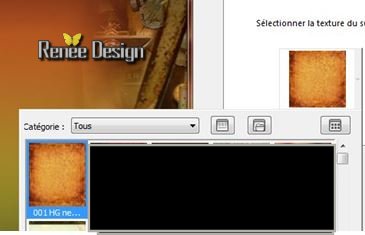
Texture du support « 001 HG neu 001 »
[Canvas structure - select the canvas structure Enable fill color]
****and OK
- Material palette - foreground color =
#5881a2
8. Layers-New raster layer
9. Flood fill tool - opacity 100% - fill with the foreground color
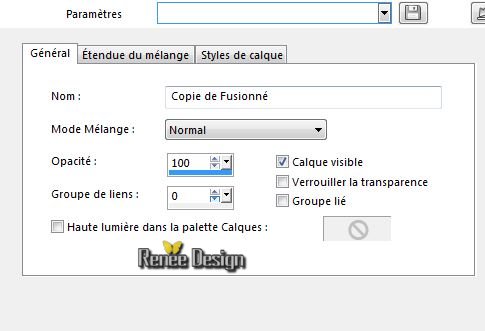
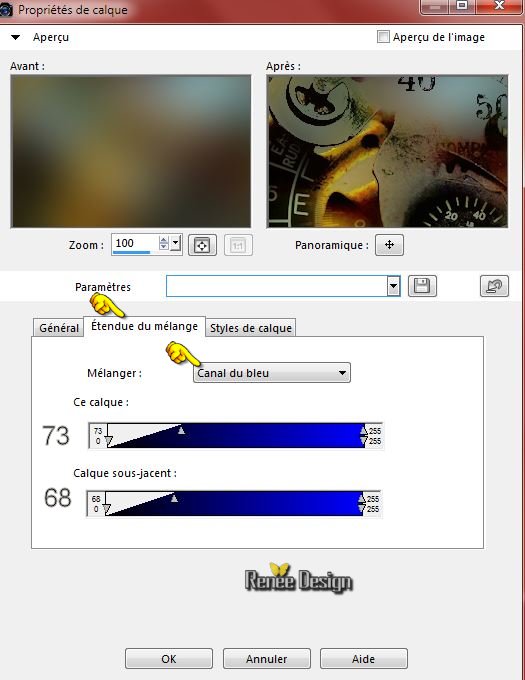
10.Tic twice on the layer "General" =Normal **** "Blend Ranges"=Blue channel settings-**** Layer Styles with these settings
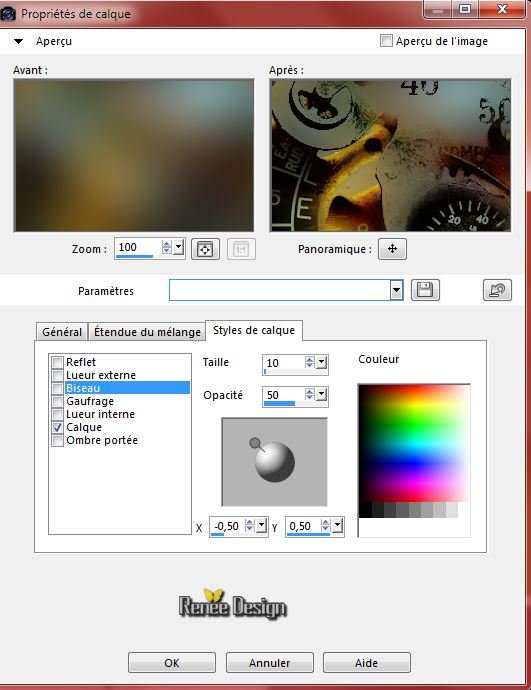
and OK
11.Layer Palette -Double click on this layer and set the Blendmode to" Color-Legacy "and set the layer opacity of this layer to 59%
12. Layers-New raster layer
13.
Selections-Select All
14. Activate the tube ‘’
Renee_tube_cyborg_robot_cybersteampunk.pspimage’’
- Edit/copy- Edit/ paste into selection
Selections-Deselect All
15. Effects-Image Effects-Seamless Tiling with these settings
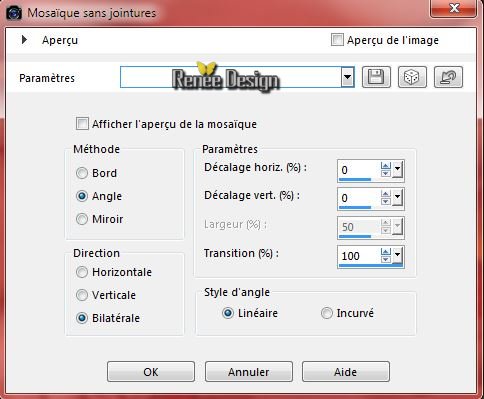
16. Adjust-Blur-Gaussian Blur : Radius: 35%
17.
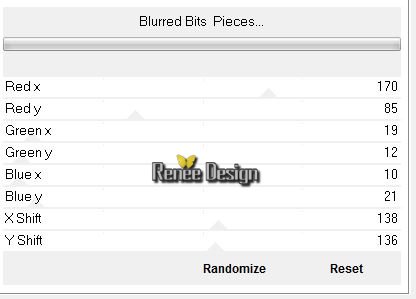
Effects -Plugins – Unlimited- Andrew's Filters 6(or Andrew’s 56) -
Blurred Bits & Pieces...
18. Effects-Distortion Effects- Pinch-Strength 100
19. Repeat:Effects-Distortion Effects Pinch-Strength 100
20. Layers- New Mask layer from Image and select Mask’’masque_ombre_steampunk_31 »
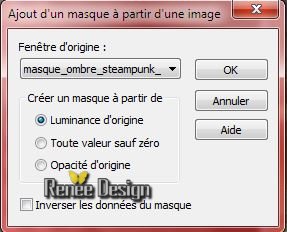
- Layers-Merge- Merge Group
- Properties foreground:
Put your foregroundcolor to #5881a2
21. Layers-New raster layer
22.
Selections –load/save selection –load selection from disc and choose:
’Steampunk_31_1
23. Flood Fill Tool : Change the opacity of the color at 75% –Activate Flood Fill Tool and fill the selection with the foreground color
24. Effects-Texture Effects- Blinds with these settings
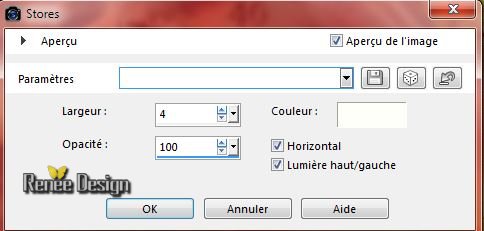
Selections-Deselect All
25. Effects -3D Effects - Drop Shadow with these settings
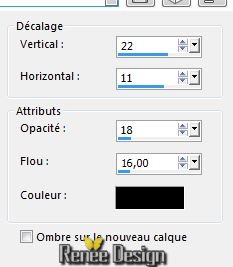 and repeat again but vertical –
22 and repeat again but vertical –
22
26. Effects-Distortion Effects-Warp with these settings
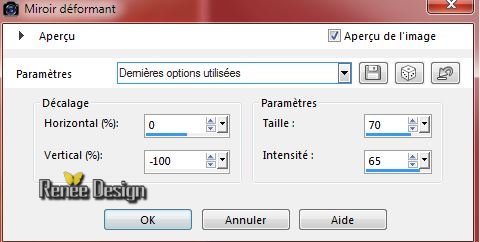
27. Layers-Duplicate
28. Effects-Image Effects-Offset with these settings
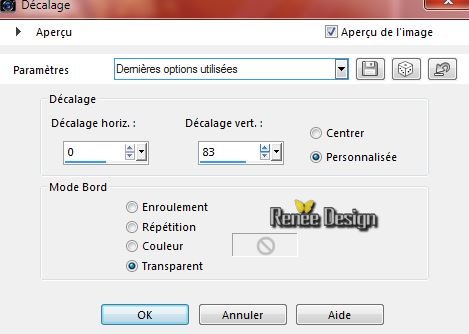
29. Layer Palette - Double click on this Layer and set the Blend Mode to "Luminance "
30. Activate the tube
‘’Deco_steampunk_31_ReneeGraphisme’ do not close, we will need it again soon
- Activate layer
‘’deco_1 »
- Edit/copy- Edit/ paste as new layer on your working image
-
Activate the Pick Tool (K) place it to the left side as shown below
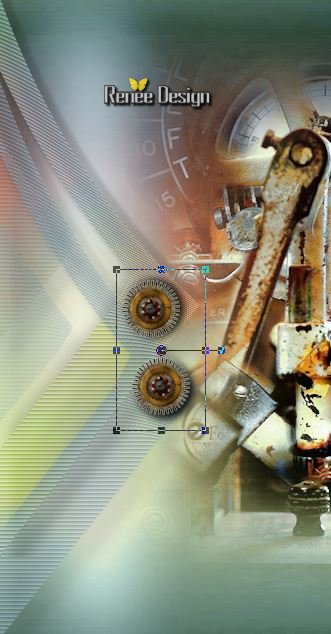
31. Layers-Duplicate – Image Mirror
32. Layers- Merge- Merge- Down
33.Layer Palette -Double click on this layer and set the Blendmode to "Hard Light"
34. Layers-New raster layer
35.
Selection Tool ( S ) Custom selection with these settings
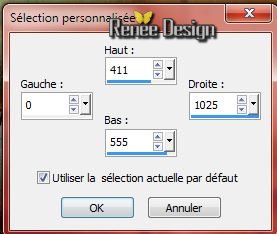
36. Flood Fill Tool: Opacity = 75% –Flood Fill Tool: fill the selections with your background color white
37. Effects-Browser- Tic Effects-3 D Effects-Chisel -Apply Factory Settings Default and OK –
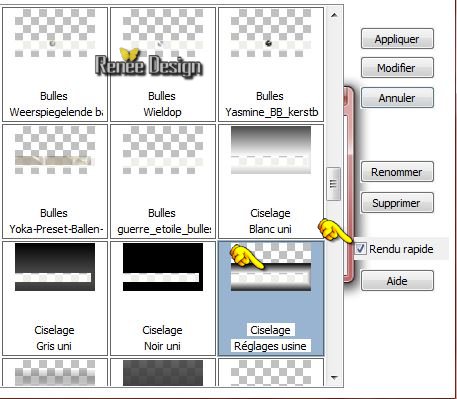
Selections-Deselect All
38. Effects-Plugins – Simple -4 Way Average
39. Effects-Plugins - Mura’s Meister- Perspective
Tilling with these settings
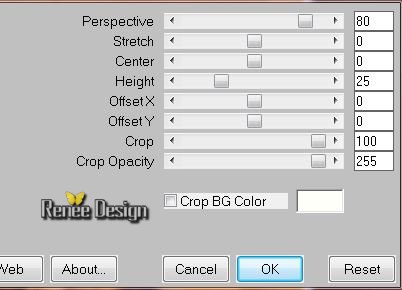
40. Effects-Distortion Effects-Warp with these settings
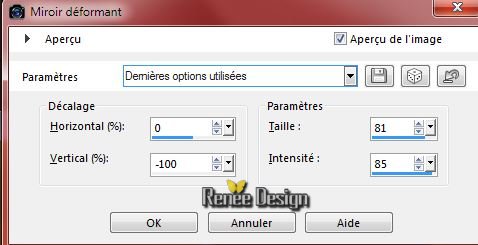
41. Layer Palette -Double click on this layer and set the Blendmode to "Difference"
42. Effects-Plugins – Plugin galaxy - Cryptology with these settings
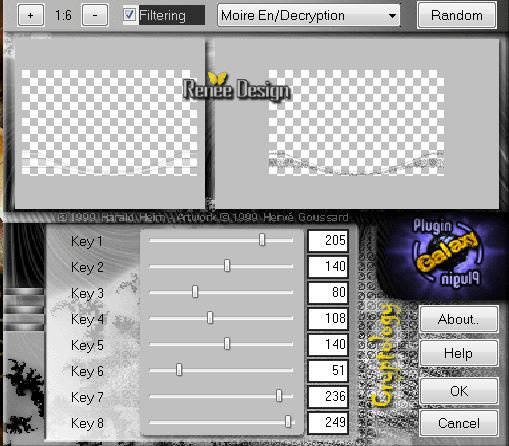
43. Effects-Plugins - EyeCandy 5 Impact –Extrude –tab Settings/User settings choose my preset:
‘’steampunk31_extrude’’
44.
Effects-Plugins - NeologyFilter pack – TV Mania with these settings
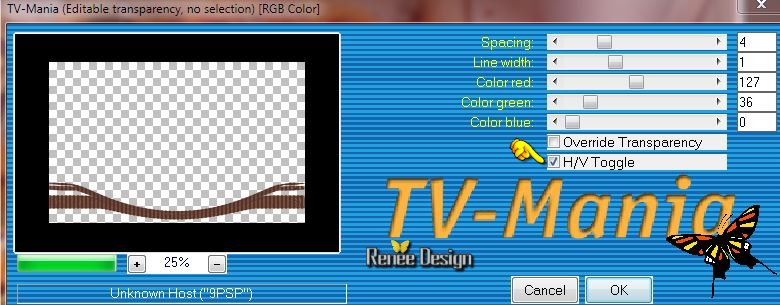
-
Set the layer opacity of this layer to 75%
45. Activate again tube ‘’Deco_steampunk_31_ReneeGraphisme’’
- Activate layer ‘’deco_2’’
-Edit/copy- Edit/ paste as new layer on your working image
46 . Effects-Image Effects-Offset with these settings H =362 and V =9
- Layer Palette -Double click on this layer and set the Blendmode to "Hard Light "
47. Activate layer ’’deco_3’’
- Edit/copy- Edit/ paste as new layer on your working image and move to the right side
–Layer Palette -Double click on this layer and set the Blendmode to "Difference "
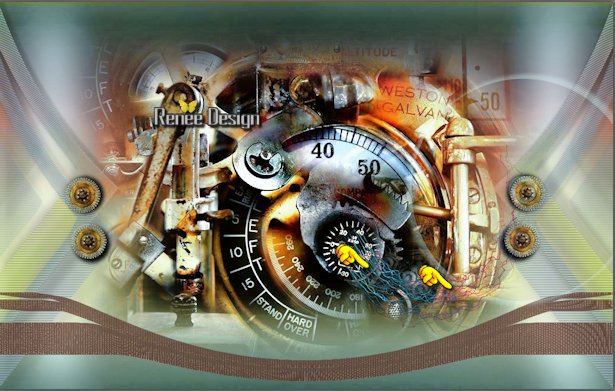
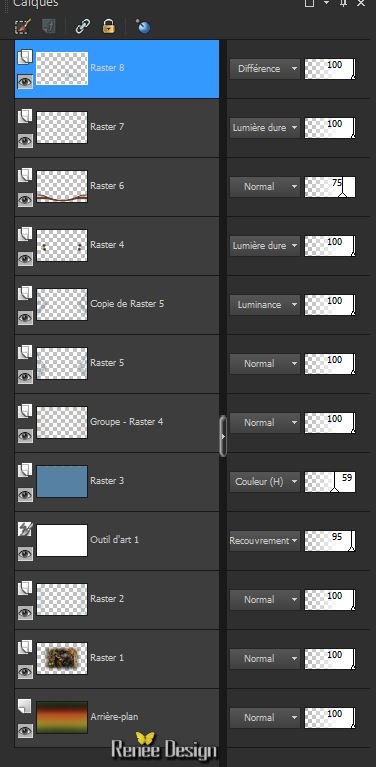
Your work and Layer Palette
48. Material palette - foreground color =
#aa411c
49. Activate your Brush:‘’ Pinceaux_01_STEMP31’’ in your PSP
- File- Export Custom Brush (Give it a name) -‘’ Pinceaux_01_STEMP31’’
50. Activate Brush Tool and select ‘’ Pinceaux_01_STEMP31’’ with these settings

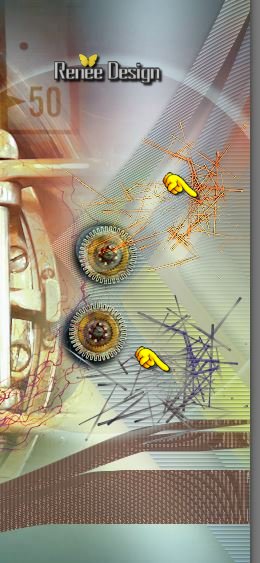
-Stamp your brush in the right side by using your foreground color – Layer Palette - Double click on this Layer and set the Blend Mode to "Hard Light "
51. Layers- New raster layer
- Stamp your brush in the bottom right side by using your background color white
- Layer Palette -Double click on this layer and set the Blendmode to "Difference"
-Place like this
52. Layers- New raster layer
53. Flood Fill Tool: Opacity 100%- Flood Fill Tool: fill the selections with your background color white
54. Layers- New Mask layer from Image and select Mask
‘’Mask-GI_SteamPunkSampler.png’’
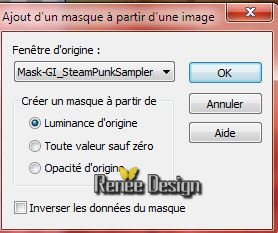
- Layers-Merge- Merge Group
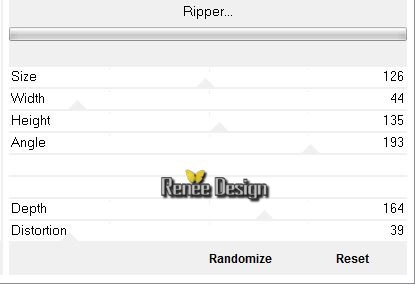
55. Effects
–Plugins -Unlimited – VM Natural- Ripper with these settings
56. Layer Palette -Double click on this layer and set the Blendmode to "Soft Light "
57. Effects-Image Effects-Seamless Tiling using the default settings
58.
Layers-Duplicate
59. Effects-Plugins – Simple - Pizza Slice Mirror
60. Layers-Merge-Merge -Down
61. Image - Add borders-Symmetric checked: de 1 pixel black
62. Image - Add borders-Symmetric checked: 10 pixels white
63. Image - Add borders-Symmetric checked: de 1 pixel #5881a2
64. Image - Add borders-Symmetric checked: de 50 pixels white
65. Activate the tube’’cadre_steampunk_31 »
- Edit/copy- Edit/ paste as new layer on your working image(do not move it is in the right place)
66. Activate the tube ‘’ Renee_tubeSteampunk31_robot.pspimage’’
- Image
Resize a 60%
- Edit/copy- Edit/ paste as new layer on your working image - Move tool/ put it in its place
67. Effects-Plugins – Eyecandy 5 Impact – Tab-Settings- Preset ‘’Reflect in
front ‘’ using the default settings
68. Activate Soften Brush with these settings

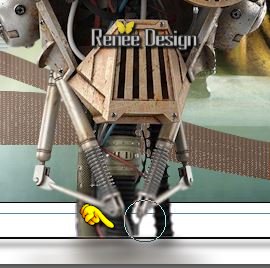
Then click with the left mousebutton on to the tube as shown on the print screen below
69. Activate the tube ‘’
Renee_tube_FemmeSteampunk_chien.pspimage’’
- Image
Resize a 80 %
- Edit/copy- Edit/ paste as new layer on your working image.With your move tool move to the bottom right side
- Layer Palette - Double click on this Layer and set the Blend Mode to "Luminance Legacy "
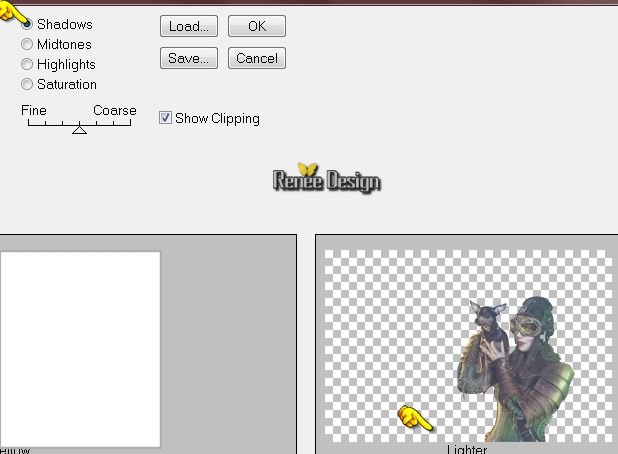
70. Effects-Plugins – Adjust Variation - Lighter-Shadows
71. Activate your Text Tool: Font « écriture « Sliced Iron »
- Material palette - foreground color = #b0cece -and the background color = white
- Font Size 72 pixels – Type the text: ''STEAMPUNK 31'' Do you have problems with this- PNG image is into the zipfile and paste as a new layer on your working area and move
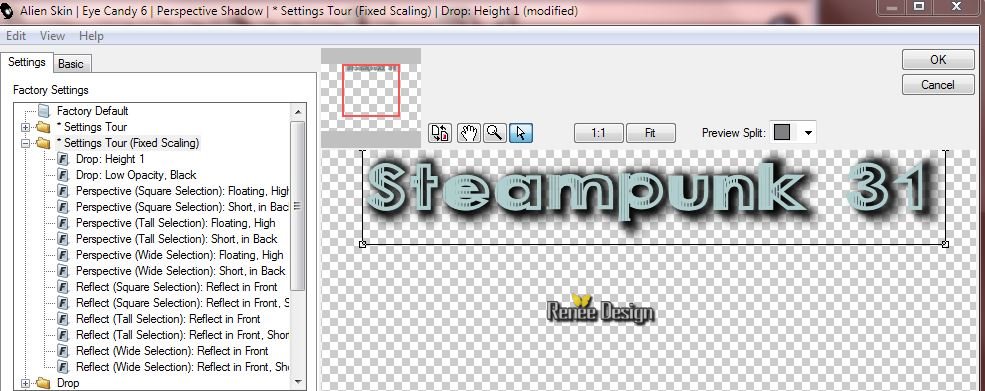
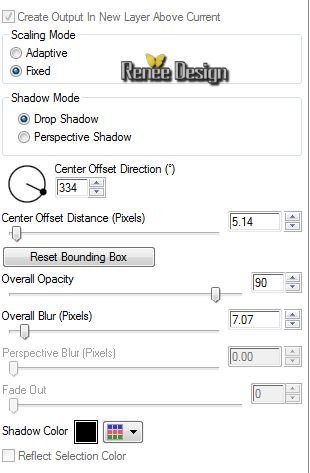
72. Effects -Plugins - Eyecandy 6 –Perpsective shadow/Settings Tour(Fixed
Scaling) Drop Heigt 1
73. Image - Add borders-Symmetric checked: de 1 pixel black
74. Image
Resize a 995 pixels Width
Save as JPG
I hope you enjoyed this tutorial .
Renée
This lesson was written by Renée 30/05/2015
edited and update
2015
*
Any resemblance with an existing lesson is merely a coincidence *
* Don't forget to thank the people who work for us and with us. I named the tubeurs - Testers and the translators.
Thanks Renée.
|