|
Let's start the lesson.
-
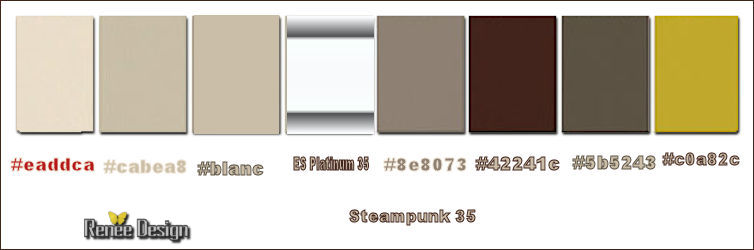
Color-palette:Set your foreground color to #eaddca - Set your background color to#8e8073
-
Prepare a rectangular gradient configured like this.
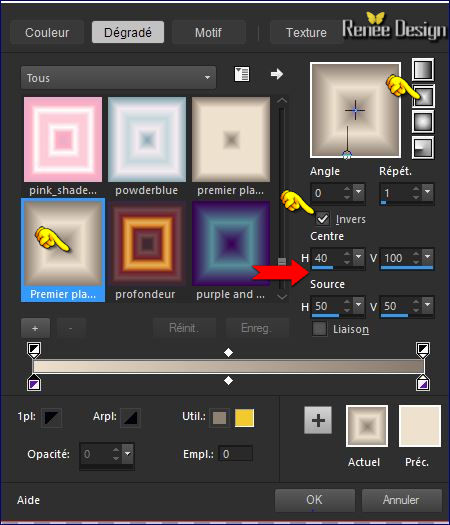
1.
File - new - open a new transparent image 1005 x 675 pixels
2.
Activate Flood Fill Tool and fill the layer with the gradient
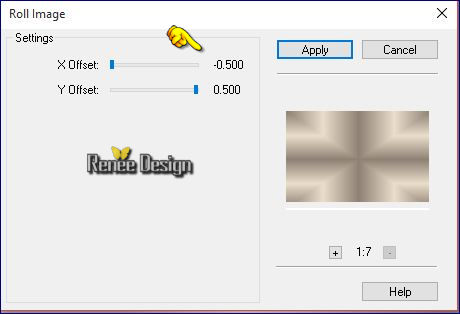
3.
Effects- Plugins- FM Tile Tools – Roll
Image use settings below
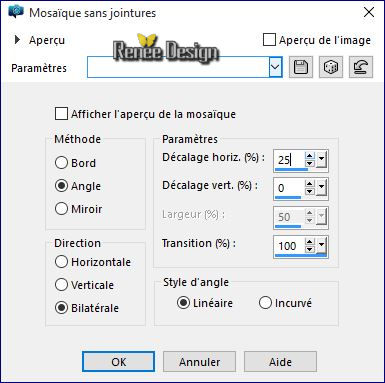
4.
Effects- Image Effects- Seamless Tiling use settings below
5.
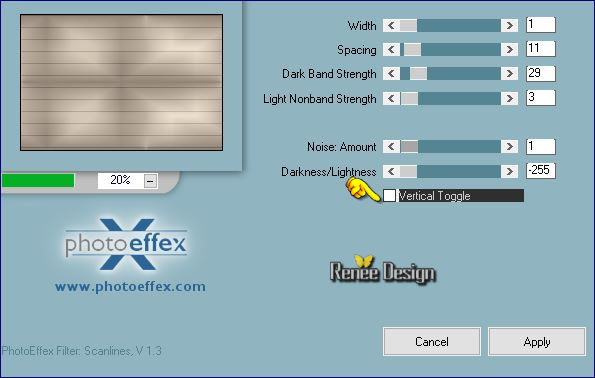
Effects- Plugins–Photo effex-
Scanlines use settings below
6.
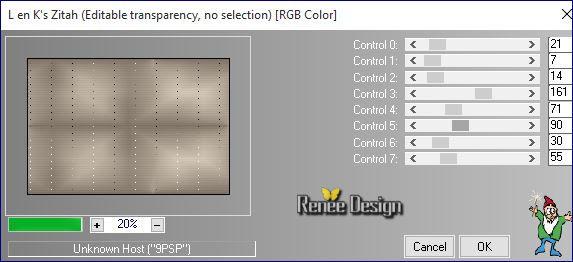
Effects- Plugins – L & K’s –
Zitah use settings below
7.
Layers- Duplicate
8.
Image Resize 85 % resize all layers not checked
9.
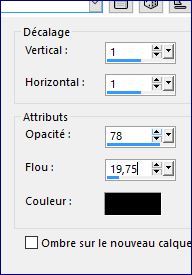
Effects- 3 D Effects- Drop Shadow with these settings
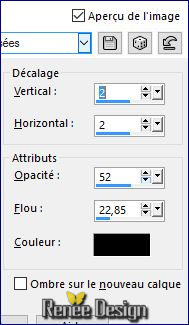
-
Repeat -Effects- 3 D Effects- Drop Shadow with the same settings
10.
Effects- Plugins – EyeCandy 5 Impact –Glass -tab Settings/User settings choose my –Preset
“Renee_steampunk_35”
-
Color-palette:Set your foreground color to et
#eadec7 - Set your background color to
#cabea8
11.
Effects –Plugins- Unlimited - &<BKg Designer sf10
II>Quilt02...with these settings
162/124
12. Double click on this Layer and set the Blend Mode to "Hard Light "
13. Activate the tube ‘’ Steampunk_35_Image_1’’
- Edit/ Copy-Edit - Paste as new layer on your working area (do not move it is in the right place)
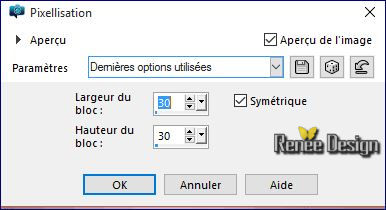
14.Effects- Distortion Effects- Pixelate use settings below
15. Effects- Edge Effects- Enhance More
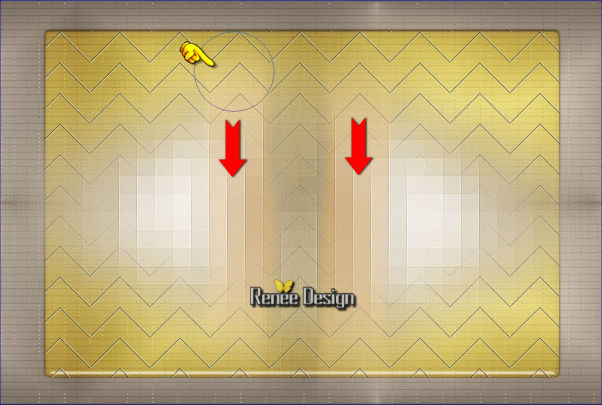
16. Activate Brush Tool replace the Target with these settings 

And with the left click and color foreground #eaddca
(This tool can colorize as hue and saturation)
- Get off on these 2 parts
17. Effects- Edge Effects- Enhance More
18. Effects- Distortion Effects- – Twirl / Degrees -
55
19. Activate the tube ‘’Steampunk_35_Image_2.pspimage’’
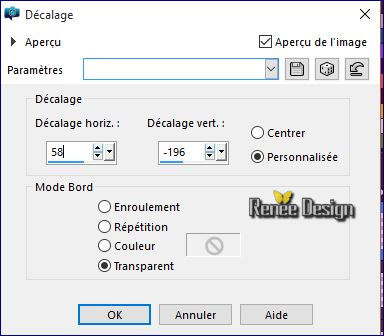
- Edit/ Copy-Edit - Paste as new layer on your working image
20. Effects-Image Effects- Offset with these settings H = 355 and V = 190
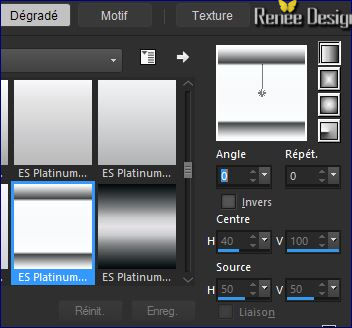
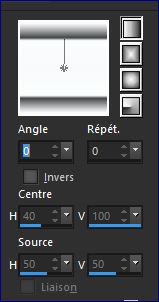
-Color Palette: Set your Foregroundcolor to Foreground/Background Gradient and select ‘’ES platinium 35’’
/Style linear
-
configured like this.
21. Layers- New Raster Layer
22.
Selections –load/save selection –load selection from disc and choose my selection:’’Steampunk35_selection1’’
23.Activate Flood Fill Tool and fill the selection with the gradient
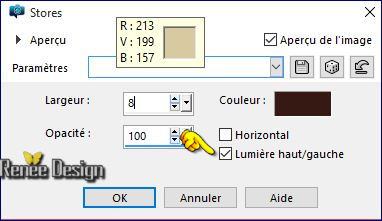
24. Effects- Texture Effects- Blinds use settings below -Color #42241c
Selections- Deselect All
26. Layers- Duplicate
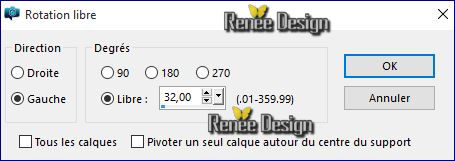
27. Image –
Free Rotate with these settings
28. Effects-Image Effects- Offset with these settings
29. Layers- Merge- Merge- Down
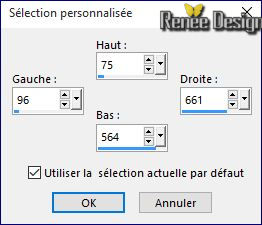
31.
Activate Selection Tool -Custom Selection (S) with these settings
32. Effects- Distortion Effects- Twirl / Degrees 500
Selections- Deselect All
33. Layers- New Raster Layer
34.
Selections –load/save selection –load selection from disc and choose my selection:’’
Steampunk35_selection2’’
35. Pot of Paint: Change the opacity of the color at 85% -Activate Flood Fill Tool and fill the selection with the gradient
Selections- Deselect All
36. Effects- Plugins– Alien skin Eyecandy 5
Impact – Gradient Glow-tab Settings/User settings choose my - Preset ‘’
Renee_steampunk35_Gradient-Glow’’
37. Effects- Edge Effects- Enhance
38. Layers- New Raster Layer
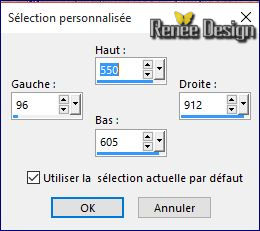
39.
Activate Selection Tool -Custom Selection (S) with these settings
- Material of the foreground: change your gradient into a linear gradient configured like this (Repeats 10)
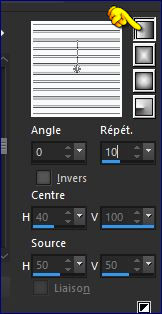
40. Pot of Paint: Change the opacity of the color at 100% - Activate Flood Fill Tool and fill the selection with the gradient
Selections- Select All
41. Effects- Plugins – Alien skin Eyecandy 5 Impact – Extrude
-tab Settings/User settings choose my -Preset ‘’ Renee_Steampunk35_extrude »
42. Effects- Distortion Effects – Twirl 355
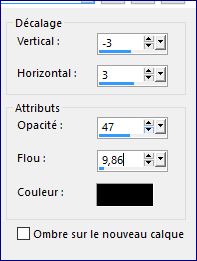
43. Effects- 3 D Effects- Drop Shadow with these settings
44. Activate the tube ‘’ Renee_tube_arbre_steampunk’’
- Image
Resize 38 %
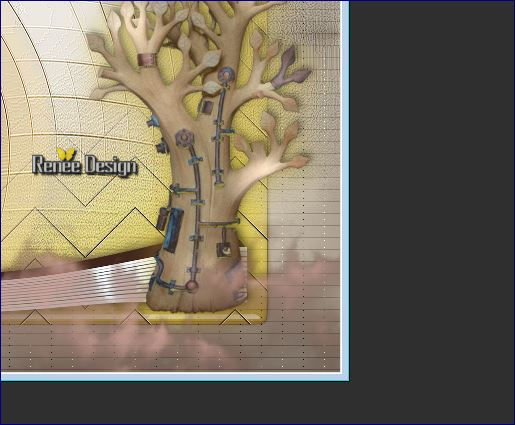
- Edit/ Copy-Edit - Paste as new layer on your working image / With the Move Tool -(M) move it on the bottom right corner
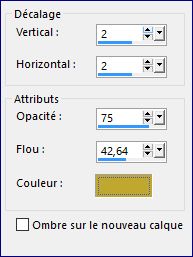
45. Effects- 3 D Effects- Drop Shadow with these settings
46. Repeat
-Effects- 3 D Effects- Drop Shadow with these settings-Color #c0a82c
47. Activate the tube ‘’ Steampunk_35_Image_3.pspimage’’
- Edit/ Copy-Edit - Paste as new layer on your working image
- With the Move Tool -(M) move it on the bottom right corner (on the trunk of the tree)
- Color-palette:Set your foreground color to #42241c
48. Activate Brush Tool and replace the Target down the left mouse button move to the cloud
(if you opt for other colors thinking has become darker in color in your work for this purpose)
49. Effects- Edge Effects- Enhance
50. Layers- Duplicate – Image Flip
51. Double click on this Layer and set the Blend Mode to "Hard Light "
52.
Effects –Plugins - Unlimited – Photo Agin Kit- Centerspot /Vignetting –
Intensity a 192
Activate the layer underneath
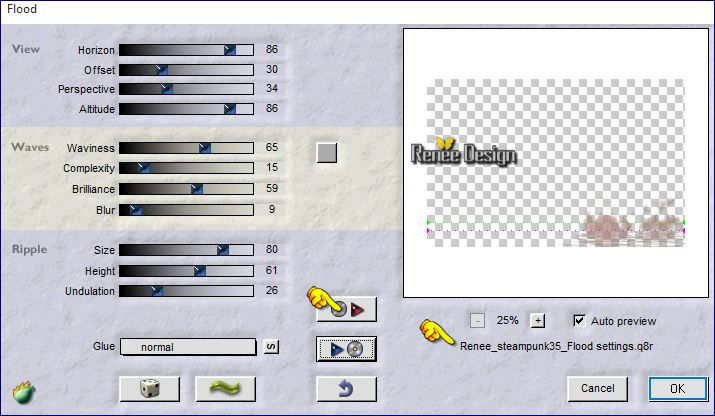
53.
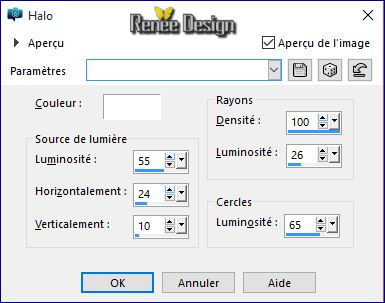
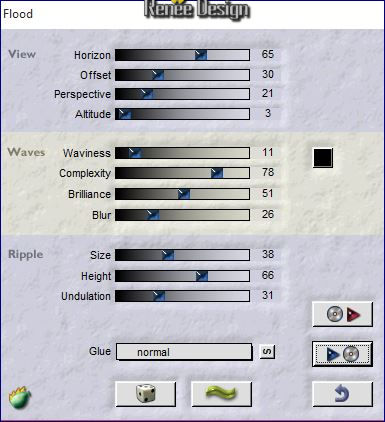
Effects- Plugins– Flaming pear – Flood -click on the red arrow>> and select my file- Preset ‘’
Renee_steampunk35_Flood settings.q8r’’
 2. can be used in any folder of your choice by clicking it. -3 Open it will be ok in your filter 2. can be used in any folder of your choice by clicking it. -3 Open it will be ok in your filter
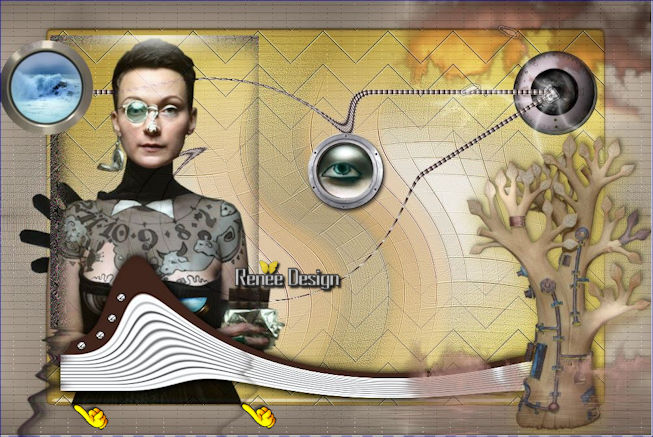
- Your work and Layer Palette look like this now
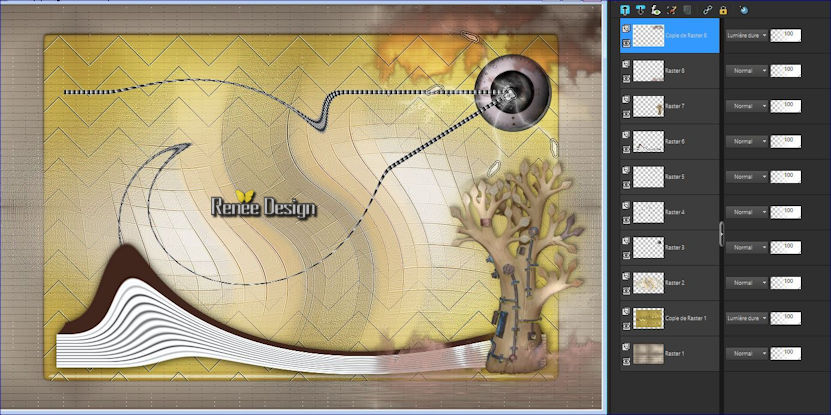
- Activate the top of the layer palette
54. Layers- New Raster Layer
55. Activate the tube ‘’ Steampunk_35_Image_4.pspimage’’
- Edit/ Copy-Edit - Paste as new layer on your working image
-
- With the Move Tool -(M) move it on the left
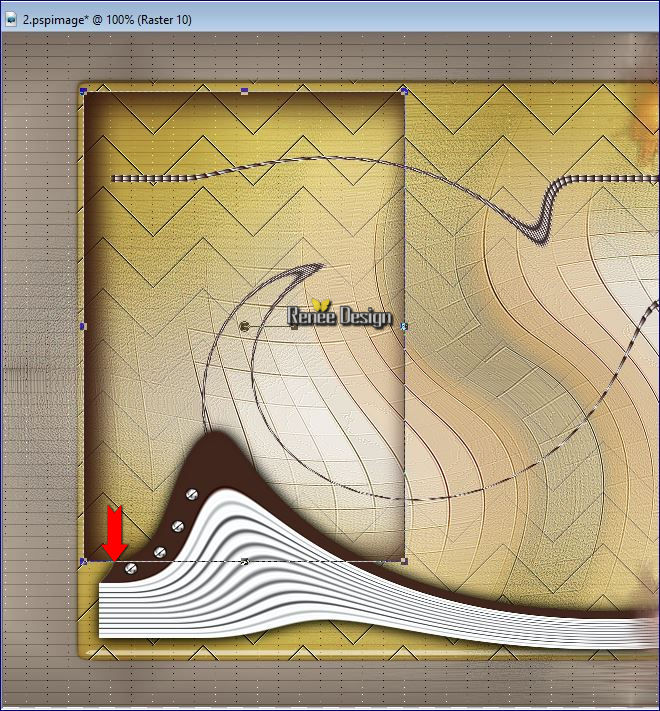
56. Activate the tube « Steampunk_35_Image_5.pspimage »
- Edit/ Copy-Edit - Paste as new layer on your working image
57. With your Pick Tool (K) place it in the right place as shown in the example below
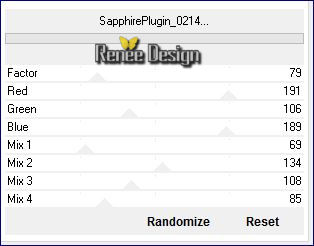
58.
Effects –Plugins- Unlimited - Sapphire Filters 03-
SapphirePlugin_0214..use settings below
59.Effects- Illumination Effects- Sunburst use settings below
60.
Effects- Plugins– Flaming Pear Flood-select my file -Preset ‘’
Renee_steampunk35_Flood_2 settings’’
- Layer palette – Make Raster 5 active
61. Activate the tube ‘’ Renee_tube_femme_mer_terre.pspimage’’
- Activate layer 1–of the tube - Image Resize 78%
- Edit/ Copy-Edit - Paste as new layer on your working image
- With the Move Tool -(M) move it on the left side as shown in the example below
- Activate the top of the layer palette
On the same tube ‘’ ‘’Renee_tube_femme_mer_terre.pspimage’’
- Activate layer 2 and layer 3 of the tube
- Edit/ Copy-Edit - Paste as new layer on your working image
-
Good placing see screenshot above
-Layer- Palette
- Layer palette – Make Raster 11 active(tube of the woman)
62.
Effects- PluginsFlaming pear Flood -select my file - Preset
‘’Renee_steampunk35_Flood_3 settings.q8r’’
- Activate the top of the layer palette
- Color-palette:Set your foreground color to #5b5243
63. Layers- New Raster Layer
64.
Selections –load/save selection –load selection from disc and choose my selection:’’
Steampunk35_selection3’’
65. Activate Flood Fill Tool and fill the selection with the foreground color
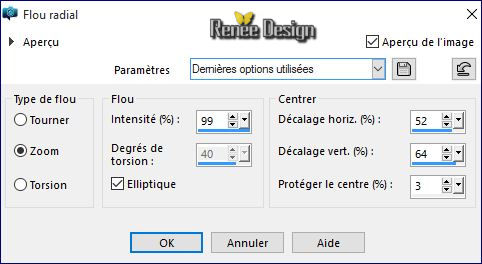
66. Adjust-Blur-Radial Blur use settings below
Keep Selected
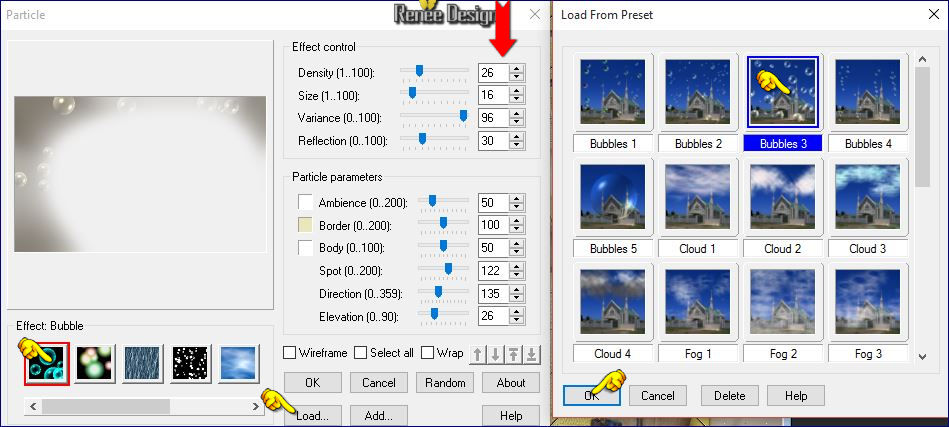
67. Effects- Plugins– Ulead particle
Select effect Bubble– use settings below
Click
Load
Choise
Bubbles 3
OK
Ok
Selections- Deselect All
68. -Set the layer opacity of this layer to 81%
69. Activate the tube ‘’ Renee_Steam_35_Zepplin.pspimage’’
- Edit/ Copy-Edit - Paste as new layer on your working image
-
Activate your Move Tool (M) move it in the right place (see finished image)
70.
Effects- Plugins– Flaming Pear – Flood and select my file –Preset
« Renee_steampunk35_Flood settings”
71. Image - Add borders-Symmetric checked: 1 pixel color #42241c
72. Image - Add borders-Symmetric checked: 20 pixels color #eaddca
73. Image - Add borders-Symmetric checked: 1 pixel color #c0a82c
74. Image - Add borders-Symmetric checked: 50 pixels color #5b5243
75. Image - Add borders-Symmetric checked: 10 pixels color #ebddca
- Color Palette: Set your Foregroundcolor to Foreground/Background Gradient and select "ES Platinum
35"-Style linear configured like this
76. Activate the Magic Wand and select the border of 50 pixels
77. Layers- New Raster Layer
78. Activate Flood Fill Tool and fill the selection with the gradient
79. Double click on this Layer and set the Blend Mode to "Hard Light "
80. Effects- Edge Effects-Enhance
81 .
Selections- Invert
82. Effects- 3 D Effects- Drop Shadow with these settings 2/2/100/5 black
Selections- Deselect All
83. Activate the tube ‘’ Steampunk_35_Image_6.pspimage’’
-Edit/ Copy-Edit - Paste as new layer on your working image
-Move Tool(M) move against the top edge
84. Layers- Duplicate- Image Flip
85. Activate the tube ‘’ Renee_tube_tuyaux_pour steampunk_35
- Edit/ Copy-Edit - Paste as new layer on your working image and move to the left side
86. Click on your Text Tool-Font « WebPressBold »
Write your text-Of take mine « titre_steampunk_35 »
On my own text- I realized a slight extrude effect «
87. Image - Add borders-Symmetric checked: 1 pixel color #42241c
88. Image
Resize 999 pixels width
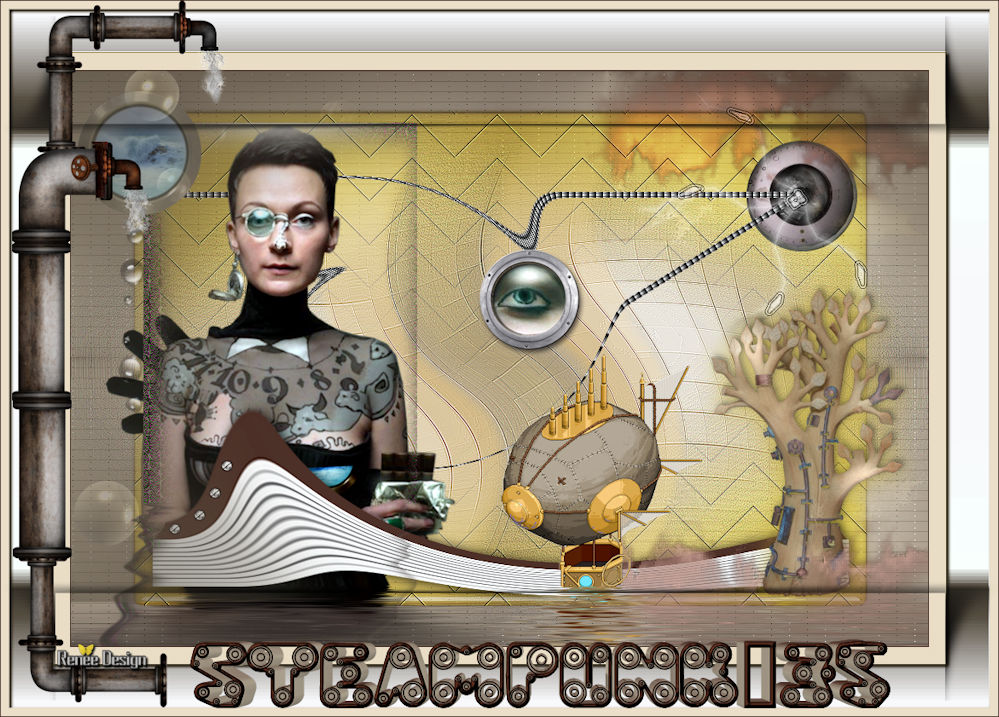
Save as JPG
I hope you enjoyed this lesson
Renée
This lesson was written by Renée 24/01/2016
Edited and Update
2016
*
Any resemblance with an existing lesson is a coincidence
* Do not forget to thank the people who work with us and for us I have appointed the tubeurs and translators
Thanks Renée
| 
 Translations


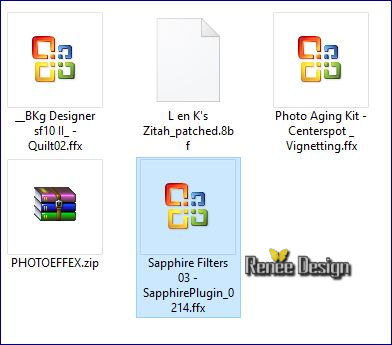

 When you see this logo the filter is imported in Unlimited


 All rights reserved