|
Let's start the lesson.
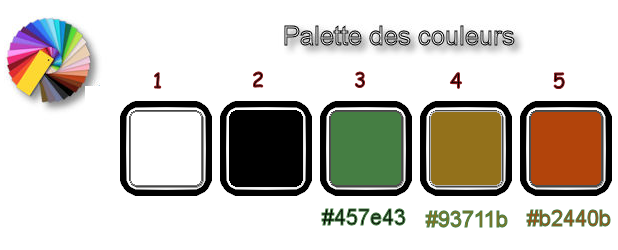
Preparation/ Material Properties: Set your foreground color to #ffffff- Set your background color to black

1.
Open Image ‘’Fond_Steampunk_44’’ – Window - Duplicate (or shift+D) - Close the original and proceed on the copy -Promote Background Layer =Raster 1
2.
Layers- Duplicate
3.
Effects –Plugins – Two Moon – VerticalShop Blur : 25/21
4.
Effects- Edge Effects- Enhance More
5.
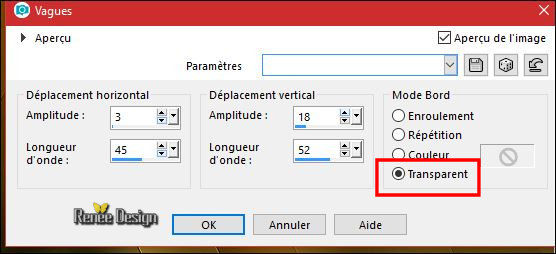
Effects – Distortion Effects –Wave use the settings below

6.
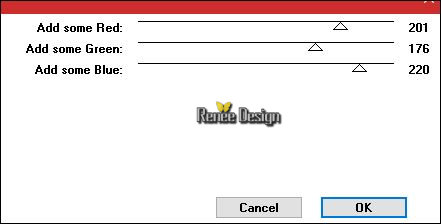
Effects – Plugins – Two Moon – Fade
Spot

7.
Layers-Properties-Set the Blend Mode to" Overlay"
8. Effects –
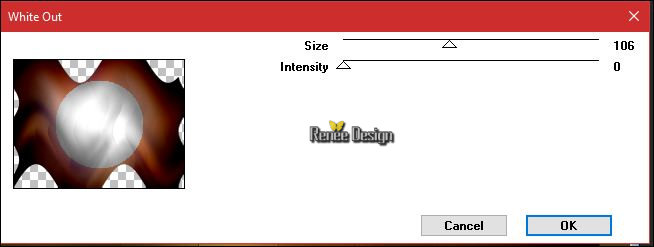
Plugins – Graphic plus – White out

9. Layers- Duplicate
10. Image - Mirror - Mirror Horizontal (Image - Mirror in older versions of PSP)
11. Effects
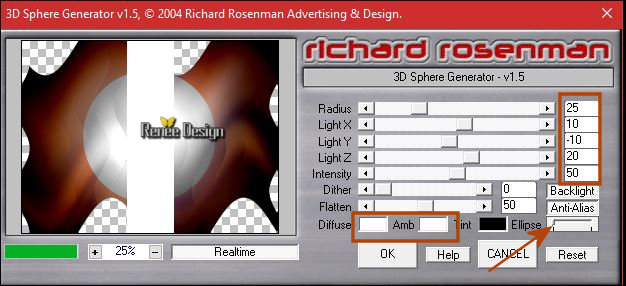
- Plugins – Richard Rosenman -3D Sphere
Generator-Ellipse 0

12. Layers- Merge- Merge Down
13.
Effects – Plugins -Unlimited - Andrew's Filter Collection 56 -A Bit
Left Over Gradient... using the default settings
14. Layers- New Raster Layer
15. Activate the Flood Fill Tool  fill the layer with the foreground color #ffffff fill the layer with the foreground color #ffffff
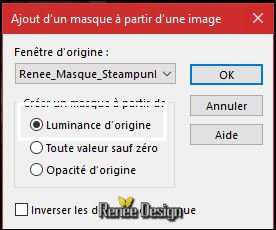
16. Layers- New Mask Layer from Image and select Mask:
‘’Renee_Masque_Steampunk_44’’

- Layers- Merge- Merge Group
17. Effects- Edge Effects- Enhance More
18.
Layers-Properties-Set the Blend Mode to" Hard Light "
- Color Palette: Set your foreground color to #457e43 =Nr 3
19. Layers- New Raster Layer
20. Activate the Flood Fill Tool fill the layer with the foreground color #457e43
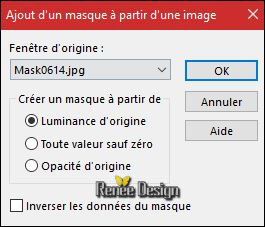
21. Layers- New Mask Layer from Image and select Mask:
‘Mask0614.jpg’’

- Effects- Edge Effects- Enhance More
- Layers- Merge- Merge Group
22. Effects –Plugins – Pixellisation – Mezzo tinto / Points
fins
23.
Layers-Properties-Set the Blend Mode to" Dodge"
24. Activate the tube ‘’ Sol_steampunk_44.png’’
- Edit - Copy- Activate your work -Edit - Paste as a new layer
25. Objects –
Align – Bottom
26.
Layers-Properties-Set the Blend Mode to" Overlay"
27. Layers- New Raster Layer
28.
Selections –load/save selection –load selection from disc and select my selection: ‘’Steampunk_44 ‘’
29. Activate the Flood Fill Tool  and fill the selection with black and fill the selection with black
30. Adjust- Blur- Gaussian Blur- Radius: 3
Selections- Deselect All
31. Layers- New Raster Layer
32.
Selections –load/save selection –load selection from disc and select my selection: ‘’Steampunk_44_1 ‘’
33. Activate the Flood Fill Tool –Change the opacity of the color to 50% –and fill the selection with black
34.
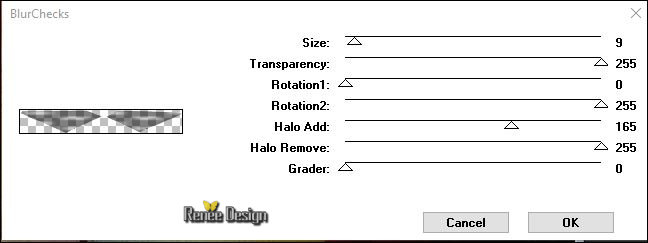
Effects –Plugins – Two Moon –
BlurChecks use the settings below

Selections- Deselect All
35.
Layers-Properties-Set the Blend Mode to" Lighten"
36. Layers- Duplicate
- Layers-Properties-Set the Blend Mode to" Screen"
37. Activate the tube ‘’ Carres_steampunk_44.png’’
- Edit - Copy- Activate your work -Edit - Paste as a new layer
38. Effects
–Image Effects- Offset with these settings: H = - 391 and V =
68
39. Effects- 3D Effects- Drop Shadow with these settings: 1/1/85/1 black
40. Layers-Properties-Set the Blend Mode to" Hard Light "– Decrease the opacity of the layer to 53%
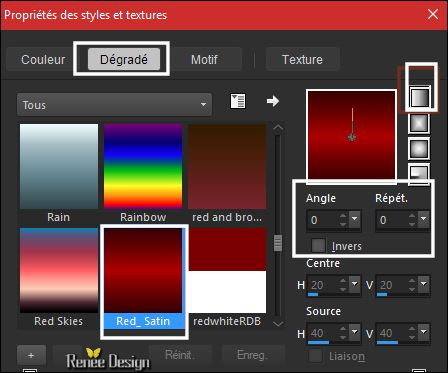
- Material Properties: Change material of the foreground into linear gradient and select my gradient ‘’ Red_
Satin.pspGradient’’

41. Layers- New Raster Layer
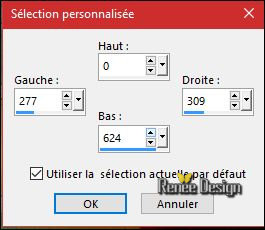
42.
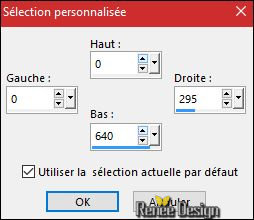
Activate Selection Tool -Custom Selection (S) -Rectangle with these settings

43. Activate the Flood Fill Tool –Change the opacity of the color to 50%– Fill the selection with the gradient
44. Effects
–Plugins or Unlimited – Funhouse – Heizenberg’s
Mirror : 109
45. Effects- Edge Effects- Enhance More
-
Layers-Properties-Set the Blend Mode to" Burn "
Selections- Deselect All
46.
Selections –load/save selection –load selection from disc and select my selection: ‘’Steampunk_44_2 ‘’
DELETE

Keep selected
47. Layers- New Raster Layer
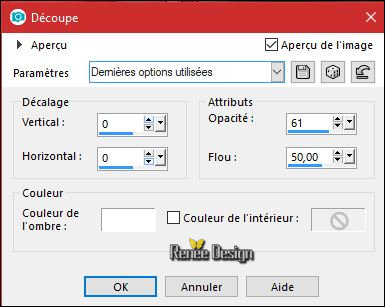
48. Effects- 3 D Effects- Cutout with these settings

49.
Layers-Properties-Set the Blend Mode to" Screen"
- In the Layer-Palette- Make Raster 5 active
50. Effects
– Plugins – Eyecandy 5 Impact – Glass /Preset :
Clear using the default settings
Selections- Deselect All
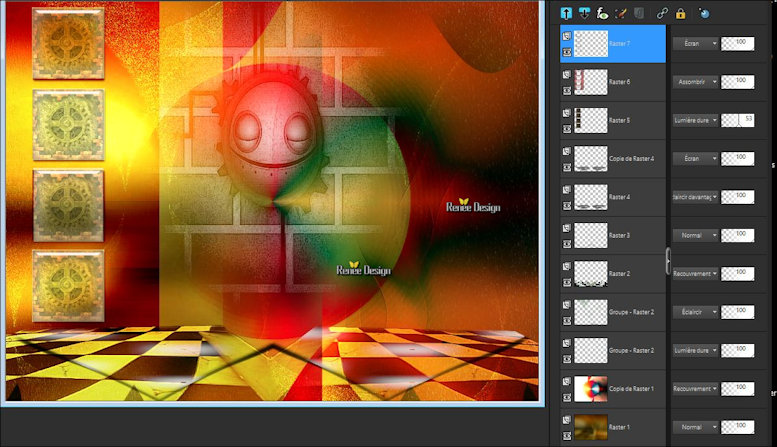
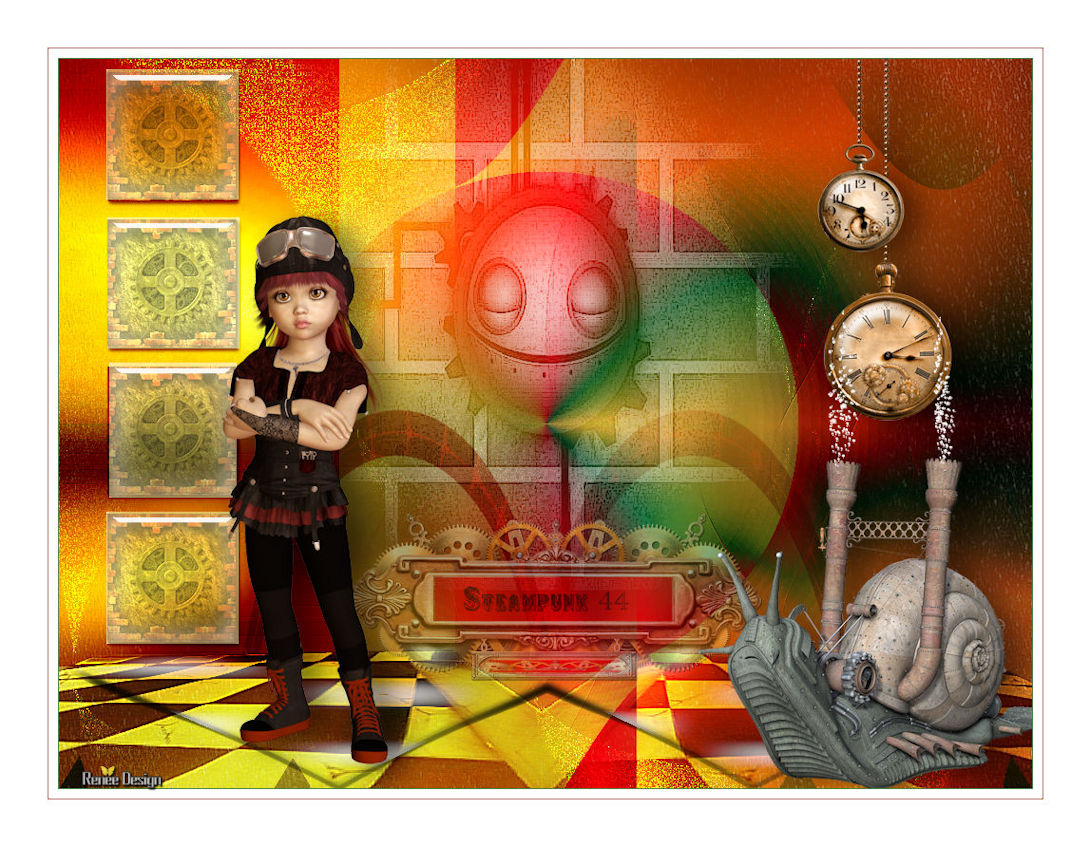
Your work and Layer Palette look like this now-You should have this result

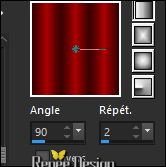
- Change the settings of the gradient Angle 90 -Repeats 2 (see in the example below )

51. Layers- New Raster Layer
52.
Activate Selection Tool -Custom Selection (S) -Rectangle with these settings

53. Activate the Flood Fill Tool –Change the opacity of the color to 100%- Fill the selection with the gradient
54. Effects
– Plugins -Unlimited - or Plugins -Funhouse - Ring Tile......
11/8/4
Selections- Deselect All
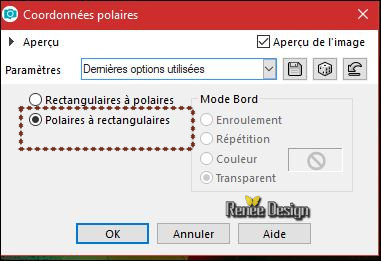
55. Effects – Distortion Effects –Polar Coordinates-Polar to Regtangular

56. Effects –Image Effects- Offset with these settings: H = 100 and V = - 65
57.
Layers-Properties-Set the Blend Mode to" Soft Light "
58.
Layers- Duplicate
59. Image - Mirror - Mirror Horizontal (Image - Mirror in older versions of PSP)
60. Layers- Merge- Merge Down
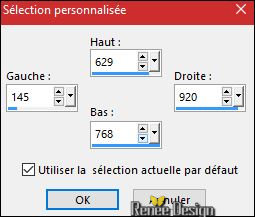
61.
Activate Selection Tool -Custom Selection (S) -Rectangle with these settings

DELETE

Selections- Deselect All
62. Activate the tube ‘’ Logo_Steampunk_44.png’’
- Edit - Copy- Activate your work -Edit - Paste as a new layer
-Move it in the right place
63.
Decrease the opacity of the layer to 55%
64. Activate the tube ‘’ Belscrap_Steampunk_El 89’’ - EL 90 at choice
-Edit - Copy- Activate your work -Edit - Paste as a new layer-Move to the left
65. Effects- 3D Effects- Drop Shadow with these settings: 4/18/50/40 black
66. Activate the 2 tuben ‘’ Renee_TUBESteampunk_44.pspimage’’
- Edit - Copy- Activate your work -Edit - Paste as a new layer-Move it in the right place
67. Repeat -Drop Shadow on 2 tubes (with the same settings)
68. Layers- New Raster Layer
69. Color Palette: Set your foreground color to #ffffff-Activate Paint Brush- shape round /Size 2
and 6 and create bubble effect
( see finished Image)
(Do you have problems with this ? Image " bulles png''is included in the zipfile- Paste it as a new layer on your working area)
70. Image - Add borders-Symmetric checked 1 pixel #457e43 = nr. 3
71.Image - Add borders-Symmetric checked 10 pixels #ffffff
72.Image - Add borders-Symmetric checked 1 pixel #b2440b = nr. 5
73.Image - Add borders-Symmetric checked 50 pixels #ffffff
74. Image - Resize 85 % all layers checked
Save as JPG
I hope you enjoyed this lesson
Renée
This lesson was written by Renée 2017
Edited and Update
2017
*
Any resemblance with an existing lesson is a coincidence
* Do not forget to thank the people who work with us and for us I have appointed the tubeurs and translators
Thanks
*
| 
 Translations


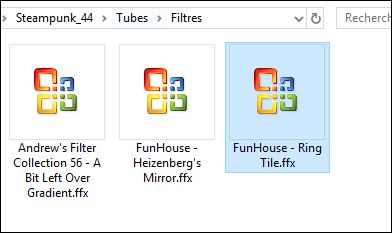


 If a plugin supplied appears with this icon it must necessarily be imported into Unlimited *
