|
Let's begin
1.
Open the Image '' fond _steampunk_6"Promote Background Layer = raster 1
2.
Layers-Duplicate
3.
Effects- Plugins L and K's /Pia 54
4.
Image-Rotate Right /Repeat: Effects-Plugins L an k's /Pia
54
Image -Rotate Left
5.Layers-Duplicate
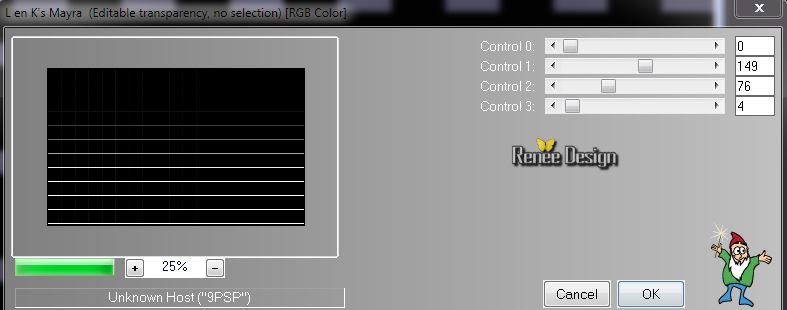
6.
Effects -Plugins L and K's / Marya
7.
Effects - Plugins Transparency - Eliminate Black
8.
Effet -Plugins Simple - Blintz
9.
Effet - Plugins Simple - Diamonds
10.Layers-Duplicate-Image Mirror
Layers-Merge-Merge Down
11.
Activate the layer underneath (Copie de Raster 1)
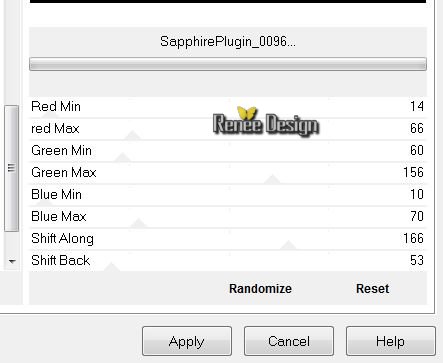
12.
Effects -Plugins Unlimited Sapphire 001 - Sapphire
Plugin_0096
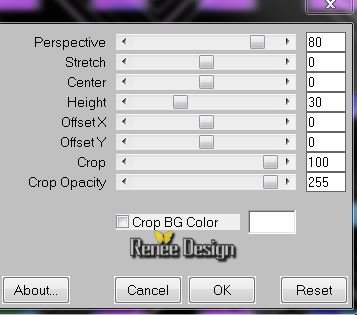
13.
Effects -Plugins Mura's meister - Perspective Tilling
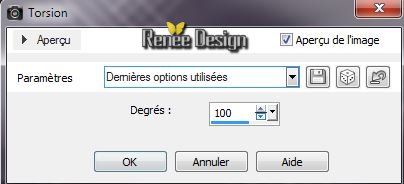
14.
Effects - Distortion Effects-Twirl
-
Aktivate the top of the Layers palette(Copie(2) sur Raster
1
15.
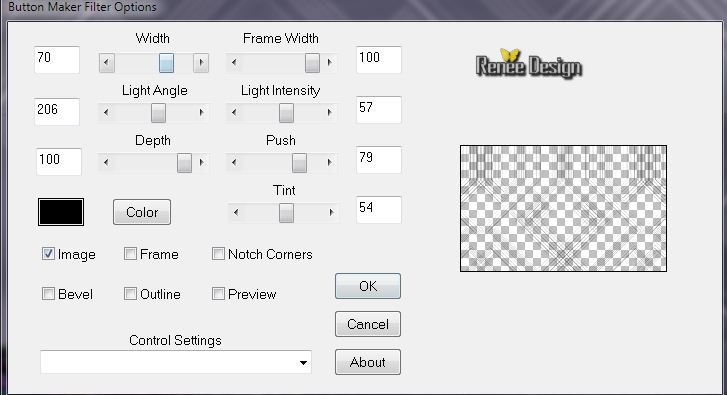
Effects -Plugins Photo Swizzle / Button maker
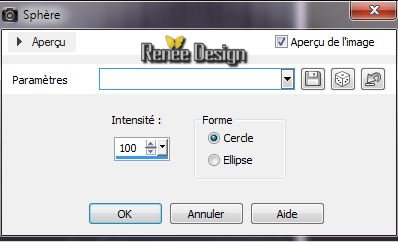
16. Effects - Geometrie Effects
- Spherize
17.
Effects - Plugins EyeCandy 5 Impact - Extrude /Preset
''steampunk6_extrude''
18.
Selections - load/save selection - load selection from disk and choose '' Steampunk6_1'' /
Delete
-
Selections- Select none
19. Open the tube ''calguismiststeampunk26012014''/Image Resize 65 % /Edit/copy -Edit/paste as a new Layer and place
20. Layer-Palette: Blend Mode " Exclusion"
21. Layers-New raster layer
22.
Material Properties: Foregroundcolor to gradient
"aynewone14.jgd''/ Prepare a linear Gradient as configured
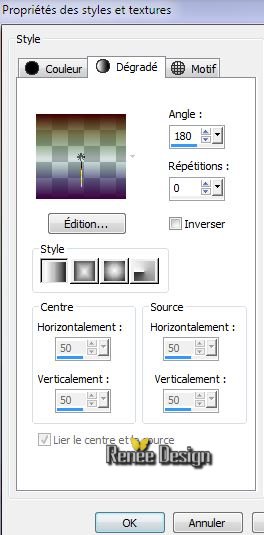
23.
Flood Fill Tool: Fill the layer with the gradient
24.
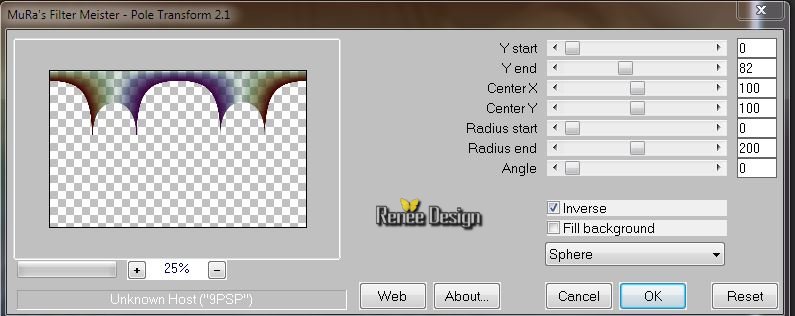
Effects - Plugins Mura's Meister -Pole Transformation
25. Effects
- 3D Effects -Drop shadow 0/0/77/38 black
26.
Layers-Duplicate
27. Effects
- Geometrie Effects Circle- transparent
Layer-Palette: Blend Mode " Screen"
Layer Palette look like this now:
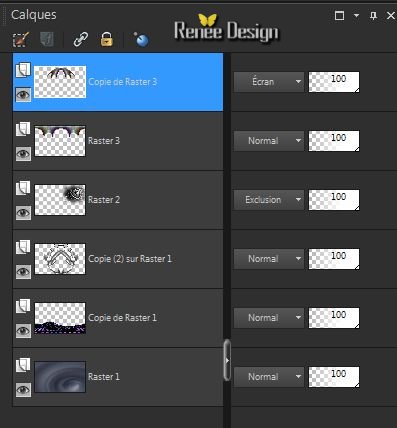
. Activate the layer underneath raster 3
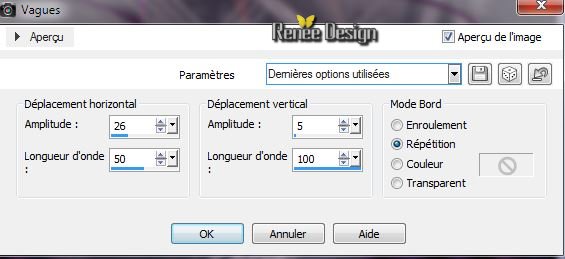
28. Effects- Distortion Effects - Wave
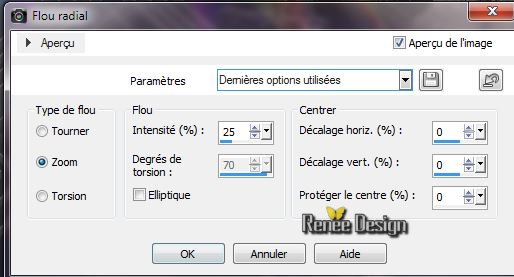
29.
Adjust-Blur-Radial Blur
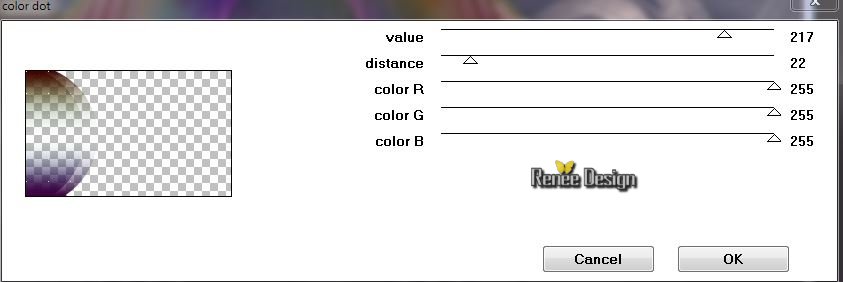
30. Effects
-Plugins Penta Com / Color Dot 90/2/255/255/255
Aktivate the top of the Layers palette
31. Layers-New raster layer.
32.
Selections - load/save selection - load selection from disk and choose ''steampunk6-2" /
Flood Fill Tool: Fill the selection with the gradient (the same settings)
-
Selections - Deselect all
33. Layers-Duplicate
34. Effects
- Image Effects - Offset H= - 65et V = 0
transparent
35. Layers-Merge-Merge Down
36.
Effects - Plugins Penta Com /Color dot
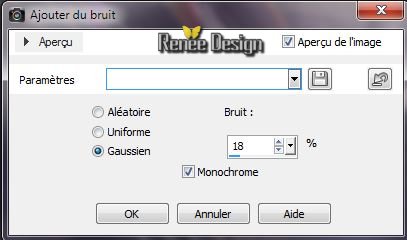
37.
Adjust- Add Noise/Remove Noise-Add Noise
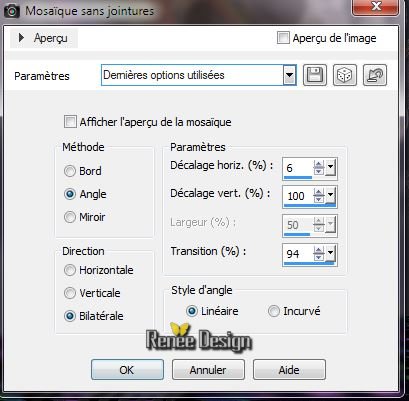
38. Effects - Image Effects- Seamless Tilling
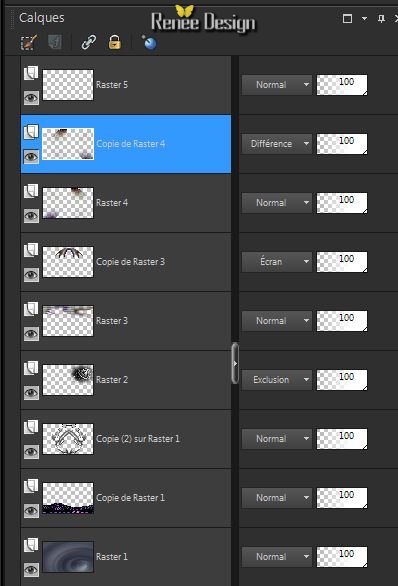
39. Layers-Duplicate /Image Mirror /Layer Palette: Blend Mode
"Difference"
Layer Palette look like this now:
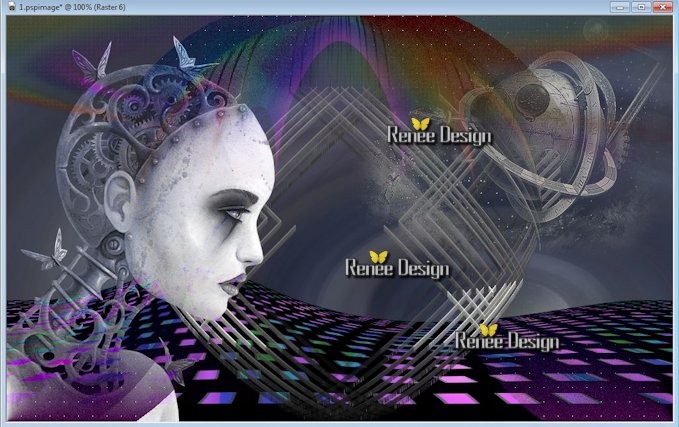
40. Open the tube ''Kryssteampunk-09-14-012'' /Edit/copy -Edit/paste as a new Layer and place on the left
Layers-Arrange-2x Arrange Down /Layer-Palette: Blend Mode " Luminance"
You have this resulte
Aktivate the top of the Layers palette
41. Open the tube ''Lize-steampunk5'' /Image Resize 65%
/Edit/copy -Edit/paste as a new layer and place
42. Aktivate your Pen Tool: - Line Style: ''krisslashbox'' (in the folder)Place it in your map line styles PSP.
Draw two lines (Look at the great example) Color : #919191/Width 2

43.
Layers-New raster layer.
44.
Material Properties: Foregroundcolor gradient ''
aynewone14.jgd''/ /Prepare a linear Gradient as configured

Flood Fill Tool: Fill the layer with the gradient
45. Open the Mask ''Narah_mask_0405/ Image Mirror of the mask
Layers-New mask layer from image
''Narah_mask_0405.jpg''
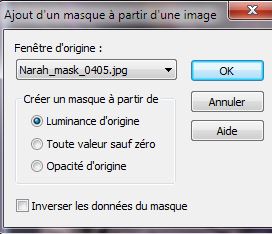
Layers- Merge-Merge Group
46.
Selections-Custom Selection with these settings:
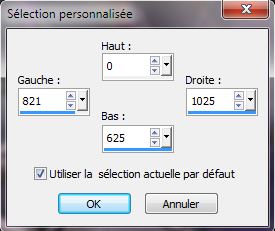
47.Selections-Promote selection to layer
48.
Effects -Plugns Unlimited - AFS[ Import] - AFHspaz1(in the folder)
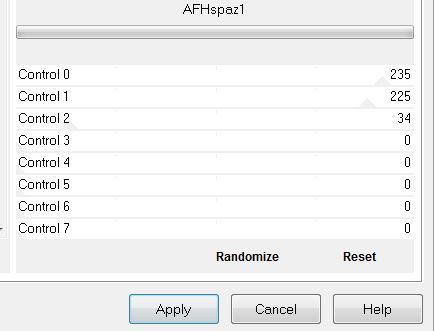
Layer Palette: Lower the opacity to 53%
-
Selections - Deselect all
49.
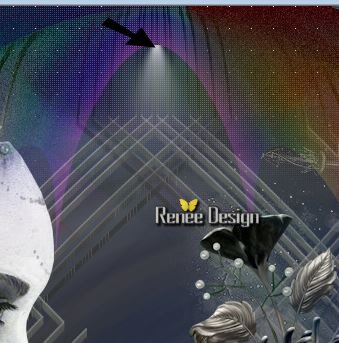
Material Properties: Foregroundcolor to color white. Layers-New raster layer
50. Aktivate the Paint Brush Tool: looking for my brush steampunk 6 / and then click 3 or 4 times (see example)

51. Open the tube ''Steampunk6_coeur'' / Edit/copy -Edit/paste as a new Layer and place
52. Layer-Palette: Blend Mode " Luminance Legacy "
53.
Layers-Merge-Merge Visible
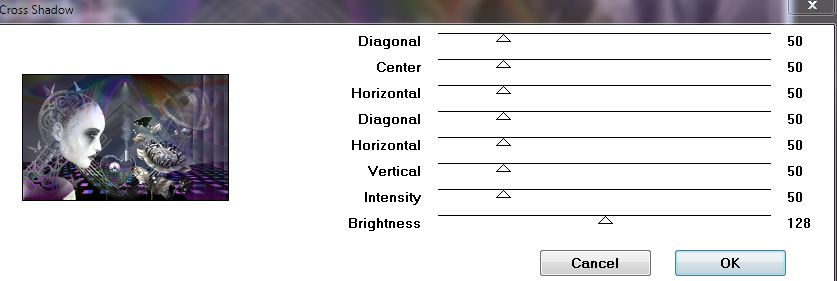
54. Effects
-Plugins Graphic Plus - Cross shadow
55. Edit/copy
56. Image - Add Borders - Symmetric 2 pixels black
57. Image - Add Borders - Symmetric 2 pixels white
58. Image - Add Borders - Symmetric 2 pixels black
59. Image - Add Borders - Symmetric 40 pixels color #471b5b
60. Image - Add Borders - Symmetric 2 pixels black
61. Image - Add Borders - Symmetric 15pixels white
62. Image - Add Borders - Symmetric 2 pixels black
63. With your magic wand select the border of 40 pixels
Edit paste in the selection
64.
Adjust-Blur-Gaussian Blur: Radius 31
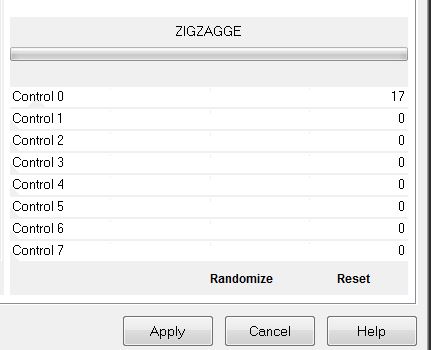
65. Effects-Plugins
AFS[import] /Zigzagge
66.
Selections - Deselect all
Image Resize 1025 pixels Width
That's it !! You've done it !
Renée
This lesson was written by Renée
13/02/2014
Created the
*
Any resemblance with an existing lesson is merely a coincidence
*
Don't forget to thank the people who work for us and with us. I named the tubeurs - Testers and the translators
Thanks Renée.
| 


 Translations


