|
Let's start the lesson
Surréalisme
inspiré de Picasso
Surrealism inspired by Picasso
1.
File-Open a New Transparent Image in this size :1050 x 650 Pixels
-
Selections- Select All
2.
Open the tube - Edit - Copy - Activate your work - Edit - Paste into selection

3.
Adjust-Blur- Radial Blur use the settings below
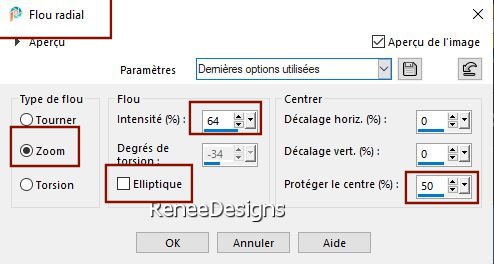
4.
Layers- Duplicate
5.
Adjust-Blur- Radial Blur use the settings below
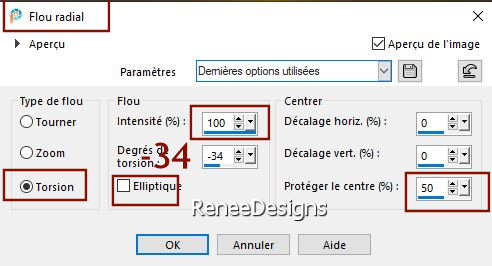
6.
Adjust- One Step Photo Fix (Edit- Repeat One Step Photo Fix )
7.
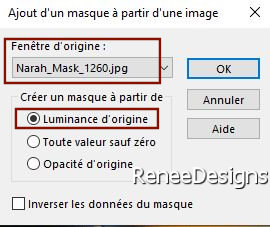
Layers - New mask layer - From image and select mask:
‘’Narah_Mask_1260.jpg’’
-
Layers- Duplicate
-
Layers- Merge- Merge Group
8.
Effects – Edge Effects – Enhance More
9.
Layers- Duplicate
10.
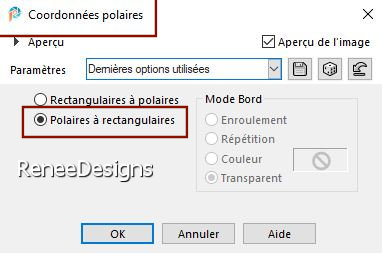
Effects–Distortion Effects– Polar Coordinates-Polar to Rectangular
11.
Image - Mirror - Mirror vertical ( Image - Flip in older versions of PSP)
12.
Effects- Plugins– Mura’s Meister – Perspective
Tiling - using the default settings
13.
Layers-Properties-Set the Blend Mode to Overlay -Reduce the opacity of this layer to 77%
-
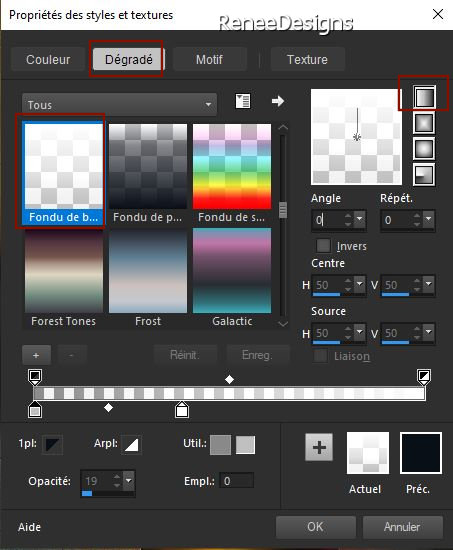
Properties foreground: Change foreground material into gradient and select-"Fading white"
-Put your foreground on the linear gradient with settings below
14.
Layers- New Raster Layer
15.
Selections –load/save selection –load selection from disc and select my selection: ‘’Surrealisme-Picasso-1’’
16.
Flood Fill Tool
 -
Flood fill the selection with the gradient -
Flood fill the selection with the gradient

17.
Effects- Edge Effects-Erode
18.
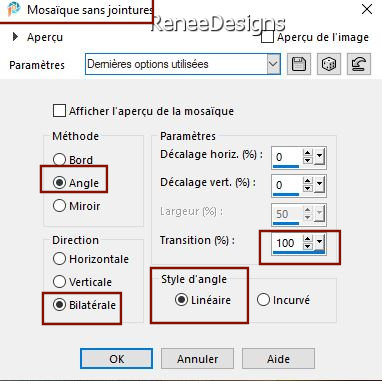
Effects- Image Effects- Seamless Tiling-use the settings below
19.
Activate tube ‘’
Image-Surrealisme-Picasso-Grille.pspimage’’ - Edit - Copy- Activate your work -Edit - Paste as new layer
20.
Objects-Align-Left
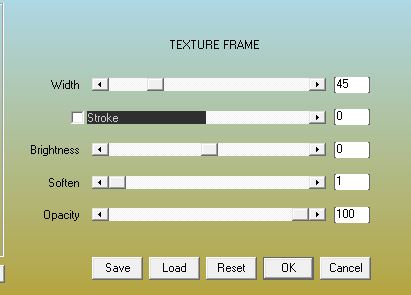
21.
Effects- 3 D-Effects- Drop Shadow with these settings: 0/0/75/28 Color black
22.
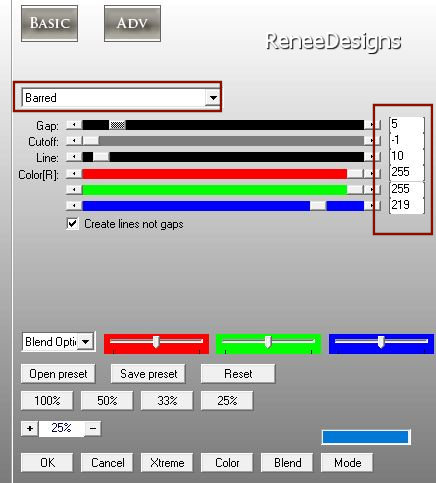
Effects- Plugins - AP[Lines] Lines –
Silverlining use the settings below
23.
Activate tube ‘’Image-Surrealisme-Picasso-Deco 1’’ - Edit - Copy- Activate your work -Edit - Paste as new layer
24.
Pick Tool: (K) on your keyboard -Enter these parameters on the toolbar
 91
/87 91
/87
Press the ( M ) button to close the tool.
-Layer palette -Activate Raster 1
25.
Activate tube ‘’Image-Surrealisme-Picasso-Deco 2’’ - Edit - Copy- Activate your work -Edit - Paste as new layer
26.
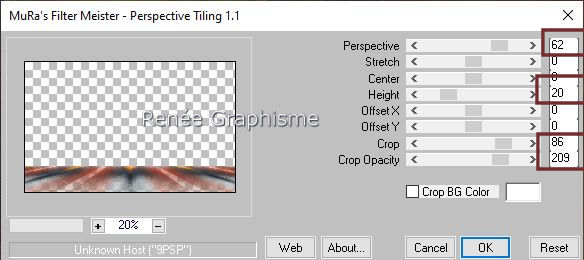
Effects- Plugins– Mura’s Meister – Perspective
Tiling use the settings below
27.
Layers- New Raster Layer
28.
Selections –load/save selection –load selection from disc and select my selection: ‘’Surrealisme-Picasso-2’’
29.
Activate the mask ‘’
11_msk_por_silvina_vanesa_orsi.jpg’’
-
Edit - Copy - Activate your work - Edit - Paste into selection

30.
Layers-Properties-Set the Blend Mode to Overlay -Reduce the opacity of this layer to 81%
31.
Layers- New Raster Layer
32.
Selections –load/save selection –load selection from disc and select my selection: ‘’Surrealisme-Picasso-3’’
33.
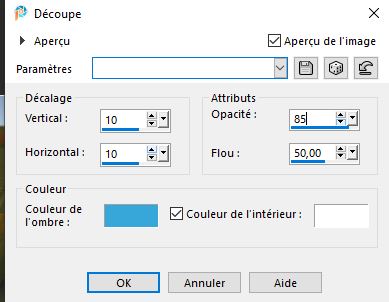
Effects-3D-Effects- Cutout-Colors #38a6d9 and ffffff ( white)

34.
Layers-Properties-Set the Blend Mode to Overlay
35.
Layers- Duplicate
36.
Layers- New Raster Layer
-
Selections- Select All
37.
Open the tube
‘’Image-Surrealisme-Picasso-F2.jpg’’ -Edit - Copy - Activate your work - Edit - Paste into selection

38.
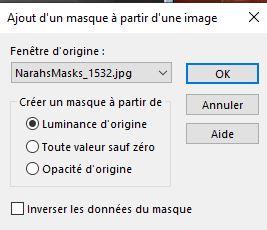
Layers - New mask layer - From image and select mask:
‘’ NarahsMasks_1532.jpg’’
-
Layers- Merge- Merge Group
39.
Selections –load/save selection –load selection from disc and select my selection: ‘’Surrealisme-Picasso-2’’


40.
Effects- Plugins - Filters in Unlimited 2.0 -
&<Background Designers IV> - @Night Shadow Pool- Default
41.
Effects- User Defined Filter – Emboss 3 / Edit-Repeat User Defined Filter
- Activate the top of the layer palette
42.
Layers- New Raster Layer
43.
Selections –load/save selection –load selection from disc and select my selection: ‘’Surrealisme-Picasso-4’’
Again: Properties foreground: Change foreground material into gradient and select-"Fading white"
-Put your foreground on the linear gradient with settings below

44.
Flood Fill Tool
 -
Fill the selection with the gradient -
Fill the selection with the gradient
45.
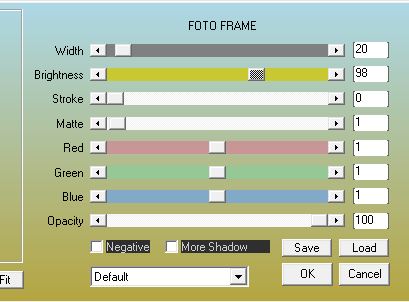
Effects- Plugins– AAA – Frame – Foto frame use the settings below
46.
Effects- Plugins– AAA – Frame – Foto frame use the settings below
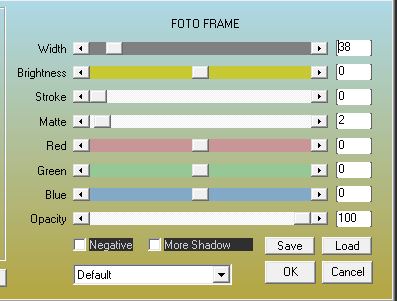
47.
Effects- 3D-Effects- Drop Shadow with these settings: 0/0/60/30 Color Black

48.
Activate the tube ‘’ Renee-TUBES-Surrealisme-inspiré-de-Picasso-1.pspimage’’
49.
Image- Resize by 48 %
50.
Edit - Copy- Activate your work -Edit - Paste as new layer
51.
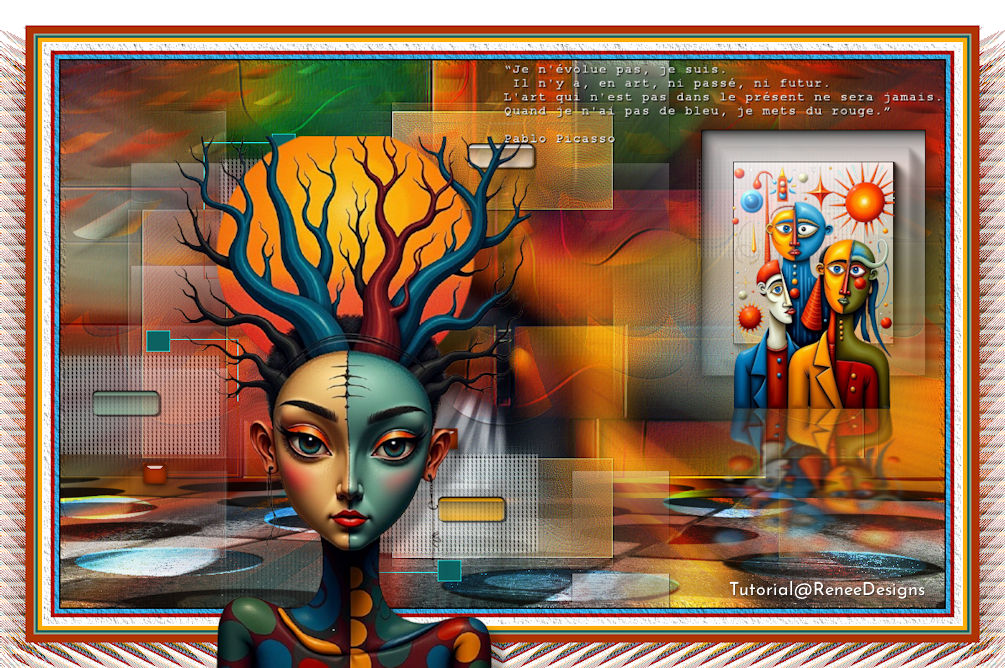
Move as shown in the example below
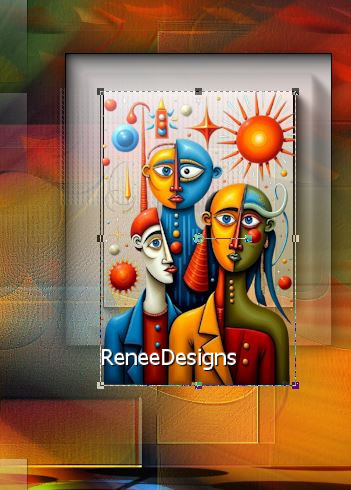
52.
Effects- Plugins - Alien Skin EyeCandy 5 –
Impact – Perspective Shadow –Tab-Settings- User Settings and select my file-Preset : ‘’Picasso-Renee-Shadow’’
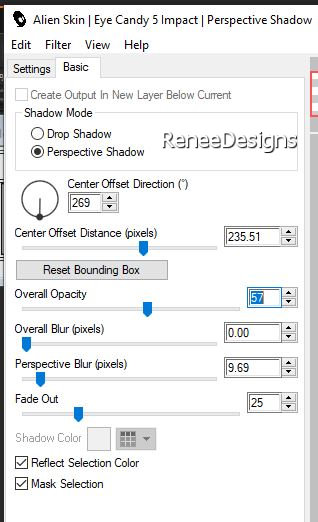
53.
Activate the tube ‘’
Image-Surrealisme-Picasso-Deco 3’’ - Edit - Copy- Activate your work -Edit - Paste as new layer
54.
Pick Tool: (K) on your keyboard -Enter these parameters on the toolbar
 37/98 37/98
-
Press the ( M ) button to close the tool.
55.
Layers- Merge- Merge All ( flatten)
56.
Image - Add Borders-Symmetric checked:1 Pixel -Color Black
The color palette is the same as the color palette used for the frame. (
You can change it to your taste.)

57. View - Toolbars - Script checked !! Activate toolbar Script, choose my file in the list "Surréalisme de Picasso"
Put the Script Surréalisme de Picasso in your Script folder –Restricted Script from PSP!
Click on the blue arrow and let it run-To change the colors, toggle execution mode

If you receive an error message
This message appears to be from a newer version of the PSP and may contain errors.
Nothing to worry about, just carry on.
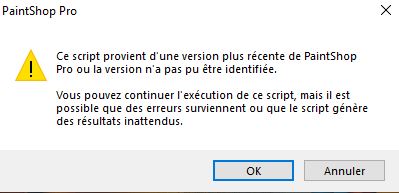
CLICK OK it will run
58.
Selections- Select All
59.
Selections- Modify-Contract 50 Px
60.
Effects- Plugins– AAA Frame – Textures Frame use the settings below


61.
Activate the Magic Wand - Select the white border
62.
Effects- Plugins - Filters in Unlimited 2.0 –
Funhouse – Angulate -Default
63.
Effects - Reflection Effects - Rotating Mirror- Default

64.
Open the tube of your choice -(Folder with extra tubes is included with the material) Resize if necessary. Place where you want.
65.
Effects- Plugins - Alien Skin EyeCandy 5 –
Impact – Perspective Shadow use the settings below
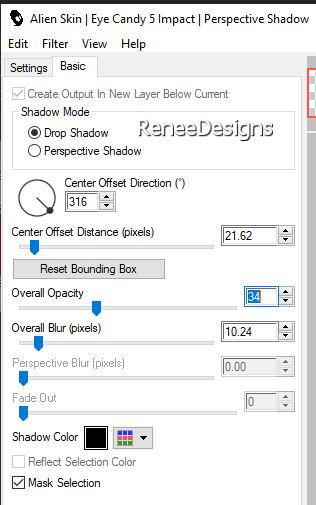
66.
Open the tube ''texte'' -Paste as a new layer and put the text in place (see finished image)
67.
Add the author's watermark to your work and your own watermark
68.
Layers- Merge- Merge All ( flatten)
69.
Layers - Resize to 1005 pixel width -Resize all layers checked
Save as JPG
Thanks for your time and enjoyment of this lesson.
Renée
This lesson was written by Renée 02/11/2024
Edited and Update
in 2024
*
* Any resemblance to an existing lesson is purely coincidental.
* Don't forget to thank the people who work with us and for us - the testers and translators
Thanks
*
|
 Translations


