|
New  Translations Translations
|
In [Dutch translated ] byMarion
Here

|
In [Englisch translated ] by Marion
Here

|
In [Italien translated ] by Graziella
Here

|
In [German translated ] by Marion
Here

|
Translations here
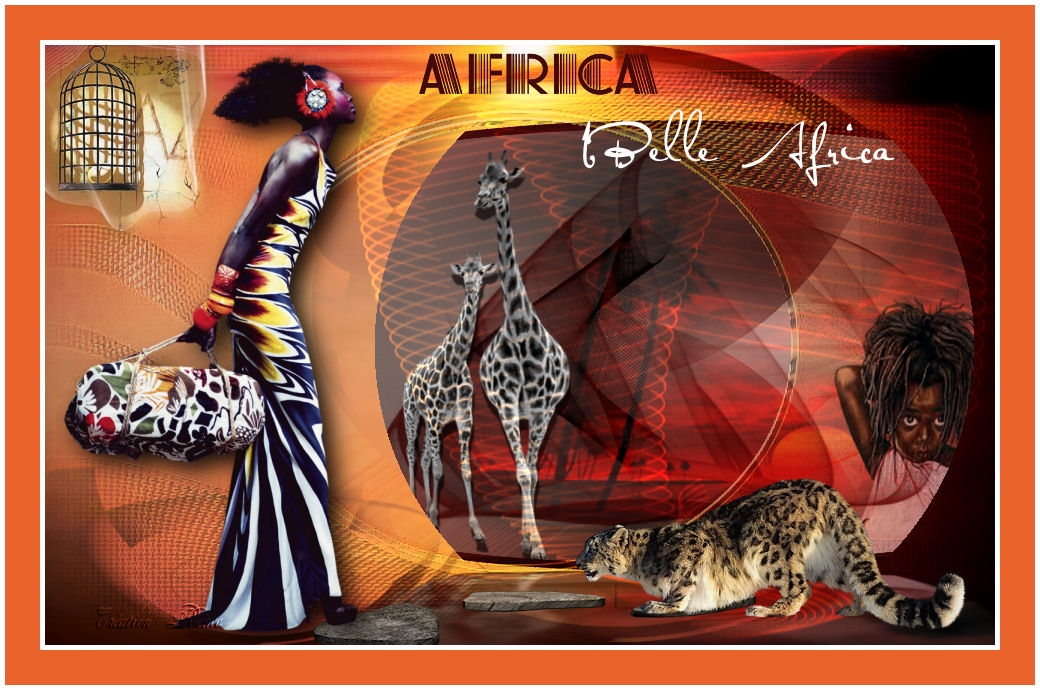
AFRICA

|
These Plugins are used for this Tutorial
*
Andromeda /Velocity
Filtre Factory A /Round bouton
Andromeda velocity
You can find my filters 

Website
http://www.reneegraphisme.fr/ |
|
Tube are of
*
Guismo - Thafs -
Reverie- Patries and Yoka
ATTENTION :
If it is your intention to share these tubes or these lessons in a group,club or forum please ask permission to the owner .
The tube may not be send without the lesson .
Please do not make changes to the tube, because this tube was made for this lesson only.
It is forbidden to share this tutorial without a link to the original lesson.
Thank you very much Renée *
* These tubes were received from tubeurs sharing groups Or found by me searsching on the net.
I Am grateful to have been given permission these beautiful tubes so please use any copyright information as needed.
If one of these tubes is yours? Contact me.
so I can make a link to your site or remove it.
Thank you very much Renée
|
|
Before starting
*
Open hardware
Open / tubes and close duplicate
Minimizing Mask at the bottom of your PSP
Put filters into their appropriate folders
Brushes and other tools in their records - respective Psp
To import presets Eye Candy 5 / Double click on the file it will automatically move in the setting file Filter
*
For older versions of PSP
if you have an error message to open the tubes
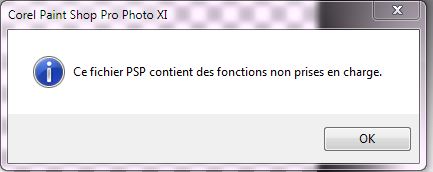
Click> OK and they will open
Thank you Renée
|
Let's start the lesson.
1. Color-palette:Set your foreground color to color #e9d2c8 - Set your background color to color #420b09
2. File-Open a new transparent image of
950 x 600 pixels
3. Activate Flood Fill Tool and fill the layer with the background color #420b09
4. Layers- New Raster Layer/Activate Flood Fill Tool and fill the layer with the foreground color #e9d2c8
5. Layers- New Mask layer from Image and choose Mask:
''Lotty_mask10''
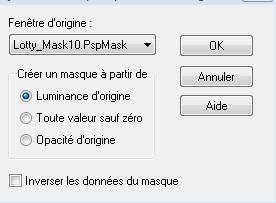
- attention
- Stay on the mask- layer / Effects- Edge Effects- Enhance
- Layers- Duplicate /Image
Flip
- Layers- Merge- Merge Group
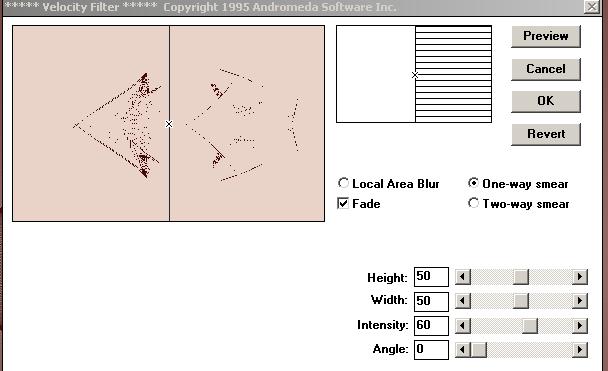
6. Effects- Plugins-
Andromeda /Velocity99 -Below are 2 screenshots of the old and new filter version
**Do you have problems with this- Image is into the zipfile and paste as a new layer on your working area and move
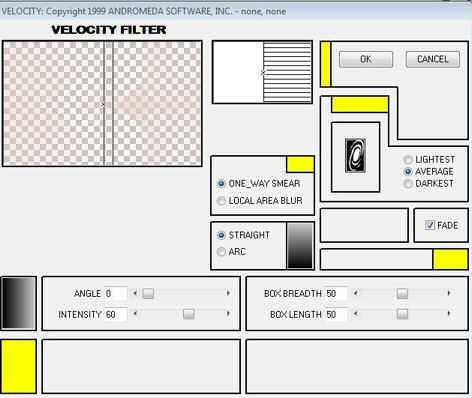
-Screenshot of the old Andromeda 95
7. Layers- New Raster Layer
8. Activate Flood Fill Tool and fill the layer with the background color #420b09
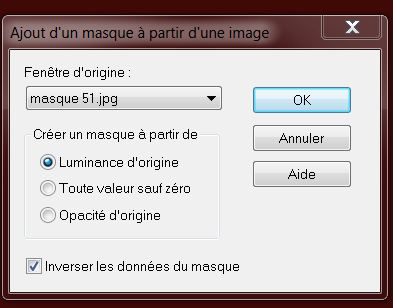
9. Layers- New Mask layer from Image and choose Mask:« masque 51 »
10. Layers- Merge- Merge Group
/Double click on this Layer and set the Blend Mode to "Soft Light "-Set the layer opacity of this layer to 93%
11. Activate the bottom of the layer palette =>raster 1
12. Layers- New Raster Layer
13. Selections- Select All
14. Open the tube paysage
« Jhanna 510»/Edit-Copy-Edit Paste into selection
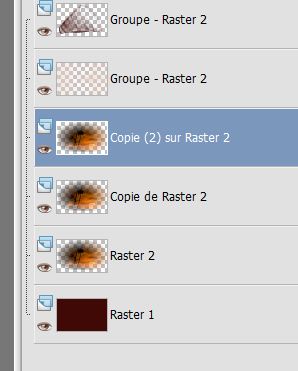
15. Selections- Deselect All/
Layers- Duplicate 2 ( see finished image )
Layer Palette look like this now
16. Layers- Merge- Down and repeat 1x ( We did this to get a better effect of the landscape )
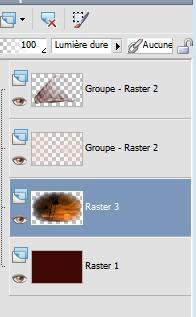
17. Double click on this Layer and set the Blend Mode to "Hard Light "
18. Your layer palette looks like this after merging these layers
19. Activate the top of the layer palette
20. Open the tube
« yoka -jdl-PrettyE » Image Resize to
125%
21.Edit/ Copy-Edit - Paste as new layer on your working image and move to te bottom right side- Layers- Arrange- Move Down
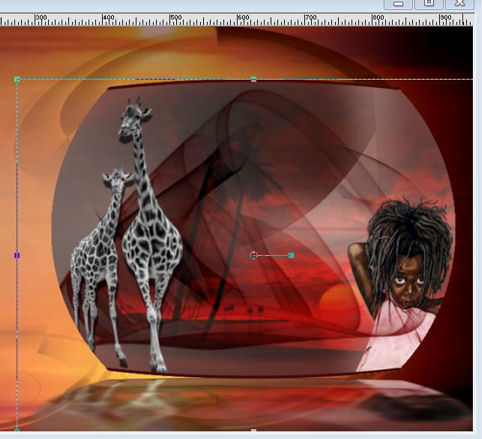
22. Open the tube
« girafes « Edit/ Copy-Edit - Paste as new layer on your working image
Move as shown in the example below
- You should have this result
 Layer Palette look like this now Layer Palette look like this now 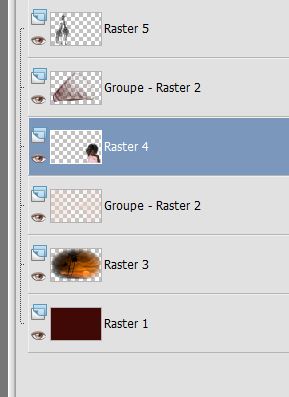
23. Layers- Merge- Merge Visible
24. Image Resize to 70%
resize all layers not checked
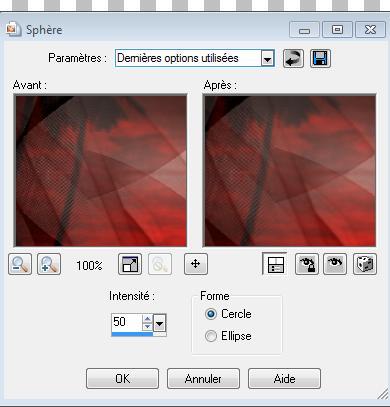
25. Effects- Geomeric Effects- Spherize with these settings
26. Selections- Select All- Selections Float- Defloat
27. Selections-Modify-Select Selection Borders with these settings-In side 4 pixels /Activate Flood Fill Tool and fill the selection with the dark background color
28. Selections- Deselect All
29. Layers- New Raster Layer
30. Selections- Select All
31. Open the tube
« plan arrière 55 '' Edit-Copy-Edit Paste into selection -Selections- Deselect All
32. Layers- Duplicate
33.Set the layer opacity of this layer to 50 %-Layers- Merge Merge Down
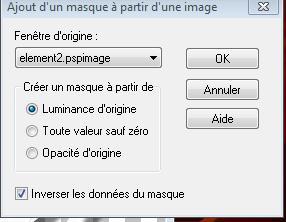
34. Layers- New Mask layer from Image and choose Mask:« ouvrir élément 2 »
35. Layers- Merge- Merge Group
36. Effects- Plugins - Eyecandy5
Impact /Perspective shadow -tab Settings/User settings choose my preset - ''preset savanne 1
''- ok
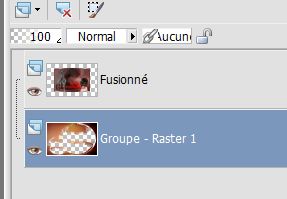
37. Layers- Arrange- Move Down
- You should have this result as shown in the print screen below
38. Layers- New Raster Layer
39. Selections- Select All -Open the image « plan arrière 55 '' Edit-Copy-Edit Paste into selection
40. Selections- Deselect All
41. Layers- Arrange- Move Down
42. Activate the top of the layer palette (merged layer )
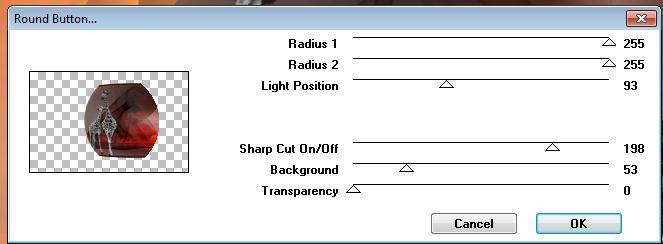
43. Effects- Plugins -Unlimited 2.0
- Filter Factory Gallery A /Round button
44. Effects-Plugins - Eyecandy5Impact
/Perspective shadow -tab Settings/User settings choose my -Preset ''savanne2''
-
Activate the Pick Tool (K) and move as shown in the example below
45. Open the tube « rayons
savanne « Edit/ Copy-Edit - Paste as new layer on your working image/Double click on this Layer and set the Blend Mode to "Dodge "- Set the layer opacity of this layer to 63%
46. Effectes- Image Effects- Offset with these settings H=
150 and V = 0
47. Open the tube ''masque savanne
'' Edit/ Copy-Edit - Paste as new layer on your working image /Double click on this Layer and set the Blend Mode to "Hard Light "- Set the layer opacity of this layer to 42%
48. Effects- User defined Filter -
emboss 3 using the default settings
49. Effects- Plugins- Eyecandy 5
Imapact/extrude -tab Settings/User settings choose my -preset ''savanne extrude 3''
50.Open the tube « cage
« Edit/ Copy-Edit - Paste as new layer on your working image and move to the upper left corner
51. Effects- Plugins -Eyecandy 5 /blacklight -tab Settings/User settings choose my preset''
savanne black light 1''
52. Open the tube
« calguismoethnic191010 » Edit/ Copy-Edit - Paste as new layer on your working image- Image Resize -and move to the left site (ore take the tube of thafs )
53.Effects- Plugins- Eyecandy5 Impact /
perspective sahdow / Preset Drop shadow blury
54. Open the tube « pavé
« - Edit/ Copy-Edit - Paste as new layer on your working image and move
55. Layers- Arrange- Move Down (place under the foot of the woman
)
56. Open the tube
« leopard «Image Resize to 50% -Edit/ Copy-Edit - Paste as new layer on your working image and move to the bottom right
57. All in place? Layers- Merge- Merge All
58. Image - Add borders-Symmetric checked: 5 pixels #ffffff
59. Image - Add borders-Symmetric checked: 35 pixels #ea632b
60. Image - Add borders-Symmetric checked: 5 pixels #ffffff
- Click on your Text Tool/font ATLAS
and Satisfaction (Included into the zipfile) and write your text
Save as JPEG
|
I hope you enjoyed this lesson
Renée
This lesson was written by
Renée
Edited and Update
2008
*
Any resemblance with an existing lesson is a coincidence
* Do not forget to thank the people who work with us and for us I have appointed the tubeurs and translators
Thanks Renée
* |
I am part of the Tutorial Writers Inc.
My tutorials are registered regularly
ReneeGraphisme_All rights reserved


*
|
Your Gallerie click here

| |