|
Traducteur ici
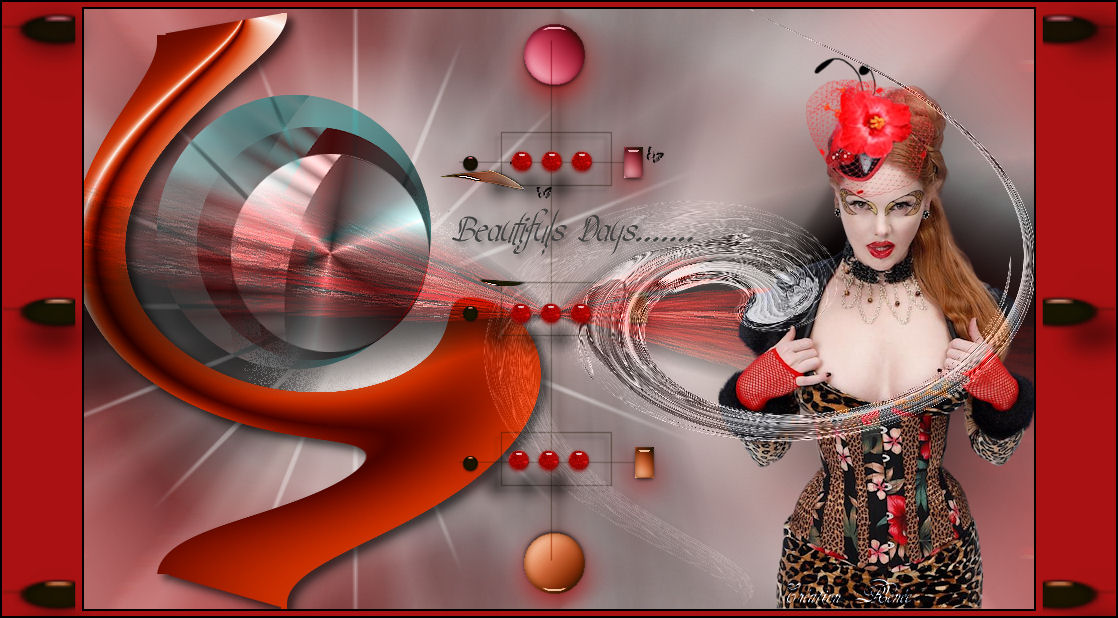
Beautiful days...
....
Materials click
 Translated by Sally
*
Filters
*
Mura's Meister /cloud
<BKG Kaleidoscope/4QFLIP upper L
Flaeming pear /kyoto color
Eyecandy 5/perpspective shadow
Italian Editor/
Andromeda /Star
You are here:
http://www.reneegraphisme.fr/filtres/Mes filtres.html
***************************
TUBES
are
Kitty's and Guismo
These tubes were
received from tubeurs sharing groups
Or found by me
searching on the net
I am grateful to have
been given permission these beautiful tubes so
please use any
copyright information as needed
If one of these tubes
is yours,
Contact me
so I can make a link
to your site
or remove it
Thank you Renee
*-****-*
Copy the selections to your Selections folder.
Double click on the EyeCandy presets, they will automatically be
installed.
***
1. Open a new transparent image 950 x 600 pixels
2. Set the color palette to foreground color #a91112 and background
to #000000
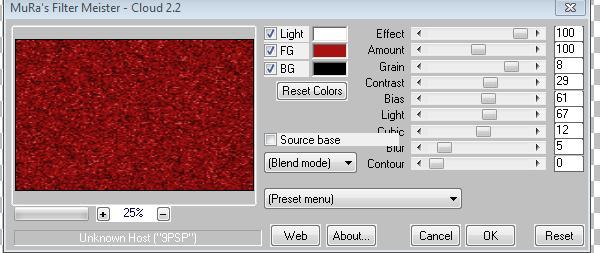
3. Effects - Mura's Meister/ cloud
4. Adjust/ blur - Gaussian Blur set to 20
5. Layers / add a new layer
6. Change the color palette to white in the background and prepare a
radial gradient
7. Fill the layer with the gradient
8. Effects - image effects - seamless tiling / default
9. Layers / add a new layer
10. Selections / select all
Open the tube "136 Women" - copy and paste into the selection
11. Selections / select none
12. Adjust blur / radial blur with the following settings
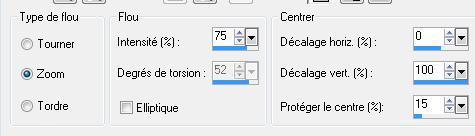
13. Effects - filters unlimited - & <Bkg Kaleidoscope
/ 4QFlip UpperL
14. Layers / new raster layer
15. Selections - load selection "@ renee-beautiful day" / fill the
selection with the same gradient
16. Selections / deselect all
17. Effects - Distortion effects / twirl @ 250
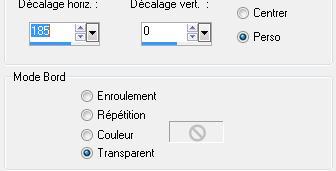
18. Effects - image effects/ offset = -190 H and V = 0
19. Image / flip
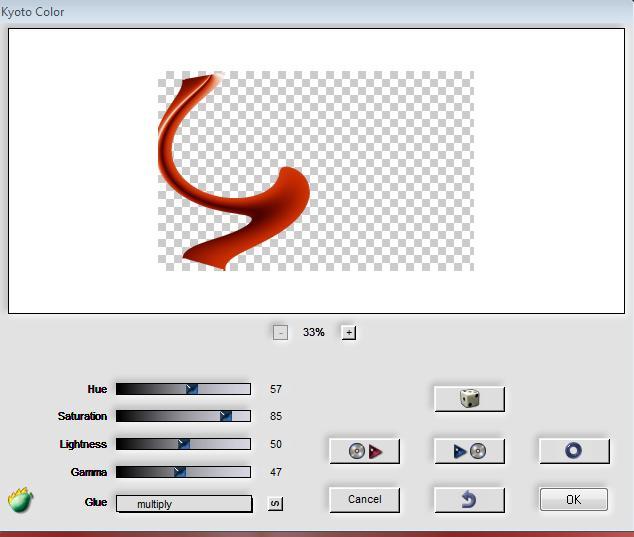
20. Effects - Flaming pear / Kyoto color with the following settings
(This filter is not often considered for colorizing)
21. Effects - Eycandy 5 impact / perspective shadow /
preset "renee beautiful day"
repeat again using the same effect
22. Layers/ add a new layer
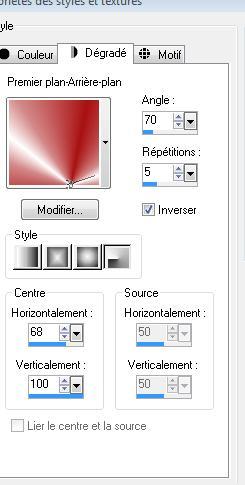
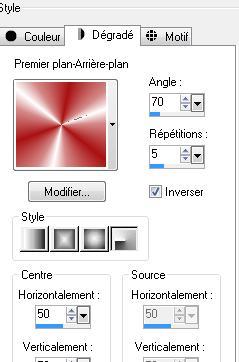
23. Selections / Load Selection "beautiful days 2" / fill with a
gradient selection configured like this
Make sure to change the H and V values to 50
24. Selections / select none
25. Effects - Italian editor effect / raggi di luce
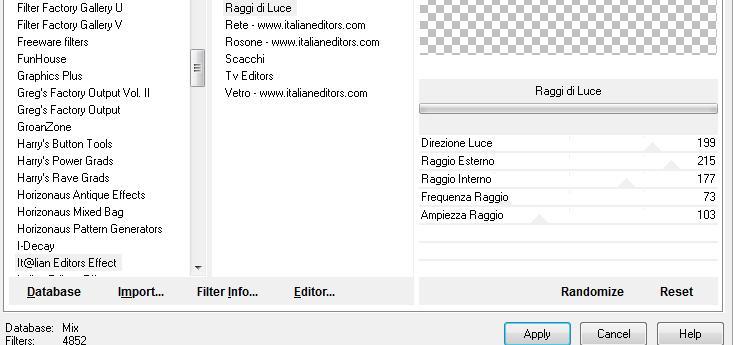
25. Effects - Italian editor effect / raggi di luce
25. Layers - duplicate/ resize 85% - all layers unchecked
26. Effects - Image effect/ offset H = -20, V = 0
27. Layers - duplicate / image resize to 85% - all layers unchecked
28. Effects - Image effect/ offset - same settings
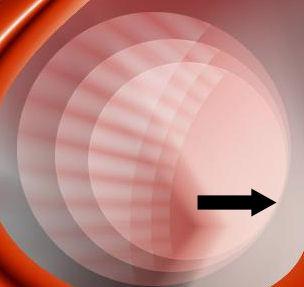
You should have 3 circles
Set the blend modes as follows. Make sure each circle layer has the
correct blend corresponding to >>>
your circles should like this
help for translation of mode
copy(2) on raster 4-legacy
copy raster 4-multiply
raster4-exclusion

29. Activate raster layer 3 and duplicate the layer
30. Go back to raster 3
Effects - distortion effect - wind left/ 100
31. Return to the copy of raster 3
32. Layers - merge down/ repeat
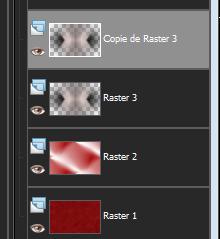
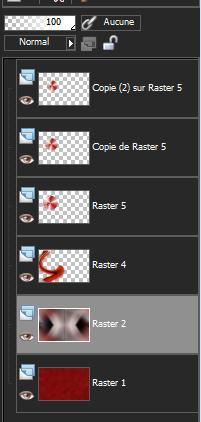
Your palette looks like this now
33. Click on the top layer in the layers palette
34. Layers / new raster layer
35. Selections / load selection "@ renee beautiful day3"
36. Open the tube "18.png". Copy and paste into the selection
37. Selection / select none
38. Effects - Edge effect/ enhance
39. Activate raster layer 2 - Effects - Andromeda/
star
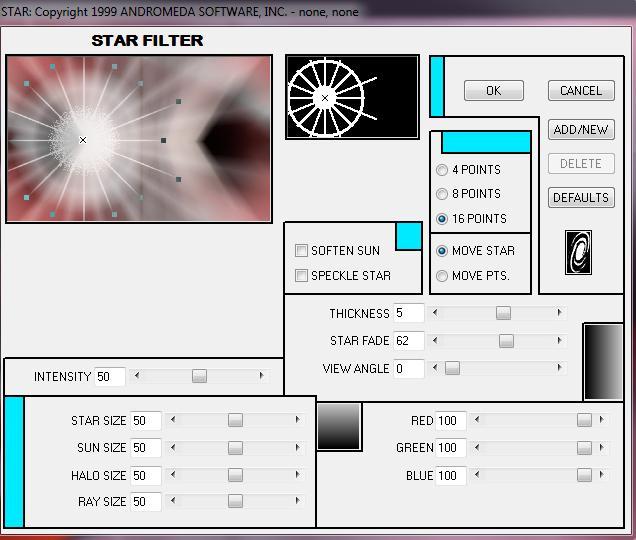
- Use your mouse on the small cross to move to the
left as shown on the preview / the result may be slightly different
40. Go back to the top layer of the Layers palette
41. Open the tube "apple bird" (pomme oiseau) and copy/ paste as a
new layer. Place at the top right corner
42. Effects - Eyecandy5 impact / backlight / preset "renee beautiful
day"
43. Effects - edge effect - enhance
44. Effects - Geometric effect / circle / transparent ticked /
repeat with the same effect
45. Effects - distortion effect / twirl @ 400
46. Effects - image effect/ offset as follows
47. Set the blend mode to luminance legacy/ and lower
opacity to 87
48. Open tube "kitty miss roxanne"/ resize to 65% and paste as a new
layer / move to the right and place as shown
49. Layers - Arrange/ move down
On the layer palette click on raster 3
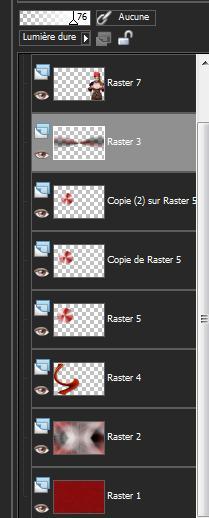
50. Change raster layer 3 to hard light / with the
opacity @ 76
51. Open tube "gradient forme" - copy and paste as a new layer / It
is in the right place in the middle of the center line
52. Effects - Eyecandy 5 Impact/ perspective shadow/ preset "renee
beautiful days2"
53. Open and copy/paste the text tube as a new layer / place well
54. Open tube "billes beautiful day" and paste as a new layer / they
are in the right place
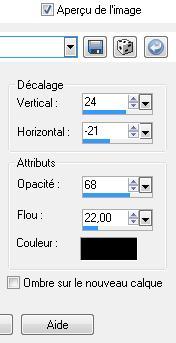
55. Effects - 3D effects/ Drop Shadow
56. Image add borders/ 2 pixels black
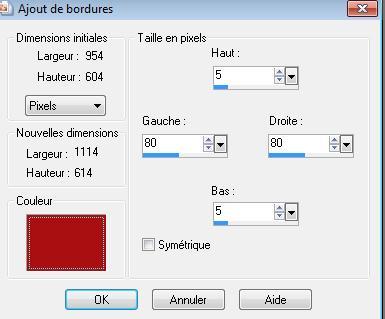
57. Image add asymmetrical borders #A90F11
58. Open tube "point barre"
/ and paste as new layer Place as shown
59. Layer duplicate / Image mirror
60. Effects - Eyecandy5 impact/ perspective shadow/ preset
"beautiful days 4" / apply this to both layers
61. Image - add borders/ symmetric - 2 pixels black
All
finished
Thanks Sally
*
I am part of Tutorial Writers Inc.
My tutorials are regularly recorded


|
Vos créations ici

|
|