|
New
Translations here
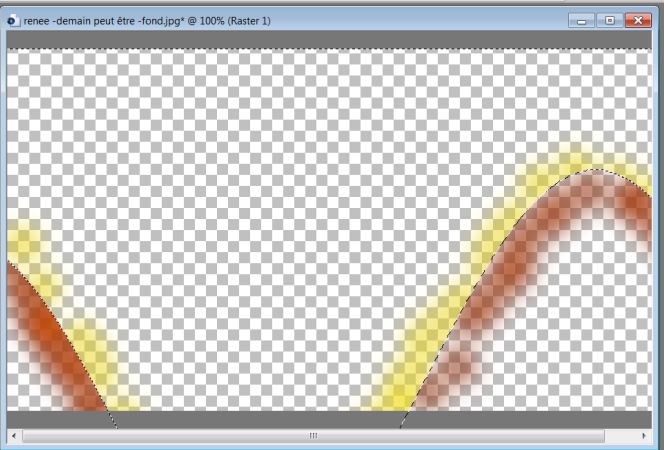
Let's begin . 1. File-Open the image fond ''renee-demain peut être -fond'' Promote Background Layer = raster 1 2. Layers - New raster Layer 3. Selections - load/save selection - load selection from disk and choose ''renee demain peut etre- selec 1'' 4. Material Properties: Foreground color to color - #e9d312 Background color to color: #8a2400 5. Activate Brush Tool with these settings
- Put a few brush strokes along the line with the foreground color - Selections-Invert: on the same layer and with color background repeat like this
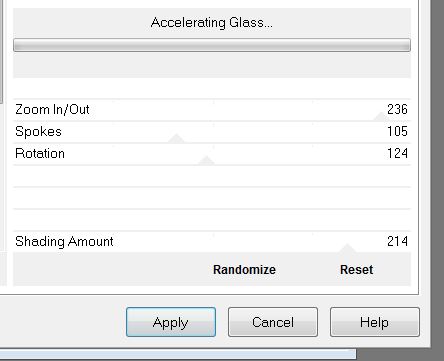
6. Selections - Deselect all 7. Adjust-Blur-Gaussian Blur -Radius:25 8. Effects-Plugins Unlimited - Tramage- Accelerating Glass
9. Open the tube ''AJ_swirl-brushes'' activate raster 1 of your tube : Edit/copy -Edit - Paste as new layer on your working area 10. Effects - Edge Effects- Enhance More - . Layer Palette: Set the Blend mode to "luminance" 11. Open the tube ''element 26 .png ''Edit/copy -Edit - Paste as new layer on your working area - Image Resize 70% (Resize all the layers NOT checked) -
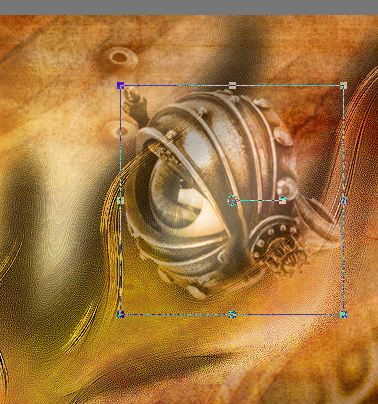
Move Tool:Place the tube as shown in the screen below. 12. Layer Palette: Set the Blend mode to "luminance Legacy " Lower the opacity down to 62% 13. Layers-New Raster layer 14. Selections - load/save selection - load selection from disk and choose '' renee demain peut etre -selec 2 '' Activate Flood Fill Tool and fill selection with black - Selections-Select none .Lower the opacity down to 55% 15. Layers-Duplicate -Image-Flip 16. Layers-New Raster layer 17. Selections - load/save selection - load selection from disk and choose '' renee -demain peut etre -selec3 '' - Activate Flood Fill Tool and fill selection with #cda25e 18. Selections-Select none 19. Effects -Edge Effects - Enhance More - Aktivate the bottom of the layers-palette (Raster 1) 20. Selections - load/save selection - load selection from disk and choose ' 'renee- demain peut etre -selec 4'' 21. Promote Selection To Layer 22. Effects-Plugins Unlimited / Krusty's FXVol I 1.0 -Grid mover-(Preset in zip file)
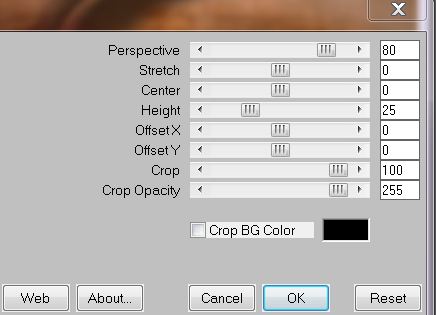
23.Effects -Edge Effects - Enhance 24. Effects-Plugins Mura's Meister – Perspective Tilling
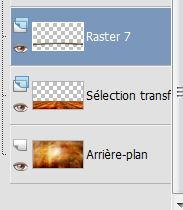
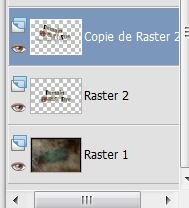
- Stay on this layer .Open the tube ''renee- demain peut etre -barre 1 ''Edit/copy-Edit/and Paste as a new layer and place - Your Layer Palette looks like this now
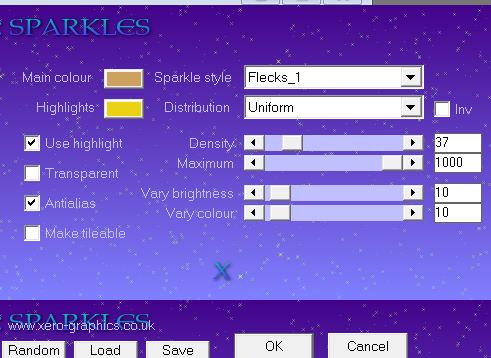
25. Layers- Duplicate- Image Mirror. No fear, it comes later in the right place - Aktivate the Top of the layers palette 26. Layers-New Raster layer 27. Effects -Plugins Xero – Sparkles mettre pour la and fill selection /with de Highlights color: E9D312
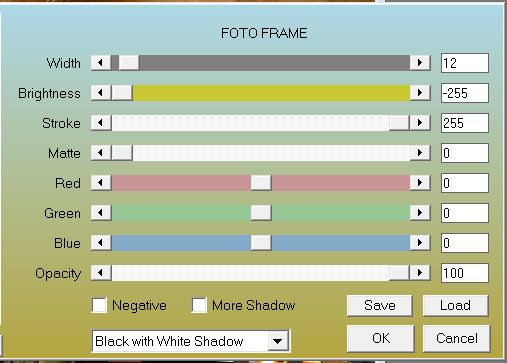
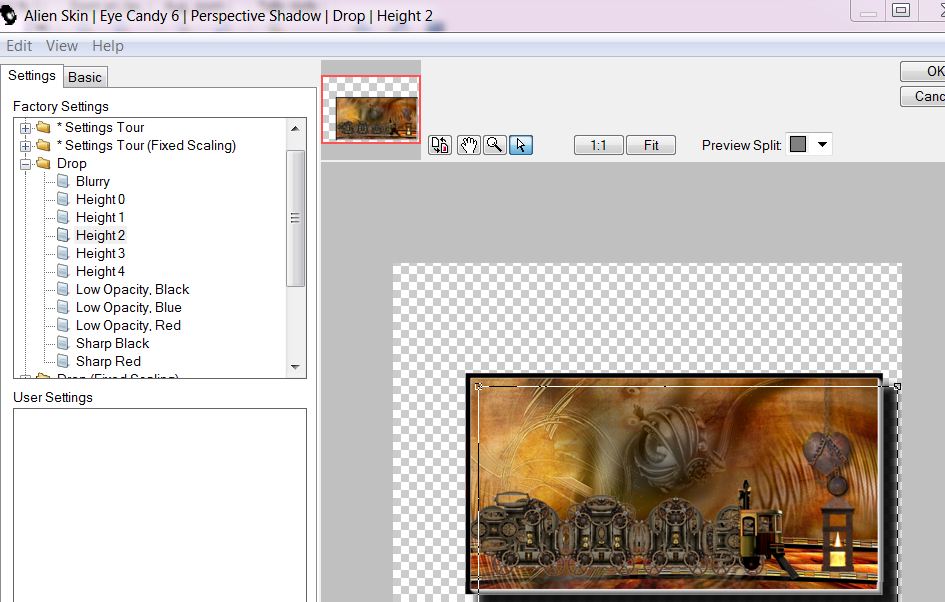
- Stay on this layer 28. Selections - load/save selection - load selection from disk and choose ''renee demain peut etre -selec 5 '' -Delete 29. Selection Select none 30. Open the tube ''element 13'' Edit/copy -Edit - Paste as new layer on your working area and move-(Now place the second bar in the right place) 31. Stay on this layer ''element 13'' - Effects- Distortion Effects -Pinch 10 32. Effects -Plugins Eyecandy 5 Impact -perpective shadow and choose my preset ''renee demain peut etre- perspective'' - Aktivate the Top of the layers palette 33. Open the tube '' element 23'' Edit/copy -Edit - Paste as new layer on your working area and move 34. Open the tube '' element 12 '' Image Resize 80% . Edit/copy -Edit - Paste as new layer on your working area - Slide the lantern under the heart 35. Layers-Merge-Merge Visible 36. Effects -Plugins AAA Frame - Foto Frame
- put your work aside, we have it will be used later
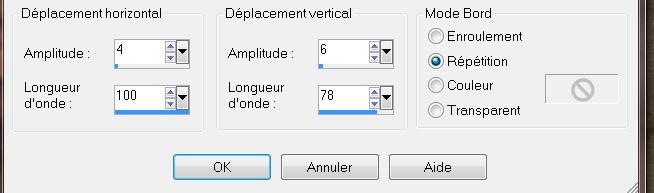
37. File- Open the l'image ''renee-demain peut etre fond 2'' 38. Image - Add Borders - Symmetric checked 2 pixels white 39. Image - Add Borders - Symmetric checked 20 pixels black 40. Open the tube ''renee-element 100 -demain peut etre '' Edit/copy-Edit/paste as a new layer and place. 41. Layers- Duplicate 42. Effects - Edge Effects -Enhance 43. Effects- Image Effects-Offset H = -2 and V = 100 transparent 44. Effects- Distortion-Effects -Wave
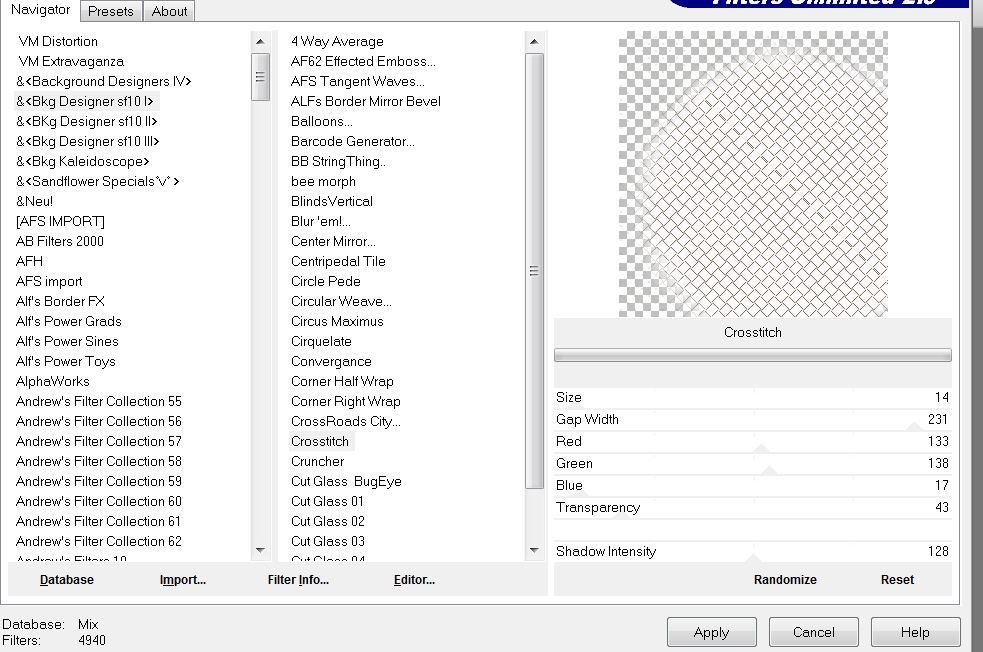
45. Layers-New Raster layer 46. Selections - load/save selection - load selection from disk and choose ''renee demain peut etre selec 6'' - Activate Flood Fill Fool and fill selection with #f1e1de - Layer Palette: Set the Blend mode to "luminance" - Lower the opacity down to 42% 47. Keep Selections 48. Effects- Plugins Unlimited - &<BkjDesigner sf10> Crosstich
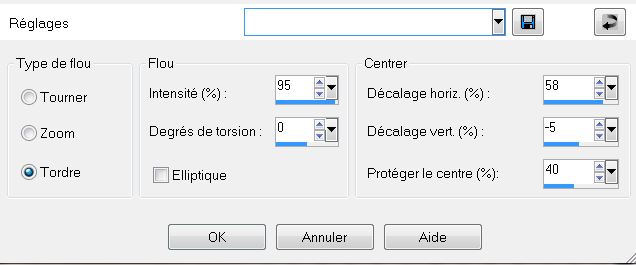
49. Selections-Select none 50. Open the tube '' element 10 roue'' Edit/copy-Edit paste as a new layer 51. Effects- Image Effects-Offset H= - 200 and V = - 200 transparent 52. Adjust-Blur-Radial Blur
53. Layers- Duplicate- Layers- Merge- Merge-Down - Aktivate the Top of the layers palette 54. Layers-New Raster layer 55. Selections - load/save selection - load selection from disk and choose ''renee demain peut etre select 7'' - Activate your work again you have put away at point 36 56. Edit/copy-Edit paste into selection - Keep Selections 57. Effects-Plugins Eyecandy6- perspective -drop-height2 ( If you do not have this filter give a drop shadow)
58. Selections-Select none - Layers Palette-aktivate layer: copie de raster2
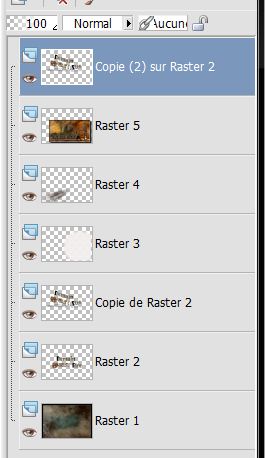
59. Layers- Duplicate- Layers-Arrange-Bring To Top - Your Layer Palette looks like this now
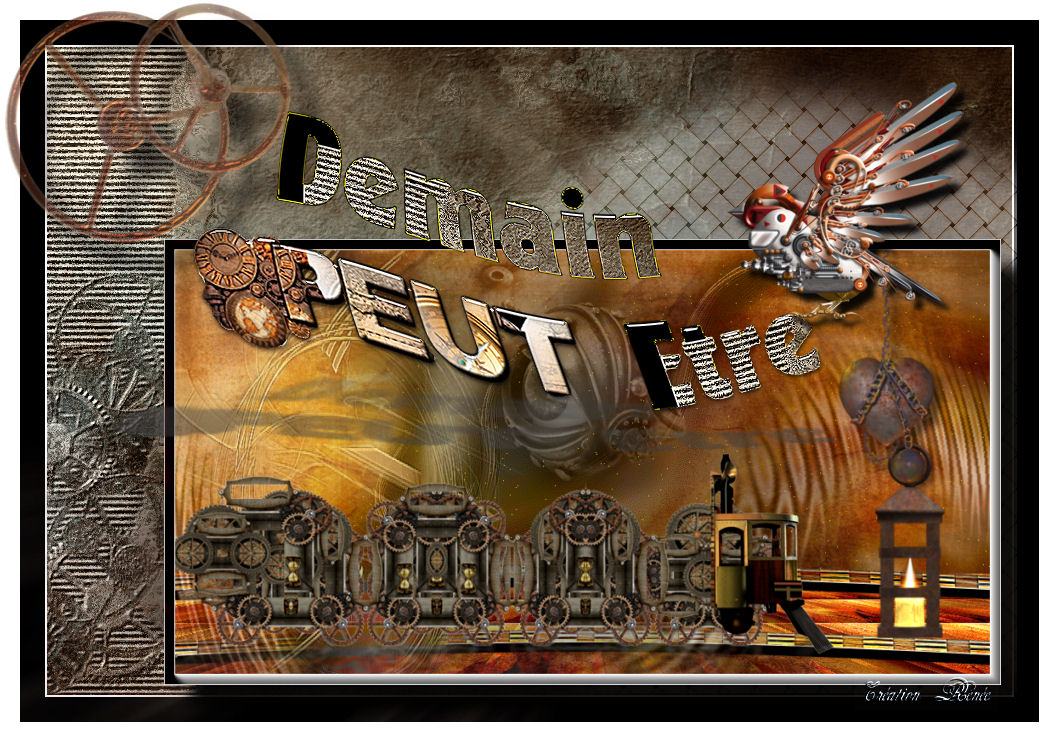
60. Open the tube ''element24 oiseau '' Edit/copy-Edit/paste as a new layer and place. 61. Image - Add Borders - Symmetric checked 20 pixels white 62. Open the tube ''element 15 roue bis'' Edit/copy-Edit/paste as a new layer and place. That's it !! You've done it ! Renée This lesson was written by Renée Created the 04/10/2012 *
Any resemblance with an existing lesson is merely a coincidence * Don't forget to thank the people who work for us and with us. I named the tubeurs - Testers and the translators . Thank you
I am part of tutorial writers inc. My tutorials are regularly recorded
*
|
 Translations