|
Happy Easter New
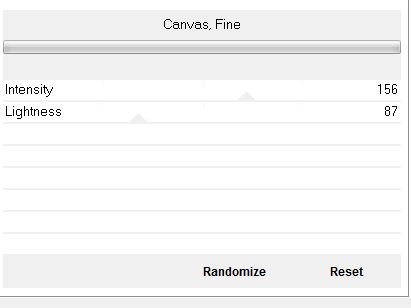
The tube may not be send without the lesson . Please do not make changes to the tube, because this tube was made for this lesson only. It is forbidden to share this tutorial without a link to the original lesson. * These tubes were received from tubeurs sharing groups. Or found by me searsching on the net. If one of these tubes is yours? Contact me so I can make a link to your site or remove it. Let's start the lesson. 1. Open the Background image ''fond pâques"Promote Background Layer =Raster 1'' 2. Effects- Plugins - ICNET Filters /Paper Textures/ Canvas Fine
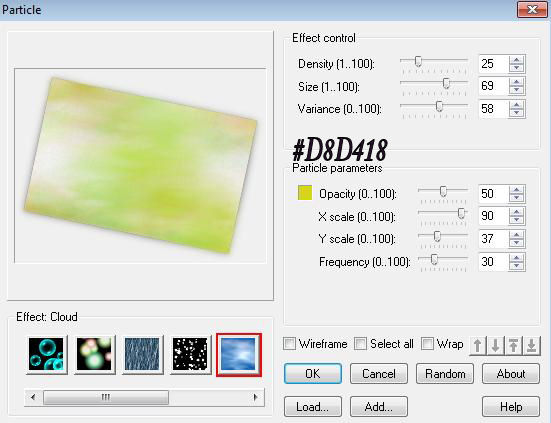
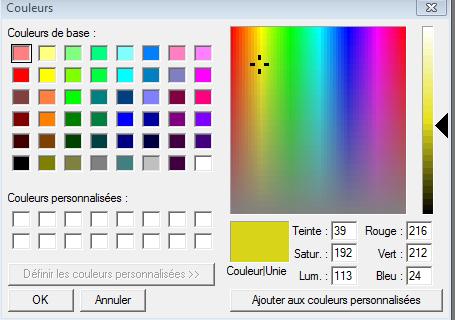
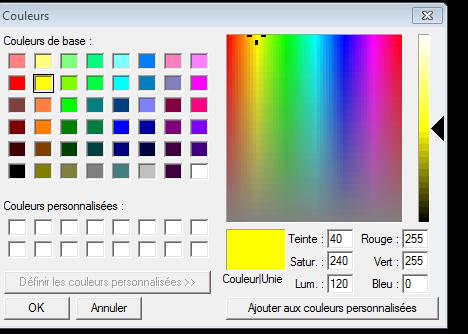
3. Layers- Duplicate /Image Resize with 85% resize all layers not checked 4. Effects- Plugins - EyeCandy5 Impact /perspective shadow Tab- Settings- User Settings- preset " renee-paques 2012" 5.Layers- Duplicate/ Image Resize with 85% resize all layers not checked 6. Image - Free Rotate 12° right 7. Activate the top of the layer palette 8. Effects- Plugins - Ulead effect /particle with these settings- Tic on Cloud first Tic on Particle parameters and use the settings Open a window and and look for the color/ Tic on ( Définir les couleurs personalisées) and use the settings as shown on the print screen below and OK Attention: Your effect might be a little bit different from mine. But don’t worry you may even choose the effect you like best
9. Effects- Edge Effects-Enhance 10. Activate the copy of the Background layer Repeat Plugins Ulead
particle /change the color into this color #FFFF00 11. Open the tube ''ruban''/Edit - Copy -Edit - Paste as new layer on your working area. With your move tool move to the left 12. Open the tube ''pinceau coin pâques'' Edit - Copy -Edit - Paste as new layer on your working area. With your move tool, move it in the upper left corner 13. Open the tube ''calguiseaster19310 ''/ Image Resize with 55% 14. Edit - Copy -Edit - Paste as new layer on your working area. With your move tool move, move it in the center/ Set the layer opacity of this layer to 38% 15.
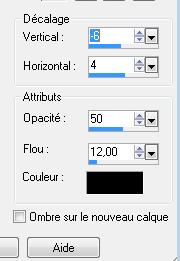
Open the tube 'calqguisverretulipe18032012''/ Image Resize with 70% / Edit - Copy -Edit - Paste as new layer on your working area 16. Open the tube ''calguisoeufpaques15032012'' / Image Resize with 25% / Edit - Copy -Edit - Paste as new layer on your working area and move 17. Open the tube ''calguiscoccinelle15032012'' / Edit - Copy -Edit - Paste as new layer on your working area and move 18. Open the tube ''GINATUBESFEMME1592'' /Image Resize with 85% / Edit - Copy -Edit - Paste as new layer on your working area and move 19. Effects - 3D Effects - Drop shadow with these settings
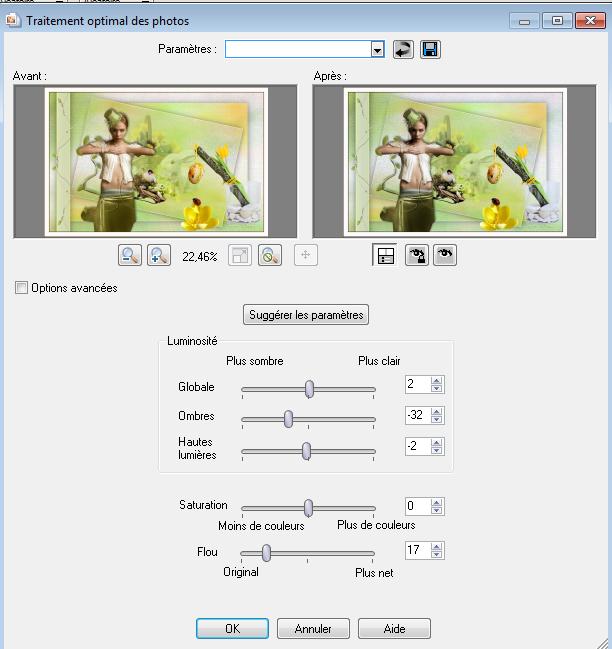
20. Open the tube ''calqguisbeauty8310'' /select ''birds'' on this tube 21. Edit - Copy -Edit - Paste as new layer on your working area ( With your move tool move, move it in the center) 22. Image - Add borders-Symmetric checked: 2 pixels #453e0b 23. Image - Add borders-Symmetric checked: 20 pixels #fefaf8 24. Image - Add borders-Symmetric checked: 2 pixels #453e0b 25. Adjust-Smart Photo Fix with these settings
Save as JPG
|

 Translations