|
Let's start the lesson.The key for the journey.
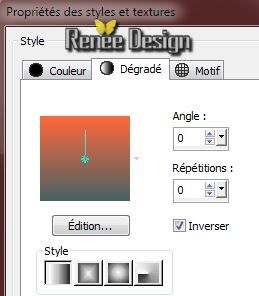
- Properties Foreground: FG-Color: #fe683b Properties Background: BG-Color:#476263
- Put your foreground on the foreground/background linear gradient with these settings
1. File - New - New Image: 985
x 625 pixels- Transparent
2. Activate Flood fill tool and fill the layer with the gradient
3. Selections- Select All
4. Activate the tube
''VM_confrontatie40.pspimage''/Image-Resize
65% - Edit/copy- Edit/ paste into selection
- Selections- Deselect All
5. Adjust-Blur-Gaussian Blur- Radius: 32
6. Effects- Plugins - Simple - Blintz
7. Effects- Plugins - Simple - 4 Way average
8. Effects-Edge Effects- Enhance More
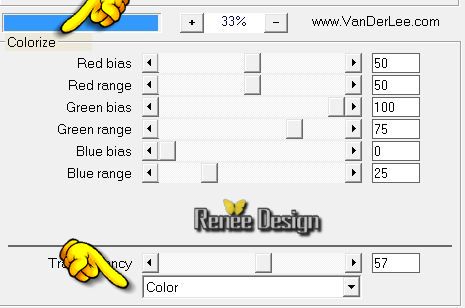
9. Effects- Plugins - Vanderlee - Unplugged X - Colorize
10. Layers- New raster layer
-Activate Flood fill tool and fill the layer with the gradient
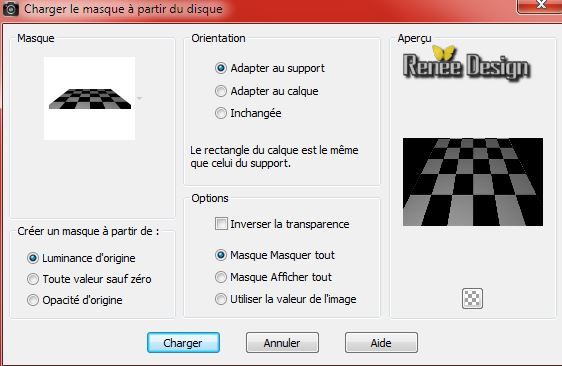
11.Layers- Layers-load/save Maske Load Mask from Disk and select Mask: ''bodem''
- Layers- Merge-Merge Group
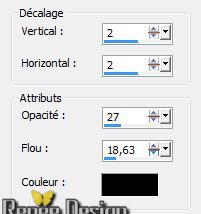
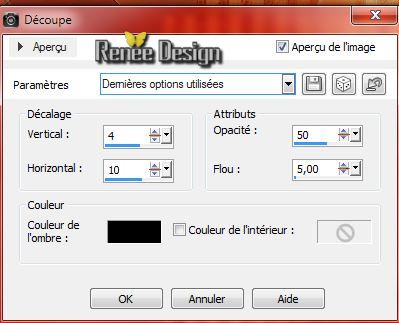
12. Effects - 3D Effects - Drop shadow with these settings:
13. Effects-Edge Effects- Enhance More
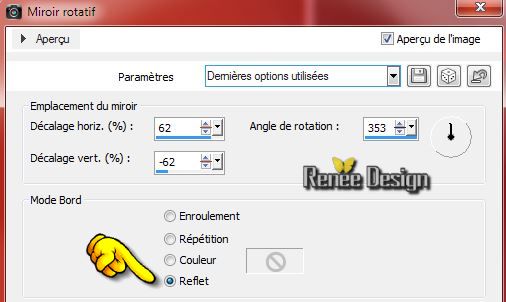
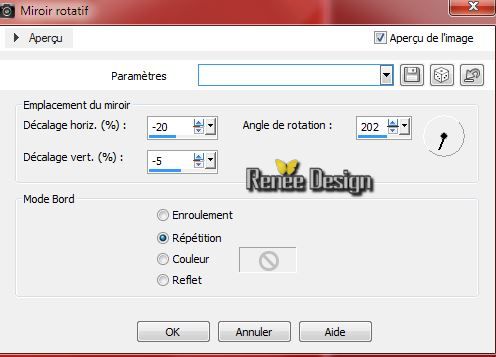
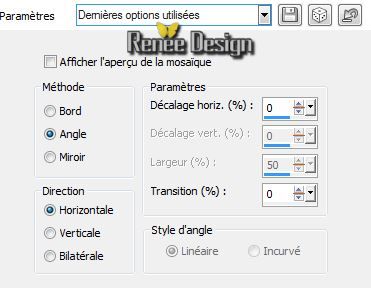
14. Effects- Reflection Effects-Rotating Mirror use settings below
15. Selection Tool:Rectangle (S)
- Select this part /Push the Delete Key of your Keyboard
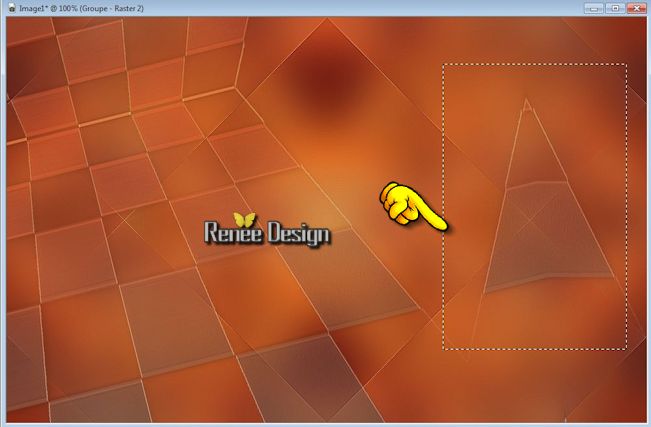
Selections- Deselect All
16. Layers- New raster layer
- Activate Flood fill tool and fill the layer with the BG-Color
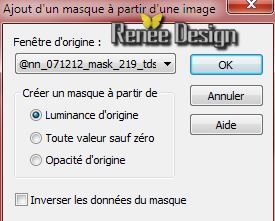
17. Layers- New Mask layer from Image and choose Mask:
''@nn_071212_mask_219_tdstudio''
- Layers- Merge-Merge Group
18. Effects - 3D Effects - Drop shadow with these settings: 0/0/55/32 FG-Color
- Layer Palette -double click on this Layer and set the Blend Mode to "Hard Light "
19. Layers- New raster layer
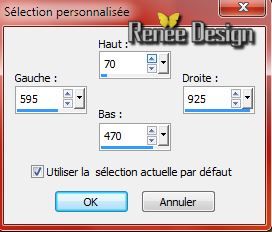
20. Selection Tool ( S ) Custom selection use settings below
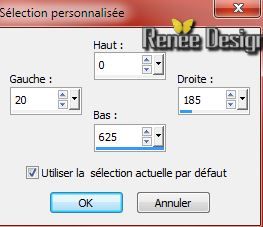
21. Properties Background-BG-Color #b2bec2/
Flood fill tool opacity
55 %/Activate Flood fill tool and fill the selection with the BG-Color
Selections- Deselect All
22. Effects- Reflection Effects-Rotating Mirror use settings below
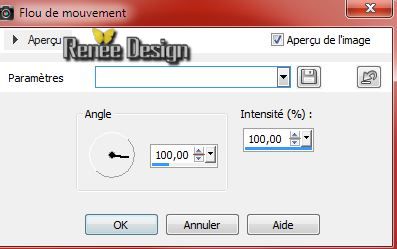
23. Adjust-Blur-Motion Blur use settings below
- Layer Palette -double click on this Layer and set the Blend Mode to "Overlay"
24. Layers- Duplicate -
Image Mirror
- Layers- Merge- Merge Down
- Layer Palette -double click on this Layer and set the Blend Mode to "Overlay"
25. Layers- Arrange 2x Move Down (above Raster 1)
26. Layers- Merge-Merge Visible
27. Layers- New raster layer
- Flood fill tool opacity 100% Activate Flood fill tool and fill the layer with the FG- Color
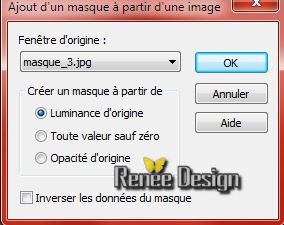
28. Layers- New Mask layer from Image and choose Mask: "masque_3.jpg"
- Layers- Merge-Merge Group
29.Effects - 3D Effects - Drop shadow -Default settings
30. Effects- Distortion Effects- Wave use settings below

- Layer Palette -double click on this Layer and set the Blend Mode to"Soft Light "
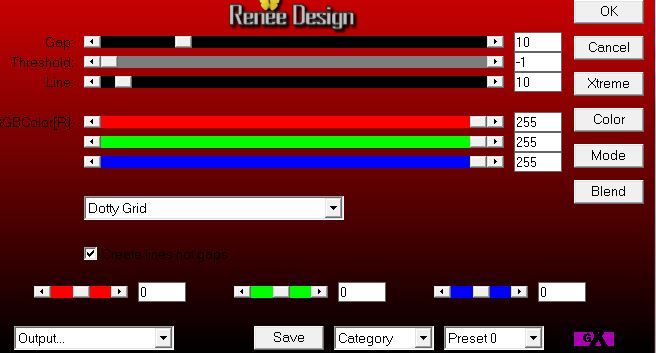
31. Effects-Plugins - AP 01- Line Silverling
32.Effects-Image Effects-Seamless Tiling use the settings below
33. Layers- New raster layer
34. Selections - load/save selection - load selection from disk and choose my selection: ''clef_voyage_1''
-Properties Background-BG-Color Black /Activate Flood fill tool and fill the selection with the BG-Color
Selections- Deselect All
- Layer Palette -double click on this Layer and set the Blend Mode to"Soft Light "
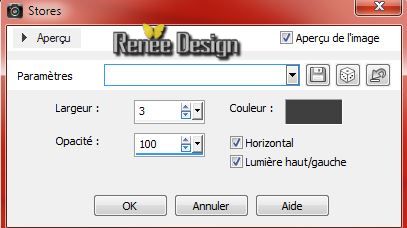
35. Effects- Textur Effects- Blinds-Color#404040
36. Layers- New raster layer
37. Selection Tool ( S ) Custom selection use settings below
38. Effects - 3D Effects - Drop shadow with these settings: -28 / 32/ 24/ 6 black
- Open Texture in your psp and select my file: ''
texture_clef_voyage''
39. Properties Foreground: foreground pattern "texture_clef_voyage''
with these settings
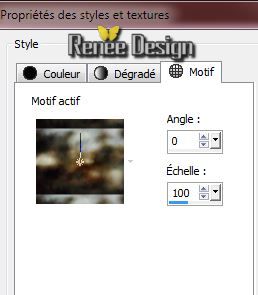
- Activate Flood fill tool and fill the selection with the foreground/pattern
- Layer Palette -double click on this Layer and set the Blend Mode to "Overlay"
40. Activate the tube ''porte_tube.pspimage''/ Edit/copy- Edit/ paste as new layer on your working area
-With the move tool, move it in the selection -Selections- Invert -Push the Delete Key of your Keyboard
Selections- Deselect All
- Activate the layer underneath (Raster 2)
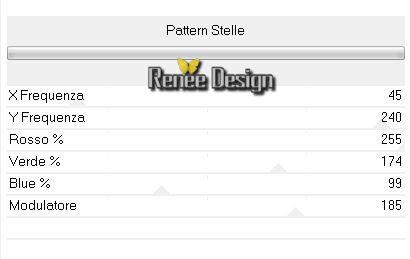
41. Effects- Plugins - Unlimited 2.0
/ Italian Editors Generatore / Pattern Stelle
- Your layer palette looks like this:
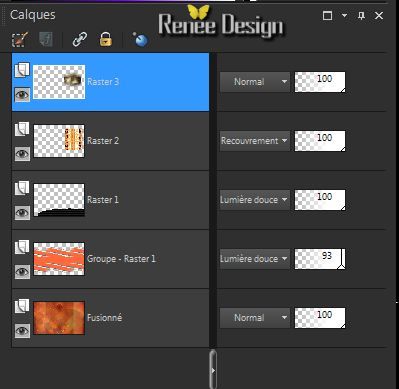
- Activate the top of the layer-Palette= Raster 3
42.Layers- Merge- Merge - Down
-
Layer Palette :Double click on this Layer and set the Blend Mode to "Overlay'
43.
Selections - load/save selection - load selection from disk and choose my selection: ''clef_voyage_2''
-
Effects - 3D Effects - Drop shadow- Default settings
Selections- Deselect All
44.
Activate the tube ''VM_confrontatie40.pspimage_manou"
(put it back to its original size)
Image-Resize 80% -
Edit - Copy -Edit - Paste as new layer on your working area and move .
45. Effects- Plugins - EyeCandy 5 Impact - Perspective shadow-in the settings tab, choose my preset click on the Preset
''clef_voyage_perps1"
46.
Activate the tube ''clef_voyage_flou''/Edit - Copy -Edit - Paste as new layer on your working area and move
-
Layers- Arrange- Move Down
-
Activate the top of the layer-Palette
47.
Activate the tube ''clef_voyage_cadres.pspimage''/Edit - Copy -Edit - Paste as new layer on your working area
48.
Effects- Image Effects- Offset use settings below
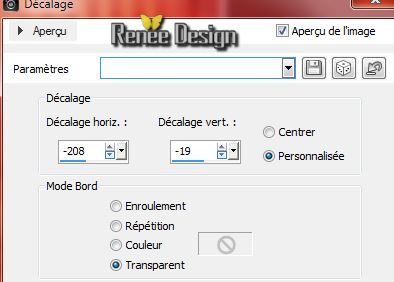
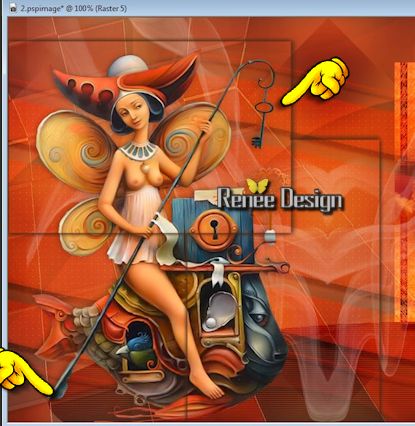
-
Check Character tube location
49 .
Layers- New raster layer
50.
Selections - load/save selection - load selection from disk and choose my selection: ''clef_voyage_3''/
51.
Effects- 3D Effects- Cutout use settings below
Selections- Deselect All
52.
Activate the tube ''clef_tube'' / activate
raster1 of the tube
Edit - Copy -Edit - Paste as new layer on your working area and move
53. Activate again tube
''clef_tube'' /activate raster1 of the tube
Image -Resize 50 % Image -Resize 70 % / Edit - Copy -Edit - Paste as new layer on your working area (duplicate 3 times )
place to taste
54.Activate again tube ''clef_tube'' activate
''rond'' /
-
Edit - Copy -Edit - Paste as new layer on your working area and move
-
Place a round on each key
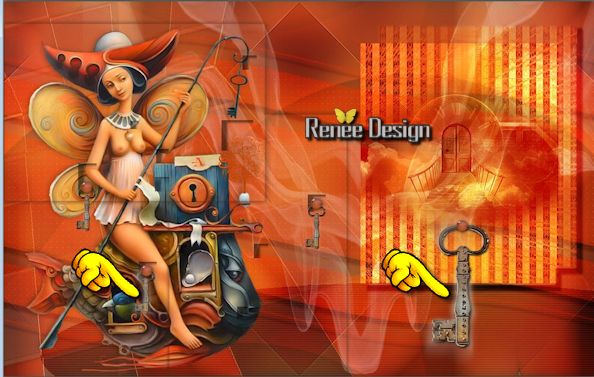
55. Effects- Plugins - EyeCandy 5 Impact- Blacklight -in the settings tab, choose my preset
-click on the preset ''clef_voyage_blacklight''
Apply on these two keys see screen
56.
Layers- Merge- Merge All
57.
Image - Add borders-Symmetric checked: 1 pixel black
58.
Selections-Select All !!!!
58.
Image - Add borders-Symmetric checked: 50 pixels color: #426674
59.
Image - Add borders-Symmetric checked: 1 pixel black
60.
Image - Add borders-Symmetric checked: 10 pixel white
61.
Effects - 3D Effects - Drop shadow with these settings: 0/0/80/50 black
Selections- Deselect All
62.
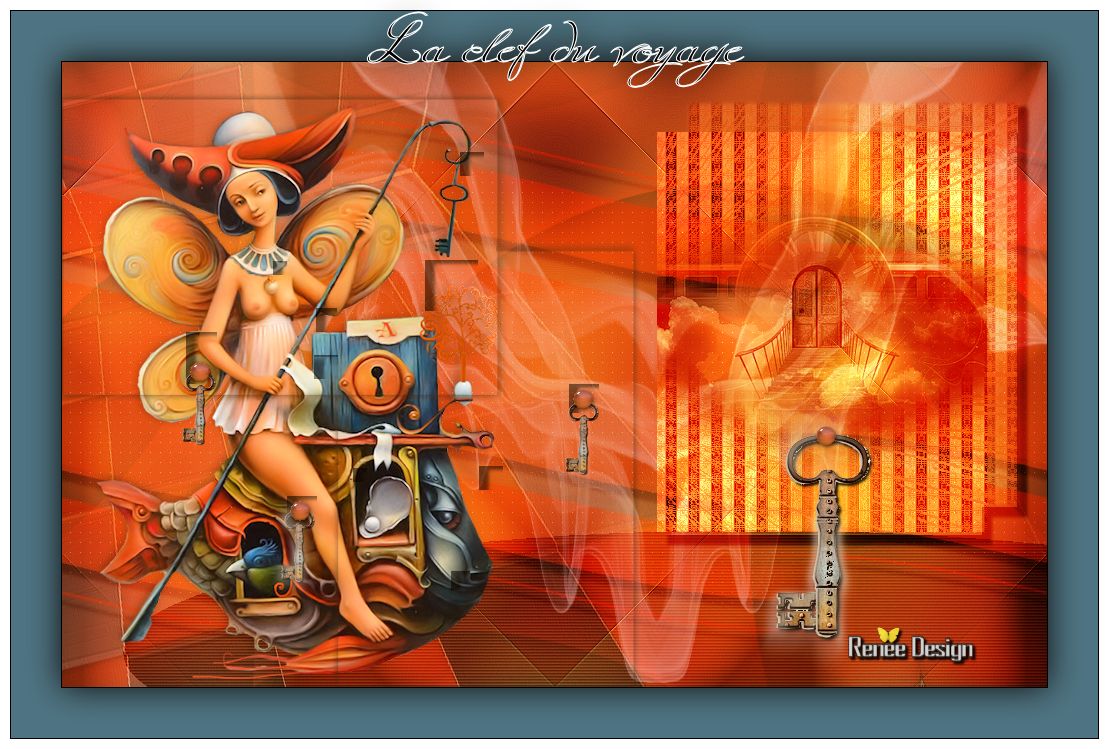
Write your own text- font is included into the zip file.
Save as JPG
I hope you enjoyed this lesson
Renée
This lesson was written by Renée 15/08/2014
Created the
09/2014
*
Any resemblance with an existing lesson is merely a coincidence
* Don't forget to thank the people who work for us and with us. I named the tubeurs - Testers and the translators.
Thanks Renée. |
 Translations


 All rights reserved