|
Let's begin
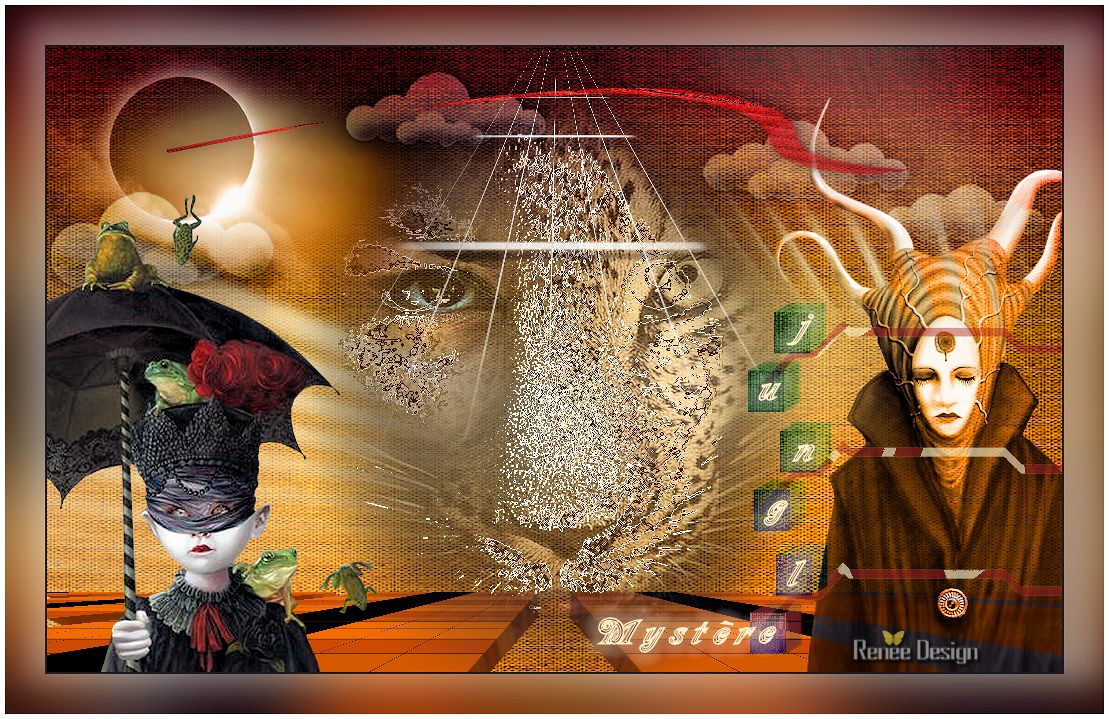
1.File: Open Image: fond ''jungle_mystere''/ Promote to background layer Raster 1
2.
Selections - load/save selection - load selection from disk and select " jungle mystère
1''
3.
Layers - New raster layer /Material Properties: FG-Color to color #fef0c8 .Flood Fill Tool: fill the selection with the FG-Color
4.
Selections- Deselect All
5.
Adjust- Blur- Radial Blur with these settings

6.
Effects - User Defined Filter - Emboss 3
default
7.
Layers - New raster Layer
8.
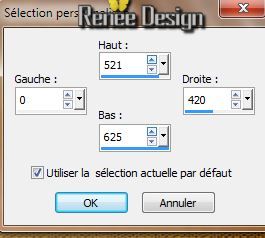
Selections-Custom Selections with these settings
9.
Activate the tube ''jungle_mystere-image1'' / Edit/copy-Edit paste into selection
Keep Selections
10.
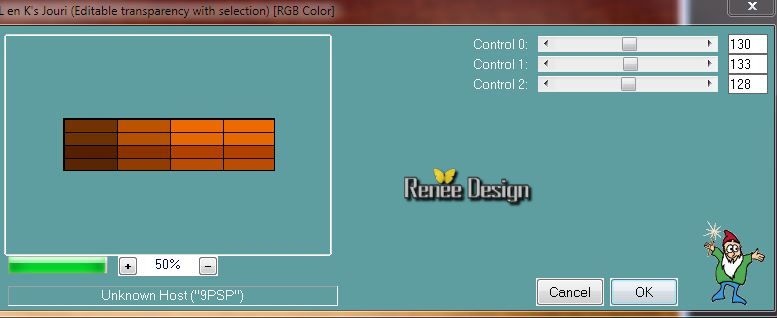
Effects -Plugins - L and K's -Jouri
11.
Selections- Deselect All
12.
Layers- Duplicate - Image Mirror - Layers- Merge-Merge Down
13.
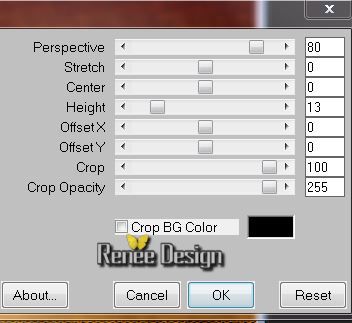
Effects -Plugins - Mura's Meister - Perspective
tilling
14.
Effects - Plugins -Eye Candy 5 Impact - Extrude -choose my preset ''jungleM_extrude ''
15.
Activate the tube '' I'm a wild thing-misted tube of Devil''/
Edit/copy-Edit paste as a new layer
16.
Effects -Plugins -Penta Com - Bio / 80
( If you have a red or a yellow border around this effects . Activate your Eraser Tool and erase it away)
17.
Effects - Image Effects- Offset
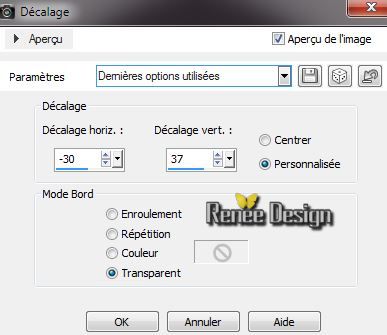
18.
Layer Palette-Blend mode "Luminance"
19.
Open the Brush
''brusch_jungle_grille'' in your PSP /File -Export- Custum Brush enter a name see Example
20.
Open the Brush ''brusch_jungle_grille''/Size 850 /FG-Color : #781414

Stamp at the top, see the example, 1x with the Foreground color
21.
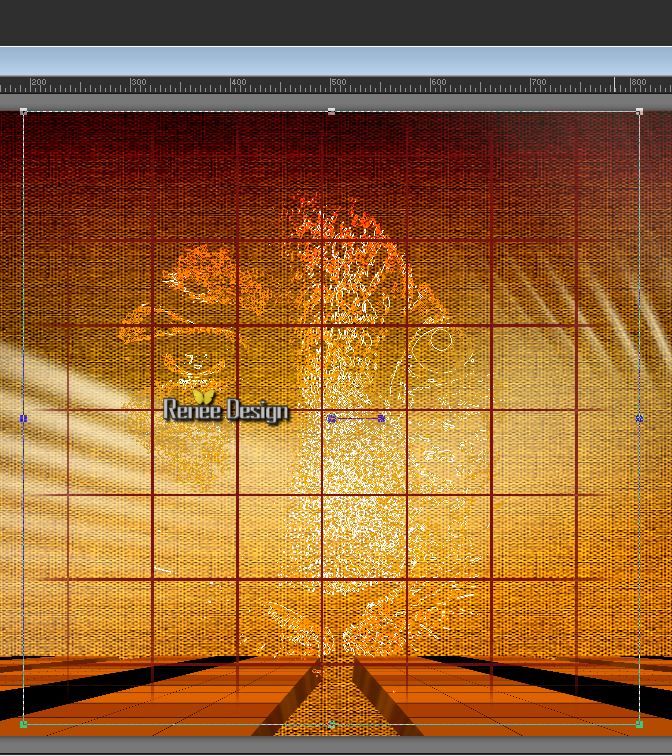
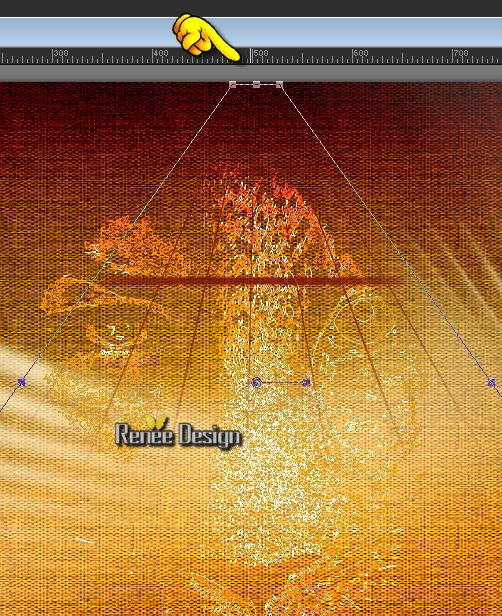
Raster Deform Tool choose my preset ''jungleM'' /Click on it and okay

22.Activate Pick Tool ( K) and place like this
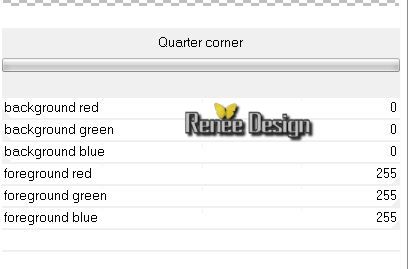
23.Effects
- Plugins - Simple -Quater Corner
24.
Effects - 3D Effects - Drop Shadow/ Default
25.
Activate the tube ''jungleM_lune'' /Edit/copy-Edit paste as a new layer and place
26.
Activate the tube ''jungleM_nuages'' /Edit/copy Edit paste as a new layer and place
27.
Layer Palette-Blend mode "Soft Light"
Your Layer Palette looks like this now
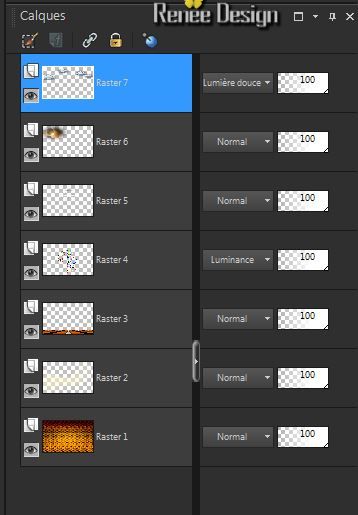
28.
Activate Layer Palette: Be placed on raster 3
Activate the tube '' I'm a wild thing-misted tube of Devil''/ Edit/copy-Edit/paste as a new layer and place /Opacity 71%
29.
Activate the top of the Layer Palette
30.
Activate the tube '' overcast_by_baconworm_tubed_by_thafs''/
Image Resize 70 % /Edit/copy-Edit/paste as a new layer
Place to the right
31. Activate Layer Palette: Blend mode "Luminance Legacy"
32.
Layers - New raster layer
33.
Selections - load/save selection - load selection from disk and select
" jungle mystère 2''
34. Material Properties: FG-Color : #fef0c8
35. Flood Fill Tool - Opacity 50% -Fill the selection with your FG-Color
Keep Selections
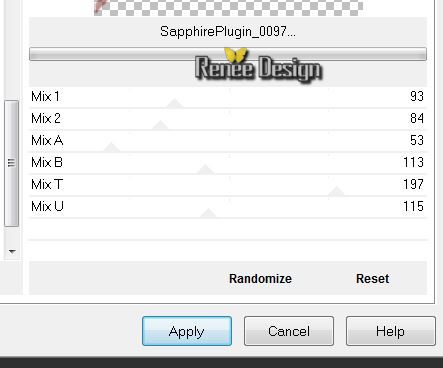
36. Effects-
Plugins Unlimited - Sapphire Filters 01/ Sapphire
Plugin_0097
37.Selections-Deselect All
38. Layers- New raster layer
39.
Selections - load/save selection - load selection from disk and select ''jungle_mystere_3''/
Properties Background -Background color to color #781414
40. Flood Fill Tool - Opacity 100% / Fill the selection with the BG-Color (click 2 x)
Keep Selections
41. Effects -
Plugins - Eye Candy 5-Impact -choose my preset
''jungleM_extrude2"
42. Layers- New raster layer/ Fill the selection with the FG-Color
#fef0c8
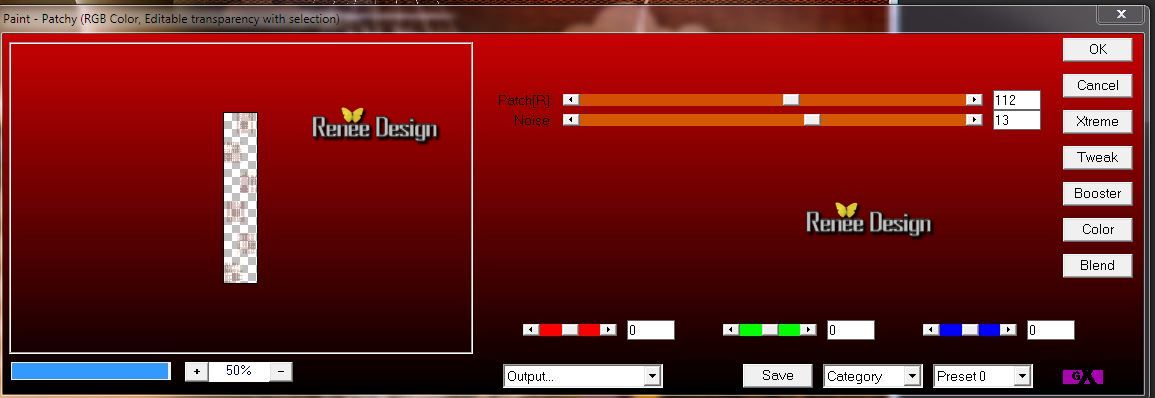
43. Effects-
Plugins AP 14 - Pain Patchy
44.Effects -
Edge Effects-Enhance More
45.Selections-Deselect All
 46. Layers- Merge-Merge Down 46. Layers- Merge-Merge Down
47. Activate Layer Palette: Blend mode "Difference"
48. Activate your Text Tool : activate the font ''Milano_let '' / FG-Color /
Write down the word ''jungle ''and ''myster'' and place (see the example
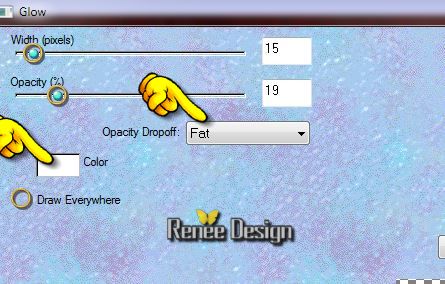
49. On texts - Effects- Plugins Eyecandy 3.01/ Glow
You see this message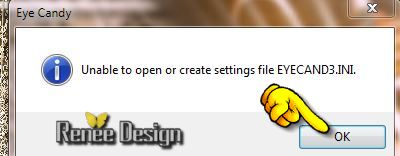 click okay and the filter will work click okay and the filter will work
50. Activate
the tube '' jungleM_trait" - Edit/copy-Edit/paste as a new layer and place
51. Activate the tube '' Trizia_FrogBoy.pspimage''/ Edit/copy-Edit/paste as a new layer and place
52. Layers- Merge- Merge Visible
53. Image - Add Borders - Symmetric checked : 2 pixels color black
54. Edit-Copy !!!!
55. Image - Add Borders - Symmetric checked : 40 pixels FG-Color
56. With the Magic Wand -select the border of 40
pixels

57.
Edit paste into selection
58.
Effects -Plugins ICNET FILTERS Unlimited- Special Effect 1
/ Shiver / 27/22
59. Adjust-Blur-Gaussian Blur: Radius: 35
60.
Selections- Invert
61. Effects-
Plugins - Eye Candy 5 - Impact -Perspective
shadow-choose my preset ''jungleM-Persp''
62.
Selections- Deselect All
63. Image - Add Borders - Symmetric checked : 5 pixels color white
64. Adjust-Smart Photo Fix 

I hope you enjoyed this lesson
Renée
This lesson was written by Renée 28/04/2014
Created the
05/2014
*
Any resemblance with an existing lesson is merely a coincidence
*
Don't forget to thank the people who work for us and with us. I named the tubeurs - Testers and the translators.
Thanks Renée
| 
 Translations