|
New
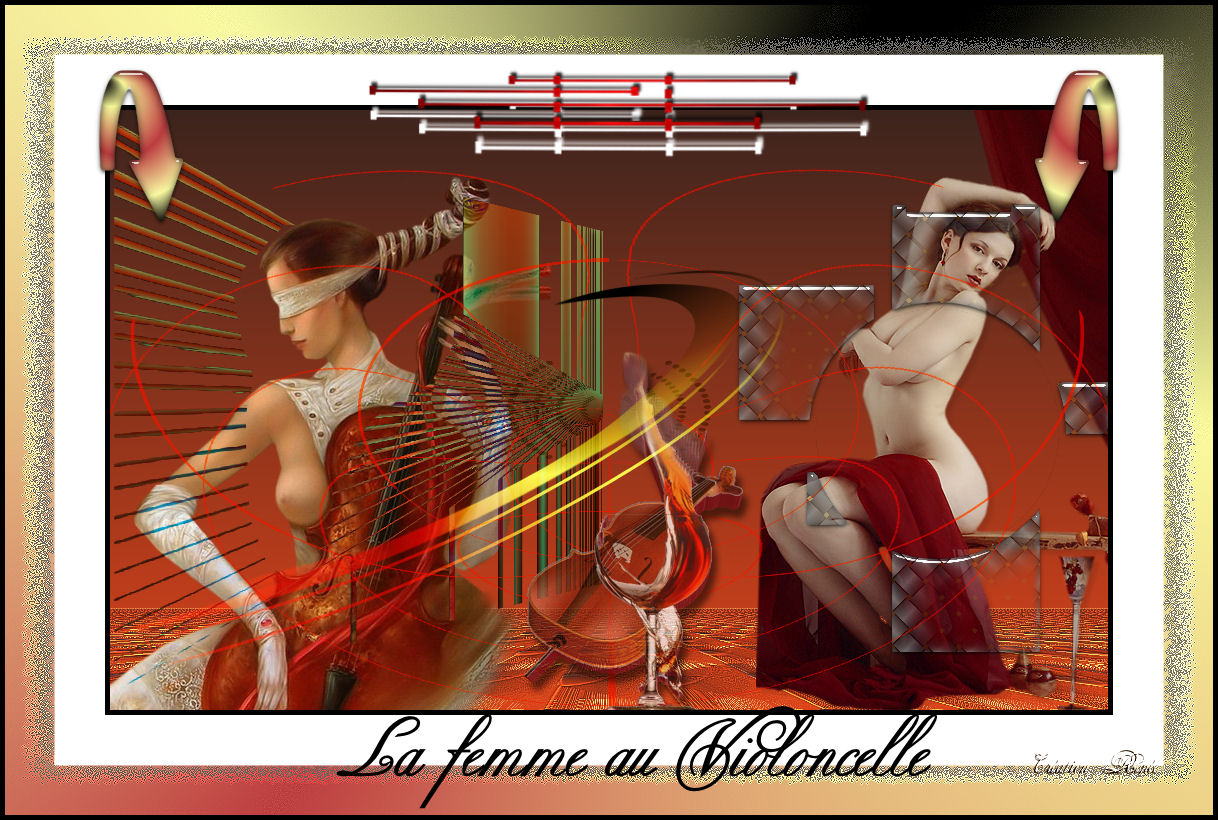
LA FEMME AU VIOLONCELLE
Translations here
*
Let's start the lesson.
1. File - New - Open a new transparent image 998 x 600 pixels 2. Color-palette:Set your foreground color to color #dc431a-Set your background color to color #3c241d Color Palette:Set your foreground to gradient 'Foreground-background' -Linear -configured like this. Activate Flood Fill Tool and fill the layer with the gradient
3. Layers- Duplicate 4. Effects- Distortion Effects-Spiky Halo use settings below
5. Effects-Geometric Effects/Perspective Horizontal/ Distorsion -78 repeat checked 6. Effects- Plugins- Mura's Meister - Perspective Tiling use settings below
7. Effects- Edge Effects- Enhance More 8. Layers- New Raster Layer / Selections –load/save selection –load selection from disc and choose my selection: ''renee-femme au violoncelle sélection 1'' 9. Effects- 3 D Effects- Cutout use settings below
10. Effects-Plugins - Eyecandy 5 Impact / Glass-tab Settings/User settings choose my- Preset ''renee-glass-femme violoncelle '' 11. Effects- Plugins- Unlimited 2.0 >&BgkDesigner sf10 I/ Crosstich attention size a 24
12. Selections- Deselect All 13. Open the tube'' jacotte- sensuelle '' Edit/ Copy-Edit - Paste as new layer on your working and move to the right
14. Layers- Arrange- Move Down 15. Activate the top of the layer palette 16. Open the tube « renee-rayons-femme violoncelle « Edit/ Copy-Edit - Paste as new layer on your working image 17. Effects- Image Effects- Offset with these settings H = -250 and V =0 /In the Layer- Palette- Double click and set the Blend Mode to " Difference " 18. Open the tube « TReagean _2639 » Edit/ Copy-Edit - Paste as new layer on your working image and move to the left 19. Layers- Arrange- Move Down /The Result
20. Activate the top of the layer palette=raster 4 21. Selections –load/save selection –load selection from disc and choose my selection:''@renee-femme -au-violoncelle -selection 2 '' /Delete 22. Selections- Deselect All 23. Activate the top of the layer palette 24. Layers- New Raster Layer 25. Selections –load/save selection –load selection from disc and choose my selection:"@renee-femme -au-violoncelle -sélection 3 "/Activate Flood Fill Tool and fill the selections with this color #575529 26. Selections- Deselect All 27. Layers- Duplicate /Image Mirror /Layers- Merge- Merge Down 28. Effects- Image Effects- Offset with these settings H=0 and V = 100 / transparent 29. Effects- Plugins - Vanderlee- Unplugged X Starchart use settings below ( color #D14417)
30. Effects- Distortions Effects-Polar Coordinates-Rectangular to Polar
31. Open the tube '' verre_violoncelle '' Edit/ Copy-Edit - Paste as new layer on your working and move -Set the layer opacity of this layer to 73% 32. Effects- Plugins- EyeCandy 5 Impact / extrude-tab Settings/User settings choose my Preset ''renee-femme violoncelle-extrude'' 33. Effects- 3 D Effects- Drop Shadow with these settings: 9/5/75/10 black 34. Layers- Merge- Merge Visible 35. Image - Add borders-Symmetric checked: 5 pixels black 36. Image - Add borders-Symmetric checked: 50 pixels #ffffff 37. Open the tube « barre rouge « -Set the layer opacity of this layer to /Image Flip-and move to top 38. Layers- New Raster Layer 39. Selections –load/save selection –load selection from disc and choose my selection: ''@renee
-femme-au violoncelle -selection4 '' - Activate Flood Fill Tool and fill the selection with the gradient
40. Selections- Deselect All 41. Effet Eye Candy 5 Impact - Glass with the same settings (point 10 ) 42. Layers- Duplicate - Image Mirror 43. Layers- New Raster Layer 44. Selections –load/save selection –load selection from disc and choose my selection: ''renee-femme-au violoncelle-selection 5'' 45. Material of the foreground: change your sunburst gradient( '' 12''-) into a radial gradient configured like this Activate Flood Fill Tool and fill the selection with the radial gradient
46. Selections- Deselect All-/In the Layer-Palette: Double click on this Layer and set the Blend Mode to "Hard Light " 47. Layers- Merge- Merge Visible 48. Image - Add borders-Symmetric checked: 50 pixels black 49. Activate the Magic Wand and select the Border of 50 pixels// Activate Flood Fill Tool and fill the selection with the radial gradient 50. Selections- Promote selection to Layer 51. Color-palette: foreground to radial gradient -Set your background color to color #d6cbaf 52. Effects-Plugins -Unlimited 2.0 <Bkg Designer sf10 I / Blur'em **ATTENTION: Do you have problems with this (Blur'em!) Take Plugins -TOADIES preset -'' Blas't em'' You have the same results
53. Selections- Deselect All 54. Effects- Edge Effects- Enhance 55. Image - Add borders-Symmetric checked: 5 pixels black - Click on your Text Tool/Font ''Copper Alt Caps expert ''write your text Save as JPEG
*
I am part of the Tutorial Writers Inc. My tutorials are registered regularly ReneeGraphisme_All rights reserved
* |

 Translations


