|

Translated by Sally
Translator Here
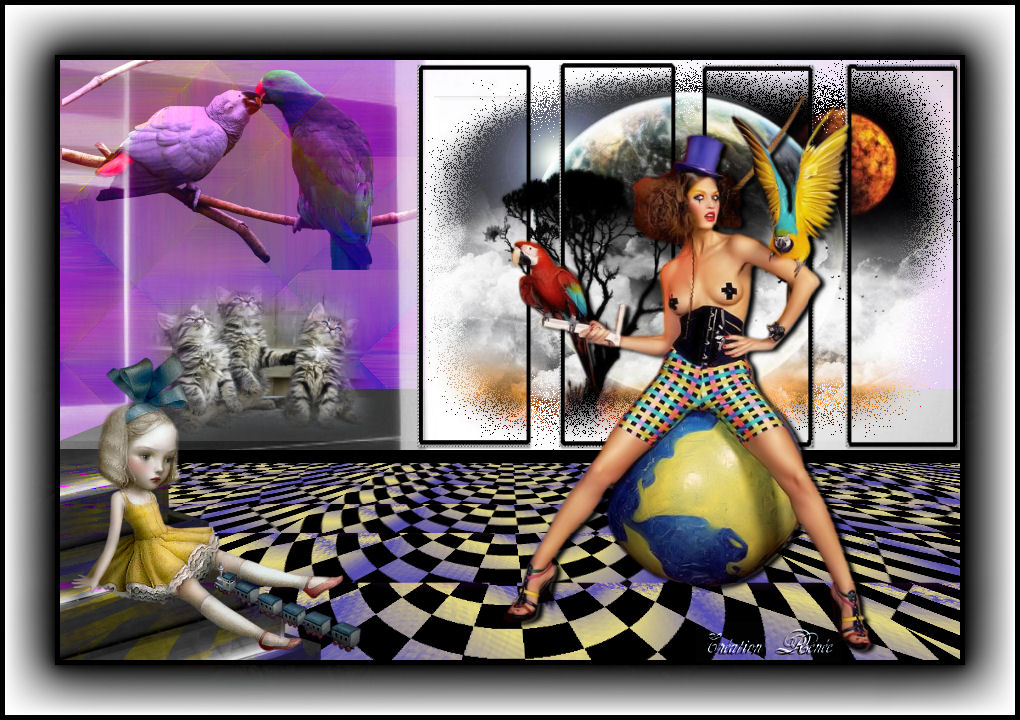
The Girl with Parrots
*
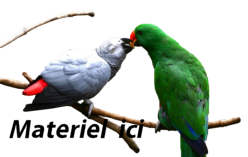
Materials
for download here
Filters
MEDHI /SORTING TILES
FM TILE TOOLS/SATURATION EMBOSS
SUPER RUN / SUPER CUBIC REVERSE(dans le dossier)
VIDEO RAVE / WONDERLAND
MURAS MEISTER /PERSPECTIVE TILLING
ALIEN SKIN IMAGE DOCTOR /SPOT LIFTER
preset spot
lifter here here
http://www.4shared.com/file/UWFcD58l/Alien_Skin_Image_Doctor_Photos.html
****
Filters
Click here
:
http://www.reneegraphisme.fr/filtres/Mes filtres.html
*********************
Tubes
Asd –
LD – Guismo – Ninaisu
These tubes were
received from tubeurs sharing groups
Or found by me
searching on the net
I am grateful to have
been given permission these beautiful tubes so
please use any
copyright information as needed
If one of these tubes
is yours,
Contact me
so I can make a link
to your site
or remove it
Thank you Renee
*
|
Before you start
*
Open PSP
Open / tubes duplicate and close originals
Open then Minimize the mask in PSP
Put filters in their proper folders
Brushes and other tools in their respective folders
To import presets / Double-click the file it will
automatically install
|
Let's begin
1. Open a transparent image of 900 x 600 pixels
2. Cange the colors to foreground #e4d97f and background to #534ab3
3. Fill your layer with the background color
4. Layers - add a new layer / select all
5. Open and paste the tube "ASDwebs aurora-BG-1" into the selection
6. Selections - Select none
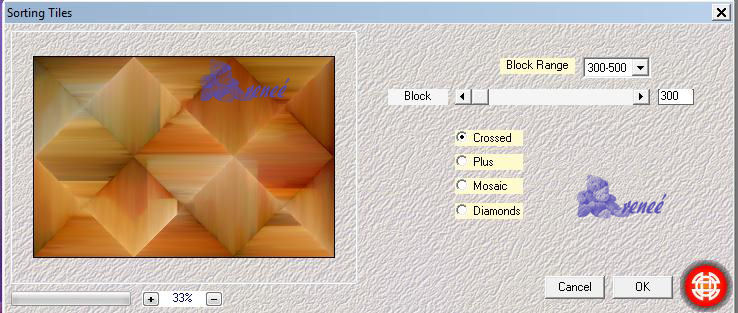
7. Effects - Medhi / Sorting tiles
8. Change the layer blend mode/ difference
9. Effects - FM Tiles Tools/ Saturation emboss
10. Effects - Image effects/ Seamless Tiling
11. Adjust - Sharpness - Sharpen
12. Layers - merge - merge down
13. Layers - new raster layer
14. Create a rectangular gradient
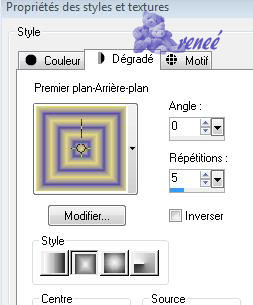
16. Fill the layer with the gradient
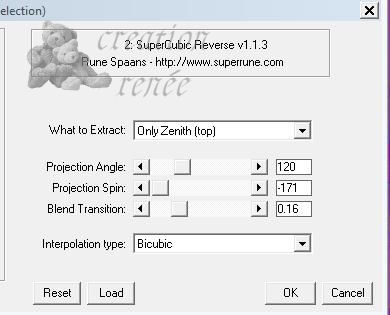
17. Effects - Super Runes / Supercubic / cubic reverse >>>> the
filter is in your zip file
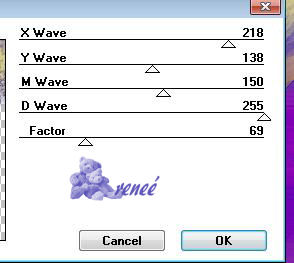
18. Effects - Videorave / wonderland **
19. Effects - Filters Unlimted 2.0 - Alf'sPowerToys / Dartboard 8/27
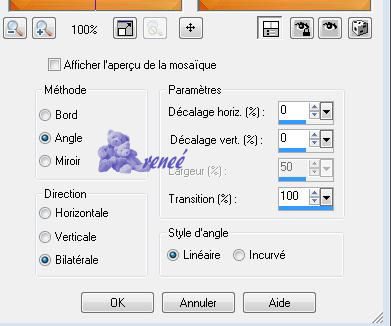
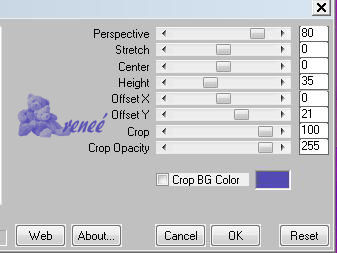
20. Effects - Mura's Meister/ Perspective Tiling
21. Stay on raster 2/ Using the wand - select the transparent top
22. Layers - add a new layer
23. Fill the selection with color #ffffff
24. Selections - Select none
25. Open mask "maskgaleria".
Layers new mask layer from image - check Source Luminance
26. Layers - merge group
27. Selections - load the selection "@renee_home_1"
28. Layers - add a new layer/ fill with black
29. Effects - Eyecandy5 - Impact/ Extrude/ preset "renee-home1"
30. Layers - Arrange/ move down
your palette should look like this
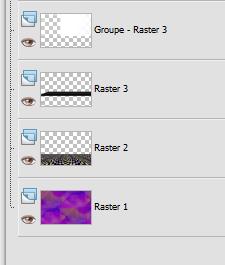 - -
31. Open the "chatons" tube and paste as a new
layer
32. Open tube "calguisparrots_12210"/ resize to 45%
33. Paste as a new layer and place well. Change the blend mode to
overlay
34. Layers - add a new layer / load selection from disk / selection
"@ renee-home3''
35. Open your tube "LB TUBES3" and paste into the selection
-Do Not deselect
Change this layer dissolve
36. Layers - add a new layer
37. Open the tube "fenetre" (this tube comes from claudia Viza for
which I am grateful).
Paste into the selection - selections/ select none
38. Open the tube "femme_cirque" resize 85% all layers unchecked
paste as a new layer
39. Effects - 3D effects - drop shadow - black 2/5/100/5
40. Open the tube "ninaisu-architecture"/
resize to 55% and place to the left and change the blend mode to
luminance
41. Open the tube "Jhanna-386 Nceccoli" resize to 55% and paste as a
new layer / move into place as shown
42. Layers/ merge all
43. Image - add borders 5 pixels black
44. Image - add borders 50 pixels white
45. Select the border of 50 pixels with the wand
46. Effects - AlienSkin Image Doctor/ Spot lifter
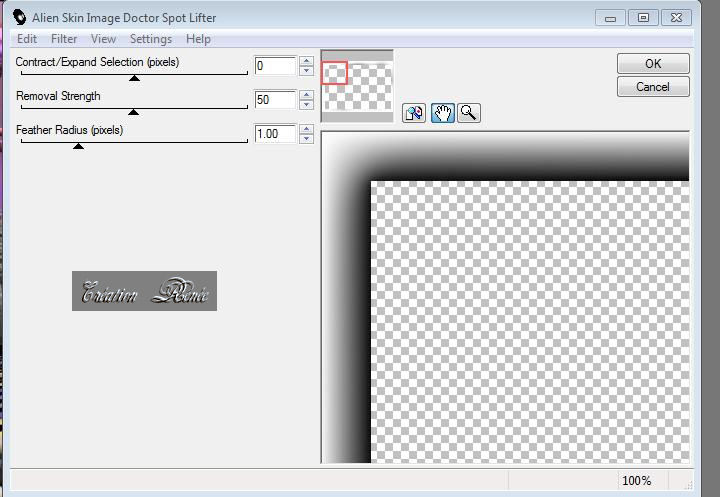
47. Selections - select none
48. Image - add borders 5 pixels #000000
Lesson Done, Thank you Sally
*-*-*
I am part of
Tutorial Writers Inc.
My tutorials are
regularly recorded


|
Your creations here
 |
|