|
New
Translations here
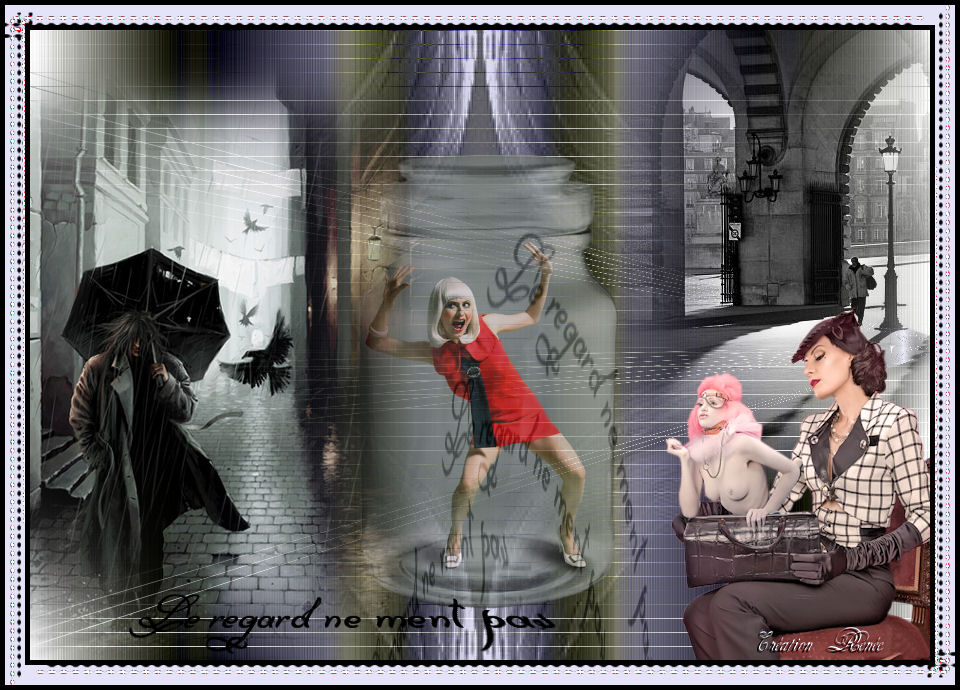
Eyes do not lie
DOWNLOAD material here These Plugins are used for this Tutorial L and K /Marya Transparency /eliminate black Mura'sMeister /copies You can find my filters herehttp://www.reneegraphisme.fr/filtres/Mes%20filtres.html Tube are of Coline - Guismo
If it is your intention to share these tubes or these lessons in a group,club or forum please ask permission to the owner .
The tube may not be send without the lesson . Please do not make changes to the tube, because this tube was made for this lesson only.
It is forbidden to share this tutorial without a link to the original lesson.
Thank you very much Renée *
* These tubes were received from tubeurs sharing groups Or found by me searsching on the net. I Am grateful to have been given permission these beautiful tubes so please use any copyright information as needed. If one of these tubes is yours? Contact me so I can make a link to your site or remove it. Thank you very much Renée
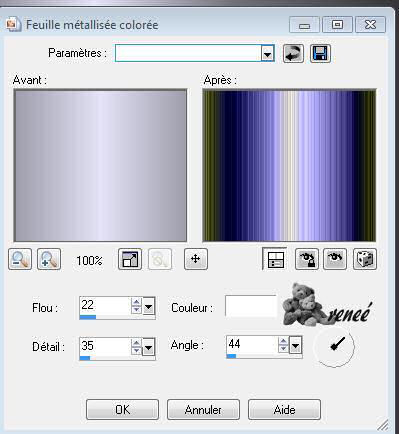
Let's start the lesson. 1. File: Open een new transparent image 900 x 630 pixels 2.Color-palette:Set your foreground color to color #000000 -Set your background color to color #e4e3f7 3. Set your foreground to gradient 'Foreground-background' - Linear - Angle 90- Repeats 1- Invert not checked. 4.Activate Flood Fill Tool and fill the layer with the gradient 5. Effects- Artistic Effects-Colored Foil use settings below
6. Layers- New Raster Layer -Activate Flood Fill Tool and fill the layer with the gradient 7. Effects-Plugins- L and K's /Marya use settings below
8. Effects- Plugins-Transparency/Eliminate black 9. Layers- New Raster Layer 10.Effects- Geometric Effects-Perspective-Horizontal use settings below
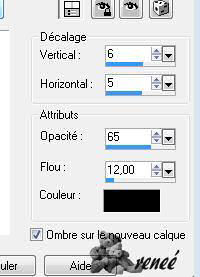
11. Effects-3 D Effects-Drop Shadow use settings below - shadow on new layer checked
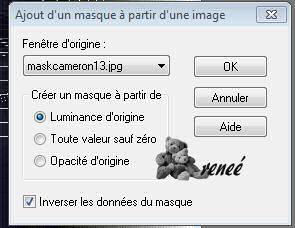
12. Layers- New Raster Layer -Activate Flood Fill Tool and fill the layer with the gradient 13. Layers- New Mask layer from Image and choose Mask: « maskcameron13 »
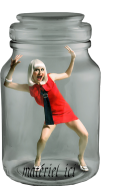
14. Layers- Merge- Merge Group 15. In the Layer- Palette- Double click on this Layer and set the Blend Mode to "Difference " -Set the layer opacity of this layer to 57% 15.Open the tube « cal-guis-alone-21102008 » /Image Mirror /Edit/ Copy-Edit - Paste as new layer on your working image and move 16. Open the tube « femme-pot »de Coline -Image Resize to 65% - Edit/ Copy-Edit - Paste as new layer on your working image and move into the middle /Set the layer opacity of this layer 71% 17. Open the tube '' image 3 '' -Edit/ Copy-Edit - Paste as new layer on your working image and move to the top right 18. Open the tube » femme sac a main « -Edit/ Copy-Edit - Paste as new layer on your working image and move to the bottom right side 19. Layers- Merge- Merge Visible 20. Open the tube "texte" / Edit/ Copy-Edit - Paste as new layer on your working image and move 21. Layers- Duplicate 22. Effects-Plugins- Mura's meister / copies use settings below
-In the Layer- Palette- Double click on this Layer and set the Blend Mode to " Soft Light "-Set the layer opacity of this layer 83% 23. Effects- Distortions Effects-Polar Coordinates-Polar to Rectangular 24. Image - Add borders-Symmetric checked:5 pixels foreground color 25. Image - Add borders-Symmetric checked: 25 pixels background color 26. Image - Add borders-Symmetric checked: 5 pixels foreground color 27 Activate the Magic Wand and select the Border of 25 pixels 28. Layers- New Raster Layer /Open the tube « -ks-lijst-roxanne » Edit- Copy- Edit Paste into selection-Selections- Deselect All 29. Layers- Duplicate -Repeat 2 /3 times for a stronger effect 30. Layers- Merge- Merge Layers All Save as JPEG
|
 Translations