|
New
Translations here
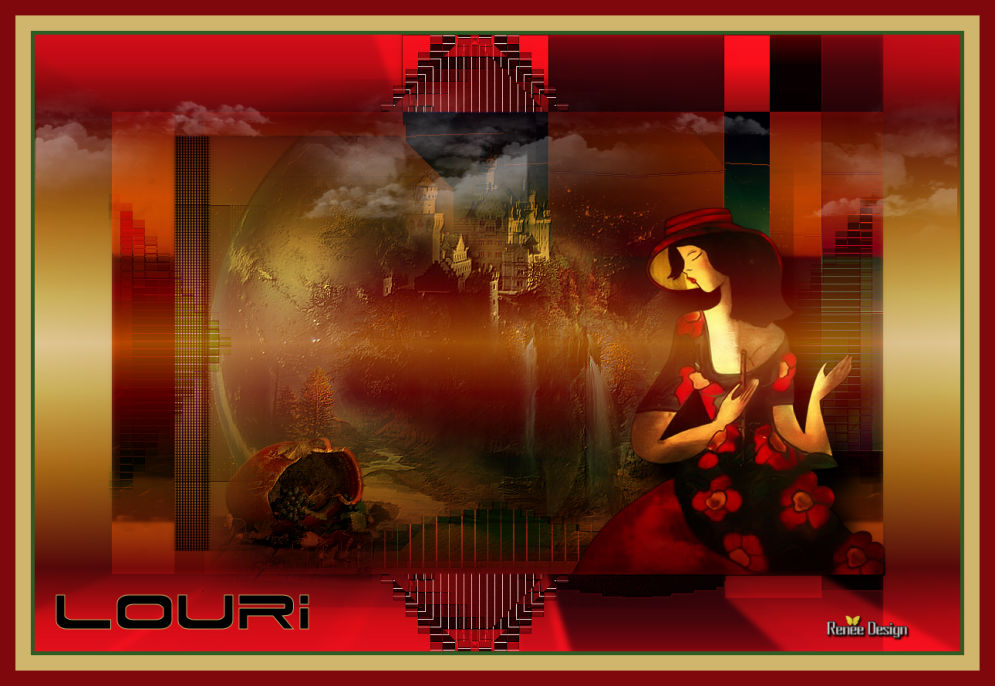
Louri
Let's start the lesson.
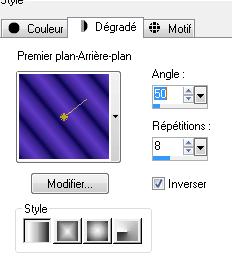
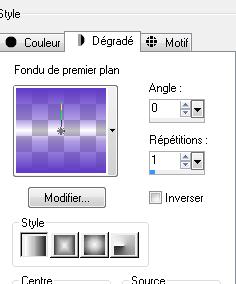
2. Material Properties:Set your foreground color to: #5f3ac6 - Set your background color to: #0b064e - Set your foreground to gradient 'Foreground-background' - Linear -with these settings
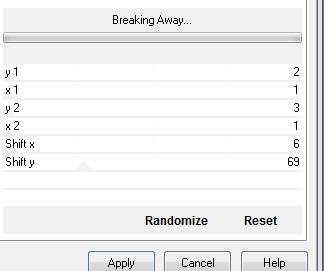
3. Flood Fill Tool: Fill the layer with the gradient 4. Effects- Plugins -Unlimited - Andrew's Filter 30 /Breaking away
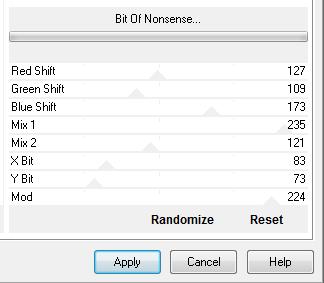
5. Effects- Plugins - Unlimited - Andrew's Filter 30 /Bit Of Nonsense
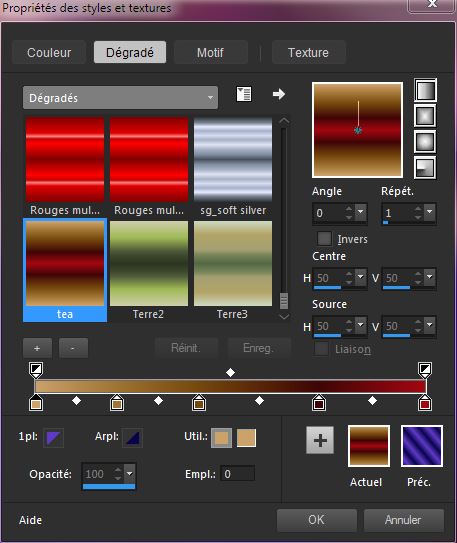
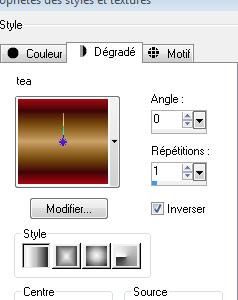
6. Adjust- Blur-Gaussian Blur-Radius 28 7. Layers- New Raster layer -Set your foreground to gradient and select " tea " --Put your foreground on the linear gradient with these settings
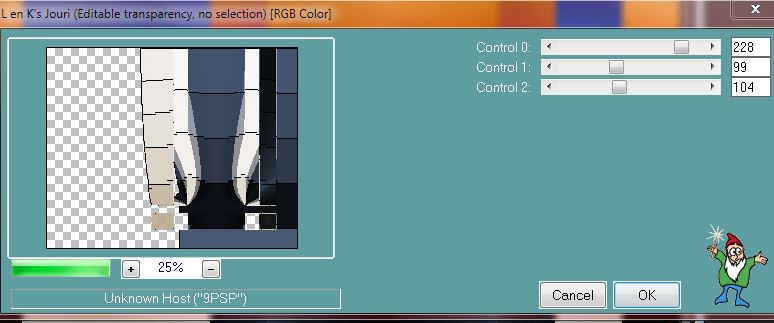
8. Flood Fill Tool: Fill the layer with the gradient 9. Activate " image 1" -Edit/ Copy-Edit - Paste as new layer on your working area (do not move it is in the right place) - Blend Mode "Overlay" 10. Activate the tube "4 psimage " -Edit/ Copy-Edit - Paste as new layer on your working area 11. Effects- Image Effects- Offset with these settings H = 120 and V = 70 - Double click on this Layer and set the Blend Mode to " Difference" 12. Effects- Plugins - L and k's / Jouri
13. Effects- Edge Effects- Enhance 14. Activate the tube '' image5.pspimage'' -Edit/ Copy-Edit - Paste as new layer on your working area (do not move it is in the right place) 15. Effects- Plugins - Eyecandy5 Impact /Glass -tab Settings/User settings choose my preset: « louri -renee -glass» 16. Effects- Plugins - Land K's /Katharina
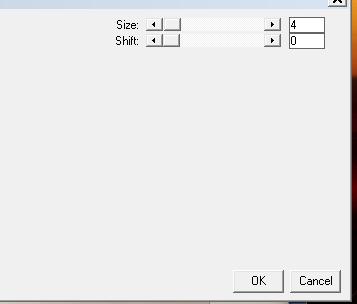
17. Image Resize a 90% resize all layers not checked 18. Effects- Plugins - Simple /Pizza slice Mirror 19. Image Mirror - Move Tool-move against the white line as shown in the example below
20. Activate the tube "château mystérieux " -Edit/ Copy-Edit - Paste as new layer on your working area (do not move it is in the right place) 21. Effects- Plugins - FM Tile Tools / Blend emboss using the default settings 22. Layers- New Raster layer - Material palette:Set your foreground color to: #5f3ac6 23. Change foreground material into a "fading foreground" linear gradient with these settings
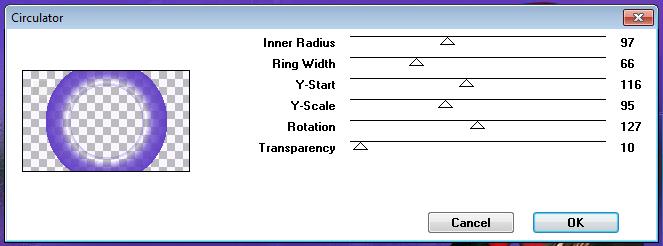
-. Flood Fill Tool: Fill the layer with the gradient 24. Effects- Plugins - Déformation / Circulator
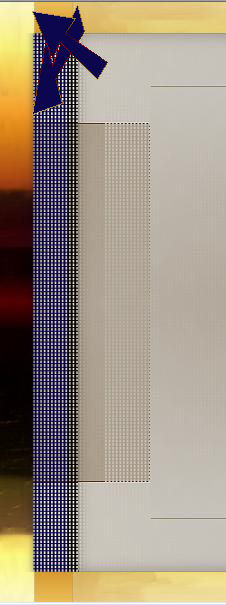
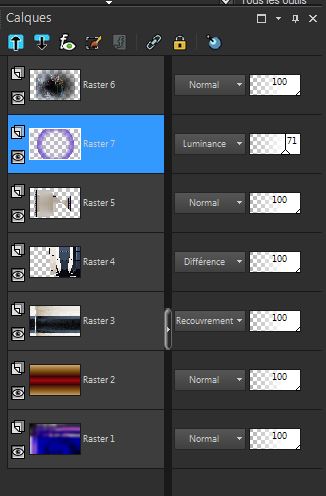
- Double click on this Layer and set the Blend Mode to "Luminance "Set the layer opacity of this layer to 71% 25. Layers- Arrange- Move Down -you should have this result:
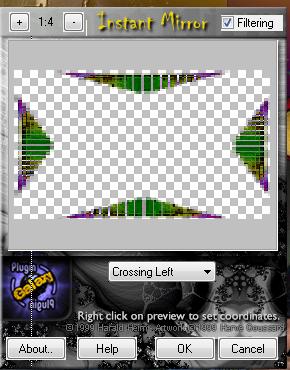
- Activate the top of the layer-Palette 26. Activate the tube " JHana femme "Edit/ Copy-Edit - Paste as new layer on your working area and move to the bottom right corner 27. Effects- Plugins - EyeCandy 5 Impact /perspective shadow / Preset - drop shadow higher 28. Activate the tube « triangle de coin » / Edit/ Copy-Edit - Paste as new layer on your working area 29. Layers- Arrange- Move Down and move to the left 30. Effects- Plugins- -Plugin Galaxy /Instant mirror attention choose >>Crossing left
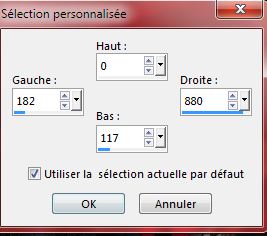
- Double click on this Layer and set the Blend Mode to "Overlay "Set the layer opacity of this layer to 83% 31. Selection Tool ( S ) Custom selection use settings below
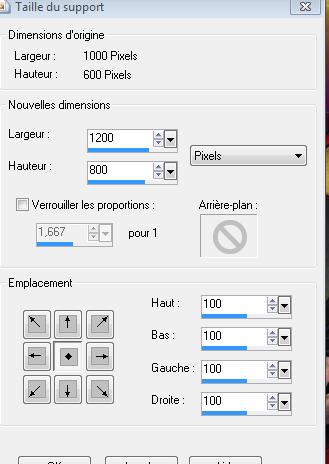
DELETE 32. Activate the tube « mc2584 » /Image Resize 45% / -Edit/ Copy-Edit - Paste as new layer on your working area and move 33. Effects- Plugins - FM Tile Tools /Saturation Emboss using the default settings -Attention : do not merge !! - Activate the top of the layer-Palette 34.Image- Canvas Size with these settings
35. Layers- New Raster layer 36. Layers- Arrange- Send to Bottom -Properties Foreground : Set your foreground to gradient and select " tea " --Put your foreground on the linear gradient with these settings
37.Activate Flood Fill Tool and fill the layer with the gradient 38. Close the bottom layer in the layer palette / 39. Activate an open layer in the layer palette/Layers-Merge-Merge Visible
40. Activate the Merged Layer 41. Effects- Plugins - Eyecandy5 Impact / Blacklight -tab Settings/User settings choose my preset: " louri renee" 42. Activate the tube «coin_louri_base » On this tube-Image Rotate Left / Edit/ Copy-Edit - Paste as new layer on your working area and move to the bottom - Double click on this Layer and set the Blend Mode to "Luminance" 43. Layers- Duplicate- Image Flip 44. Activate the Merged Layer -Double click on this Layer and set the Blend Mode to" Overlay " you should have this result:
45. Activate the tube " nuage deux tons "Edit/ Copy-Edit - Paste as new layer on your working area and move to the top 46. Image - Add borders-Symmetric checked: 5 pixels #2f5c24 47. Image - Add borders-Symmetric checked: 20 pixels #d0b56c 48. Image - Add borders-Symmetric checked: 20 pixels #7f080d 49. Material Properties:Set your foreground color to: #d0b56c - Set your background color to:#000000 50. Activate Text Tool-Write your text ''Louri '' Font "Dodger" Size 75 51. Effects- Plugins - EyeCandy5 Impact /blacklight -tab Settings/User settings choose my preset: ''lauri3 ''(on the text) 52.Layers- Merge- Merge All 53. Image Resize a 995 pixels width. Save as JPG
I am part of Tutorial Writers Inc. My tutorials are regularly recordedt ReneeGraphisme_All rights reserved
*
|
 Translations