New
DOWNLOAD material here
Translations here
Let's start the lesson.
2. Color-palette:Set your foreground color to color #dfc3b3 - Set your background color to color #7c3b0b 3. Selections- Select All 4. Open the tube « fond renee automne » Edit/Copy-Edit paste into selection 5. Selections- Deselect All 6. Layers- New Raster Layer 7. Selections- Select All 8. Open the tube ''doctor" /Edit/Copy-Edit paste into selection 9. In the Layer- Palette- Double click on this Layer and set the Blend Mode to "Luminance " -Set the layer opacity of this layer to 61% 10. Layers- New Raster Layer /Selections –load/save selection –load selection from disc and choose: ''@renee-ailleurs1'' 11. Open the tube « claudiaviza-fantasia70 »Edit/Copy-Edit paste into selection 12. Selections- Deselect All /In the Layer- Palette- Double click on this Layer and set the Blend Mode to "Overlay" 13. Effects- Plugins- /FMTile Tools / Blend emboss using the default settings 14. Open the tube « claudiaviza-fantasia58 » Edit/ Copy-Edit - Paste as new layer on your working image and move 15. In the Layer- Palette- Double click on this Layer and set the Blend Mode to "Luminance-Legacy" 15. Layers- New Raster Layer 17. Selections –load/save selection –load selection from disc and choose:« @renee-ailleurs2 » Open the tube « Misted-paisaje153byhebe »Edit/Copy-Edit paste into selection 18. Selections- Deselect All /In the Layer- Palette- Double click on this Layer and set the Blend Mode to "Luminance" 19. Selections- Deselect All 20. Open the tube'' 247-silvina-vanesa-orsi-febro-27-2009''- Image Resize to 75 % Edit/ Copy-Edit - Paste as new layer on your working image and move - Set the layer opacity of this layer to 93% 21. Layers- New Raster Layer Brush Tool and select my file '' pinceau tube «in your psp File- Export Custom Brush (Give it a name) Activate Brush Tool and select my file in the list: '' pinceau tube «use settings below-Stamp 2x with the foreground color #dfc3b3 in the upper right corner
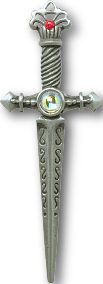
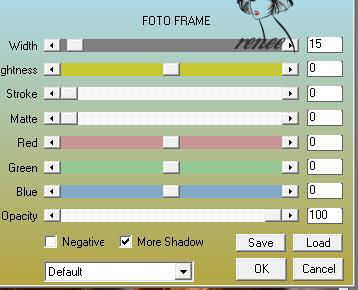
22. Open the tube « lumineuse « Edit/ Copy-Edit - Paste as new layer on your working image and move In the Layer- Palette- Double click on this Layer and set the Blend Mode to "Luminance" 23. Open the tube « dague « Edit/ Copy-Edit - Paste as new layer on your working image and move Image- Free Rotate left 75% Image- Resize to 75% resize all layers not checked - and place in the hand of the girl / eraser and what is too much of the fingers 24. Layers- Merge- Merge- Visible 25. Effects- Plugins- AAA Frame - Foto Frame use settings below
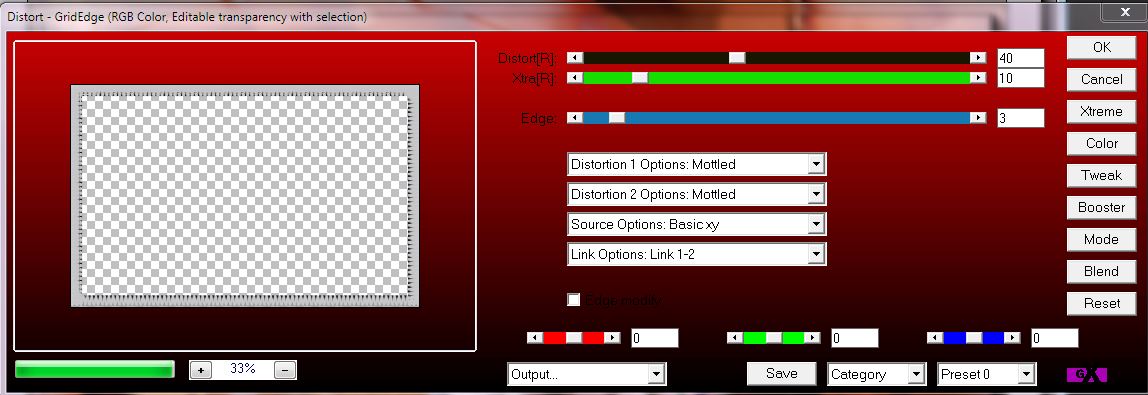
26. Image - Add borders-Symmetric checked: 50 pixels #c6c2c8 27. Effects- Plugins- AAA Frame - Foto Frame with the same settings 28. Activate your magic wand and select the inner wide part 29. Selections- Promote selection to Layer 30. Selections- Deselect All 31. Color-palette:Set your foreground color to color #c6c2c8 - Set your background color to color black 32. Effects- Plugins- AP DistortGridge1 use settings below (Filter GX16 in zip file )
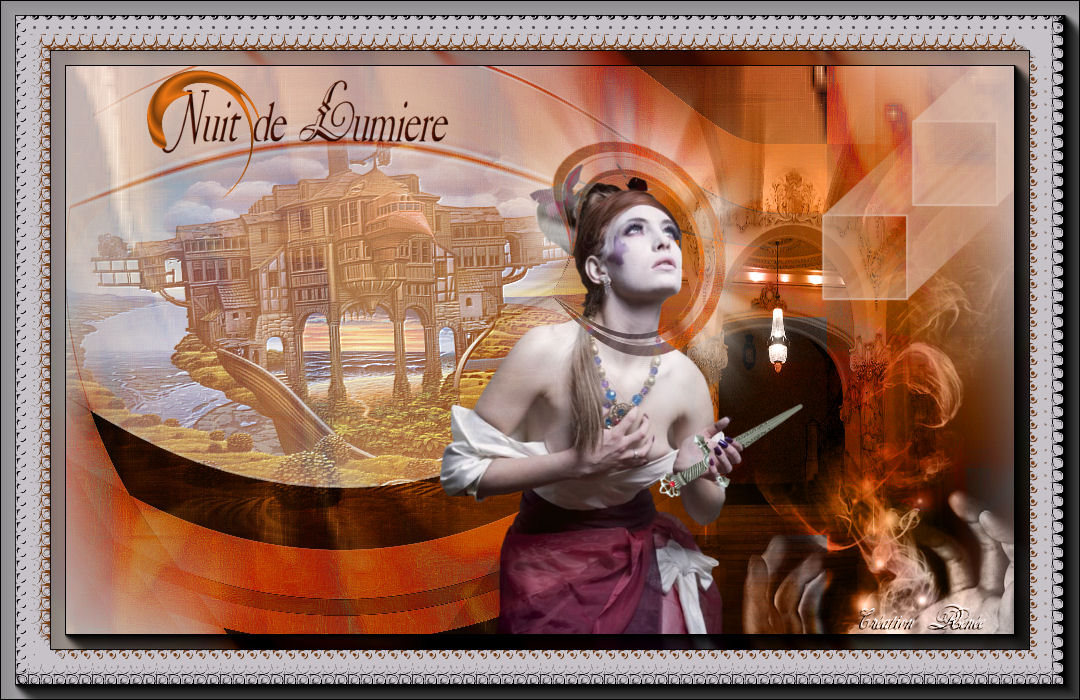
33. Layers- Merge- Merge All 34. Open the tube ‘’texte’’ - Edit/ Copy-Edit - Paste as new layer on your working image and move -Ore write your own text Save as JPEG I hope you enjoyed this lesson Renée This lesson was written by Renée 10 january 2009 Edited and Update 24/01/2009 I am part of the Tutorial Writers Inc. My tutorials are registered regularly ReneeGraphisme_All rights reserved
* Any resemblance with an existing lesson is a coincidence * Do not forget to thank the people who work with us and for us I have appointed the tubeurs and translators Thanks Renée
|


 Translations