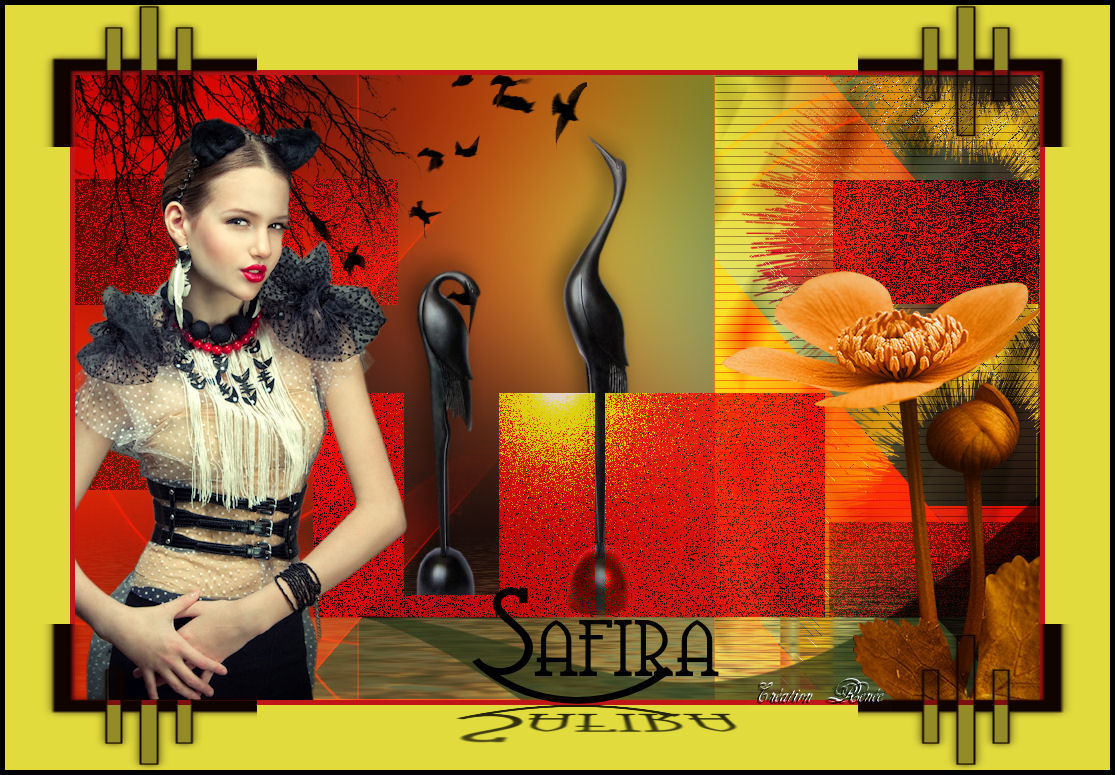
|
New
Translations here
Safira
Let's start the lesson. 1. Open the image "fond1" - Window - Duplicate (or shift+D) - Close the original and proceed on the copy -Promote Background Layer =Raster 1 2. Open the tube '' lignes radiation '' Edit/ Copy-Edit - Paste as new layer on your working image - -(do not move it is in the right place) 3. Effects- Distortions Effects-Polar Coordinates-Rectangular to Polar
4. Effects-Image Effects-Seamless Tiling with these settings
5. Effects-Geometric Effects -Perspective Vertical with these settings
6. Image Flip / Effects-Image Effects-Offset with these settings
7. Effects- Plugins Unlimited 2.0 &<Bkg designer sf10III>/Xagerrate with these settings
8. Image Free Rotate 90° to the right / With the move tool, move it to the bottom right -Double click on this layer and set the Blendmode to "Difference " 9. Open the '' image 15 '' Edit/ Copy-Edit - Paste as new layer on your working image 10. Effects-Image Effects-Offset with these settings H = 346/ V= 0 11. Layers- New Raster layer --Activate Flood Fill Tool and fill the layer with this color : #fa7514 12. Layers- New Mask layer from Image and choose Mask: ''aditascreation_mask_051''
13. -Layers- Merge- Merge Group 14. Layers- New Raster layer 15. Selections –load/save selection –load selection from disc and choose: « renee-safira-selection » Activate Flood Fill Tool and fill the selection with this color #bbbe5c 16. Selections Deselect All 17. Effects- Plugins -AP 01(Innovation)- lines silverling choose>>><preset = Horizontal and Preset Grad 3 (R)with these settings
If you can not find this preset "GRAD3" I will now show you how to proceed ----------------------------------------------------------------------------------------------- -Plugins -AP lines Silverling attention Choose Effects in the roll over menu For the following part: proceed exactly as I describe it, do not go your own way! 1. open the filter >>>>Tic on reset 2.In the window, choose>>><preset" Blend option" as shown in the example below
-In the window, choose preset >"Invert" as shown in the example below
-reopen the dropdown menu / In the window, choose preset" Post B"
-reopen the dropdown menu / In the window, choose preset>>Grad3
you have find your preset!!! AP filters have a lot of presets *We proceed with the lesson -------------------------------------------------------------------------------------------- 18. Double click on this layer and set the Blendmode to "Overlay" 19. Layers-New Raster layer 20. Selections –load/save selection –load selection from disc and choose: ''renee safira selection 2'' Pot of Paint: Change the opacity of the color at 50 % Activate Flood Fill Tool and fill the selection with this color #bbbe5c 21. Selections-Deselect All 22. Effects- Plugins Unlimited 2.0 - Plugin AB9- Very Random Dark Room with these settings
23. Layers-New Raster layer 24. Selections –load/save selection –load selection from disc and choose: ''renee safira -selection 3'' Activate Flood Fill Tool and fill the selection with black 25. Selections-Deselect All 26. Effects- Distortion Effects Wave with these settings
-Set the layer opacity of this layer to 65% 27. Open the tube ''safira image20 '' --Edit/ Copy-Edit - Paste as new layer on your working image and move -Double click on this layer and set the Blendmode to " Hard Light "Set the layer opacity of this layer to 63% 28. Activate the bottom layer = raster 1 Effects- Plugins - Flaming pear /flood with these settings
-you should have this result:
29. Open the tube '' fleur23 " -Edit/ Copy-Edit - Paste as new layer on your working image and move 30. Open the tube " tube1-18001-eglantine rose "Image Resize with 75% -Edit/ Copy-Edit - Paste as new layer on your working image and move 31. Open the tube "calguisdeoiseaux26102011'' Image Resize with 75% - Edit/ Copy-Edit - Paste as new layer on your working image Image Mirror 32. Effects- 3 D Effects-Drop Shadow with these settings: -8/-8/48/30 black
-Reopen the
tube ''calguisdeoiseaux26102011'
select this part as shown below - Edit/ Copy-Edit - Paste as new layer on your working image and move - Double click on this Layer and set the Blendmode to " Luminance " Set the layer opacity of this layer to 60%
-Layers- Arrange-Move Down underneath raster 4 33.
Layer-Palette -Make raster 4 active / Selections –load/save selection –load selection from disc and choose:''renee safira selection 4'' / 34. Open the tube « calguisvectorhiver4119'' /Image Flip / Edit/ Copy-Edit - Paste as new layer on your working image - -With the move tool, move it in the upper left corner -Layers- Arrange-Move Down underneath the lady 35. Layers- Merge- Merge- All 36. Image - Add borders-Symmetric checked: 5 pixels #c01619 37. Image - Add borders-Symmetric checked: 65 pixels #e1db3e 38. Open the tube "coin "-Edit/ Copy-Edit - Paste as new layer on your working image - With the move tool, move it in the upper left corner 39. Effects-Plugins -Simple /Top left mirror 40. Image - Add borders-Symmetric checked: 5 pixels black 41. Open the tube "titre " - -Edit/ Copy-Edit - Paste as new layer on your working image and move Save as JPG
I am part of Tutorial Writers Inc. My tutorials are regularly recordedt ReneeGraphisme_All rights reserved
|

 Translations


