|
Translations here
Segada -Mogo
New
Let's start the lesson.
1. Open the Backgroundimage
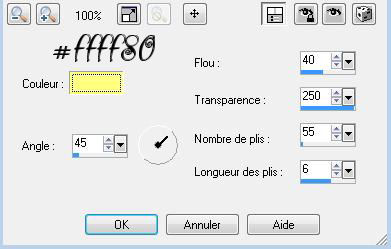
''renee-fond-sekada-mago "Window - Duplicate (or shift+D) - Close the original and proceed on the copy 2. Effects-Texture Effects-Fine Leather with these settings
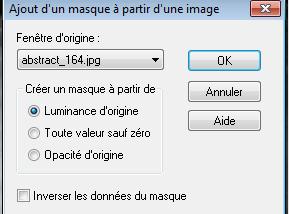
3. Layers- New raster layer -Activate Flood Fill Tool and fill the layer with black 5. Layers- New Mask layer from Image and choose Mask: ''abstract-164 »-
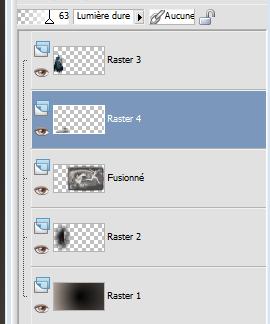
6. Layers Merge- Merge Group 7. Open the tube ''renee-sekada-mago-barre-laterale''-/Edit/ Copy-Edit - Paste as new layer on your working area -and move to the left of your image 8. Layers-Duplicate-Image resize with 85% 9. Layers-Duplicate-Image resize with 85% 10. Layers-Merge-Merge 3x Down (3 layers are merged ) as shown below / Your work and Layer Palette look like this now:
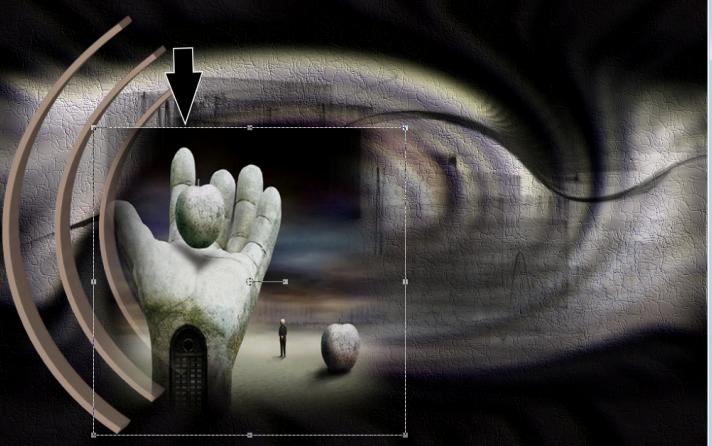
11. Layer palette – Make raster 1 active 12. Effects-Plugins - EyeCandy/ Extrude 13. Open the tube ''goossens -image15 '' -Edit/ Copy-Edit - Paste as new layer on your working area -and move to the left of your image as shown below
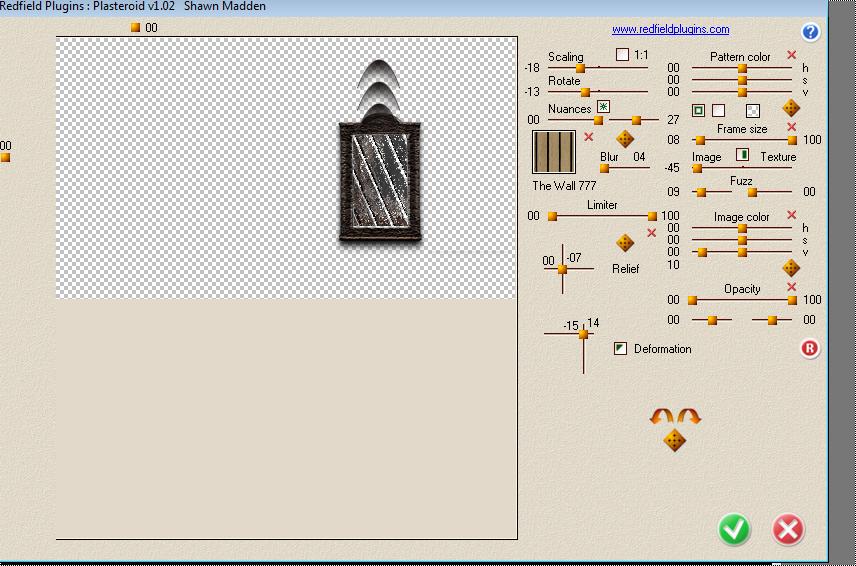
14. Effects-Plugins - FM Tile Tools /Blend emboss using the default settings 15. Open the tube "cadre" /Edit - Copy -Edit - Paste as new layer on your working area -and move to the right side of your image - With the magic wand select the inside of the frame **Do not add new layer - Activate Flood Fill Tool and fill the layer with black 16. Effects-Plugins - Redfield -Plugin Plasteroid V1.02 >with these settings > Tic on the icon >Wall 777">>The window will open at the left and select effect >> "Wall 777'' with these settings as shown below
17. Selections- Deselect All 18. Open the tube ''rene-sekada-mago-attache'' / Edit/ Copy-Edit - Paste as new layer on your working area -and move to the upper right site 19. Open the ''tube claudiaviza-mujer2402'' -Image Resize with 65% /Edit/ Copy-Edit - Paste as new layer on your working area and move to the right side/Image Mirror 20. Open the tube ''renee-sekada-mago-tonneau'' /Edit/ Copy-Edit - Paste as new layer on your working area -and move to the left 21. Open the tube ''mou-iron-bird'' Image Resize with 55% /Edit/ Copy-Edit - Paste as new layer on your working area -and move to the left 22. Open the tube ''claudiaviza-mujer2401 ''activate layer ''tigre modifié ' of the tube /Edit/ Copy-Edit - Paste as new layer on your working area and move 23. Layers- Merge- Merge Visible 24. Selections-Select All- Selections - Float Selections – Defloat. 25. Layers- New raster layer - 26. Set your foreground color to color white-Pot of Paint: Change the opacity of the color to 15% as shown below
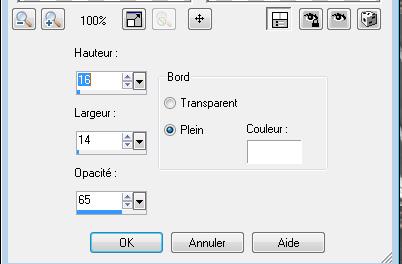
27. Activate Flood Fill Tool and fill the selection with color white **Pot of Paint: Change the opacity of the color to 100 % ** 28. Effects-3D Effects-Buttonize with these settings
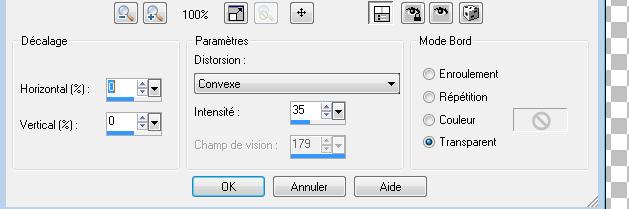
29. Effects-Edge Effects- Enhance More 30. Selections-Deselect All 31. Layers- Merge- Merge Visible 32.Effects- Distortion Effects- Lens Distortion with these settings
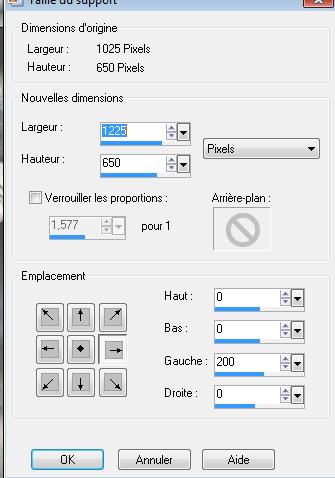
- Image Resize with 85 % 33. Effects-Plugins - EyeCandy 5 Impact - perspective shadow -tab Settings/User settings choose my preset:''renee-sekado-mogo-perspective shadow'' 34. Effects- Image Effects-Offset with these settings H = 65 and V =0 Transparent 35. Image Canvas Size with these settings
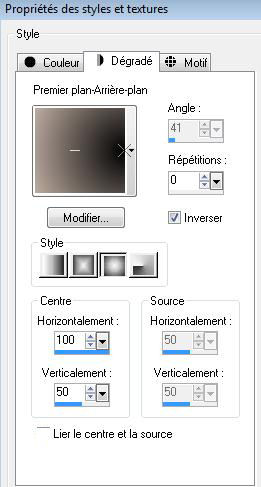
36. Set your foreground color to #bdaca1-Set your background color to #000000 -Set your foreground to gradient 'Foreground-background' -Prepare a sunburst gradient configured like this.
38. Layers- New raster layer - /Activate Flood Fill Tool and fill the layer with the gradient Layers-Arrange-Move Down - Activate the bottom of the layer-Palette 39. Layers- New raster layer - 40. Selections - load/save selection - load selection from disk and select my file: ''renee-sekada-mago-'' 41. Open the tube ''Escalier02.10.tubed by Corinne.vicaire'' /Edit/Copy-Edit Paste into selection -Selections- Deselect All 42. Effects-Plugins - FM Tile Tools / Blend emboss using the default settings 43. Open the tube ''tube1141'' Image resize with 75% Edit/ Copy-Edit - Paste as new layer on your working area -and move to the left side of your image 44. Double click on this layer and set the Blendmode to luminance Legacy 45. Open the tube ''renee-sekado-mago sceau eau '' Edit/ Copy-Edit - Paste as new layer on your working area -and move to the left side of your image 46. Double click on this layer and set the Blendmode to Hard Light /Set the layer opacity of this layer to 63% 47. Layers-Arrange-Move Down - Your Layer Palette look like this now:
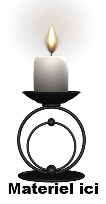
48. Open the tube ''renee-chandelle'' -Image Resize withe 25 % / Edit/ Copy-Edit - Paste as new layer on your working area and move to the left side of your image (in the hand of the person) 49. Open the tube ''renee-sekada-mago-barre stries'' Edit/ Copy-Edit - Paste as new layer on your working area -and the move to the left side as shown below
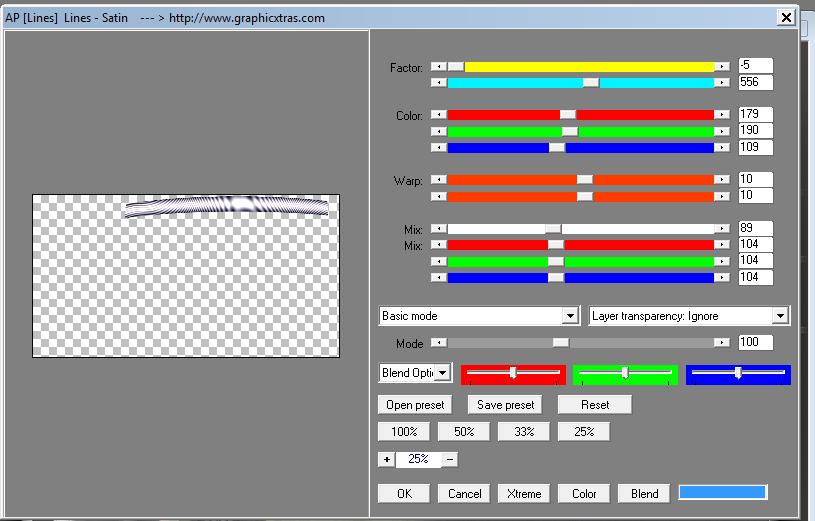
50 Layers- Duplicate-move it in to the right side of your image - Activate the top of the layer palette 51. Open the tube ''renee-sekada-mago--barre haut'' /Edit/ Copy-Edit - Paste as new layer on your working area and move on top of your image 52. Effects-Plugins AP01 -Lines- Line satin with these settings /Do you have problems with this- PNG image is into the zipfile and paste as a new layer on your working area and move
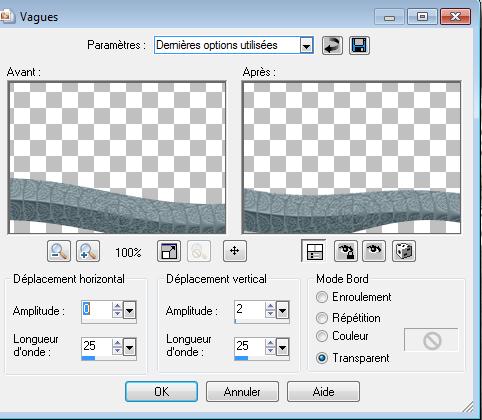
53. Layers- New raster layer - 54. Selections - load/save selection - load selection from disk and select my file: @renee_sekada-mogo3'' Activate Flood Fill Tool and fill the selections with #bdaca1 55. Selections-Deselect All 56. Effects- Plugins - EyeCandy 5Impact - Glass- Tab-Settings- select -preset ''Blue flattened'' - Activate the bottom of the layer-Palette 57. Layers- New raster layer - 58. Selections - load/save selection - load selection from disk and select my file: ''renee-sekada-mago4'' - Activate Flood Fill Tool and fill the the selections with #6e7f86 59. Effects-Plugins - Oliver's filters /Toile araignée / 51 60. Selections- Deselect All 61. Effects- Distortion Effects- Wave with these settings
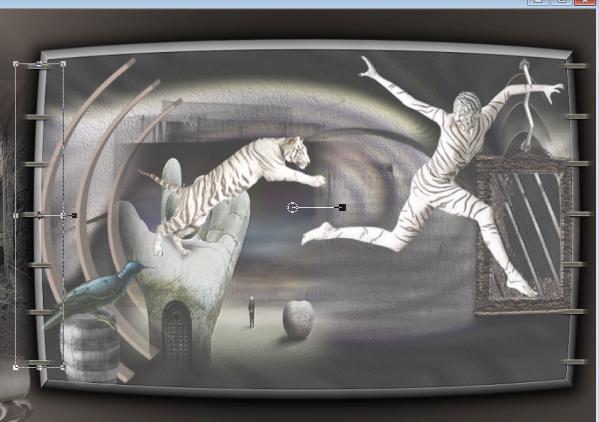
62. Activate the Pick Tool/Deformation tool (K)Mode Scale Stretch to the left side 63. Double click on this layer and set the Blendmode to Hard Light /Set the layer opacity of this layer to 79% 64. Effects-3D Effects- Drop Shadow with these settings
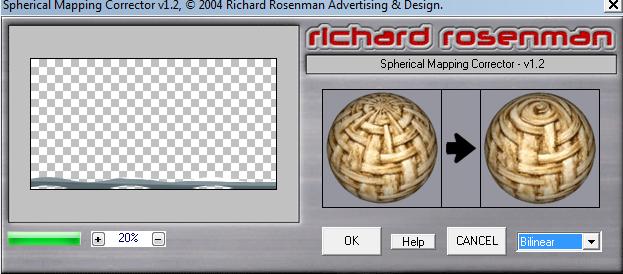
65. Layers- Duplicate 66. Effects-Plugins - Richard Rosenman /Spherical Mapping with these settings
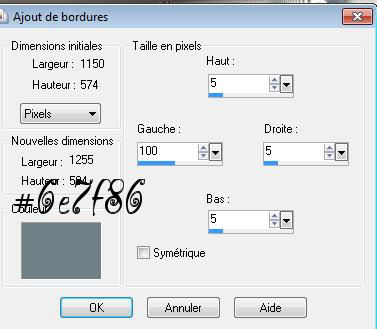
67. Layers-Merge- Merge Visible 68. Image Resize with 1025 pixels Width 69. Image - Add borders-Symmetric checked: 10 pixels color white 70. Image - Add Borders NO SYMMETRIC with these settings -color #6e7f86
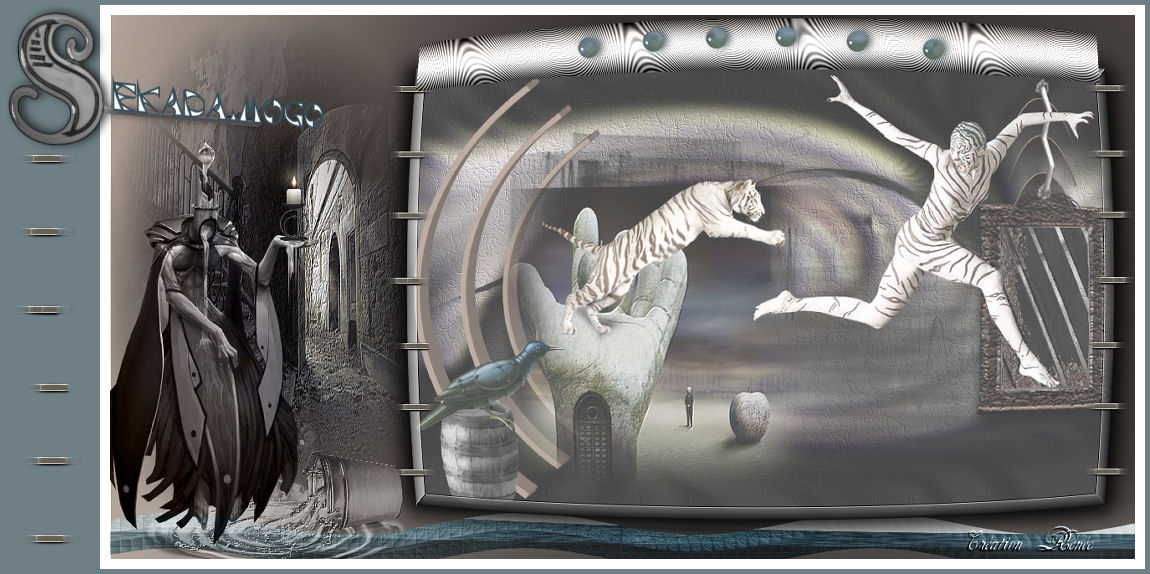
71. Open the tube ''renee-sekada-mago-barre stries'' /Edit/copy-Edit paste as a new layer on your working area and move 72. Activate the Text Tool-Font is into the zipfile -Write your own text . Activate the tube "text "/Edit/copy-Edit paste as a new layer on your working area and move Save as JPG
I hope you enjoyed this lesson Renée This lesson was written by Renée Placing 2012 *
Any resemblance with an existing lesson is merely a coincidence * * Don't forget to thank the people who work for us and with us. I named the tubeurs - Testers and the translators. Thanks Renée. *
I am part of Tutorial Writers Inc. My tutorials are regularly recorded ReneeGraphisme_All rights reserved
*
|
 Translations