|
Let's begin
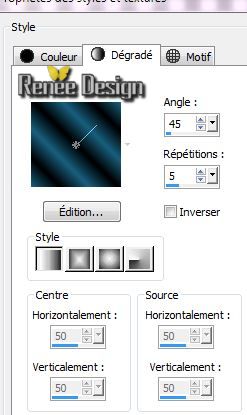
Material Properties: Foreground color to color: #195e7d .Background color to color: Black
-
Prepare a linear gradient configured like this.
1.
File - New - New Image: 1025 x 645
pixels-Transparent
2.
Flood Fill Tool: Fill the layer with the gradient
3.
Layers - New Raster Layer
4.
Selections- Select All:/ Activate
tube''steampunk_11_visage'' /Edit/copy-Edit paste into selection
5.
Selections - Deselect all
6.
Effects - Image Effects-Seamless Tilling/default
7.
Layers- Merge- Merge down
8.
Adjust-Blur-Gaussian Blur: Radius: 10
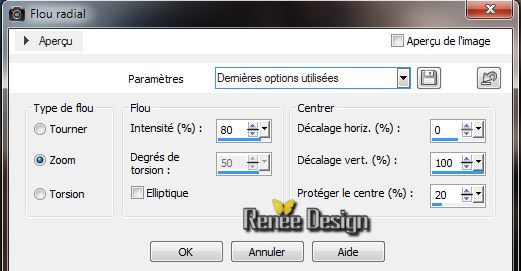
9.
Adjust-Blur-Radial Blur with these settings
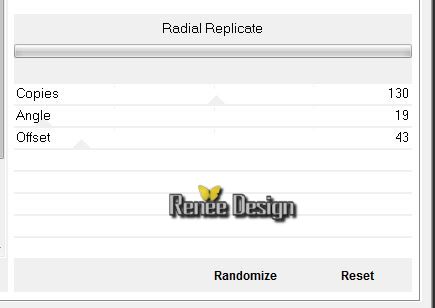
10.
Effects-Plugins Unlimited - &<Bkg Kaleidoscope- Radial
Replicate
11.
Effects-Plugins Icnet Filters - Lens Flare - Flare 02
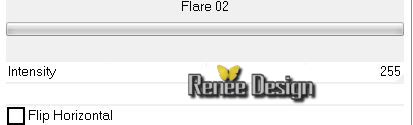
12.
Repeat: Effects-Plugins Icnet Filters - Lens Flare - Flare 02/ check Flip
Horizontal
13.
Layers - New Raster Layer
14.
Selections - load/save selection - load selection from disk and choose ''steampunk_11_1'' /
Flood Fill Tool:fill the selection with the gradient
14.
Adjust-Blur-Gaussian Blur: Radius: 45
15.
Effects -Plugins Unlimited - Neology- Digital Weaver 34/62
16. Effects -
Edge Effects- Enhance
17. Layer Palette: Blend Mode-"Soft Light"- Opacity 65%
18.
Selection Select none
19.Activate tube''steampunk_11_visage'' /Edit/copy -Edit/paste as a new Layer -place to the right
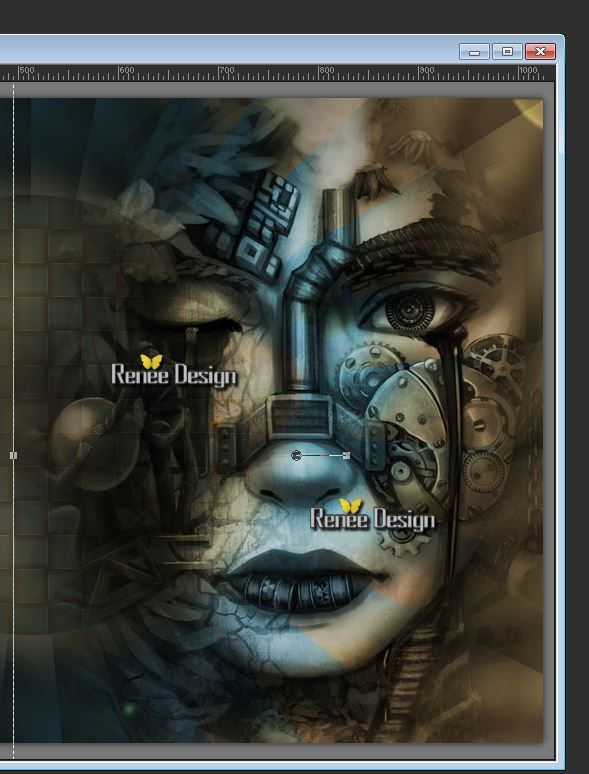
20.
Layers- Arrange-Move down -Layer Palette: Blend Mode "Luminance Legacy"
21.Activate your top layer in your layer palette
22.
Layers - New Raster Layer
23.
Selections-Custom selection with these settings
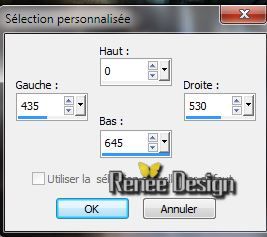
Material Properties: Foreground color to color white. Background color to color black
24.
Flood Fill Tool: fill the selection with your FG-Color / Selections- Select none
25.
Effects -Plugins Unlimited -It@lian Editors effect - Fantasma 9/12
Repeat!! Effects -Plugins Unlimited -It@lian Editors effect - Fantasma 9/12
26. Layer-Palette: Blend Mode "Soft Light"/Opacity 53%
27.
Layers - New Raster Layer
28. Activate Brush Tool and select my file: ''steampunk_11_pinceau _1"File- Export- Custom Brush (Give it a name''''steampunk_11_pinceau _1")
Material Properties: Foreground color to color:#03597e
Open the Brush-''steampunk_11_pinceau _1" Stamp with your foreground color:#3a7afe. Stamp the brush as shown in the example below:

The result
29. Layers- Duplicate /Image Mirror - place nice to each other
30. Layers- Merge- Merge Down
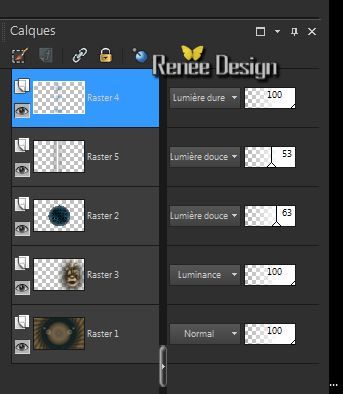
31. Layer-Palette: Blend Mode "Hard Light"
Layer Palette look like this now
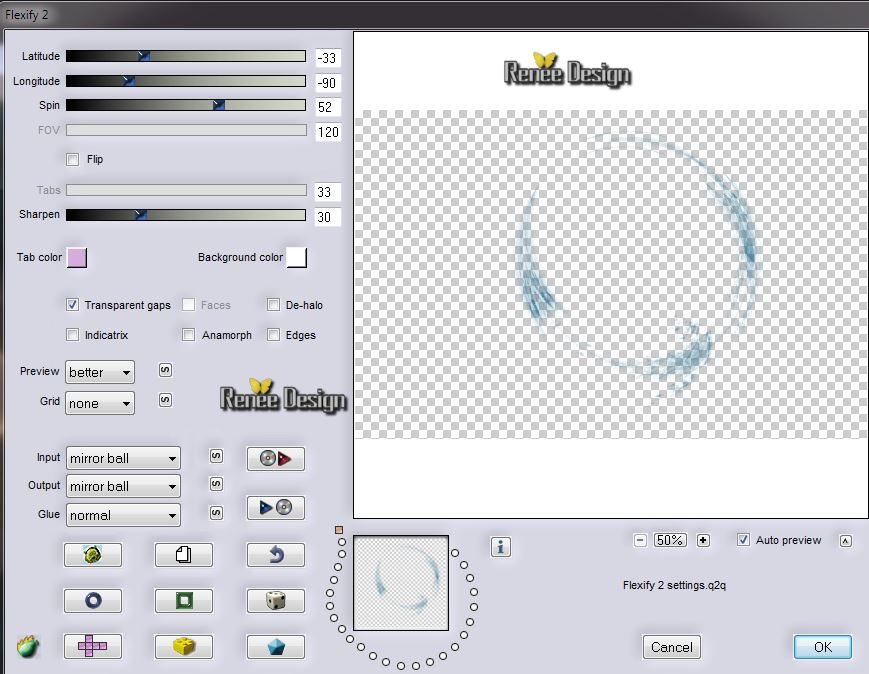
32. Effects-
Plugins - Flaming pear - Flexifly 2
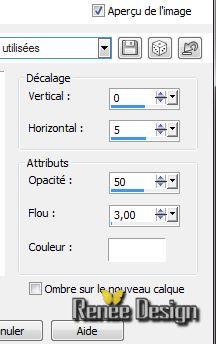
33. Effects -
Image Effects - Offset
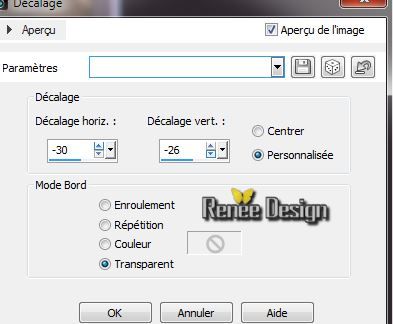
34. Activate tube ''Yoka-MISTED-MechanicalEye-12013.pspimage'' /Image
Resize 50%/ Image Mirror- Edit/copy -Edit/paste as a new Layer
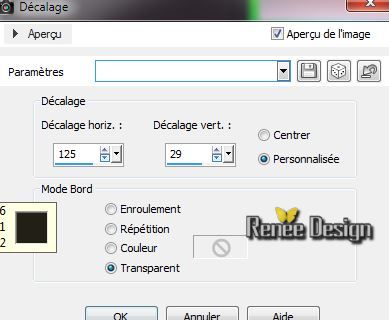
35. Effects -
Image Effects - Offset
36. Layer-Palette: Blend Mode "Luminance Legacy"
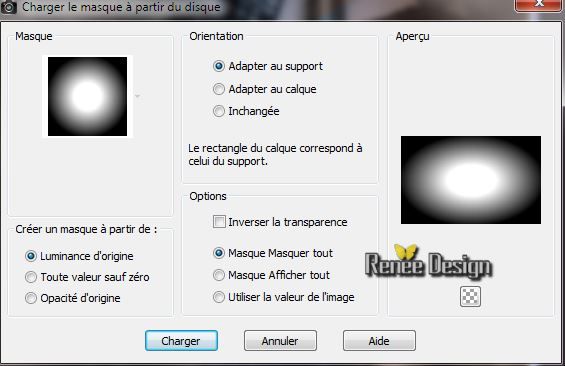
37.
Layers-Load/Save Mask-Load Mask From Disk and choose Mask:
''20-20''
38. Layers- Merge- Merge Group
39. Effects
-Plugins -FMTile Tools -Saturation emboss /default
40. Layers - New Raster Layer
41.
Selections - load/save selection - load selection from disk and choose ''steampunk_11_2'' / La
Flood Fill Tool: Fill the selection with your FG-Color
42.
Effects - Plugins - EyeCandy 5-Impact/ Preset ''
steampunk_11-brushed_metal''
43. Layer-Palette: Blend Mode "Soft Light" Opacity 63%
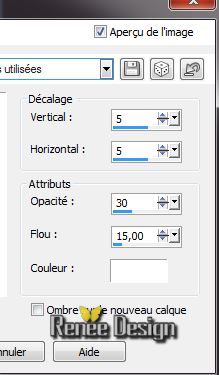
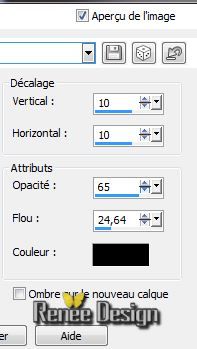
44. Effects -
3D Effects-Drop Shadow/white
45. Layers - New Raster Layer
46.
Selections - load/save selection - load selection from disk and choose ''steampunk_11_3''
Flood Fill Tool: lower the opacity to 35% /Fill the selection with the FG- Color

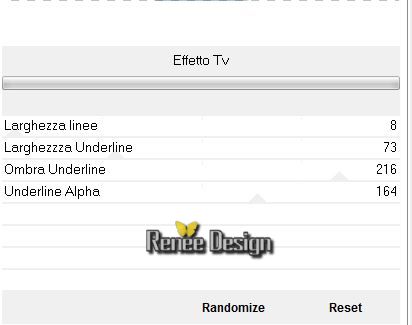
47. Effects -Plugins Unlimited - It@lian Editors Effect- Effeto
Tv
48.
Selections- Select none
49. Repeat:
Effects -
3D Effects-Drop Shadow/white
50. Layers- Duplicate
51. Effects -
Distortion Effects - Wave with these settings
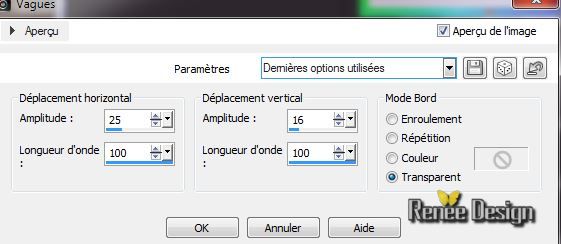
52. Repeat:
Effects - Distortion Effects - Wave with the same settings
53. Layer-Palette: Blend Mode "Hard Light" Opacity 59%
54.
Layers - New Raster Layer
55.
Selections - load/save selection - load selection from disk and choose
''''steampunk_11_4'' /La Flood Fill Tool: Fill the selections with white
56.
Selections- Modify-Contract 8 pixels
57. Layers - New Raster Layer/Flood Fill Tool: Fill the selections with this color:
#195e7d
58. Effects -
3D Effects-Drop Shadow/white
Selections- Select none
59. Layers- Merge- Merge Visible
60. Layers- New Raster layer
61. Material Properties: Foreground color to color
#a6a6a6
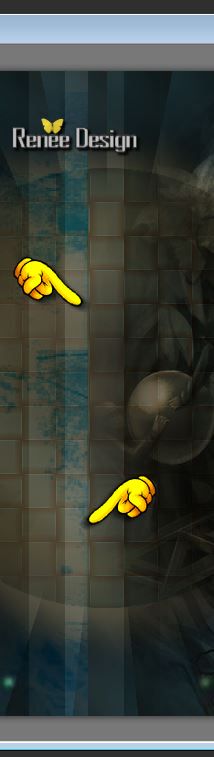
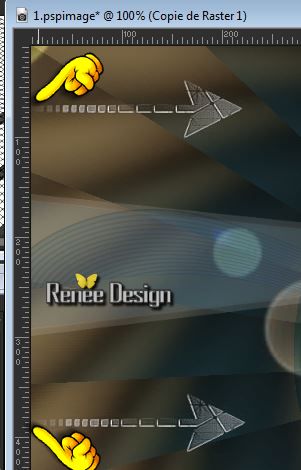
62. Activate Brush Tool and select my file:"steampunk_11_fleche''File- Export Custom Brush (Give it a name''"steampunk_11_fleche'') Open the brush. /Rotation 90°/Size 228

Stamp with your foreground color #a6a6a6 the brush on your image as shown below: that's important!
63. Adjust-Sharpness-Sharpen
64. Layers- Duplicate
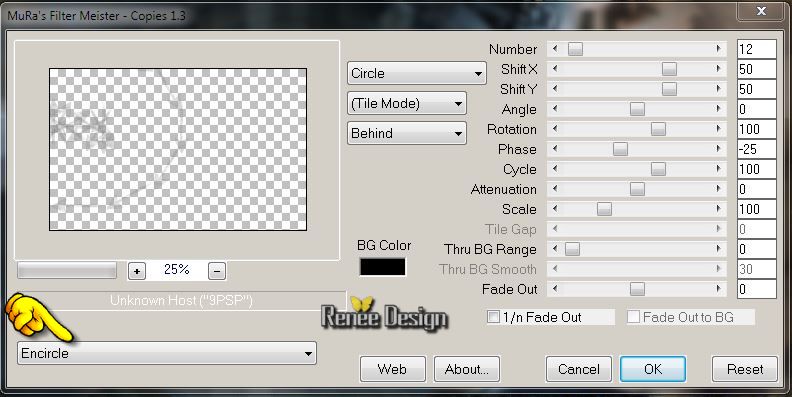
65. Effects-
Plugins - Mura's meister -Copies
66. Activate Selection Tool- Rectangle /Select like this Delete
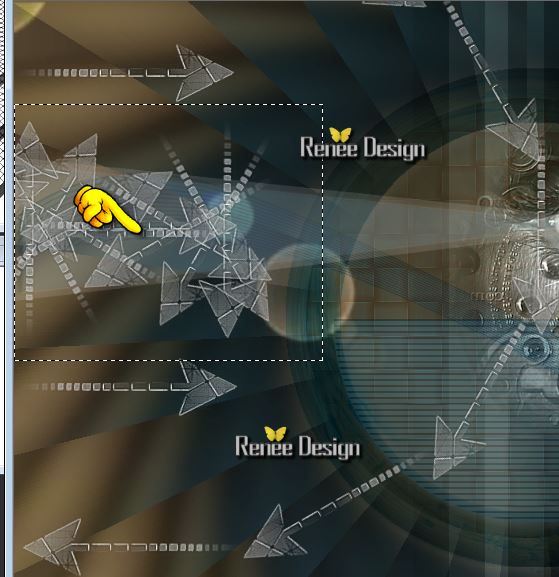
67.Selections- Select none
68. Effects -
3D Effects-Drop Shadow/white
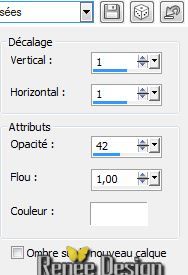
Repeat: Effects -
3D Effects-Drop Shadow/white
69. Layer-Palette: Blend Mode "Dodge"
70. Activate tube "CM_Steampunk_Wings.pspimage" /activate
raster 1 of your tube/Edit/copy-Edit/paste as a new Layer
Place the tube at the right place
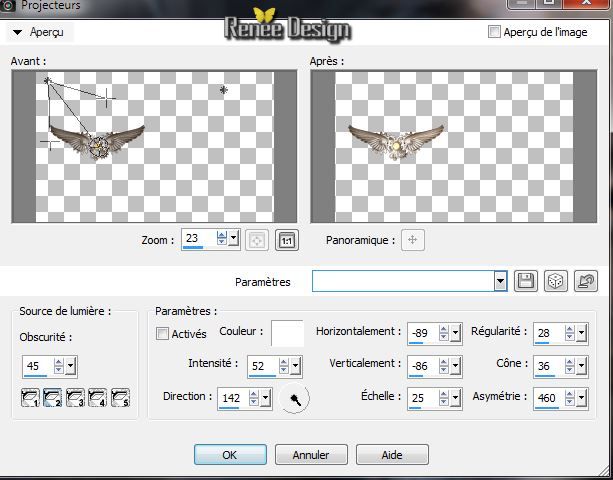
71. Effects -
Illumination Effects-Lights(Intensity between 30 and 52 for a nice effect)
72.Layers- Merge- Merge Visible
73.
Selections- Select All
74. -Image - Add Borders - Symmetric checked 1 pixel black
75. -Image - Add Borders - Symmetric checked 2 pixels #195e7d
76. -Image - Add Borders - Symmetric checked 1 pixel black
77.-Image - Add Borders - Symmetric checked 60 pixels #195e7d
78. -Image - Add Borders - Symmetric checked 1 pixel black
79. Effects -
3D Effects-Drop Shadow /black
80.
Selections- Select none
81. Activate tube "CM_Steampunk_Wings.pspimage" /activate raster
4 of your tube/Edit/copy -Edit/paste as a new Layer
Place the tube at the right place
82. Repeat:
Effects -
3D Effects-Drop Shadow/black
83. Layers- Duplicate-Image Flip
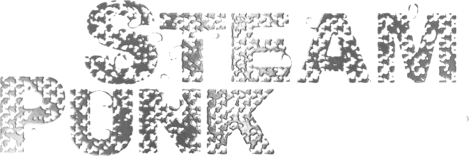
84. Actiate tube Text and place. Or write your own text
85. Layers- Merge Merge All ( Flatten)
86. Image
Resize 1025 pixels Width
87. Adjust-One Step Foto Fix
I hope you enjoyed this lesson
i
Renée
This lesson was written by Renée 18/04/2014
Created the
*
Any resemblance with an existing lesson is merely a coincidence
*
Don't forget to thank the people who work for us and with us. I named the tubeurs - Testers and the translators. Thanks Renée

|  11
11
 Translations