|
Let's start the lesson
Open the Color palette
1. Open the image''fond_steampunk_15.jpg''/Promote Background Layer= raster 1
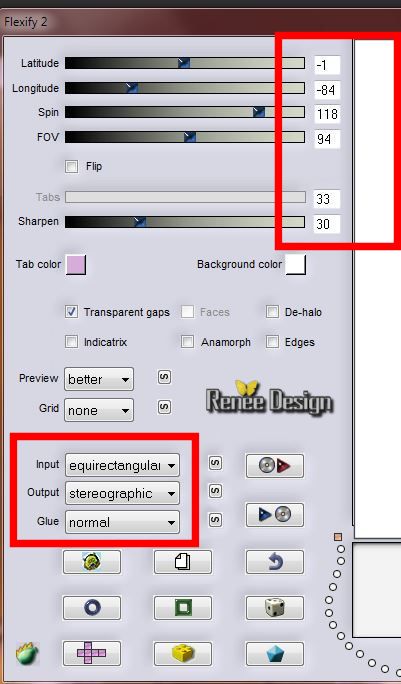
2. Effects-Plugins Flaming Pear /Flexify2
3. Layers-Duplicate
- Activate the bottom of the layer-Palette=raster 1
4. Effects-Plugins Unlimited
-Tramage -Cirquelate / 102
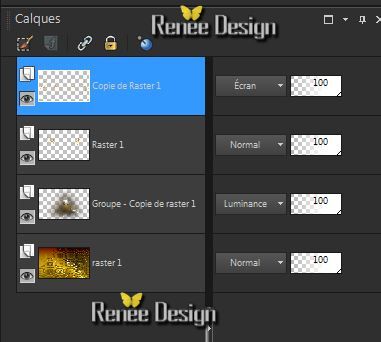
Activate the top of the layer-Palette( Copy of Raster 1)
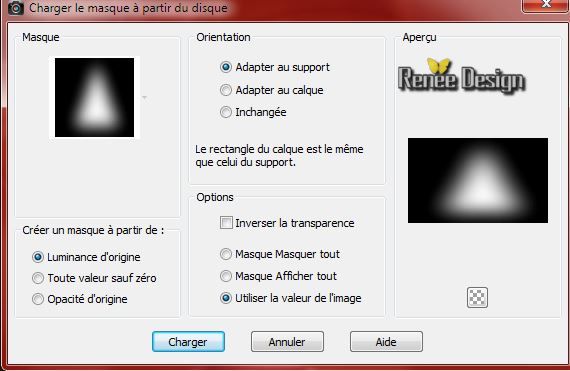
5. Layers Mask-Load/Save Mask-Load Mask From Disk and choose:''1217491303_masques''
- Layers- Merge -Merge Group
6. Layer Palette: change your Blend Mode to "Luminance"
Activate the bottom of the layer-Palette (raster 1)
7.
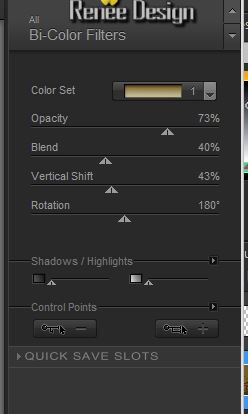
Effects-Plugins - Nick Software Color
Effex Pro 3/Bi Color Filters / Brown /set 1
- Material Properties: Foreground color to color:#8f4300 Background color to color: #cea106
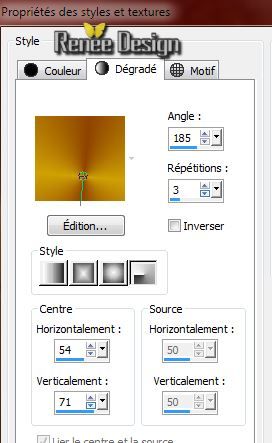
8. Prepare a Radial Gradient as configured like this.
- Activate the top of the layer-Palette
9. Layers- New raster layer/Flood Fill Tool: fill the layer with the gradient
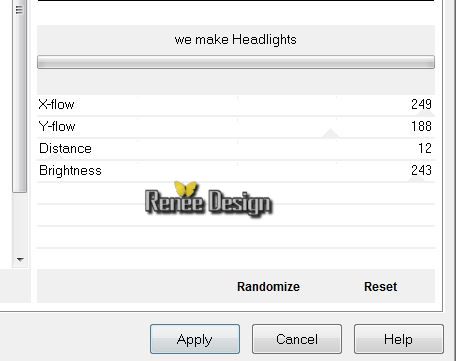
10.
Effects-Plugins -Unlimited- Tramage - we make Headlights
11.
Effects-Plugins -Transparency - Eliminate black
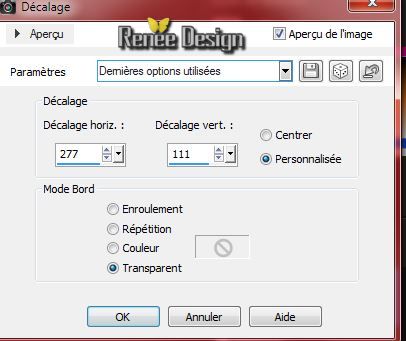
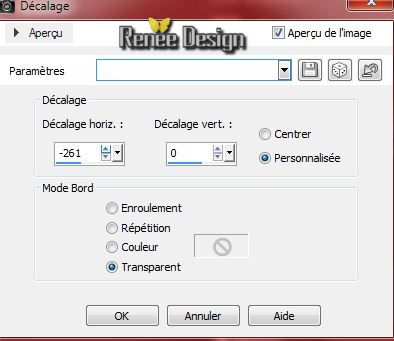
12.
Effects- Image Effects-Offset use settings below
13. Layers-Duplicate
-Image Mirror / Layers- Merge-Merge Down
14.Layers-Duplicate
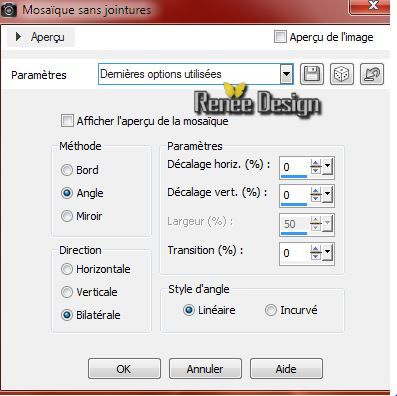
15.Effects-Image Effects-Seamless Tiling use the settings below
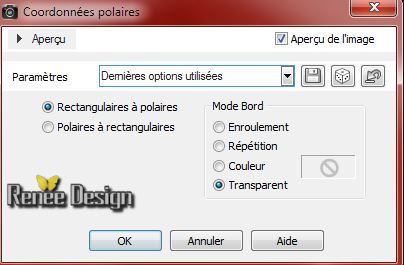
16.Effects-Distortion Effects-Polar Coordinates with these settings/Rectangular to polar
17.Layer Palette: change your Blend Mode to "Screen"
The result
18. Activate the
tube''steampunk_16_forme.pspimage''/ Edit/copy- Edit/ paste as new layer
19. Effects- Image Effects-Offset use settings below
- Layer Palette: change your Blend Mode to "Dodge". Set the Layer Opacity of this Layer to 48%
20. Selections - load/save selection - load selection from disk and choose:''steampunk16_1''
21. Layers- New raster layer
22. Pot of Paint: Opacity 65% - Flood Fill Tool: fill the selection with color white
Selections- Deselect All
23.
Effects-Plugins- EyeCandy 5 Impact - Bevel Tab-Settings-User Settings click on the preset ''steampunk16_bevel''
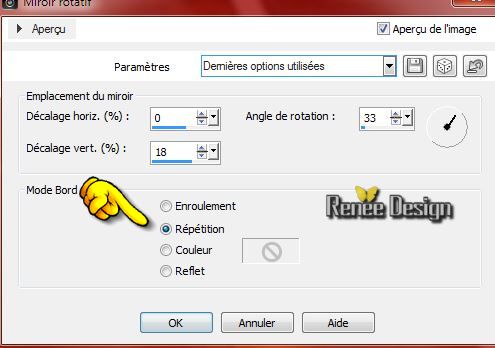
24.Effects- Reflection Effects-Rotating Mirror use settings below
25. Layer Palette: change your Blend Mode to "Luminance Legacy "(to see better next effect will be changed )
26. Effects-Plugins - DSB Flux- Linear transmission
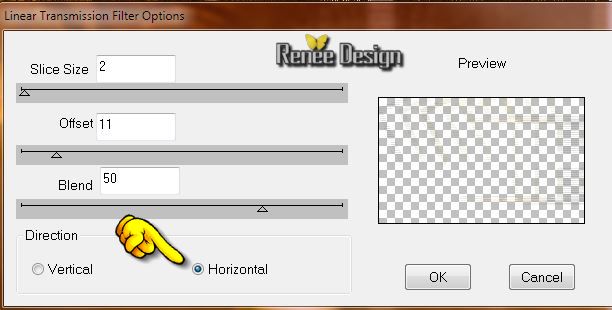
27. Repeat: Effects Plugins DSB Flux
28. Layer Palette: change your Blend Mode to "Overlay"
29. Effects-Plugins- EyeCandy 5 Impact- Extrude Tab-Settings-User Settings click on the preset ''steampunk16_extrude''
30. Activate the bottom of the layer-Palette =raster 1
Activate the tube ''SD SM
FRAME 1.pspimage''/ Edit/copy- Edit/ paste as new layer (do not move it is in the right place)
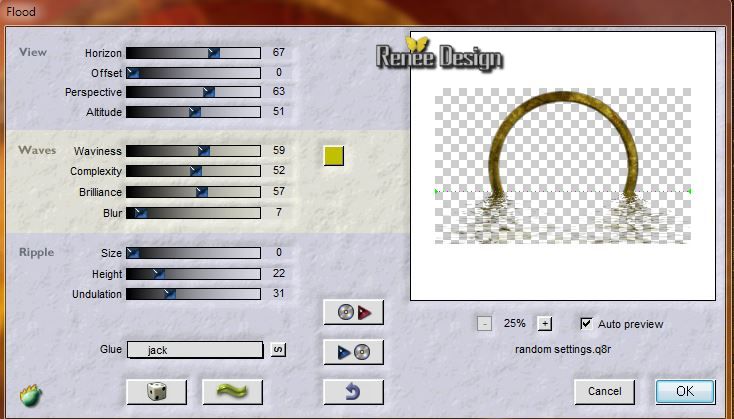
31. Effects-Plugins - Flaming Pear Flood/Color#c0c000
32. Effects- Edge Effects-Enhance More
33. Reduce the opacity of this layer to: 85%
34. Layers- New raster layer
35. Selections - load/save selection - load selection from disk and choose:''steampunk16_2.jpg''
36. Activate the tube ''KBK_SteamyElegance
(103).pspimage''/ Edit-Copy-Edit Paste into selection
Selections- Deselect All
37. Layers-Arrange-Move up
-Layer Palette: change your Blend Mode to "Soft Light "
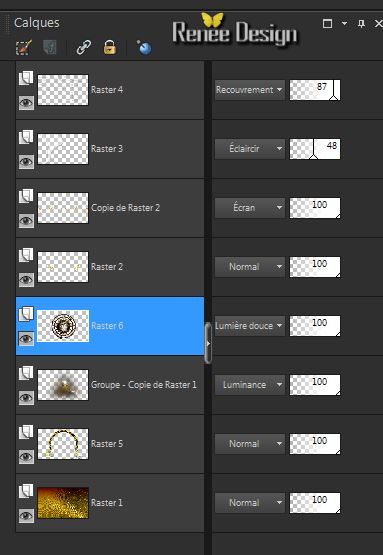
-
Your work and Layer Palette look like this now
Activate the top of the layer-Palette
38. Layers- New Raster layer
39. Selections - load/save selection - load selection from disk and choose: ''steampunk16_2.jpg""
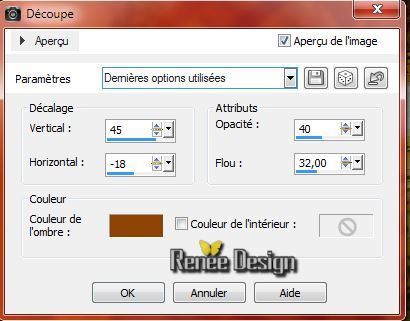
40. Effects-3D Effects-Cutout/ Color:#8f4300
Keep selected
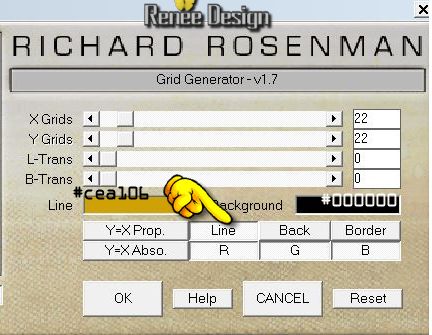
41. Effects-Plugins- Richard Rosenman /Grid Generator
42. Effects-Edge Effects-Enhance
Selections- Deselect All
43. Activate the
tube''xU3T6i66L0zOKVgHJzg9Emcpk.pspimage''/ImageResize 80% /Image Mirror /Edit/copy- Edit/ paste as new layer. With your move tool move to the left
44. Effects-3D Effects-Drop Shadow: 12/ - 13/ 48/ 14 color black
45. Layers-Duplicate
/Image Mirror
46. Effects-Plugins- Simple - Centre Tiles
47. Effects- Image Effects-Offset use settings below

48. Layers- New raster layer
49. Selections - load/save selection - load selection from disk and choose:''steampunk16_3"
50. Activate the Pot of Paint: Opacity 100%- Flood Fill Tool: fill the selection with this color: #8f4300
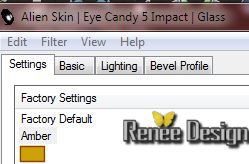
51. Effects-Plugins- EyeCandy 5 Impact - Glass -
Tab-Factory Settings-Factory Default and choose preset Amber
Selections- Deselect All
52.Effects-3D Effects-Drop Shadow/Default
53. Layer Palette: change your Blend Mode to "Hard Light"
54. Effects-Plugins- Nick color effex Pro.3 (with the same settings)
53. Activate the tube''R11 -
Steam World Vehicles - 048 (Large).pspimage'' Edit/copy- Edit/ paste as new layer. With your move tool move to the right
54. Effects-Plugins -Flaming Pear Flood /with the same settings.
Horizon apply after placing your tube
55. Layers- Merge-Merge All
56. Image - Add Borders - Symmetric 1 pixels color black
57. Image - Add Borders - Symmetric 45 pixels Color white
58. With your magic wand select the white border
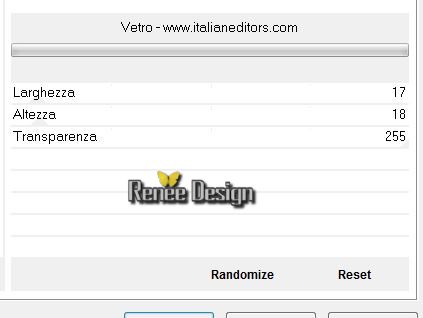
59.
Effects-Plugins - Unlimited -It@lian Editor Effect
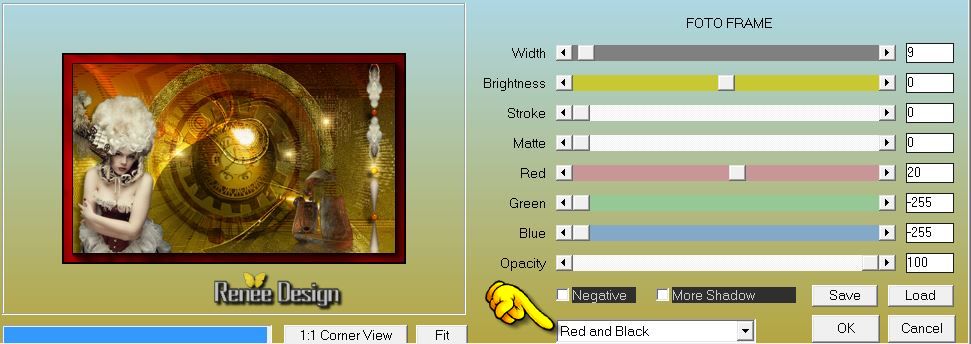
60. Selections-Invert
61. Effects-Plugins -AAA Frame Foto frame
Selections- Deselect All
62. Image - Add Borders - Symmetric1 pixel color black
63. Open the text ''titre_Steampunkt_ 16 PNG '' and place .Or write your own text
64. Layer Palette - Double click on this Layer and set the Blend Mode to "Luminance". Reduce the opacity of this layer to 75%
65. Layers- Merge-Merge All ( flatten)
66. Image - Add Borders - Symmetric 1 pixel color black
67. Image Resize
950 pixels Width
I hope you enjoyed this lesson
Renée
This lesson was written by Renée the 15/06/2014
Created the
07/2014
*
Any resemblance with an existing lesson is merely a coincidence
* Don't forget to thank the people who work for us and with us. I named the tubeurs - Testers and the translators.
Thanks Renée. |

 Translations


