|
Let's begin
Open the color palette in your PSP
Material Properties: Foregroundcolor to color: #d3c8b6 Background color to color: #686860
1.
File - New - New Image 1125 x 645 pixels -Transparent
Flood Fill Tool: Fill the layer with the backgroundcolor
#686860
2.
Layers - New Raster Layer /Flood Fill Tool: Fill the layer with the foregroundcolor
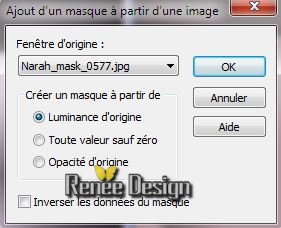
3.Layers- New Mask Layer From Image /open
"Narah_mask_0577.jpg"
4.
Layers-Merge-Merge Group
5.
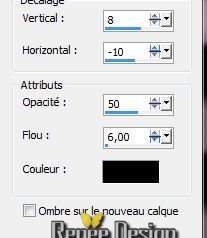
Effects - 3D Effects-Drop Shadow default
Repeat Drop Shadow
negatif V -10/ H - 10
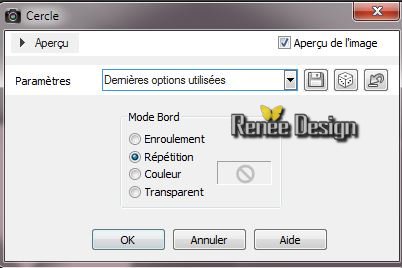
6.
Effects - Geometric Effects- Circle
7.
Effects-Plugins Graphic Plus - Cross shadow /Intensity to 46 -keeping the other settings
8.
Effects-Plugins Unlimited &<BkgDesigner sf10I> /
Cruncher 100/20
8.
Layers - New Raster Layer
9. Flood Fill Tool: fill the layer with color white
10. Effects
-Plugins L and K's -Pia /54
12.
Effects - Plugins Transparency - Elimate White
13.
Effects - 3D Effects-Drop Shadow
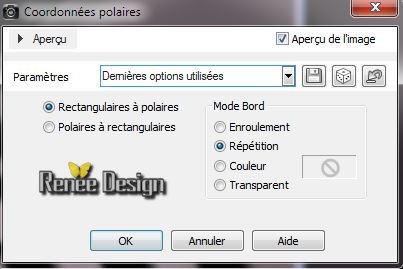
14. Effects
- Distortion Effects- Polar Coordinates
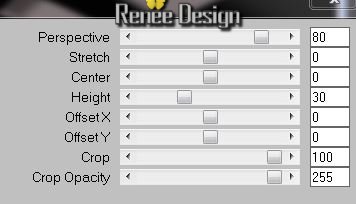
15. Effects-Plugins Mura's Meister - Perspective Tilling
16.
Layers - New Raster Layer
17.
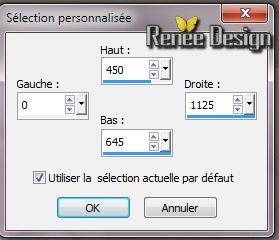
Selections-Custom selection with these settings
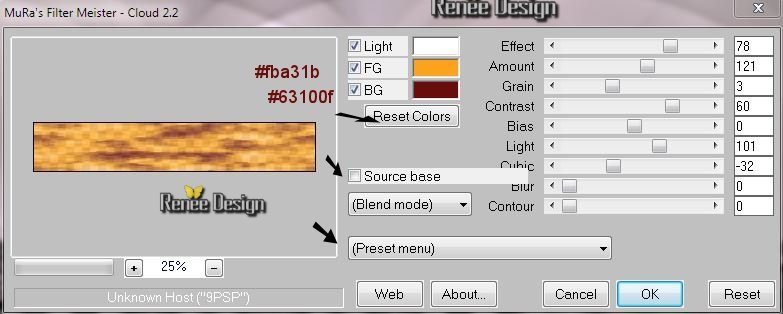
18. Effects- Plugins Mura's Meister - Clouds (Clicking Reset Colors to come closer to the result)
19 .Selections - Deselect all - Layers- Arrange- Move Down
Layer Palette: Blend Mode "Dissolve" and lower the opacity down to 95%
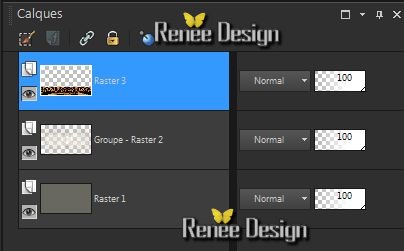
20. Aktivate the top of the Layers palette- Layers- Merge- Merge Down
Layer Palette: Blend Mode "Normal"
Layer Palette look like this now
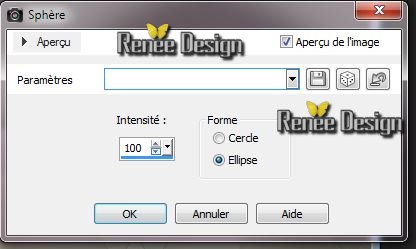
21. Effects
- Geometric Effects- Spherize
Aktivate the bottem of the Layers palette (Raster 1)
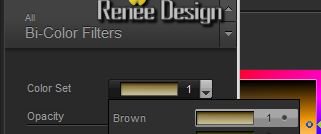
22.
Effects-Plugins Nick Color Effex Pro3.0 / Bi Color Filters /Brown
default
23. Activate the middle layer in the layer palette (Groupe-Raster 2)
Selections - load/save selection - load selection from disk and choose
''steampunk8_1''
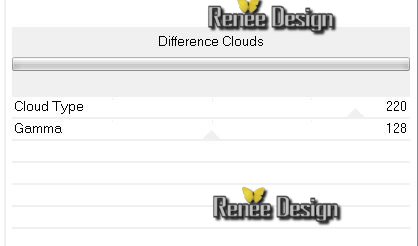
24. Effects
-Plugins ICNET FILTERS - Render- Difference Clouds
-
Selections - Deselect all
25. Open the tube ''steampunk8_oeil''/original is Kryssteampunk
17-02-14-012'' /Image Resize 68% -Edit/copy -Edit/paste as a new Layer and place
Layer Palette: lower the opacity
77 %
26. Effects
- Plugins Graphic Plus - Horizontal Mirror 59 / 255
27.
Adjust-One Step Foto Fix
Material Properties: Foregroundcolor to color: #d3c8b6 Backgroundcolor to color :
#686860
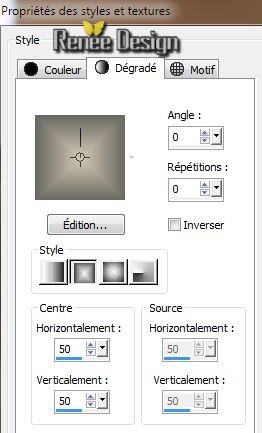
28.
Prepare a rectangular Gradient as configured
29. Layers - New Raster Layer
30.
Selections - load/save selection - load selection from disk and choose
''steampunk8_2''/Flood Fill Tool: Fill the selection with the gradient
Keep Selection
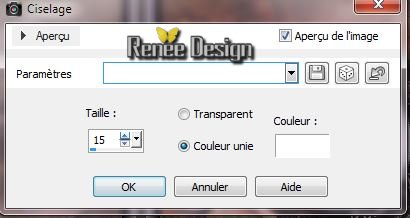
31. Effects
- 3D Effects- Chisel
32.Selections - Deselect all
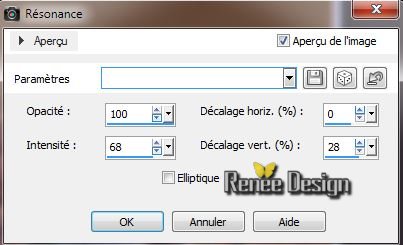
33. Effects
- Reflection Effects- Feedback
34. Layers-Duplicate
35.
Effects -Plugins Simple - Left Right Wrap
36. Layer-Palette: Blend Mode "Hard Light " /and the layer underneath: Blend Mode "Overlay "
Your Layer Palette look like this now:

Material Properties:- Change your gradient in a radial gradient
(same settings )
37.
Layers - New Raster Layer
38.
Selections - load/save selection - load selection from disk and choose ''steampunk8_3''/ Flood Fill Tool: lower the opacity to 50% - fill the selection with the gradient
39.
Effects-Plugins L an K's - Pia 40
40.
Selections - Deselect all
41.
Layers-Duplicate
42. Effects
- Image Effects - Offset H 65 and V
-65
43 Layers- Merge- Merge Down
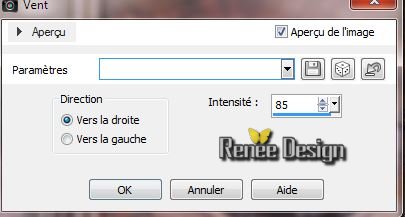
44. Effects
-Distortion Effects- Wind
45. Open the tube ''Lize-steampunk17'' /Image Mirror
Edit/copy -Edit/paste as a new Layer and place -
46.Open the tube ''Lize-steampunk18 ''/Image Resize
45%
47. -Edit/copy -Edit/paste as a new Layer and place
48. Open the tube ''steampunk8_barre'' /-Edit/copy -Edit/paste as a new Layer and place
Place on top of work
Layer Palette: Blend Mode "Luminance"and lower the opacity down to 51%
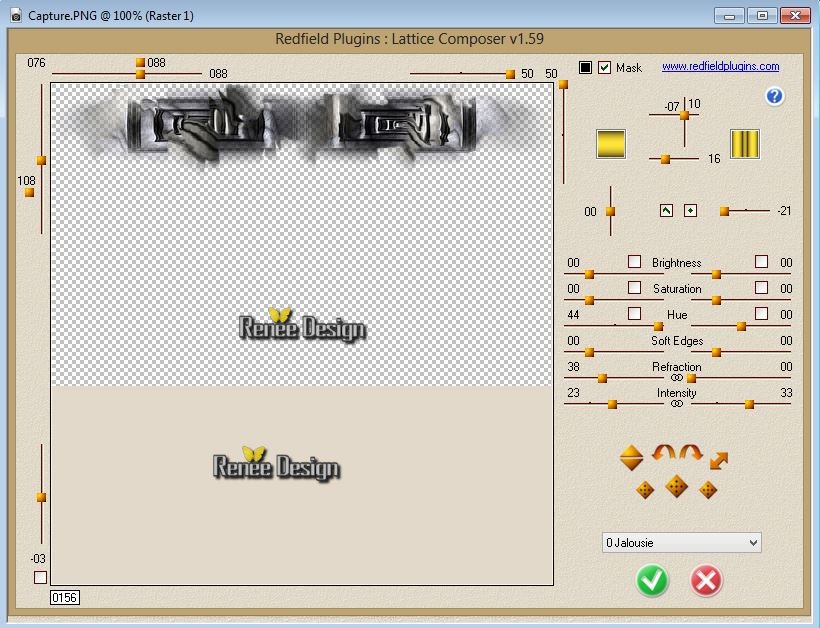
Note: The effect of this filter Redfield make yourself what you like.Just look at the red-framed lines.The opacity between 65 and 30
The result depends on it
49. Effects-Plugins
Redfield - Lattice
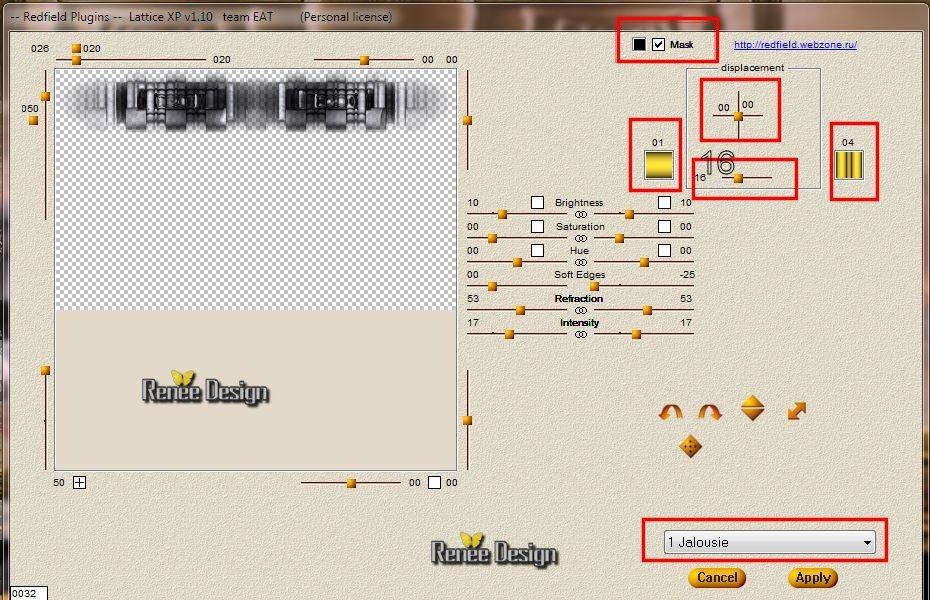
or alternatively with 0jalousie/ opacity by 30
50. Image - Add Borders - Symmetric 3 pixels black
51. Image
a jouter des bordures de 55 pixeks color: #f9a41e
52. Image - Add Borders - Symmetric 2 pixels black
53.
Image - Add Borders - Symmetric 2 pixels #f9a41e
54. Image - Add Borders - Symmetric 2 pixels black
55.
With your magic wand select the border of 55 pixels
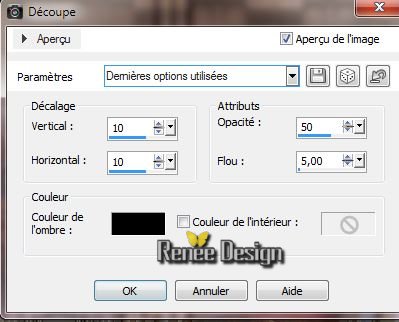
56. Effects
- 3 D Effects -Cutout
57.
Open the tube steampunk8_fleur '' /Edit/copy -Edit/paste as a new Layer and place.
58. Effects - 3D Effects-Drop Shadow default
59. Layers- Duplicate-Image Mirror
60. Layers- Merge- Merge Down
60 .
Open the tube text/ Edit/copy -Edit/paste as a new Layer and place. Or write your own text
That's it !! You've done it !
Renée
This lesson was written by Renée 17/02/2014
Created the
20/02/2014
*
Any resemblance with an existing lesson is merely a coincidence
*
Don't forget to thank the people who work for us and with us. I named the tubeurs - Testers and the translators.
Thanks Renée. | 


 Translations


