|
Translated by
Sally
Translator Here
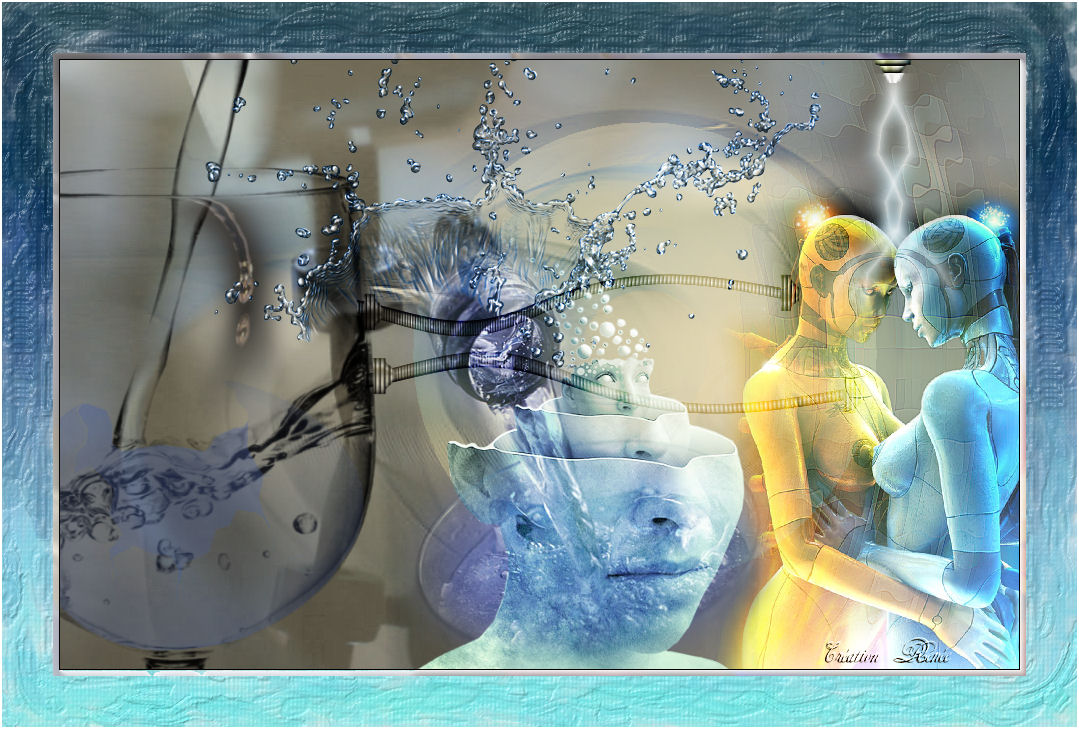
Ground Water
Material Here
FILTERS
**
Medhi
Gallery F
AAA Foto frame
vous les trouvez ici :http://www.reneegraphisme.fr/filtres/Mes
filtres.html
******************
TUBES
are
REVERIE - BAMBOO and mask from narah
These tubes were
received from tubeurs sharing groups
Or found by me
searching on the net
I am grateful to have
been given permission these beautiful tubes so
please use any
copyright information as needed
If one of these tubes
is yours,
Contact me
so I can make a link
to your site
or remove it
Thank you Renee
*****
Copy the selection to your Selections
folder.
Copy "reneegradienteau.jgd" to your gradients folder
1. Let's begin
2. Open a new transparent image 975 x 625 pixels
3. Selections / Select All
4. Open the "image base"/ copy and paste into the selection
selection
5. Selections / select none
6. Layers - add a new layer and fill it with color #d6c8a3
7. Layers / new mask layer from an image/ "Narah_Abstract003"

8. Effects - Edge effect/ enhance / merge group
9. Image/ Mirror
10. Layers - add a new layer
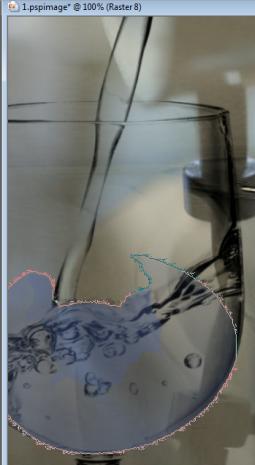
11. Selections - load selection/ "renee-my-planet"
12. Fill the selection with color #7cafb6
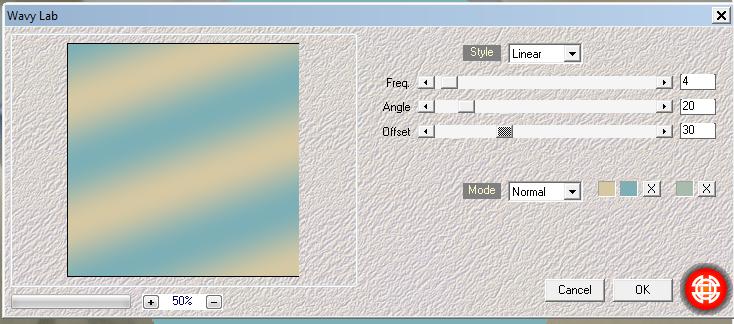
13. Effects - Mehdi / Wavy lab
14. Selections/ select none
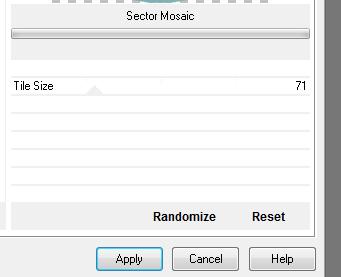
15. Effects - Filter Unlimited 2.0 / Filter Factory Gallery F /
Sector Mosaic
16. Set the blend mode to soft light
17. Open the tube "Fresh-water de ginitubes" / mirror image / Copy
and paste it in place
18. Open the tube ''demi-oeuf-pinceau'' and export it as a custom
brush
19. Change the Foreground color to #48609e
20. Apply the brush with the following configuration / size 400

21. Put in place as shown
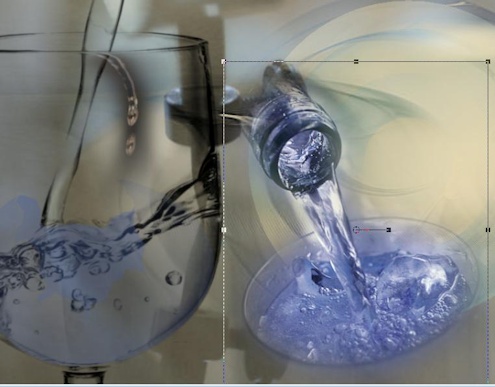
22. Open the tube "eau -gouttes" -
copy and paste into your image.
Place against the edge of the glass
23. Paste the tube ''1220639809-divers'' as a new layer/ place like
this
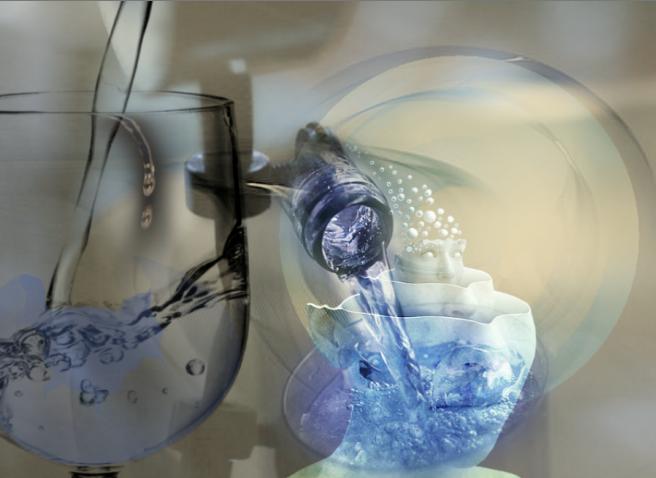
24. Paste the tube ''3faces" (found on the net as that name)/ as a
new layer .
Place as shown / set the blend mode to hard light
25. Copy and paste the tube ''eau pétillante'' in a good place
26. Paste the tube ''renee-eau-barre droite'' against the right edge
27. Effects - Distortion effect / ripple

28. Set the blend mode to hard light / and lower it's opacity to 24
29. Effects - Edge effect/ enhance more
30. Paste the tube "mod_article3423475_1.png" as a new layer / move
it to the right as shown
31. Layers - merge visible
32. Open tube ''renee-cable-eau'' Using the pick tool (k) resize and
place like this
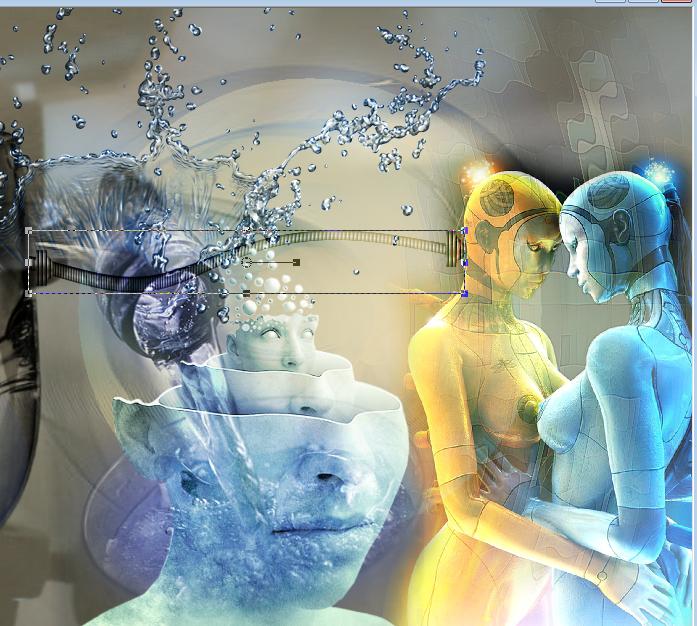
33. Set the mode to overlay
34. Layer - Duplicate / Image flip and place of capture as above
35. Open the tube ''pointe de tuyau'' copy and paste as a new layer.
move to the top right as shown
Image - Free rotate 90 ° right
36. Open the tube ''effet lumière bleue''- copy and paste it below
the previous tube (see the finished image)
37. Layers - merge visible
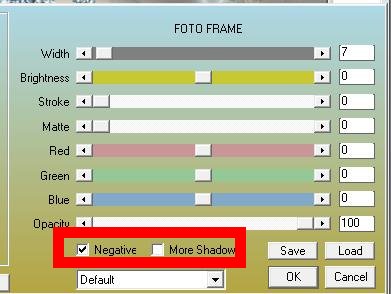
38. Effects - AAA Frames/ Foto Frame (see example) >>>> MARK
NEGATIVE
39. Image - add borders 50 pixels white
40. Select the white border with your magic wand
41. Layers - Add a new layer
42. Fill with a linear gradient using ''renee dégrade eau'' -
parameters @ = Angle 180/ Repeats 0
43. Effects - Alien Skin Snap Art / Impasto / default
44. Selections / deselect
45 Image add borders 2 pixels white
All finished
Thanks Sally

I am part of Tutorial
Writers Inc.
My tutorials are
regularly recorded


|
Your creations here

|
|