|
Let's start the lesson.

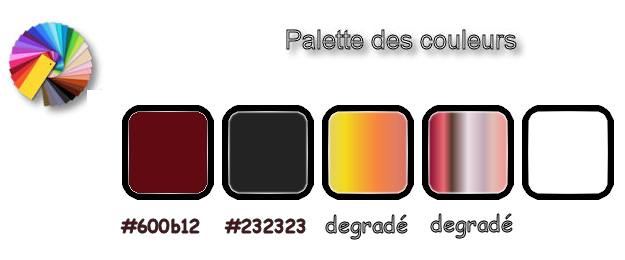
Used Colors
Preparation
Color Palette:Set your Foreground color to #232323-Set your Background color to #600b12
1.
Open the image ‘’Fond_assaut’’- Window - Duplicate (or shift+D) - Close the original and proceed on the copy -Promote Background Layer = Raster 1
2.
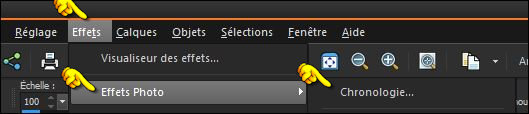
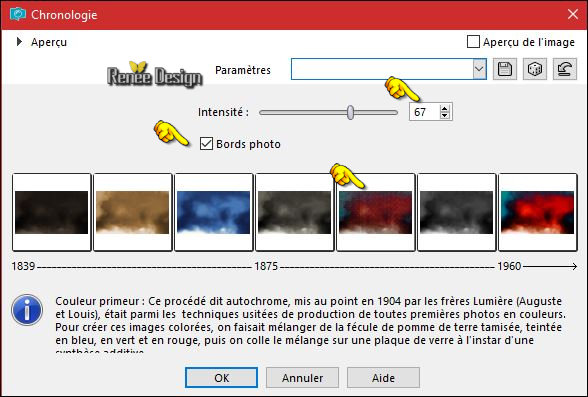
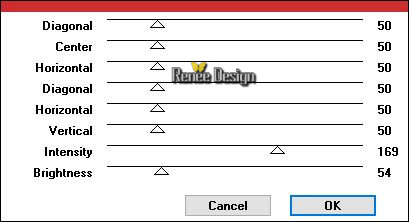
Effects – Photo Effects –Time Machine using the settings below.
3.
Layers- Duplicate
4.
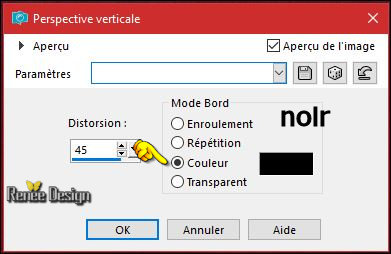
Effects –Geometric Effects – Perspective Vertical using the settings below.
5.
Activate your Magic Wand  /Mode Add(shift)- Match Mode: RGB Value/ Tolerance 2
-
With the magic wand and select the black parts
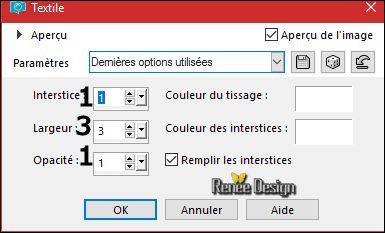
6.
Effects -Texture Effects -Weave - using the settings below. Color White
7.
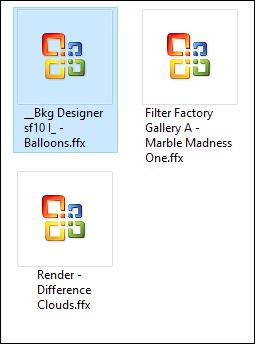
Effects –Plugins-Unlimited –ICNETFILTERS - Render - Difference
Clouds 127/202
Selections- Deselect All
8.
Effects –Plugins – Simple Away average
9.
Selections –load/save selection –load selection from disc and select my selection: ‘’ assaut_1’’
10.
Edit - Cut !!! - Activate your work -Edit - Paste as a new layer
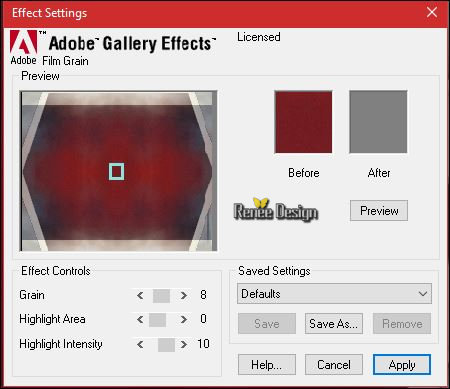
11. Effects –Plugins -
Gallery Effects: Classic Arts 1–GE Film Grain
Selections- Deselect All
12. Effects- 3 D Effects- Drop Shadow with these settings: 2/-2/65/15 black
13. Effects – Plugins – Mura’s Meister –Perspective Tilling using the default settings
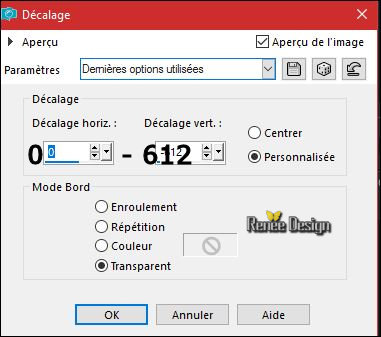
14. Effects – Image Effects- Offset using the settings below
- Layer palette – Make Copy of Raster 1 active
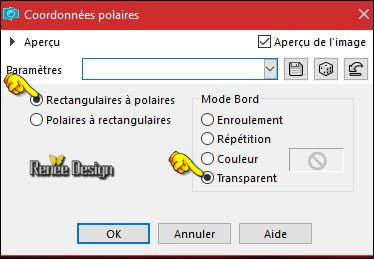
15. Effects- Distortions Effects-Polar Coordinates-Rectangular to Polar
16. Effects
–Plugins - EyeCandy 7 – Glass use the settings below
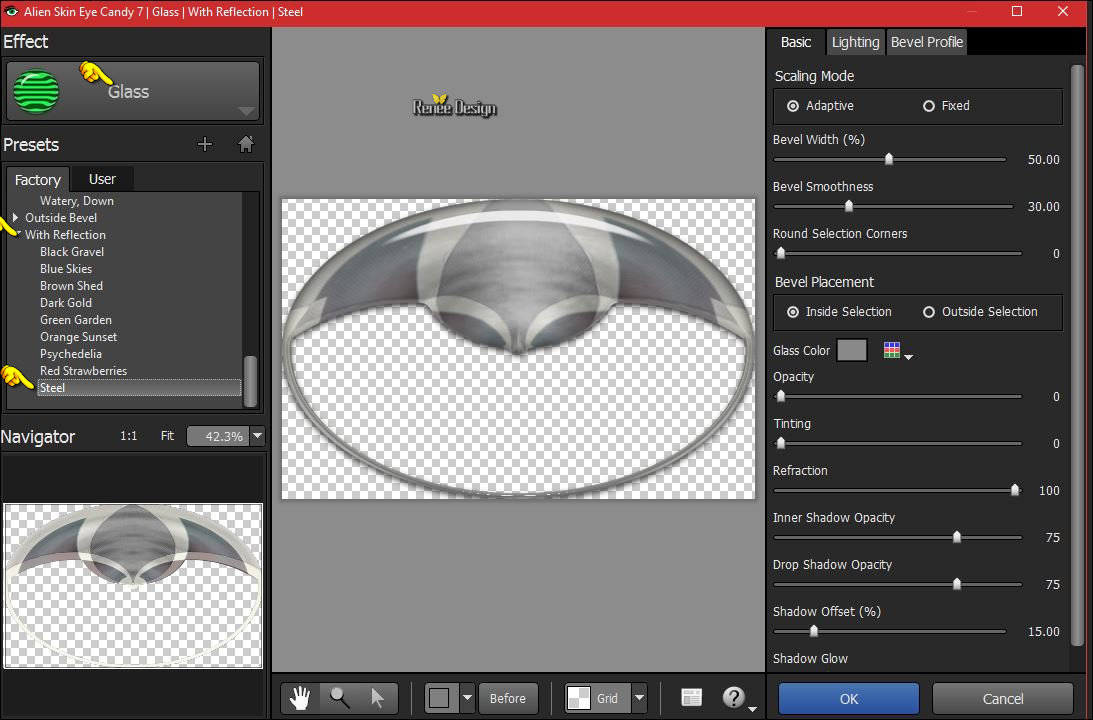
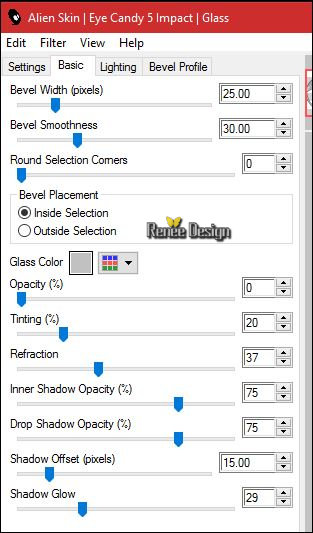
Fore those who encounter difficulties with this filter
Use
Effects- Plugins -Eyecandy5 Impact –Glass –tab Settings/User settings choose my preset: ‘’
assaut glass’’
-To replace the top of the layers palette
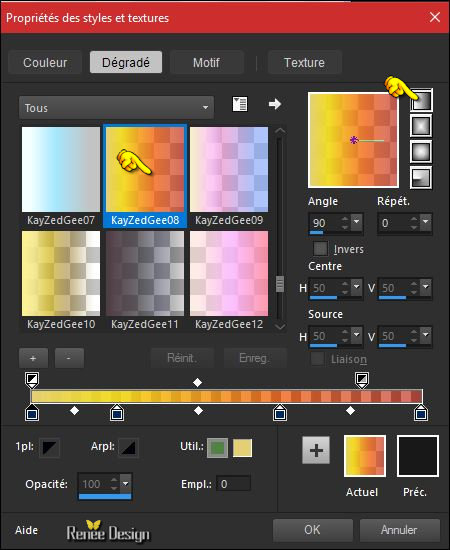
- Properties foreground: -Change foreground material into gradient and select ‘’ KayZedGee08’’
- Put your foreground on the linear gradient with settings below
17.
Layers- New Raster Layer
18. Activate Flood Fill Tool and fill the selection with the gradient 
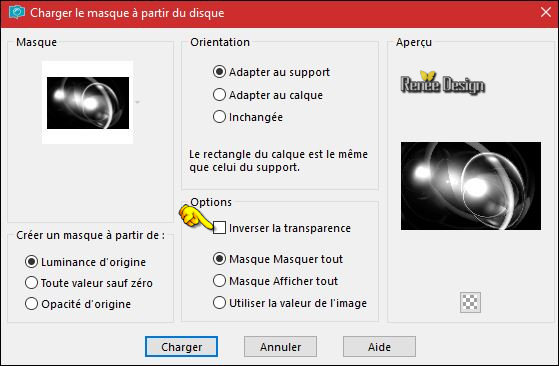
- Mask ’’
Narah_mask_0799’’put in the mask folder to your PSP program.
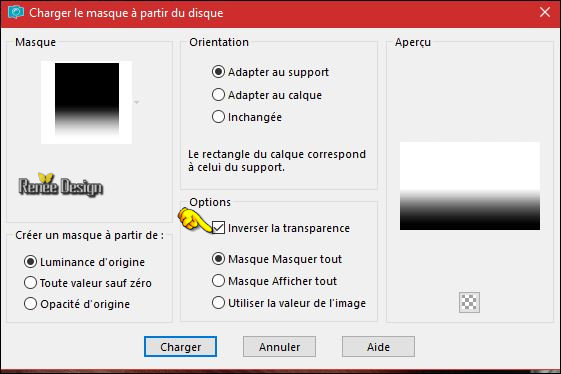
19. Layers- Layers-load/save Maske Load Mask from Disk and select Mask: ‘’ Narah_mask_0799’’
- Layers- Merge- Merge- Group
20.
Effects –Plugins- unlimited - Filter Factory Gallery A - Marble
Madness One 29/40/0/0
21.
Set the Opacity of this layer to 63%
- Activate the bottom of the layers palette =Raster 1
22. Activate the tube ‘’ Renee_assaut_image 2’
- Edit - Copy- Activate your work -Edit - Paste as a new layer
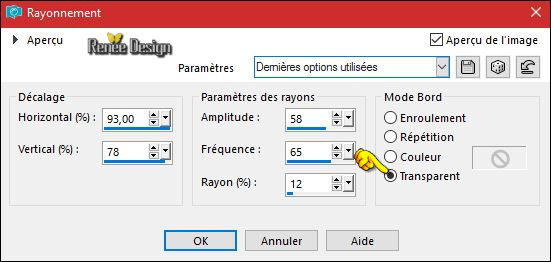
23. Effects- Distortion Effects- Spiky Halo with these settings
24. Effects- Edge Effects- Enhance
-To replace the top of the layers palette
25. Activate the tube ‘’ Renee_tube_femme1.pspimage’’
- Image - Mirror - Mirror Horizontal ( Image - Mirror in previous PSP Versions)
- Edit - Copy- Activate your work -Edit - Paste as a new layer
26. Effects – Image Effects- Offset with these settings: H = - 259 and V = -
49
Mask ‘’
top_fade_graphos’’put in the mask folder to your PSP program.
27. Layers- Layers-load/save Maske Load Mask from Disk and select Mask: ‘’ top_fade_graphos’’
- Layers- Merge- Merge- Group
28.
Layers- New Raster Layer
29.
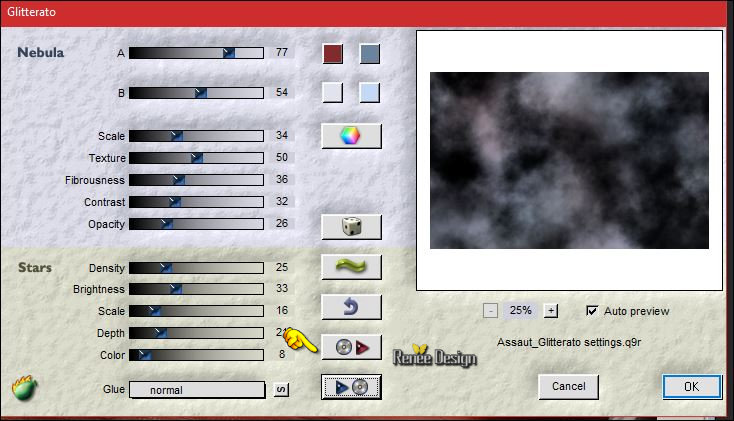
Effects – Plugins – Flaming Pear – Glitterato -click on the red arrow select my file - Preset
‘’ Assaut_Glitterato settings’’
Colors #812b2e/
#6b839c
#e1e3ef / #c5d9f7
Or manual settings as shown in the example below
30. Effects – Plugins - Transparency - Eliminate black
31.
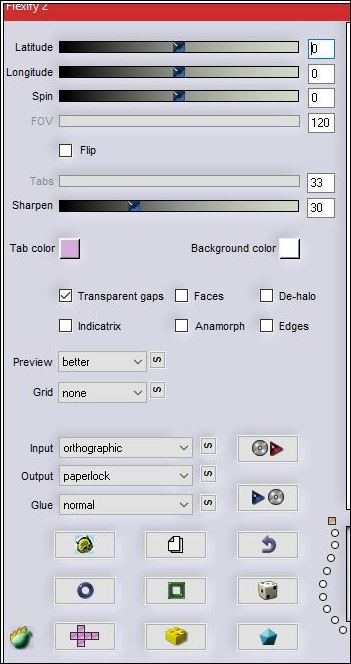
Effects - Plugins – Flaming Pear Flexify 2 -click on the red arrow- select my file- Preset
‘‘Assaut_Flexify 2 settings.q2q’’
Or manual settings as shown in the example below
32.
Image - Negative Image
33.
Effects –Plugins - Flaming pear- Flexify2 - click on the red arrow- select my file-Preset’’
Assaut__2_Flexify 2 settings.q2q’’
Or manual settings as shown in the example below

34. Effects
–Plugins- Unlimited - &<Bkg Designer sf10 I> - Balloons..using the default settings
- Properties Foreground: Change the foreground color into #ffffff
35. Layers- New Raster Layer
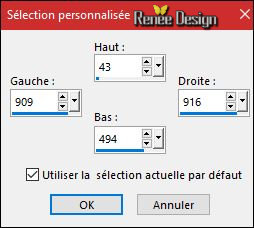
36.Activate Selection Tool -Custom Selection (S) -Rectangle with these settings
37. Activate Flood Fill Tool and fill the selection with the foreground color #ffffff
Selections- Deselect All
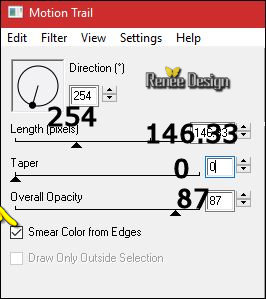
38. Effects
–Plugins - EyeCandy4000 – Motion Trail use the settings below
39. Layers- Duplicate
40. Effects
– Distortion Effects –Twirl Degrees 172
41.
Layers-Properties-Set the Blend Mode to " Soft Light "
42. Layers- Merge- Merge Down
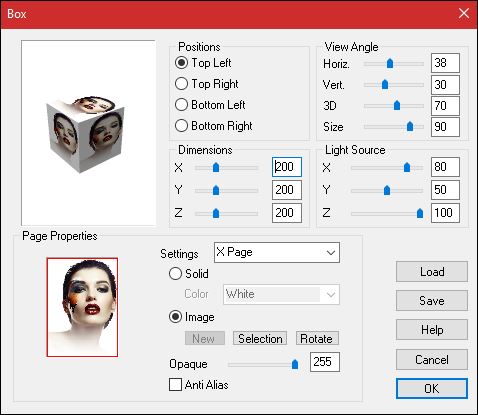
Would you like to make a cube using your own picture or a choosen tube?
- Activate your image in psp.
- Choose Vizros plug in - BOX , using the settings below.
-
Enable your freehand selection tool lasso point to point select the box
-
Selections -Invert and Delete
Add a Shadow and Effect Eye Candy Impact glass
You do not want your own cube?
We continue with the lesson
43. Activate the tube ‘’ Assaut_tube_cube’’
- Edit - Copy- Activate your work -Edit - Paste as a new layer
44. Effects –Image Effects- Offset with these settings H = 362 and V = -215
45. Layers- Arrange- Move Down
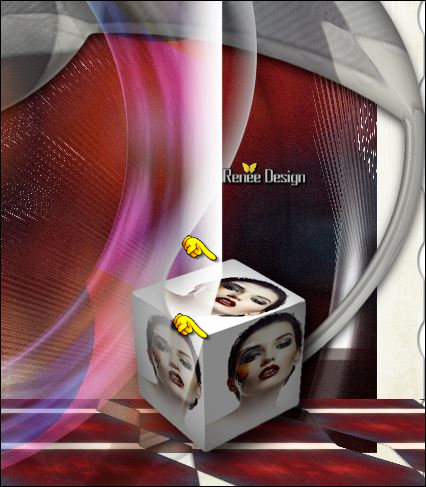
- The Result
46. Activate the tube ‘’renee_tube_echelle’’ (activate the layer " raster 4" of the
tube )
- Edit - Copy- Activate your work -Edit - Paste as a new layer
- Move tool / put the tube in it's place
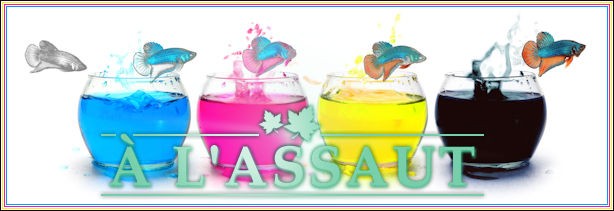
47. Activate the tube’’ renee_texte_assaut’’
- Edit - Copy- Activate your work -Edit - Paste as a new layer
-Properties foreground: -Change foreground material into gradient and select ‘’ KayZedGee08’’- Put your foreground on the linear gradient with the same settings from depart
48. Layers- New Raster Layer
49. Activate your Airbrush with these settings 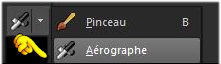

With the gradient –Put your cursor here at the center and apply (1 click)
To obtain this effect as shown in the example below
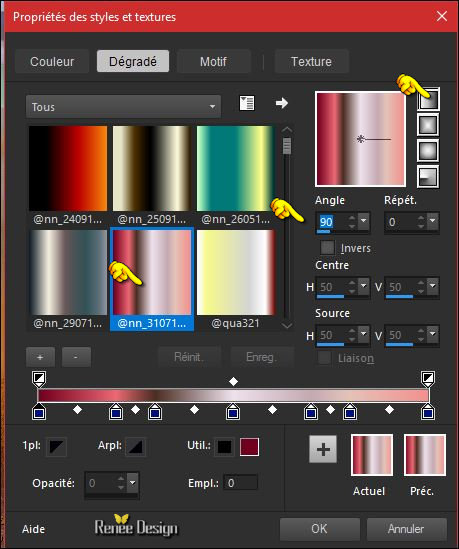
- Properties foreground: -Change foreground material into gradient and select ‘’
@nn_310712_GR_Wayona_tdstudio’’
Put your foreground on the linear gradient use the settings below
50. Layers- New Raster Layer
51.
Selections –load/save selection –load selection from disc and select my selection: ‘’ assaut_2’’
52.
Activate Flood Fill Tool and fill the selection with the gradient
Selections- Deselect All
53.
Effects – Plugins – Graphic plus – Cross
shadow
54.
Activate the tube’’
Assaut_tube_couleurs.png’’
-
Edit - Copy- Activate your work -Edit - Paste as a new layer
55.
Activate Pen Tool ( V) use the settings below

-
Foreground color to the color of the paint pot
-
Foreground color to blue #0ea4ff 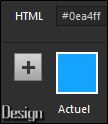
- - Starting with the color blue, draw an arrow (see finished image).
- Repeat drawing arrows using the remaining thee colors
You will have four arrows - one of each color.
56. Convert to Raster Layer
57. Effects- 3 D Effects- Drop Shadow with these settings: 1/1/100/0 black
58. Effects – Distortion Effects- Spiky Halo use the settings below

Effect may be slightly different depending on the plot of your arrows
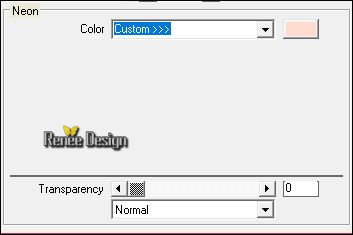
59. Effects
–Plugins – Vanderlee-Unplugged-X- Neon /Color
#ffdccf
60. Activate the tube ‘’ Assaut_tube_ligne_verticale.png’’
- Edit - Copy- Activate your work -Edit - Paste as a new layer
61. Effects –Image Effects- Offset with these settings H = 357 and V = 94
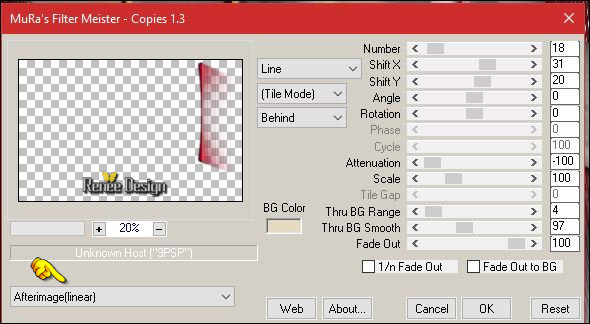
62. Effects
–Plugins – Mura’s Meister – Copies use the settings below / Color
#f7e7c5
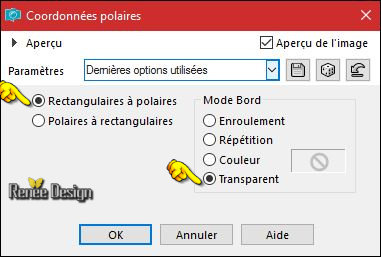
63. Effects- Distortions Effects-Polar Coordinates-Rectangular to Polar
64.
Set the Opacity of this layer to 57%
65. Layers- Duplicate
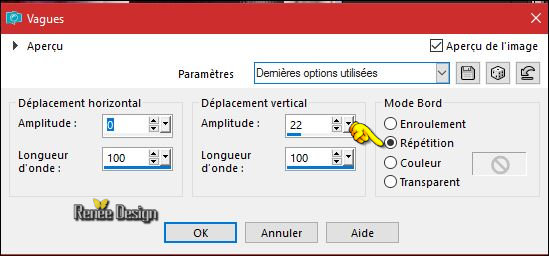
66. Effects- Distortion Effects- Wave use the settings below
67. Image - Add borders-Symmetric checked: 55 pixels #ffffff
68. Text Tool- Font- GRAFIKA TYPE.2- Size 72 Foreground color: Using a light gradient.
Write your text-
Fore those who encounter difficulties with the text (I add the text to my download map)
69.
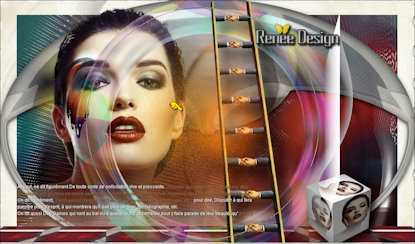
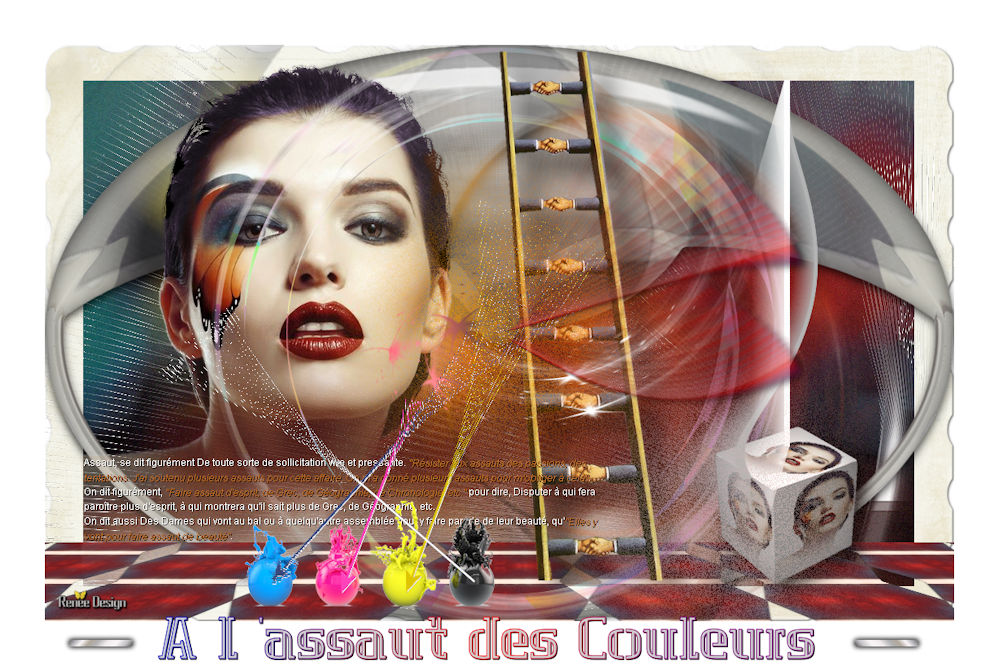
Image Resize to 999 pixels width
Save as JPG
I hope you enjoyed this lesson
Renée
This lesson was written by Renée 26/02/2017
Edited and Update
2017
*
Any resemblance with an existing lesson is a coincidence
* Do not forget to thank the people who work with us and for us I have appointed the tubeurs and translators
Thanks Renée *
*
| 
 Translations


 If a plugin supplied appears with this icon it must necessarily be imported into Unlimited *

 All rights reserved