|
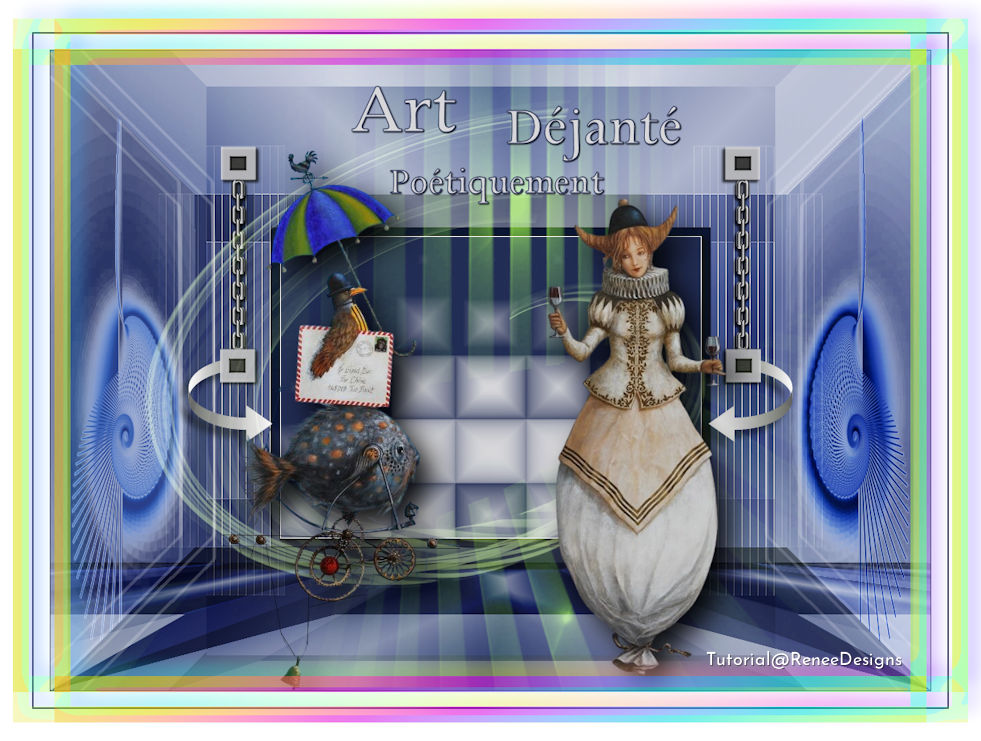
Let's start the lesson
Catherine Chauloux–

- Preparation
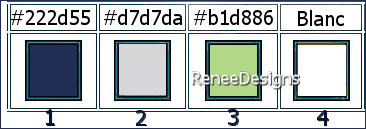
-Material Properties: Set your foreground color to color #222d55=color 1 – Set your background color to color #d7d7da= 2
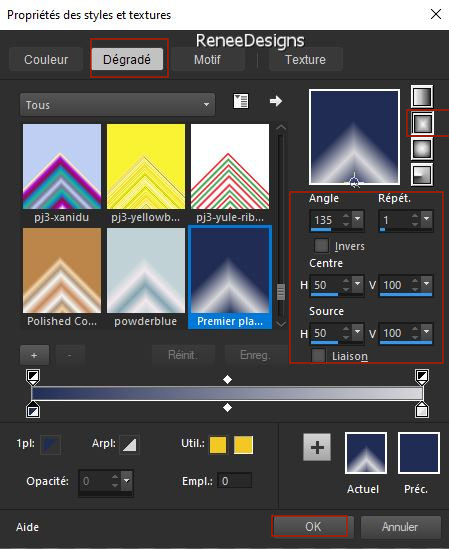
- Prepare a foreground/background rectangular gradient configured like this
1. File: Open a transparent image in this size
1100 x 800 Pixels
2. Flood Fill Tool
 –Fill the layer with the gradient –Fill the layer with the gradient
3. Layers – Duplicate
4. Image - Mirror - Mirror vertical ( Image - Flip in older versions of PSP)
5. Layers-Properties-Change the Blend Mode to " Hard Light" – Reduce the Opacity of this layer to 44%
6. Layers- Merge- Merge Down
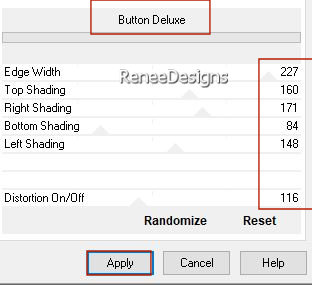
7. Effects- Plugins - Filters in Unlimited 2.0 - Filter Factory
Gallery B- Button Deluxe..use the settings below
8. Layers – Duplicate
9. Effects- Plugins - Filters in Unlimited 2.0- Toadies - *Sucking
Toad* Bevel II.2...with these settings: 115/120/66
10. Layers-Properties-Change the Blend Mode to " Hard Light"
11. Selections –load/save selection –load selection from disc and select my selection: ‘’Art-Poetiquement-dejante-1’’
12. Selections- Promote selection to layer
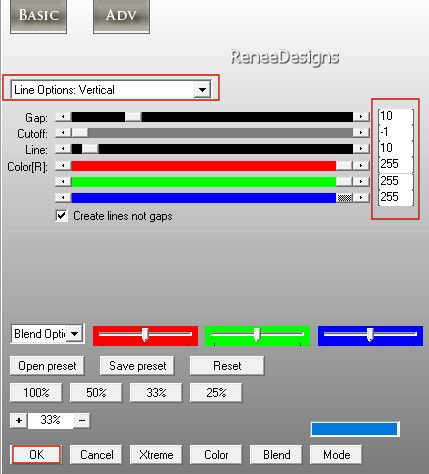
13. Effects -Plugins- AP[Lines] Lines – Silverlining use the settings below

14. Layers – Duplicate
15. Image - Mirror - Mirror Horizontal (Image - Mirror in older versions of PSP)
16. Layers- Merge- Merge Down
17. Selections –load/save selection –load selection from disc and select my selection: ‘’Art-Poetiquement-dejante-2’’

18. Effects- Plugins - Vanderlee UnpluggedX- Defocus use the settings below
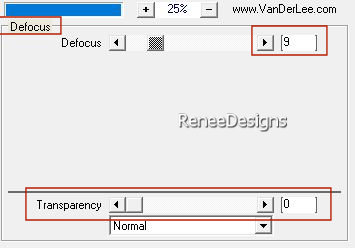
19. Layers-Properties-Change the Blend Mode to " Screen"
20. Effects – Edge Effects – Enhance
- Activate the bottom of the layer palette=Raster 1
21. Activate Selection Tool -Custom Selection (S) with these settings
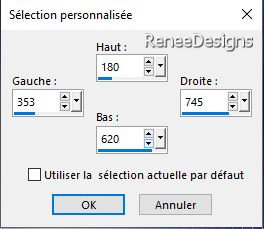
22. Selections- Promote selection to layer
23. Layers- Arrange- Bring to Top
24. Layers- New Raster Layer
25. Flood Fill Tool
–
Fill the layer with the gradient
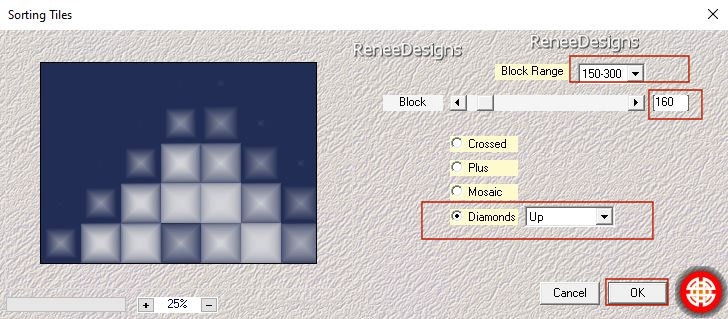
26. Effects -Plugins
– Medhi - Sorting Tiles use the settings below
27. Image - Resize to 50% - Resize all layers NOT checked
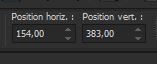
28. Pick Tool: (K) on your keyboard -Enter these parameters on the toolbar
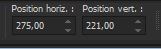 275/ 221
-Press ( M ) to close the Pick Tool
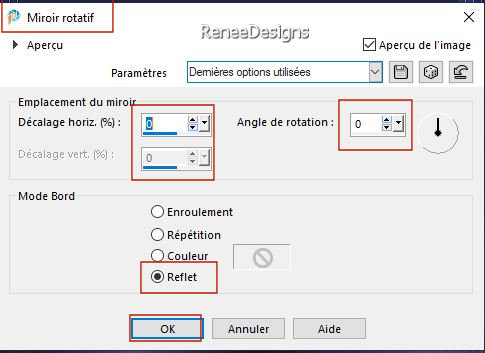
29. Effects – Reflection Effects- Rotating Mirror use the settings below
30. Selections –Select All / Selections Float / Selections-Defloat
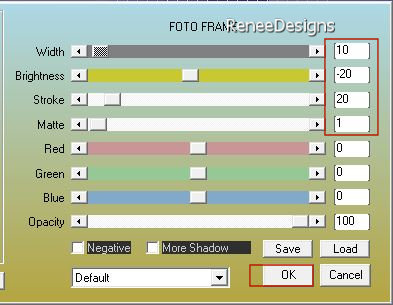
31. Effects – Plugins – AAA Frame – FotoFrame use the settings below
32. Layers- New Raster Layer
33. Selections –load/save selection –load selection from disc and select my selection: ‘’Art-Poetiquement-dejante-3’’
34. Open the Tube ‘’ Art-dejante- image 0’’--Edit - Copy- Activate your work -Edit - Paste into selection
- Layers-Properties-Change the Blend Mode to " Screen"
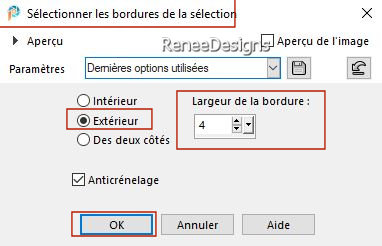
35. Selections – Modify –
Select Selection Borders use the settings below
36. Layers- New Raster Layer
37. Flood Fill Tool
–
Fill the selection with the background color #d7d7da= Color 2
38. Effects – Plugins- Toadies – What are you with these settings: 10/10
39. Layers-Properties-Change the Blend Mode to " Screen" – Reduce the Opacity of this layer to 51%
40. Layers- Merge- Merge Down
41. Layers- Duplicate-Image - Mirror - Mirror Horizontal (Image - Mirror in older versions of PSP)
42. Layers-Properties-Change the Blend Mode to " Hard Light "
-In the Layer Palette- activate Copy of Raster 1
43. Layers– Duplicate
44. Image - Mirror - Mirror vertical ( Image - Flip in older versions of PSP)
45. Effects – Plugins – Mura’s Meister – Perspective Tiling use the settings below

- Activate the top of the layer palette
46. Preset Shape Tool (P) - search for "Corel_11_10" in the list of shapes- Draw a shape (included in material)(or another one at your choice see on ''3D-Pfeile)
- Convert to Raster Layer
- Place in the correct position (see point 49 a) – I opted for a negative image (choice of color)
47. Layers-Duplicate - Image - Mirror - Mirror Horizontal (Image - Mirror in older versions of PSP)
48. Layers- Merge- Merge Down
49. Effects-3D Effects– Drop Shadow with these settings: 10/ -10/
45/12 Color Black
If problem to draw this arrow and if you use my tube paste it and go to line 49a
49a. My arrow placement
50. Open the Tube ‘’Art-dejante-
image 1’’ -Edit - Copy- Activate your work -Edit - Paste as a new layer
- Place to the left, but make sure it is in the right place also in connection with that arrow shape
51. Layers- Duplicate –
Image - Mirror - Mirror Horizontal (Image - Mirror in older versions of PSP)
52. Layers-New Raster Layer
53. Color Palette-Set your foreground color to color #b1d886= Color 3
Flood Fill Tool - Opacity 60 %–
Fill the layer with the foreground color #b1d886= Color 3
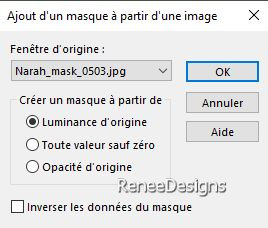
54. Layers- New Mask Layer-From Image and Select Mask
‘’Narah_mask_0503’’
- Layers- Merge- Merge Group
55. Layers-Properties-Change the Blend Mode to " Hard Light "
56. Layers –Duplicate
57. Layers- Merge- Merge Down
58. Selections –load/save selection –load selection from disc and select my selection: ‘’Art-Poetiquement-dejante-4’’
59. Edit-Cut !!! - Edit - Paste as a new layer
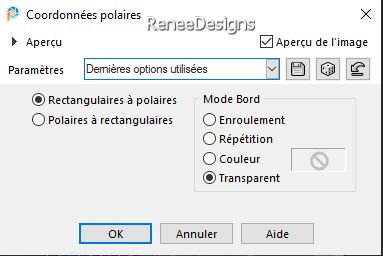
60. Effects – Distortion Effects– Polar Coordinates-Rectangular to Polar-Transparent
61. Layers-Properties-Change the Blend Mode to " Screen" – Reduce the Opacity of this layer to 59%
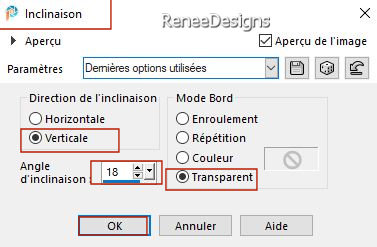
62. Effects –Geometric Effects – Skew use the settings below
63. Open the Tube (Renée has chosen this tube) ‘‘Renee-TUBES-Dejante1’’ -Edit - Copy- Activate your work -Edit - Paste as a new layer- Or take another tube
- For this Tube ''Renee-TUBES-Dejante1''Pick Tool: (K) on your keyboard -Enter these parameters on the toolbar
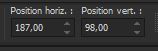 187/
98 187/
98
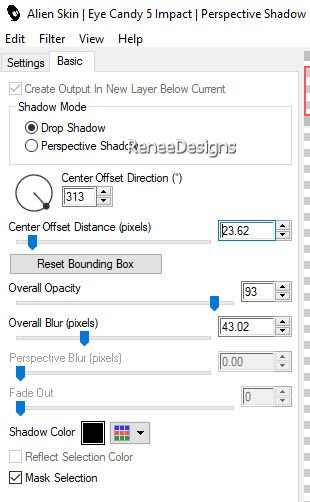
64. Effects- Plugins - Alien Skin EyeCandy 5 - Impact – Perspective
Shadow use the settings below
65. Open the Tube
‘‘Renee-TUBES-Dejante5’’ -Edit - Copy- Activate your work -Edit - Paste as a new layer
Renée has a separate folder with additional tubes.
If you use the supplied tubes from Renée- change size yourself).
66. Image - Resize to 85% - Resize all layers NOT checked
- Move it in the right place( see finished image )
67. Effects- Plugins - Alien Skin EyeCandy 5 - Impact – Perspective
Shadow with the same settings
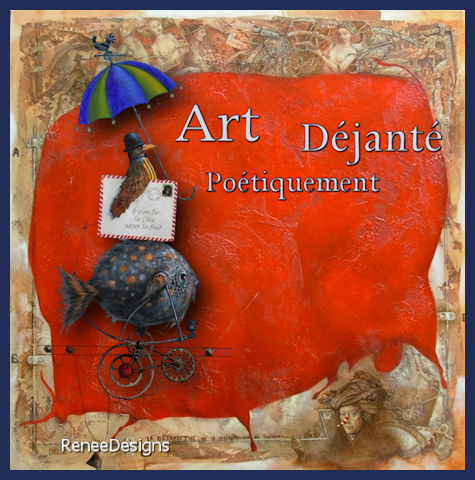
68. Open the Tube " titre " -Edit - Copy- Activate your work -Edit - Paste as a new layer
Move it in the right place( see finished image )
69. Image - Add borders-Symmetric checked: 1 Pixel -Color #222d55=1
- Image - Add borders-Symmetric checked: 20 Pixels -Color #ffffff
- Image - Add borders-Symmetric checked: 2 Pixels -Color #222d55=1
- Image - Add borders-Symmetric checked: 40 Pixels -Color #ffffff
70. Activate your Magic Wand -
and click in the white 20 pixel border.
71. Selections- Promote selection to layer
72. Effecte- Plugins – Toadies – What are you with these settings: 11/11
73. Effects- 3 D Effects–
Drop Shadow with these settings: -12 /14
/75/ 30 Color Black
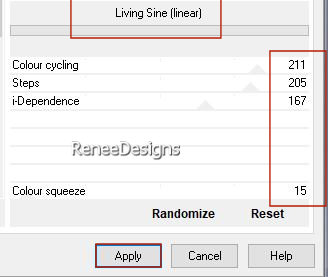
74. Effects- Plugins - Filters Unlimited 2.0 - Toadies - Living Sine
(linear)use the settings below
75. Layers- Merge- Merge Visible
76. Image - Resize to 80% - Resize all layers checked
-Paste the author's watermark on your work and your own watermark.
Save as JPG
I hope you enjoyed this lesson
Renée
This lesson was written by Renée
08/08/2022
Edited and Update
in 2022
*
*
Any resemblance with an existing lesson is a coincidence
*
Do not forget to thank the people who work with us and for us
-I have appointed the tubeurs and translators
Thanks
|
 Translations