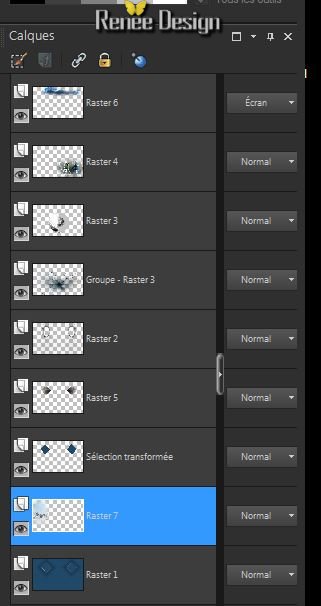
|
Let's begin
1. Open a transparent image of 1095 x 685 pixels
2. Color palette: Forgroundcolor:
#214868 and the background color to #000000
3. Prepare a rectangular gradient configured like this 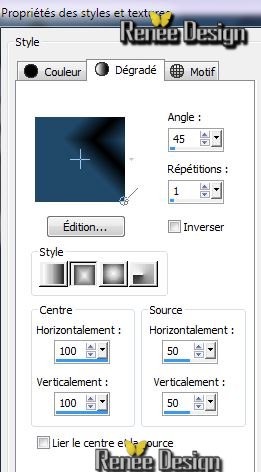
4. Flood Fill tool : fill the layer with the gradient
5. Effects- Plugins Simple - Blintz
6. Layers-Duplicate / Image Mirror - Decrease opacity towards 50% in the Layer palette
Layers-Merge-Merge Down
7. Effects- Plugins Simple -Center Tile
8. Open the tube 'blue_light_image_1 '' / Edit/copy/Edit/paste as a new layer
9. Effects-Plugins Simple - Center Tile
10. Image-Flip
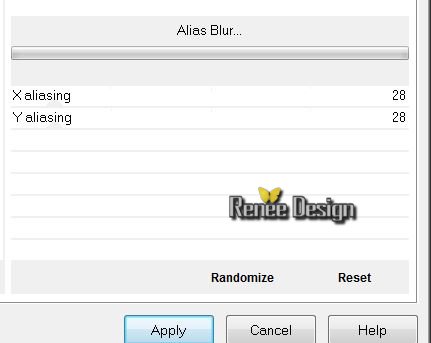
11. Open the tube 'blue_light_image_2'' Edit/copy/Edit/paste as a new layer
12. Effects-Plugins Unlimited -Blur- Alias Blur
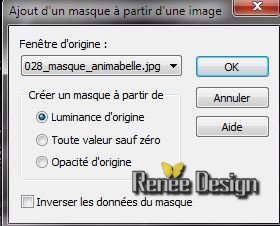
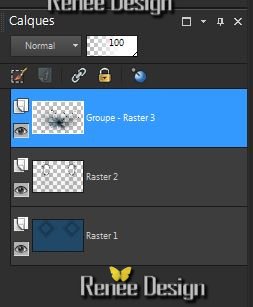
13 .
Layers-New mask layer from image : "028_masque_animabelle.jpg''
Layers-Merge-Merge Group
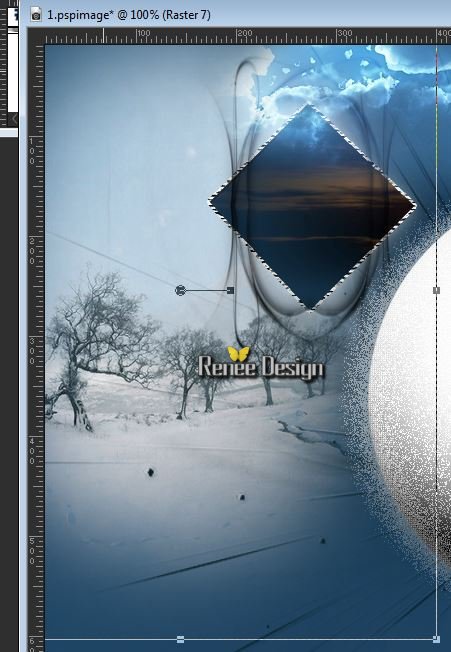
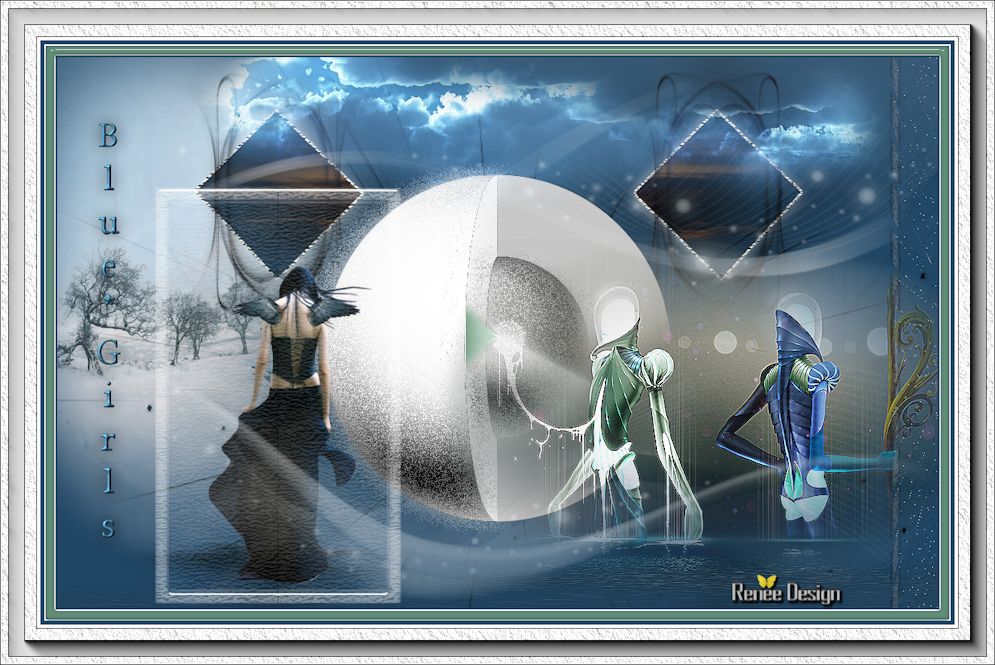
This is what you have now
14. Open the tube ''blue_girl_image3''/ Edit/copy/Edit/paste as a new layer
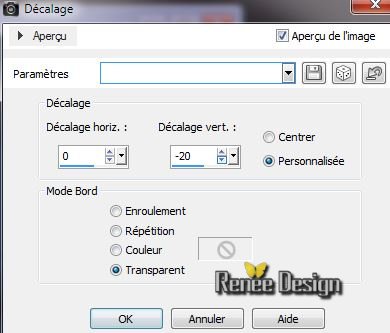
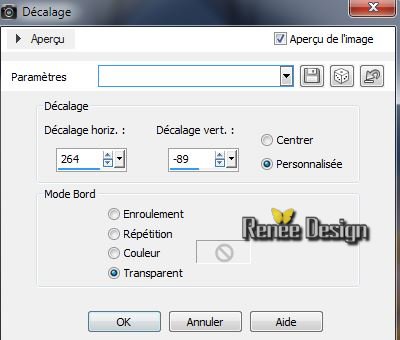
15. Effects - Image Effects-Offset
16. Selections –load/save selection –load selection from disc and choose ''blue_girl1''
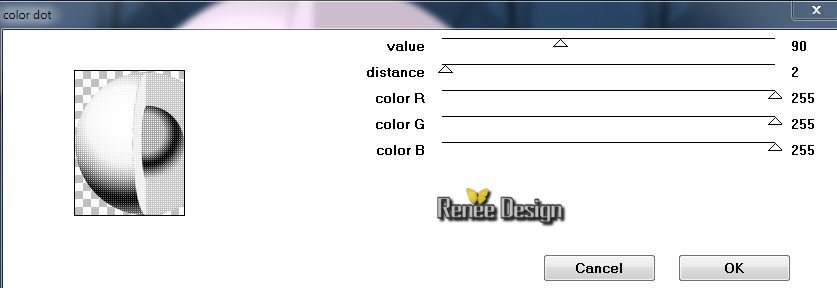
17. Effects-Plugins Penta Com / Color Dot
18. Selections - Promote-selection To Layer
19. Selection -Select None
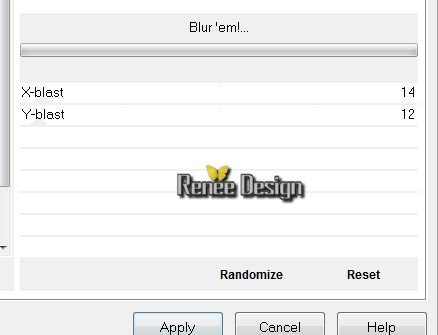
20. Effects -Plugins Unlimited &>BKG Designer sf10 I>/ Blur
em
21.Open the tube ''Krysmistsurrealiste-06-12-13-19''
/Edit/Copy-Edith/Paste as a new layer
22. Effects - Image Effects-Offset
23. Effects - Plugins Flaming Pear Flood/ preset ''Blue_light
_flood-setting.qr8''
24. Effects-Edge Effects-Enhance
25. Activate your bottom layer(Raster1)
26. Selections –load/save selection –load selection from disc and choose ''blue_light_2''
27. Effects - 3D Effects-Drop Shadow-color white
28. Selections - Promote-selection To Layer
29. Layers - New Raster Layer
DO NOT DESELECT
30. Open the tube ''Mist corinne vicaire
-nuages02-2012'' /Edit/ copy- Edit/paste into selection
31. Selections - Modify – Select selection borders
32. Material Properties Style : Pattern: ''T3(8) in PSP > Bring in your color palette and set a pattern like this
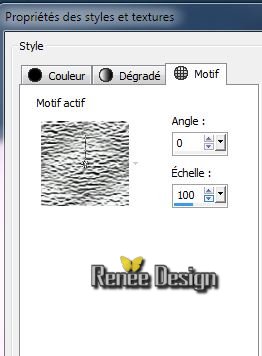
33. Flood Fill Tool: Fill the selection with your Pattern
34. Selection-Select none
35. Open the tube 'Mist corinne
-vicaire-nuage002-2013'' / Edit/Copy-Edit/paste as a new Layer
Move up -Blend Mode "Screen"
36.Open the tube 'Mist-corinne.vicaire-paysage103-2012''
/ Edit/Copy-Edit/paste as a new layer
Good placed with select tool (K) like this
37. Layers-Arrange-Move Down de raster 1 as shown below
38.Replace at the top of the Layers palette
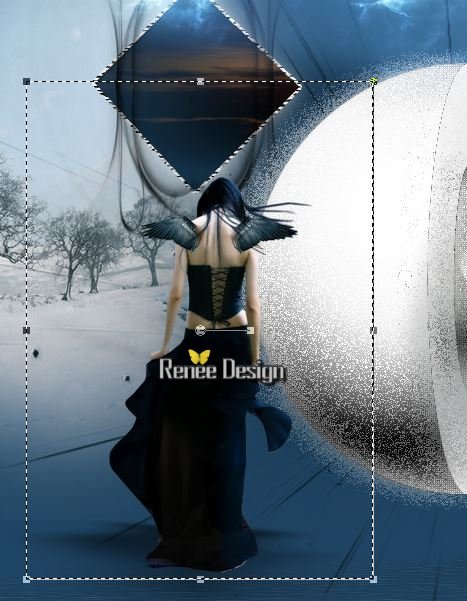
39. Open the tube ''Trizia Tubed -IWalkAlone'' (be placed on layer2 of the tube)/ Image-Resize 60%
-Edit/copy -Edit/place as a new Layer
40. Effects-Plugins EyeCandy 5 Impact - Perspective shadow
-Preset ''Blue_light_shadow1"
41. Layers - New raster layer
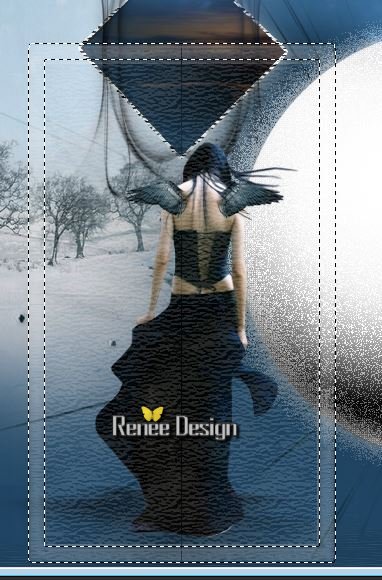
42 With the Selection Tool (S) Rectangle - draw a rectangle around the tube-girl like this
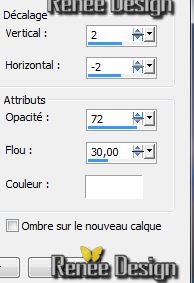
43. Effects - 3 D Effects-Drop Shadow 2/-2/72/30 color black
44. Flood Fill Tool -Opacity 20/ Fill with your Pattern
''T3(8)''
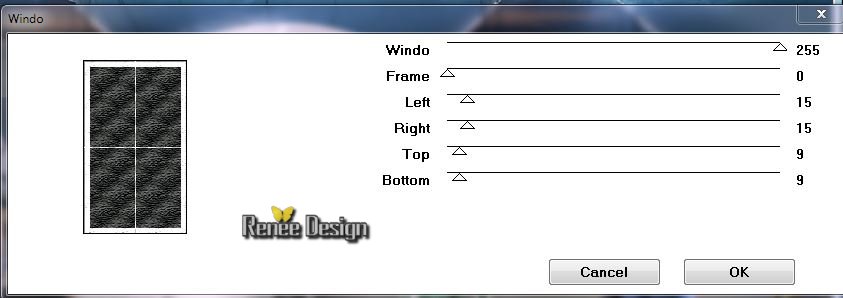
45. Effects -Plugins Mock - Window
46. Blend Mode of this layer "Screen" Decrease opacity towards 28 % in the Layer palette
47. Selections - Modify – Select selection borders
This is what you have now
48. Layers - New raster layer
49. Flood Fill Tool -Opacity 20 /Fill with your Pattern
''T3(8)''(Flood fill Tool: color back to cover 100)
50. Effects -Plugins Eyecandy 5 Impact - Glass -Preset Clear
51. Selection-Select none
52. Layers-Duplicate
53. Effects -Geometric Effects -Perspective
Horizontale

54. Effects -Image Effects -Offset H = 24 et V 0 /
transparent
55.Be placed on the layer below (frame) Blend Mode of this layer "Screen"
56.Layers-Merge-Merge Visible
57. Layers - New raster layer
58. Selections - load/save selection - load selection from disk and choose ''blue_light_3'' Flood Fill Tool: Fill the selection with color #6b997d
59. Selection-Select none
60. Effects- Edge Effects- Enhance More
61. Layers -Duplicate/ Layers-Merge-Merge Down
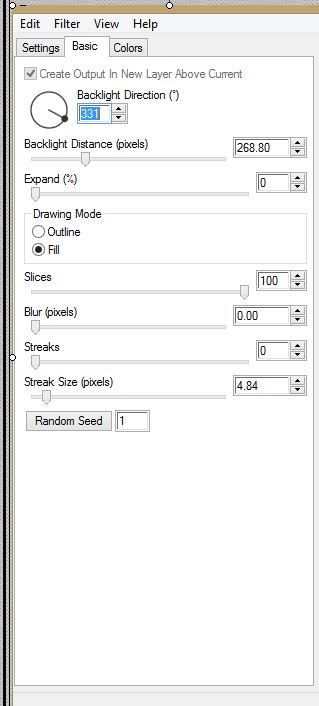
62. Effects-Plugins EyeCandy 5 -Impact - Blacklight - Preset
''Blue_light_blacklight'' or set the parameters manually
(Eraser-Tool : eraser too much away to white at the person)
63. Layers - New Raster Layer /Flood Fill Tool: Fill with your white color
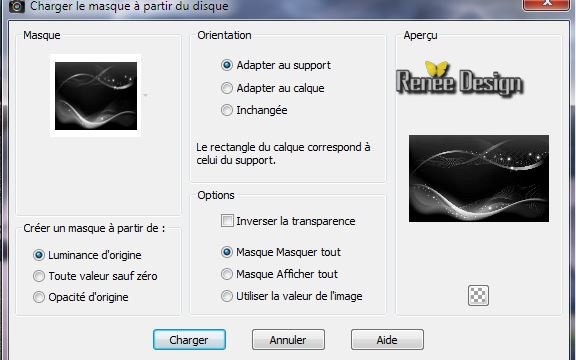
64. Layers-Load/Save Maske-Load Maske from Disk:
''Narah_mask_Abstract127''
65. Layers-Merge-Merge Group
66. Decrease opacity towards 42% in the Layer palette
67. Open and Edit/copy your titre or write your own
Effects - 3D Effects-Drop Shadow: 0/0/80/30 color black
68. Layers-Merge-Merge Visible
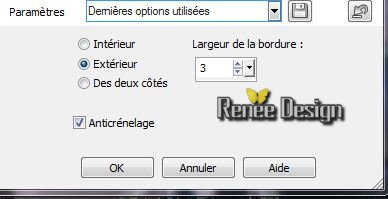
69. Image - add borders 2 pixels green
70. Image - add borders 2 pixels white
71. Image - add borders 10 pixels green
72. Image - add borders 2 pixels white
73.Image - add borders 2 pixels green
74.Image - add borders 5 pixels en bleu
75.Image - add borders 50 pixels white
76. With the magic wand -select this green border of 10 pixels
77. Effects-Plugins EyeCandy 5 Impact - Glass / Preset -
''blue_girl_glass''
78. Selection-Select none
79. With the magic wand -select this border of
50 pixels
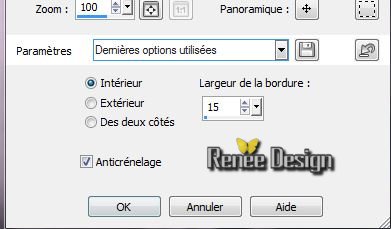
80.
Effet -AAA Frame /Texture Frame with these settings

81.Selection- Modify-contract 10 pixels
82. Effects -Plugins AAA FRame -Foto Frame with these settings
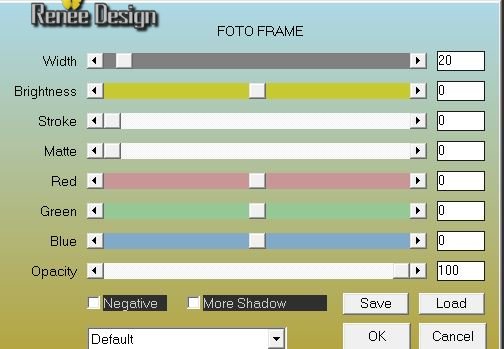
83. Selection- Select none
84. Layers-Resize 995 pixels Width
I hope you enjoyed this lesson
Renée
Write the12/12/2013
introduction
the 06-01-2014
Any resemblance with an existing
lesson is merely a coincidence
Don't forget to thank the people who work for us and with us.
I named the tubeurs - Testers and the translators
Thank you.
| 


 Translation