|
- Let's start the lesson . Open your color palette in PSP
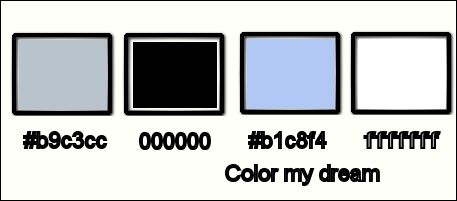
- Material Properties: Foreground color to this color :#b9c3cc Background color to this color : #000000
1. Open the Background image ''
fond_color_my_dream''/ Promote to Raster Layer = Raster 1
2. Layers-New raster layer
3. Selections - load/save selection - load selection from disk and choose my selection: ''Color_my_dream_1"
/ Activate Flood fill tool and fill the selection with the BG-Color
4. Effects-Plugins - Unlimited 2.0/
Alf's Power Grads /2Sweep Grads
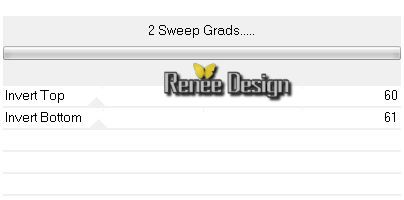
Selections- Deselect All
5.
Effects- Plugins - Muras' Meister -Pole
transform 2.1
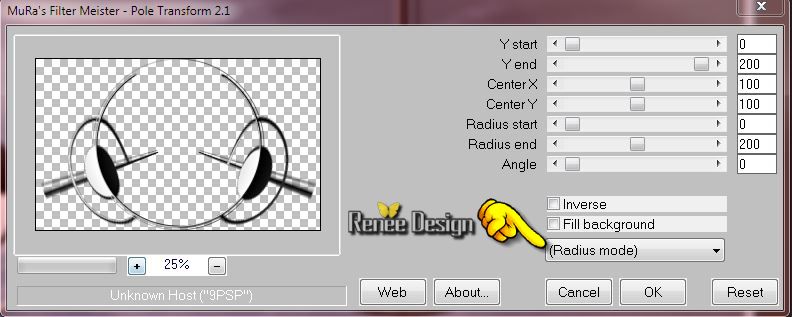
6.
Layer Palette -Double click on this Layer and set the Blend Mode to"Soft Light "
7.
Activate the tube ''color_my_dream_balançoire'' - Edit/copy-Edit paste as a new layer
8.Effects- Image Effects-Offset use settings below
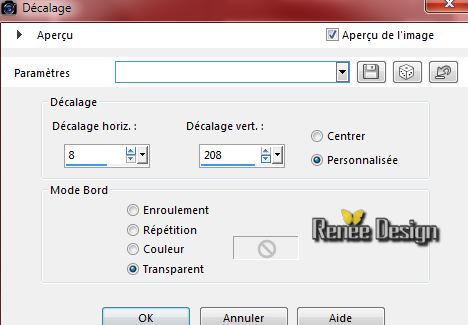
9.
Layer Palette -Double click on this Layer and set the Blend Mode to"Hard Light"
10.
Open the image ''brickwalls'' in your psp
-
File-Export-Custom Brush-give it a name "Brickwalls"
11.
Layers- New Raster layer
12. Activate
Brush Tool and select my file: ''brickwalls''

Stamp with your foreground color black. Stamp the brush as shown in the example below:
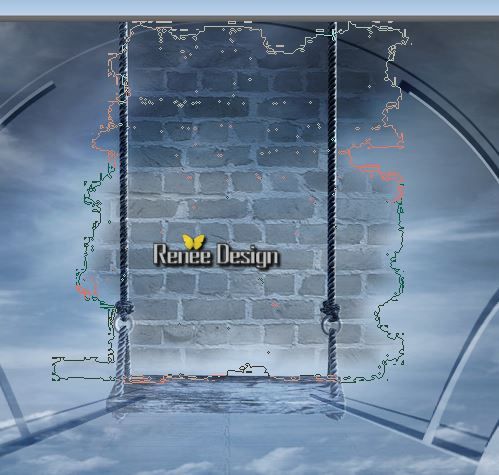
13.Layer Palette -Double click on this Layer and set the Blend Mode to"Multiply " Reduce the opacity of this layer to 81%
14.
Selections - load/save selection - load selection from disk and choose my selection: ''Color_my_dream_2''
15.
Effects- 3D Effects-Cutout with these settings
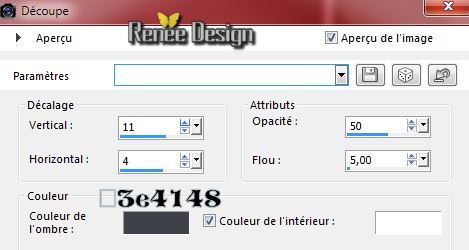
Selections- Deselect All
16.
Activate this tube ''tous mes petits messages.pspimage''/
Image Resize 75%
-
Edit - Copy -Edit - Paste as new layer on your working area and move (erase the signature)
17.
Layers-Arrange- Move Down
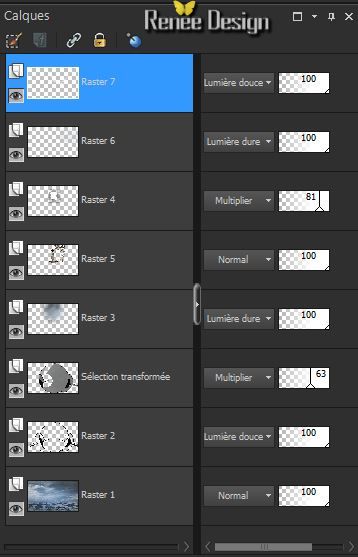
Your work and Layer Palette look like this now:
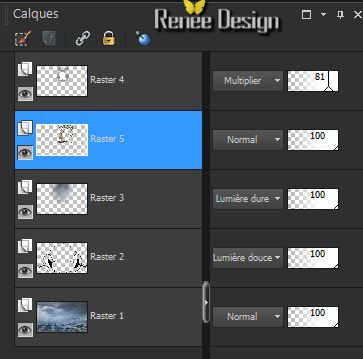 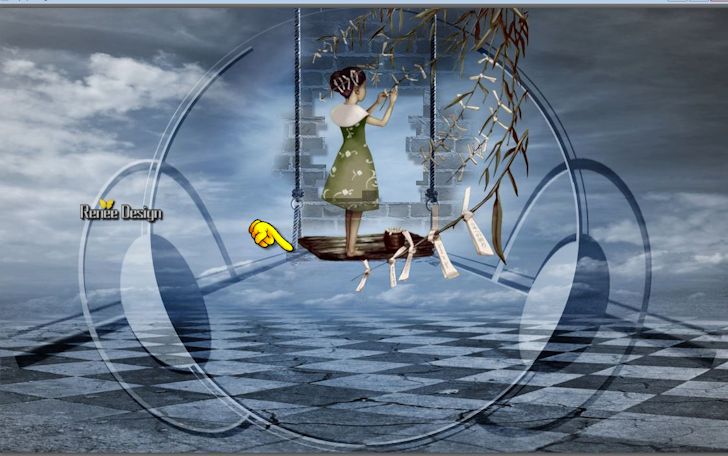
- Activate the top of the Layer-Palette
18.
Layers- New Raster layer
19 .
Activate Brush Tool and select my file: ''brickwalls''(white the same settings )-mais avec Foregroundcolor :
#b9c3cc
20.
Stamp with your foreground color. Stamp the brush as shown in the example below:
(Do not to change the brush size. Do not distort the size of the brick applied side by side)
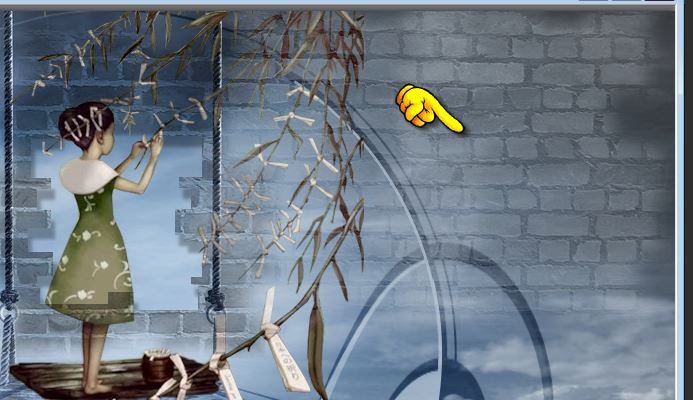
-
Layer Palette -Double click on this Layer and set the Blend Mode to"Hard Light"
21.Layers- New Raster layer
22.
Selections - load/save selection - load selection from disk and choose my selection: '' Color_ my_ dream_3''
23.
Material Properties: Foreground color to color white-
Flood Fill Tool: fill the selection with color white
Selections- Deselect All
24.
Layer Palette -Double click on this Layer and set the Blend Mode to "Soft Light"
- Layer Palette: activate Raster 2
25.
Selections - load/save selection - load selection from disk and choose my selection: ''color_my_dream_4''
26.
Selections-Promote selection to layer
Selections- Deselect All
27. Effects- Plugins -Eye Candy 5 Impact- Extrude -tab Settings-User Settings and choose my preset ''
color_my_dream_extrude''
28.Layer Palette -Double click on this Layer and set the Blend Mode to"Multiply " Reduce the opacity of this layer to 63%
- Activate the top of the Layer-Palette
-
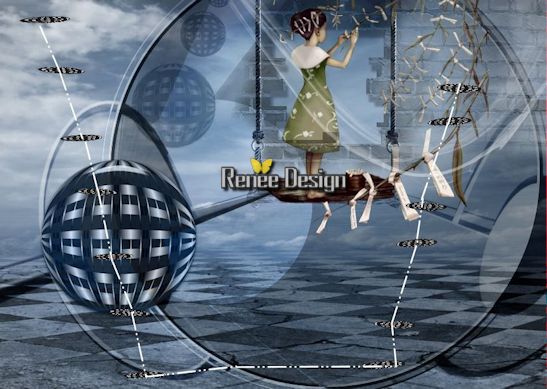
You should have this result:
29.
Layers- New Raster layer- Activate Flood fill tool and fill the layer with color white
30.
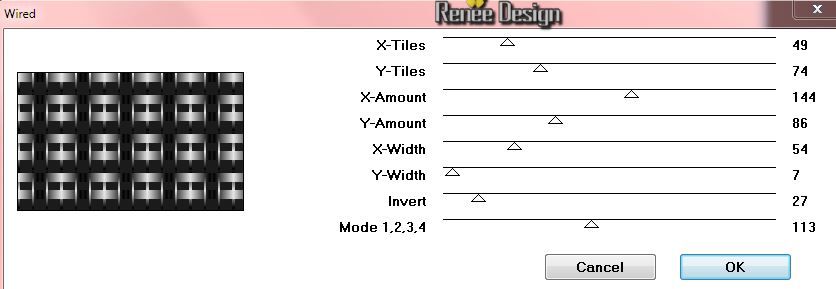
Effects- Plugins - VMINstant Art- Wired use settings below
31.
Effects- Geometric Effects-- Circle - Transparent
32.
Image Resize 35 % Resize all Layers not checked
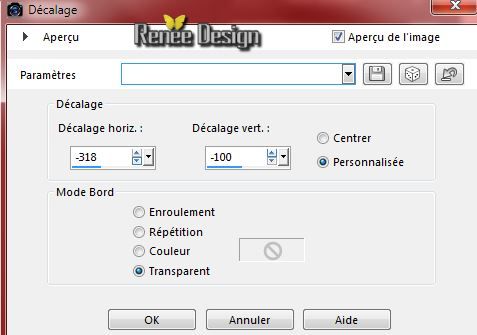
33. Effects- Image Effects-Offset with these settings:
34. Effects- Plugins - EyeCandy 5 -Impact - Glass-tab Settings-User settings choose my Preset ''color_my_dream_glass''
35.
Layer Palette -Double click on this Layer and set the Blend Mode to"Luminance" .Reduce the opacity of this layer to 89%
36.
Layers-Duplicate
37.
Effects- Reflection Effects-Feedback with these settings
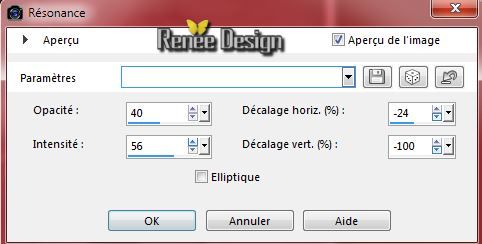
38.
Selection Tool ( S ) Custom selection use settings below
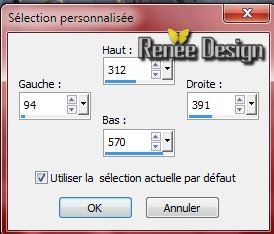
39.
Edit-Cut - Edit-Paste as a new layer (do not move it is in the right place)
Selections- Deselect All
40.
Effects-Distortion Effects-Wave use settings below
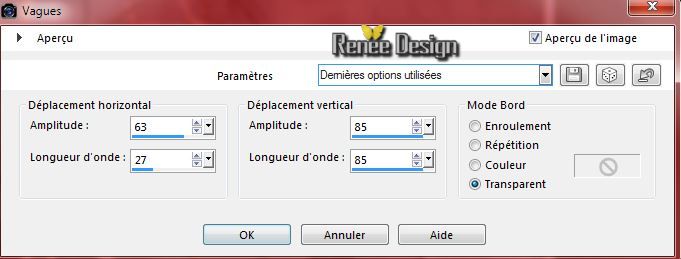
41. Effects- Image Effects-Offset with these settings:
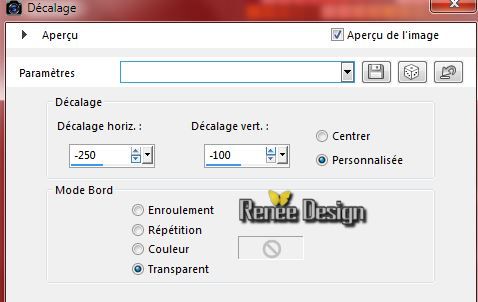
42.
Activate Pen Tool-Line Style: ''corel_13_017.PspStyle''/
FG-Color white

.Draw a line like this
-Convert to raster layer
43.
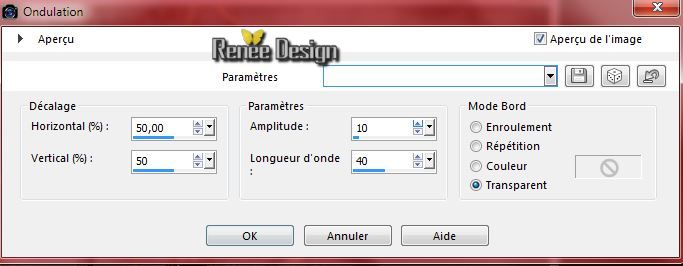
Effects- Distorsion - Ripple use settings below ( Your results may vary, depending on what you have drawn)
44.
Activate this tube ''
colombe-art.gurbuz-dogan-eksioglu.pspimage''/ Edit - Copy -Edit - Paste as new layer on your working area. With your move tool move to the left place
45.
Layers-Duplicate - Image Mirror - With your move tool move to the right side
46.
Layers- Merge- Merge Down
47.
Effects- Plugins - Eyecandy 5 Impact Tab- Settings- Preset
''drop shadow blury default settings
- Activate the bottom of the Layer-Palette = raster 1
48.
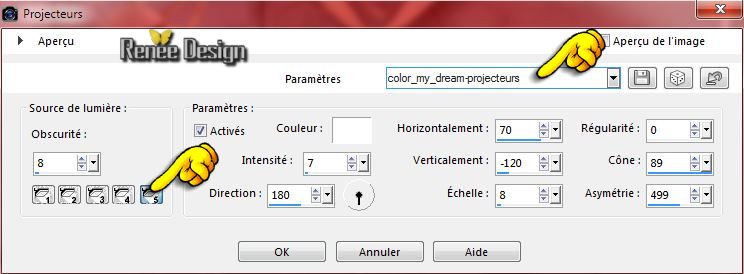
Effects- Illumination Effects- Lights -select my file-''Preset_Lights_color_my_dream-projecteurs''
Manual settings see this screen
- Activate the top of the Layer-Palette
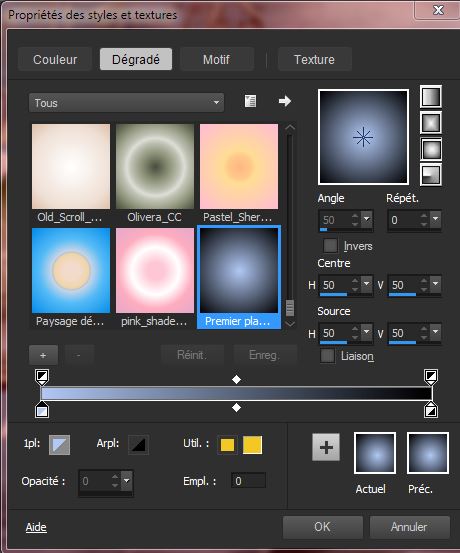
49.Material Properties: Foreground color to this color :#b1c8f4 Background color to this color :black / Put your foreground on the foreground/background sunburst gradient with these settings
Angle: 50 /Repeats 0/invert not checked
-
Layers- New Raster layer
50.
Selections - load/save selection - load selection from disk and choose my selection: "Color_ my_ dream_5"
- Activate Flood fill tool and fill the selection with the sunburts gradient
51.
Selections- Modify-Contract-12
pixels
52.
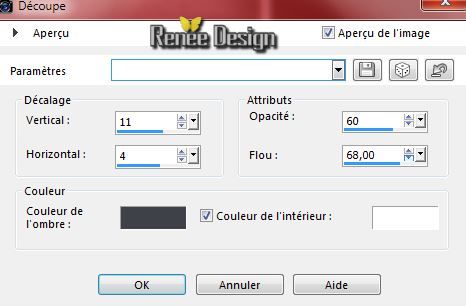
Effects- 3D Effects-Cutout with these settings
53.
Effects - 3D Effects - Drop shadow with these settings:1/1/100/3 black
Selections- Deselect All
54.
Activate the tube ''color_my_dream_image1.pspimage''
- Edit/copy-Edit paste as a new layer and move in the right place
55.
Layer Palette -Double click on this Layer and set the Blend Mode to "Luminance-Legacy "
56.
Activate this tube ''VERLAINE C 119''-Edit/copy-Edit paste as a new layer and move in the right place
57. Effects- Plugins - Eye Candy 5 Impact Perspective shadow -tab Settings/User settings choose my Preset
''color_my_dream_perpspective''
58.
Open the tube " titre" Edit - Copy -Edit - Paste as new layer on your working area and move .Ore write your own text (Font:
jointe )
59.Layers- Merge-Merge Visible
60.
Image Resize 975 pixels Width
61.
Image - Add borders-Symmetric checked: 1 pixel black
62.
Image - Add borders-Symmetric checked: 50 pixels white
63.
Image - Add borders-Symmetric checked: 1pixel black
64.
Image - Add borders-Symmetric checked: 10 pixels white
65.
Image - Add borders-Symmetric checked: 1 pixel black
66.
Activate Magic Wand and click in the white border of 50
pixels
67.
Effects - 3D Effects - Drop shadow with these settings: 10/10/50/25 black
68.
Selections-Invert
69.
Effects - 3D Effects - Drop shadow with these settings: 10/10/50/25 black
Selections- Deselect All
Save as JPG.
I hope you enjoyed this lesson Renée
Renée
This lesson was written by Renée 1/09/2014
Created the
09/2014
*
Any resemblance with an existing lesson is merely a coincidence *
* Don't forget to thank the people who work for us and with us. I named the tubeurs - Testers and the translators.
Thanks Renée. |