|
Let's start the lesson.

1. Open the Backgroundimage- Fond ‘’Flo_bleu.jpg’’-
/Window - Duplicate (or shift+D) - Close the original and proceed on the copy -Promote Background Layer = Raster 1
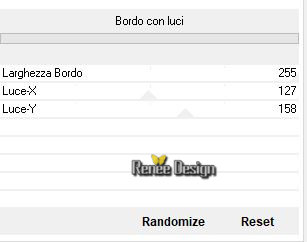
2. Effects –Plugins- Unlimited 2.0 - It@lian Editors Effect-
Bordo con luci

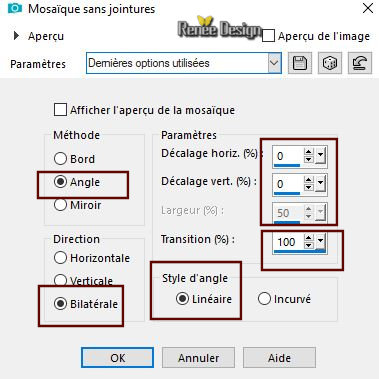
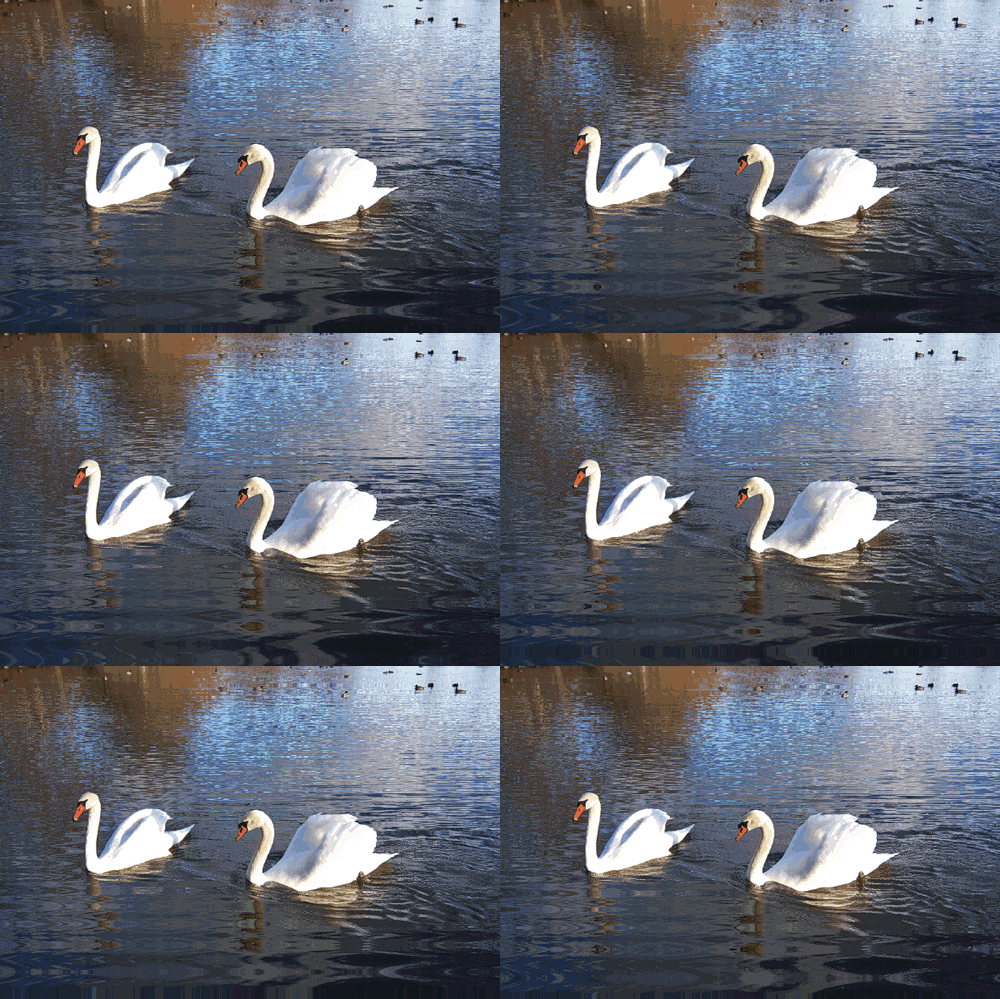
3. Effects- Image Effects-Seamless Tiling use the settings below

4. Effects –Plugins- Unlimited 2.0 - It@lian Editors
Effect- Effetto Fantasma using the default settings
41/41
5. Effects- Edge Effects- Enhance More
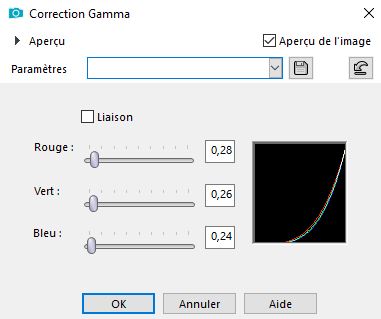
6. Gamma Correction
(Shift+ G) use the settings below

7. Layers- New Raster Layer
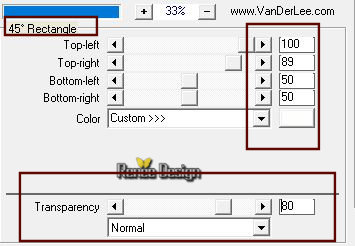
8. Effects –Plugins – Vanderlee- Unplugged X
-45°Rectangle - Color White

9. Effects –Plugins - Unlimited – Toadies-
3D Grid with these settings: 11/7/18
10. Effects-Plugins - Unlimited 2.0 - It@lian Editors Effect-
Effetto Fantasma : 18/18
11. Layers-Properties-Set the Blend Mode to " Overlay "-Lower the Opacity of the layer to
75%
12. Layers- New Raster Layer
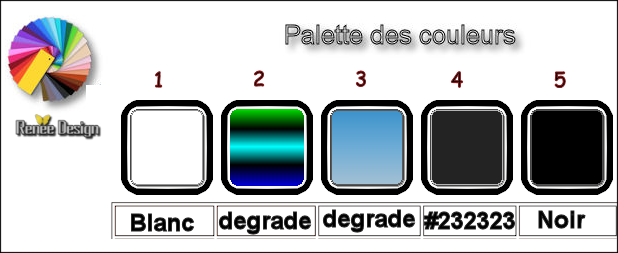
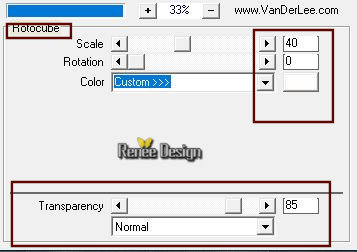
13. Effects –Plugins – Vanderlee - Unplugged
X-Rotocube- Color White

14. Effects –Plugins - Toadies - What are you: 20/20
15. Image - Free rotate 45° right
16. Effects –Plugins- Unlimited 2.0 – Toadies - Living Sine
(circular) with these settings : 49/104/185/113
17. Layers-Properties-Set the Blend Mode to " Hard Light "-Lower the Opacity of the layer to
85%
18. Layers- Duplicate
19. Image - Resize to 65 %
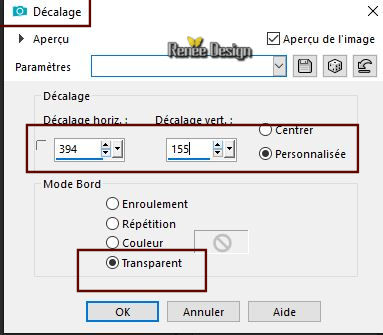
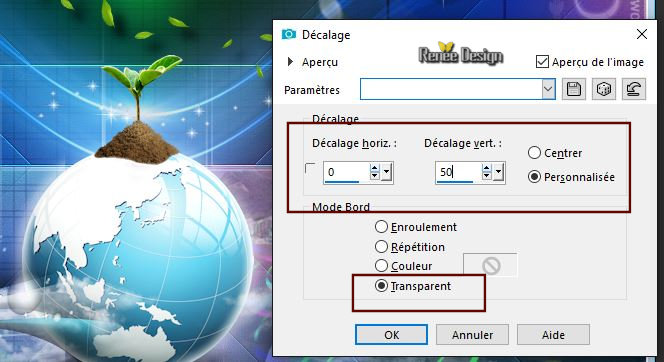
20. Effects- Image Effects- Offset with these settings:

21. Layers Duplicate
22.
Image - Mirror - Mirror Horizontal (Image - Mirror in older versions of PSP)
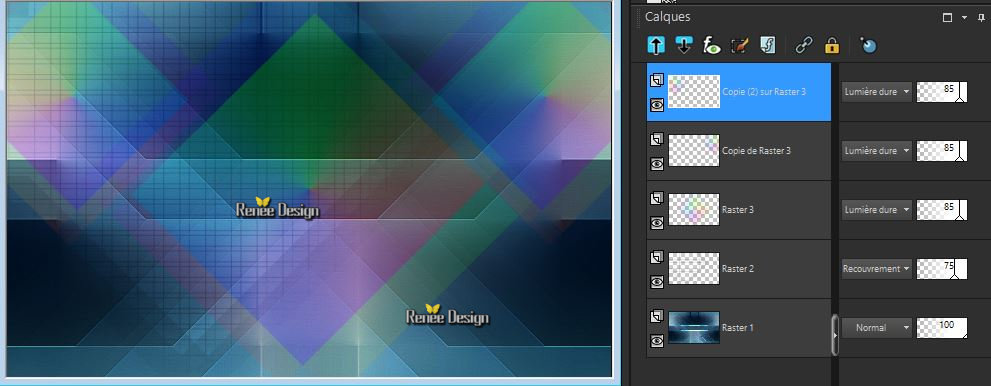
Your work and Layer Palette look like this now-You should have this result

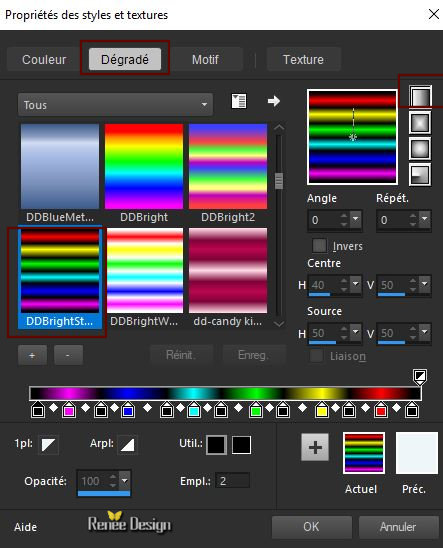
23. Material of the foreground: change material of the foreground into gradient select ‘’DDBrightStripe’’-
Prepare a linear gradient configured like this

24. Layers- New Raster Layer
25. Selections –load/save selection –load selection from disc and select my selection:
‘’Flo_Bleu_1’’
26.
Activate the Flood Fill Tool  – Flood Fill with the gradient – Flood Fill with the gradient
Selections- Deselect All
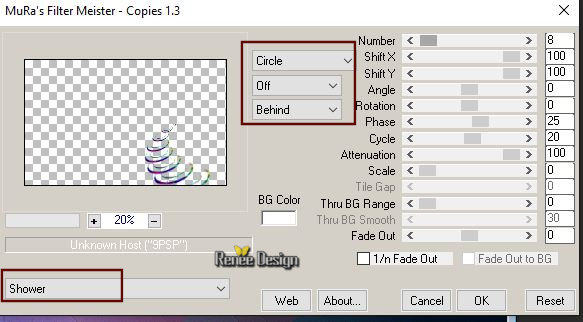
27. Effects –Plugins - Muras’s Meister –
Copies use the settings below

27a. Effects- Edge Effects- Enhance
28. Open the tube ‘’ Flo_bleu_image
1.png’’
-Edit - Copy- Activate your work -Edit - Paste as a new layer
29. Effects- Image Effects- Offset with these settings: H = 0 and V =
131
30. Layers-Properties-Set the Blend Mode to " Overlay "-Lower the Opacity of the layer to
67%
31. Open the tube ‘’ Flo_bleu_image
2.png’’
-Edit - Copy- Activate your work -Edit - Paste as a new layer
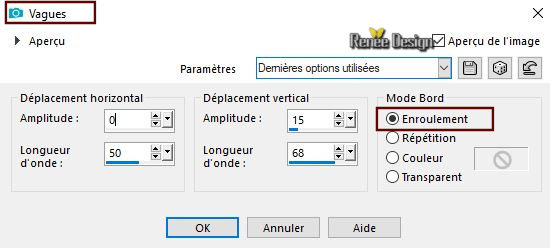
32. Effects- Distortion Effects -Wave use the settings below

33. Layers-Properties-Set the Blend Mode to " Screen "-Lower the Opacity of the layer to 81%
-
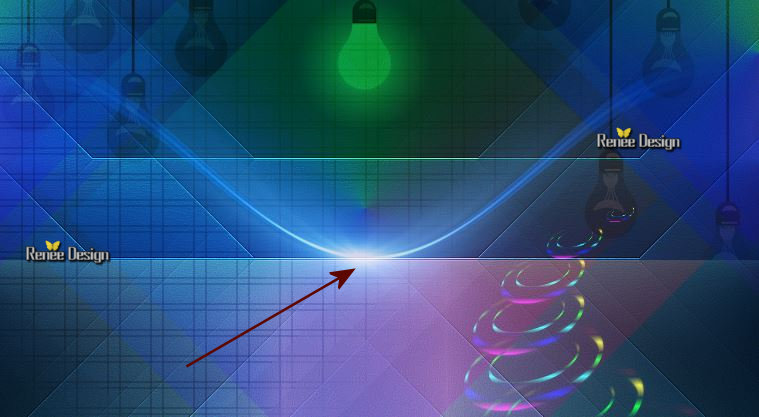
Move it easily as shown in the example below

34. Layers- New Raster Layer
-
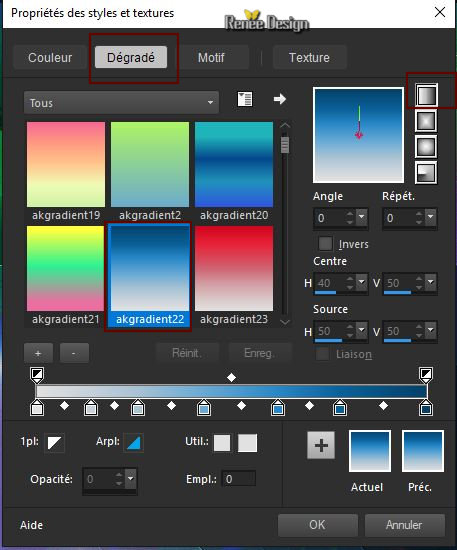
Material of the foreground: change material of the foreground into gradient select‘’ akgradient22.PspGradient
‘’
Prepare a linear gradient configured like this

35. Selections –load/save selection –load selection from disc and select my selection:
‘’Flo_Bleu_2’’
36.
Activate the Flood Fill Tool  – Flood Fill with the gradient – Flood Fill with the gradient
Selections- Deselect All
37. Layers-Properties-Set the Blend Mode to " Lighten "-Lower the Opacity of the layer to 75 %
38. Layers- New Raster Layer
39. Selections –load/save selection –load selection from disc and select my selection:
‘’Flo_Bleu_3’’
40. Set your Background color to color #ffffff
Activate the Flood Fill Tool  – Flood Fill with the BG-Color #ffffff ( 3 clicks) – Flood Fill with the BG-Color #ffffff ( 3 clicks)
Selections- Deselect All
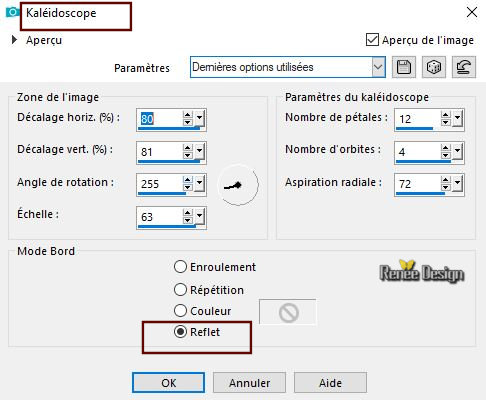
41. Effects – Reflection Effects- Kaleidoscope use the settings below

42. Effects – 3D Effects – Drop Shadow with these settings : 2/2/100/2 Color White
43. Open the tube ‘’ Renee_Flo_bleu_Femme.png’’
-
Edit - Copy- Activate your work -Edit - Paste as a new layer
-Activate your Move Tool (M) place it in the bottom left corner
44. Layers Duplicate
45. Adjust- Blur- Gaussians Blur: Radius 15
46. Layers- Arrange- Move Down
- Layers-Properties-Set the Blend Mode to " Screen "
-
To replace the top of the layer-palette
47. Open the tube ‘’ Flo_bleu_image3.png"
Edit - Copy- Activate your work -Edit - Paste as a new layer
-
Activate your Move Tool (M) place it in the right place
48. Open the tube ‘’ Flo_bleu_image4.png’’
-
Edit - Copy- Activate your work -Edit - Paste as a new layer- With your Move Tool move to the right side- Set the Blend Mode to " Luminance Legacy "
49. Layers- New Raster Layer
50. Selections –load/save selection –load selection from disc and select my selection:
‘’Flo_Bleu_4’’
51.
Activate the Flood Fill Tool  – Flood Fill the selection with the BG-Color #ffffff – Flood Fill the selection with the BG-Color #ffffff
Selections- Deselect All
-
Put the image aside for now, we will need it later..
- We will build our tube
52. Open the Backgroundimage ‘’ Fond_bleu_construction’’
53.
Layers- New Raster Layer
54. Selections –load/save selection –load selection from disc and select my selection:
‘’Flo_Bleu_5’’
55.
Pot de peinture  – Flood Fill the selection with the BG-Color #ffffff (few clicks of your choice)
Selections- Deselect All
56. Open the tube ‘’ Flo_bleu_image5.png’’
-Edit - Copy- Activate your work -Edit - Paste as a new layer
57. Effects- Image Effects- Offset with these settings: H = 271 and V =
-167
58. Open the tube ‘’ Flo_bleu_image6.png’’
-
Edit - Copy- Activate your work -Edit - Paste as a new layer
59. Effects- Image Effects- Offset with these settings: H = 8 and V = -
85
60. Layers- New Raster Layer
61. Selections –load/save selection –load selection from disc and select my selection:
‘’Flo_Bleu_6’’
62.
Activate the Flood Fill Tool  –
Flood Fill the selection with the BG-Color #ffffff ( 2 clicks) –
Flood Fill the selection with the BG-Color #ffffff ( 2 clicks)
63. Adjust- Blur- Gaussian Blur: Radius 4
Selections- Deselect All
-
Layers- Arrange- Move Down
-
To replace the top of the layer-palette
-
Layers- New Raster Layer
64. Selections –load/save selection –load selection from disc and select my selection:
‘’Flo_Bleu_7’’
65.Set your BG-Color to Color #232323
Activate the Flood Fill Tool  - Flood Fill the selection with #232323
Selections- Deselect All
66. Layers Duplicate
67.
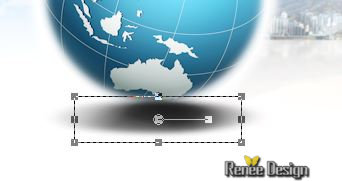
Activate your Pick Tool (K) Mode Scale –Shrink this effect slightly on both sides

68. Layers-Properties-Set the Blend Mode to "Overlay "-Lower the Opacity of the layer to 79%
69. Open the tube ‘’ Flo_bleu_image7.png’’
- Edit - Copy- Activate your work -Edit - Paste as a new layer /
-Activate your Move Tool (M) place it in the right place ( see finished image )
70. Open the tube ‘’ Flo_bleu_image8.png’’
-
Edit - Copy- Activate your work -Edit - Paste as a new layer (place on the top of the earth)
71. Open the tube ‘’ Flo_bleu_image9’’
-
Edit - Copy- Activate your work -Edit - Paste as a new layer –Move ( see finished image )
72. I duplicated it and I Set the Blend Mode to "Screen " ( it is not not mandatory)
ATTENTION - Close the bottom layer in the layer palette =(fond) Raster 1
which had to serve as a basis for the construction of the tube
-
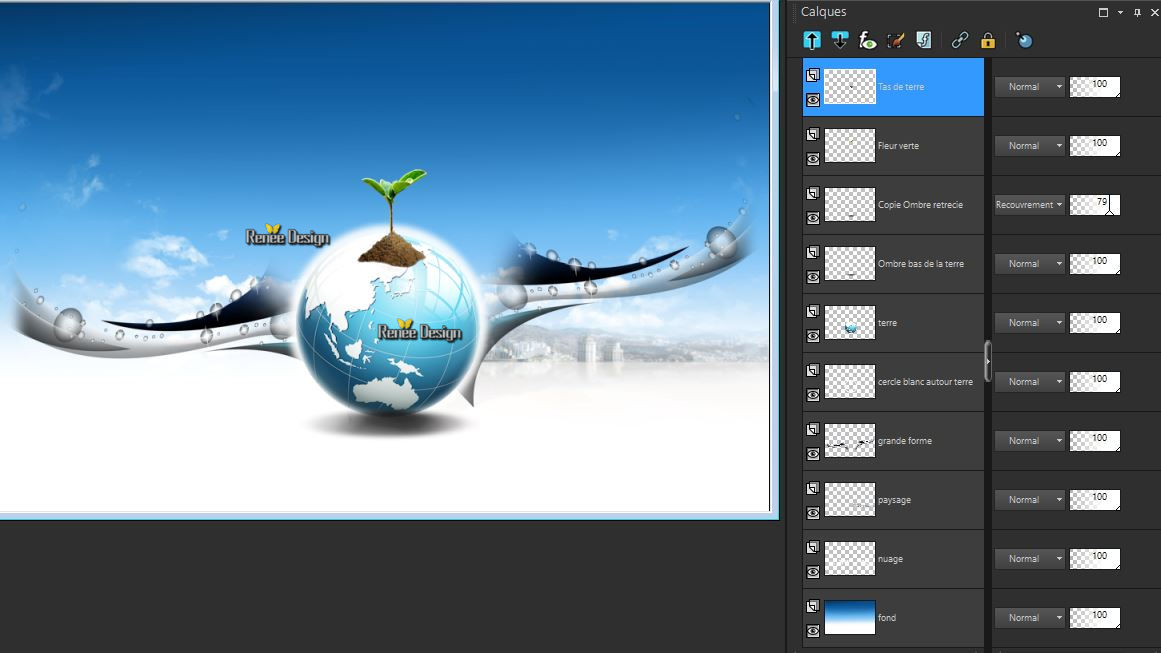
You should have this result- Attention replace if necessary

73. Activate an open layer in the layer palette/Layers-Merge-Merge Visible
Edit-Copy-
Activate your minimized image from step 51- Edit - Paste as a new layer
Or paste layers 1 by 1 or grouped in order to modify the opacities of these (it will depend on the choice of your colors) )
74. Open the tube ‘’ Flo_bleu_image10.png’’
-Edit - Copy- Activate your work -Edit - Paste as a new layer
Activate your Move Tool (M) place it in the right place
-Layer palette – Make Raster 6 active
75. Layers- Duplicate
76. Effects- Image Effects- Offset with these settings: H = 0 and V =
50
-
To have this result it will depend on the placement of the previous tube modify the parameters of displacement if necessary

77. Image - Add borders-Symmetric checked 1 Pixel Color Black
78. Image - Add borders-Symmetric checked 35 Pixels #ffffff
79. Selections- Select All
80. Image - Add borders-Symmetric checked 15 Pixels
#ffffff
-
Selections- Invert
81. Activate the Flood Fill Tool  – Flood Fill with the gradient ''
akgradient22.PspGradient'' – Flood Fill with the gradient ''
akgradient22.PspGradient''
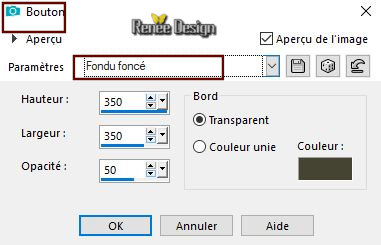
82. Effects –3D Effects – Buttonize use the settings below

Selections- Deselect All
83. Image - Add borders-Symmetric checked 35 Pixels #ffffff
84. Open the tube ‘’Flo_Bleu_texte’’ – Edit - Copy- Activate your work -Edit - Paste as a new layer
-Activate your Move Tool (M) place it in the bottom left corner
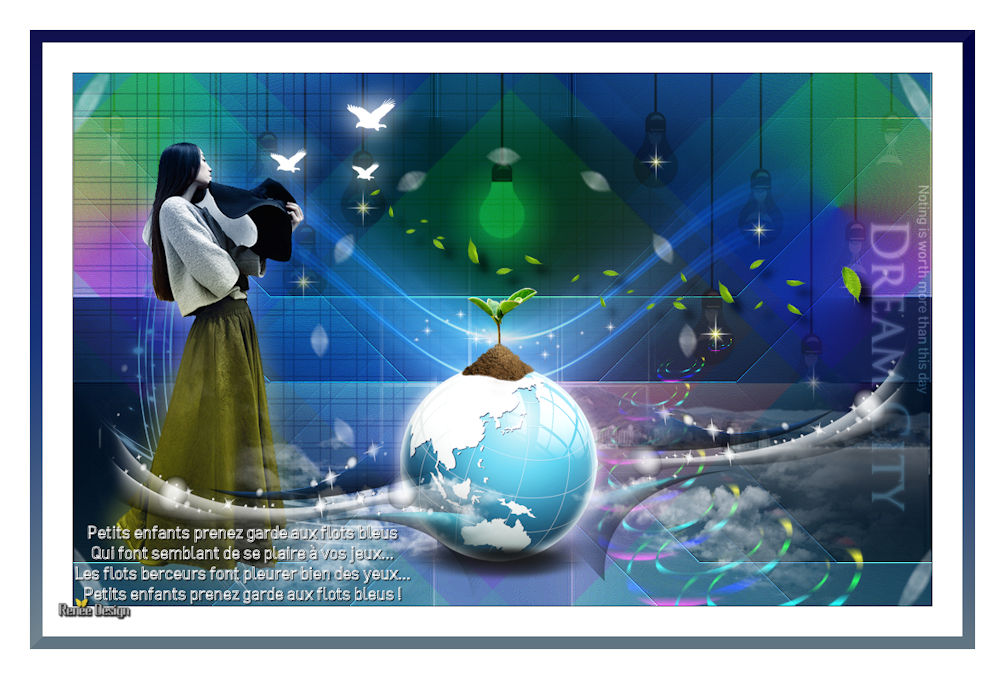
85. Layers- Merge- Merge All ( flatten)
86. Image Resize to 1005 Pixels Width
Save as JPG
I hope you enjoyed this lesson
Renée
This lesson was written by Renée 10-10-2018
Edited and Update
2018
*
Any resemblance with an existing lesson is a coincidence
* Do not forget to thank the people who work with us and for us I have appointed the tubeurs and translators
Thanks
*
| 

 Translations


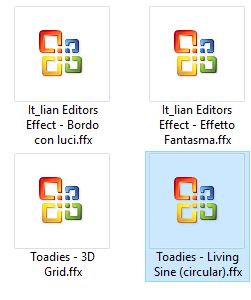


 If a plugin supplied appears with this icon it must necessarily be imported into Unlimited *
