|
Gothique 32
Gothique Tube
Here
-Preparation
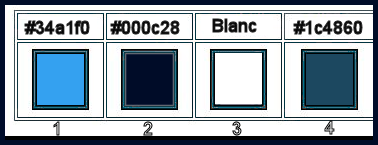
- Color Palette:
Set your Foreground color to color #34a1f0=1 – Set your Background color to color #000c28= 2
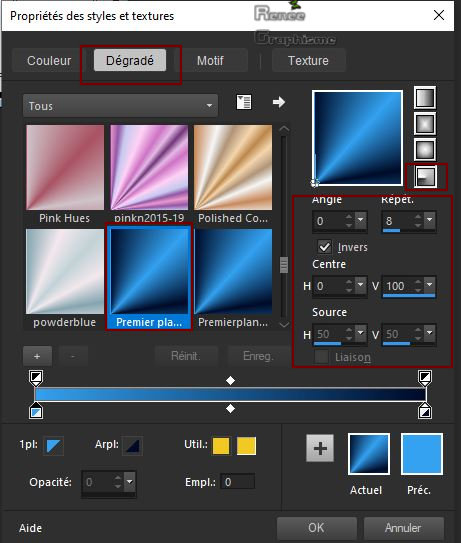
- Set your Foregroundcolor to foreground-background radial gradient configured like this
1. File: Open a new Transparent Image 1050 x 650 Pixels
2. Activate Flood Fill Tool
 –
Fill the Layer with the gradient –
Fill the Layer with the gradient
3. Effects –Plugins-
Unlimited 2.0 - VM Experimental- Guess What?...using the default settings
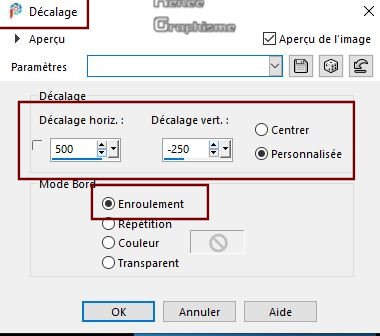
4. Effects- Image Effects-Offset with these settings
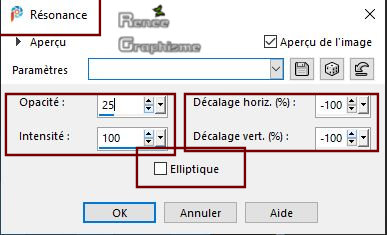
5. Effects – Reflection Effects- Feedback use the settings below
6. Effects –Plugins-
Unlimited 2.0 – Simple – 4 Way average
7. Effects- Edge Effects- Enhance More
8. Activate Selection Tool -Custom Selection (S) -Rectangle with these settings 

9. Selections- Promote selection to Layer
10. Effects –Plugins- Unlimited 2.0 -Sapphire
Filters 09
-SapphirePlugin_0819... 224/217/12
11.
Effects –Plugins- Unlimited 2.0 -Sapphire Filters 09
-SapphirePlugin_0832...using the default settings
12. Effects - 3 D Effects – Drop Shadow with these settings : 0/0/80/36 Color Black
Selections- Deselect All
13. Open the tube ‘’Renee_TUBES_Gothique-6.pspimage’’-Edit - Copy- Activate your work -Edit - Paste as a new layer
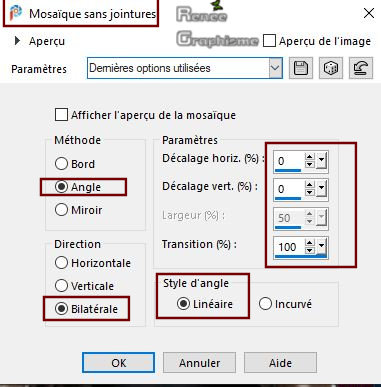
14. Effects – Image Effects- Seamless Tiling with these settings
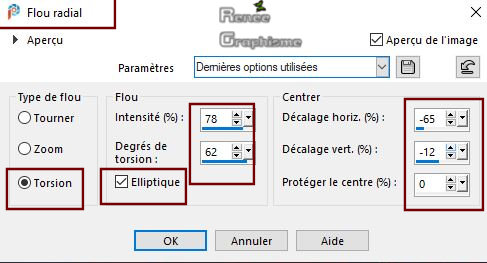
15. Adjust- Blur- Radial Blur with these settings
16. Effects –Plugins-
Unlimited 2.0 – L en K ‘s - L en K's Djin: 21/ 17
17. Effects – Edge Effects – Enhance
18. Adjust- Sharpness-Sharpen More
19. Effects – Plugins– Forres’t Filters – Major Distorsion: 91/0/0
20. Effects –Plugins-
Unlimited 2.0 – Tramage – Thow The Line: 47/54/48/9
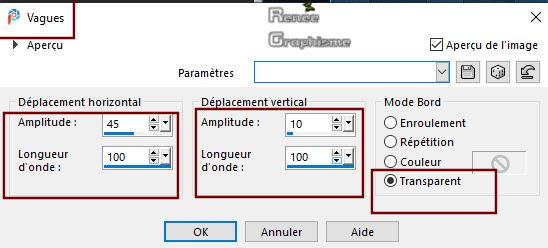
21. Effects – Distortion Effects – Wave use the settings below
22. Layers-Properties-Change the Blend Mode to " Screen " and Lower the Opacity to 44%
23. Layers- New Raster Layer
24. Selections -
Select All
25. Open the tube ‘’ Gothiqe-32-Fleur’’ -Edit- Copy- Activate your work -Edit - Paste into Selection
KEEP SELECTED !!!!
26. Adjust- Blur - Gaussian Blur: Radius 50%
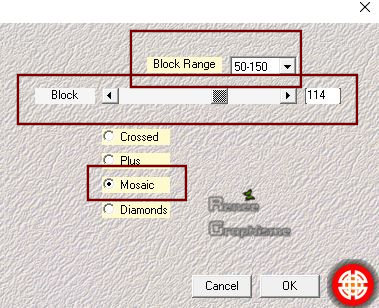
27. Effects – Plugins – Medhi – Sorting Tiles use the settings below
28. Effects –
Plugins-Unlimted 2.0- [AFS IMPORT] - sqborder2 88/34/215
(the reste at 0)
29. Layers- New Raster Layer
30. Edit- Paste into Selection (Image is still in your PSP memory)
31. Adjust- Blur - Gaussian Blur: Radius 50
32. Effects –Plugins-
Unlimited 2.0 - &<Bkg Designer sf10 I> - BlindsVertical:
11/69/69/69
33. Image - Mirror - Mirror vertical ( Image - Flip in older versions of PSP)
Selections- Deselect All
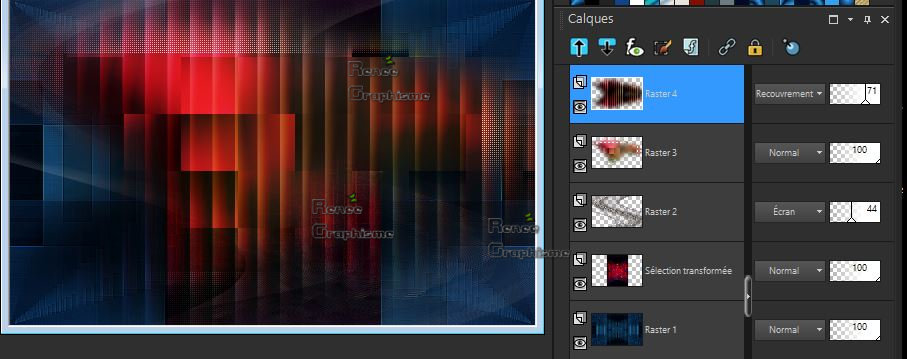
34. Layers-Properties-Change the Blend Mode to " Overlay " and Lower the Opacity to 71%
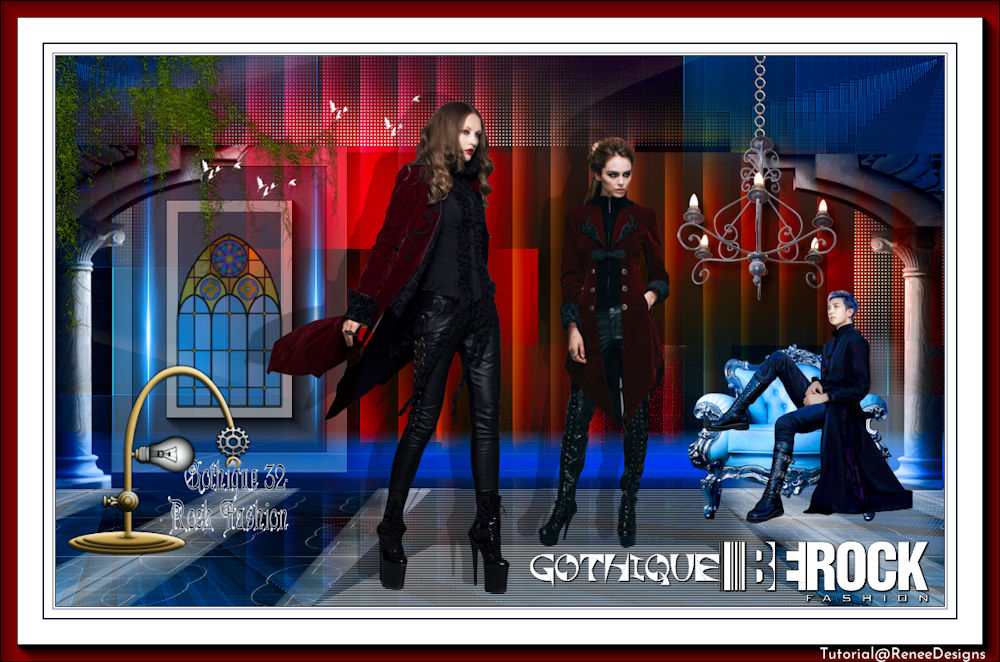
-Your work and Layer Palette look like this now-You should have this result
35. Layers- New Raster Layer
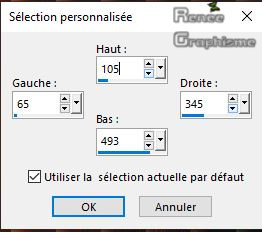
36. Activate Selection Tool -Custom Selection (S) -Rectangle with these settings
37. Color Palette: Set your Foreground color to color #ffffff
Activate Flood Fill Tool –
Opacity of the color at 30% – Fill the selection with the foreground color #ffffff
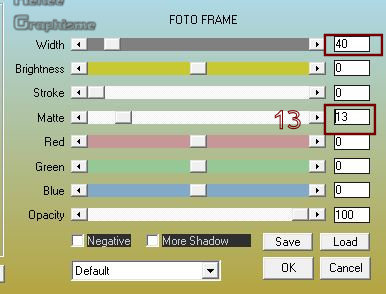
38. Effects – Plugins – AAA Frame – Foto Frame use the settings below
39. Effects - 3 D Effects – Drop Shadow with these settings : 8/ -7 / 68 /52 Color Black
40. Selections -
Modify - Contract with 25 Pixels
41. Activate Flood Fill Tool
– Opacity of the color at 30% – Fill the selection with the background color =2
42. Effects – Plugins – AAA Frame – Foto Frame with the same settings
Selections- Deselect All
-In the Layer Palette- Activate the bottom layer= Raster 1
43. Layers- Duplicate
44. Layers- Arrange- Bring to Top
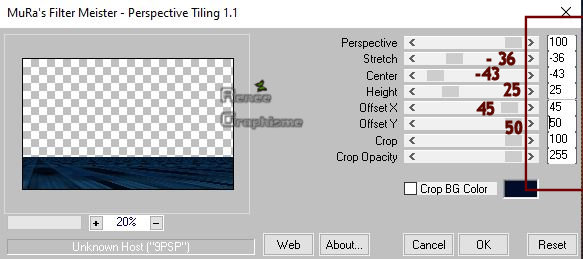
45. Effects – Plugins– Mura’s Meister – Perspective Tiling use the settings below
46. Selections –load/save selection –load selection from disc and select my selection: ‘’Gothique-32-RF-1’’
DELETE
 (2
x) (2
x)
Selections- Deselect All
- To replace the top of the layer-palette
47. Open the tube ‘’Renee-Gothique
fashion-vitrail’’ -Edit - Copy- Activate your work -Edit - Paste as a new layer
- Place in the frame ( see finished image )
48. Open the tube ‘’Renee-Gothique
fashion-lumiere.pspimage’’ -Edit - Copy- Activate your work -Edit - Paste as a new layer
49. Pick Tool: (K) on your keyboard -Enter these parameters for the X:82,00 and Y:-57,00 positions on the Toolbar
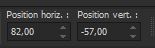
-Press( M ) to close the Pick tool
50. Layers- New Raster Layer
51. Selections –load/save selection –load selection from disc and select my selection: ‘’ Gothique-32-RF-2’’
52. Activate Flood Fill Tool
– Opacity of the color at 45% –Fill the selection with the foreground color #ffffff
Selections- Deselect All
Layers-Properties- Lower the Opacity to 65%
53. Layers- New Raster Layer
54. Selections –load/save selection –load selection from disc and select my selection: ‘’ Gothique-32-RF-3’’
55. Activate Flood Fill Tool
– Fill the selection with the foreground color #ffffff
Selections- Deselect All
56. Effects - 3 D Effects – Drop Shadow with these settings : -6 / 5 / 35 /22 Color Black
57. Layers- Merge- Merge Down
58. Effects - 3 D Effects – Drop Shadow with the same settings
59. Effects – Plugins– Richard Rosenman – Scanlines use the settings below

60. Layers- New Raster Layer
61. Activate Flood Fill Tool
– Opacity of the color at 100%– Fill the Layer with the foreground color #ffffff
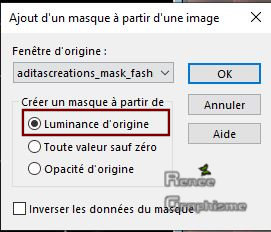
62. Layers- New Mask Layer-From Image and select Mask ’’
aditascreations_mask_fashion_02.jpg’’
- Layers- Merge- Merge Group
63. Effects –Plugins-
Unlimited 2.0- Simple - Top Left Mirror
64. Effects – Plugins– Mura’s Meister – Perspective Tiling using the default settings ( Click first on Reset)
65. Effects – Image Effects- Offset with these settings H = 0 and V = - 511 – Transparent
66. Selections –load/save selection –load selection from disc and select my selection: ‘’ Gothique-32-RF-2’’
DELETE
Selections- Deselect All
67. Open the tube ‘’Renee-Gothique
fashion-sol-bleu.pspimage’’ -Edit - Copy- Activate your work -Edit - Paste as a new layer
68. Pick Tool: (K) on your keyboard -Enter these parameters for the X:0,00 and Y:441,00 positions on the Toolbar
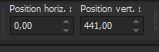
-Press ( M ) to close the Pick tool
69. Layers- Arrange- Move Down (underneath Raster 5 in the Layer- Palette)
- To replace the top of the Layer-Palette
70. Open the tube ‘’ Renee-Gothique
fashion-colonnes.pspimage’’ -Edit - Copy- Activate your work -Edit - Paste as a new layer
71. Pick Tool: (K) on your keyboard -Enter these parameters for the X:-3,00 and Y:105,00 positions on the Toolbar
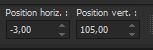
- Press( M ) to close the Pick tool
72. Open the tube ‘’Renee-Gothique
fashion-fougeres.pspimage’ -Edit - Copy- Activate your work -Edit - Paste as a new layer
73. Objects – Align-
Top
74. Layers- New Raster Layer
75. Selections –load/save selection –load selection from disc and select my selection: ‘’ Gothique-32-RF-4’’
76. Activate Flood Fill Tool
–
Fill the selection with the foreground color #ffffff
Selections- Deselect All
77.Open the tube ‘’ Renee-Gothique
fashion-homme’’ -Edit - Copy- Activate your work -Edit - Paste as a new layer
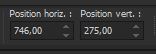
(I added the chair tube to you if you want to change the character)
- Pick Tool: (K) on your keyboard -Enter these parameters for the X:746,00 and Y:275,00 positions on the Toolbar
78. Effects- Plugins - Alien skin EyeCandy 5 Impact - Perspective
shadow use the settings below

79. Open the tube
- Renee-Gothique
fashion-lampe- titre
- Renee-Gothique
fashion-lustre
- Renee-Gothique
fashion-Fe1 and Renee-Gothique fashion-Fe2
-Edit - Copy- Activate your work -Edit - Paste as a new layer -Place the tube according to your taste
80. ATTENTION !!!!! On the two ladies !!!!!!
-Effects - 3 D Effects – Drop Shadow with these settings : -11/ -26 /25 /1 Color Black
81. Open the tube ‘’ Renee-Gothique fashion-texte.pspimage’’ -Edit - Copy- Activate your work -Edit - Paste as a new layer
–Or write your own text (I have different fonts into the zip file)
More Fonts Here
82.Layers- Merge- Merge Visible
- Edit- Copy !!!!
83. Open the tube ‘’Cadre
final ‘’ -Edit - Paste as a new layer
84. Layers- Merge- Merge All ( Flatten)
- Image - Resize to 1000 Pixels Width.
Save as JPG
I hope you enjoyed this lesson
Renée
This lesson was written by Renée 27-12- 2019
Edited and Update
in 2020
*
Any resemblance with an existing lesson is a coincidence
* Do not forget to thank the people who work with us and for us -
I have appointed the tubeurs and translators
Thanks
*
|


 Tranlations


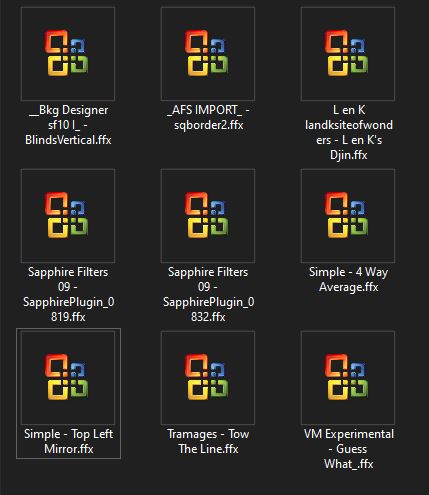


 If a plugin supplied appears with this icon it must necessarily be imported into Unlimited *