|
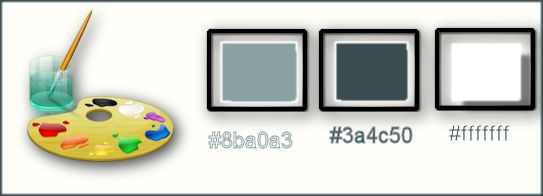
Let's start the lesson./Open the Color-Palette
Material Properties:Put the foreground color on white-and the background color on #3a4c50
1.
Open the backgroundimage ‘’Fond_ Gothique _13’’ Window - Duplicate (or shift+D) - Close the original and proceed on the copy -Promote Background Layer =Raster 1
2. Adjust-Blur-Gaussian Blur:Radius:45%
3.
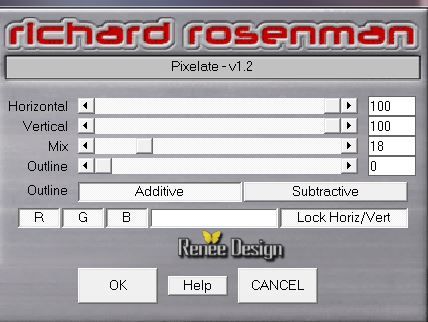
Effects- Plugins –Richard Rosenman
-Pixelate
4.
Effects- Edge Effects- Enhance More
5.
Layers- Duplicate
6.
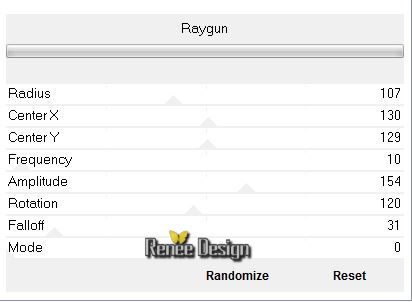
Effects- Plugins – VM Stylize –
Raygun with these settings
7.
Double click on this layer and set the Blendmode to Overlay
-
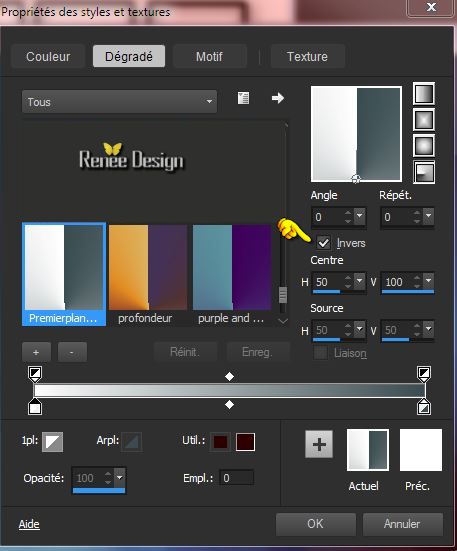
Material Properties: Make a foreground/background radial gradient with these settings/Invert checked
8.
Layers- New raster layer
-Activate Flood Fill Tool and fill the layer with the gradient
9.
Effects- Plugins – Graphic Plus –White Out :
128/0
10.
Effects- Plugins – Richard Rosenman
–3D-Sphere-Generator
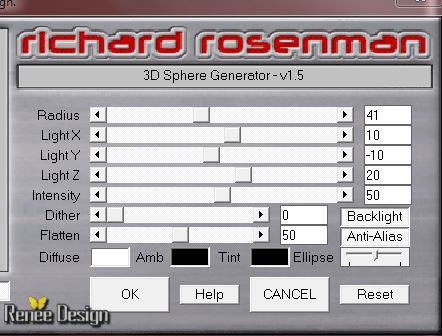
11.
Double click on this layer and set the Blendmode to Luminance Legacy
12.
Selections - load/save selection - load selection from disk and select my file: ‘’
gothique_13_1’’
13.
Promote selection to layer
14.
Effects-Plugins –Simple –Half warp
-Repeat: Effects-Plugins Simple –Half warp
Selections- Deselect All
15.
Double click on this layer and set the Blendmode to Multiply
16.
Effects - 3D Effects - Drop shadow with these settings- Color black
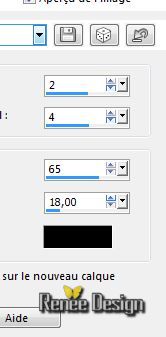
-Layer Palette look like this now-You should have this result
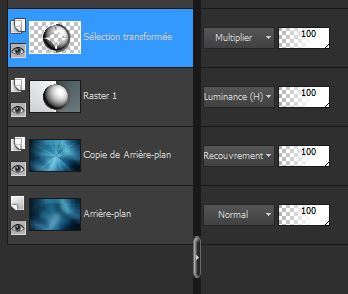
17.
Activate the tube
« gothique13_image1 »
-
Edit/copy-Edit paste as a new layer on your working area . Do not move !!
18.
Activate your Magic Wand with these settings as shown in the example below

With the magic wand select the inside
- Activate the layer underneath (Promoted Selection)
19.
Adjust-Blur-Gaussian Blur:Radius:45%
20.
Adjust-Add Remove/Noise-Add Noise with these settings
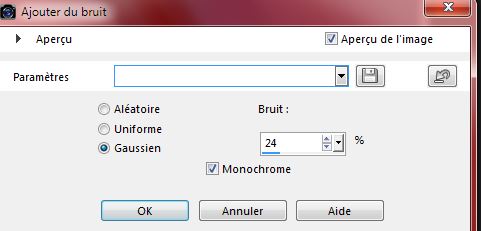
Keep Selected
-Activate the top of the layer-Palette (= Raster 3)
21. Layers- New raster layer
22.
Activate the tube ‘’
renee_gothique_13_lampes’’
-
Edit/copy-Edit paste into selection
23.
Double click on this layer and set the Blendmode to Hard Light
Selections- Deselect All
-
In the layer palette activate raster 2
24.
Effects- Plugins-Mura’s Meister – Perpective
Tilling with these settings
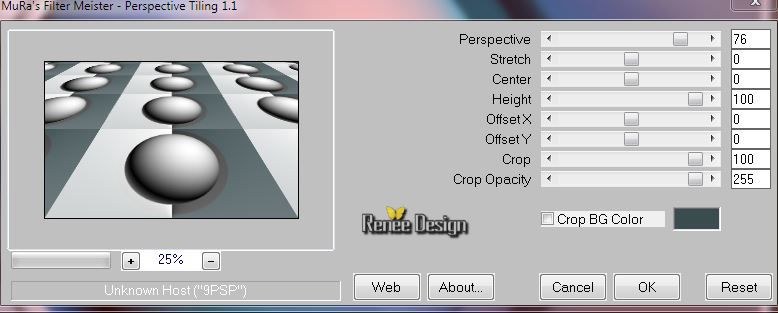
25.
Effects- Image Effects- Offset with these settings
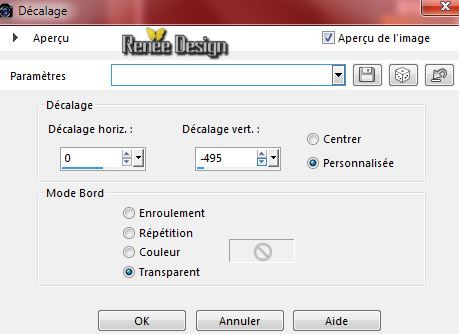
26.
Layers- Duplicate
27.
Effects-User Defined Filter –Deep emboss use the default setting
28.
Effects- Geometric Effects-Cylinder Vertical 78
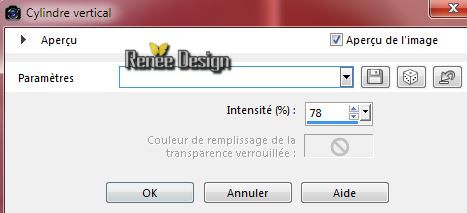
29.
Activate the tube ‘’
1228507084_feerie_nikita.pspimage’’
-
Edit/copy-Edit paste as a new layer on your working area (remove the watermark)
Activate Move Tool (M) place at the bottom of your image
30. Layers- New raster layer
31.
Selections - load/save selection- load selection from disk and select my file ‘’
gothique_13_2’’
-Material of the Foreground: Put the foregroundcolor to white
32.Pot of Paint: Change the opacity of the color to 25%
-Activate Flood Fill Tool and fill the selection with the foregroundcolor white
33.
Effects- Plugins –Unlimited 2.0 – Toadies -Look, Butthead, a
TV!...
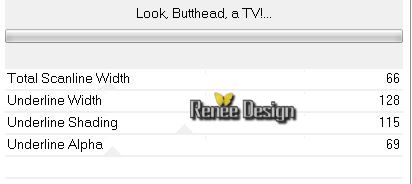
Selections- Deselect All
34. Effects-Plugins – Photo Tools- Gradient Sky
You can change the settings and the color if you want to Ore take mine
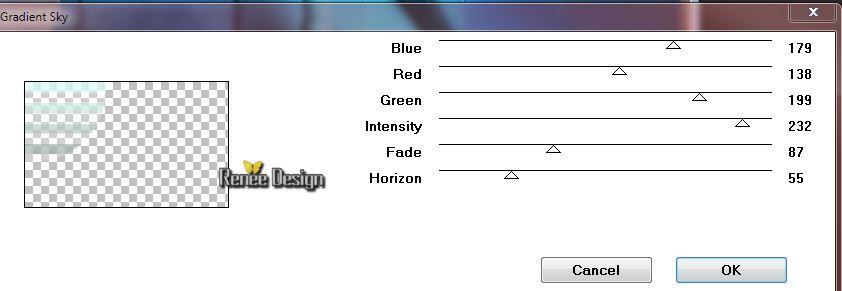
35. Double click on this layer and set the Blendmode to Overlay
36. Activate the tube ‘’ Arachne Kimsol - misted tube of A PSP
Devil.pspimage’’
- Image
Resize with 50%
- Edit - Copy -Edit - Paste as new layer on your working area.
With your move tool move to the upper right side
37. Layers- New raster layer
38.Effects-Artistic Effects-Magnifying Lens-select my file-
Preset_MagnifyingLens_Gothqiue_13_loupe
Or manual settings below
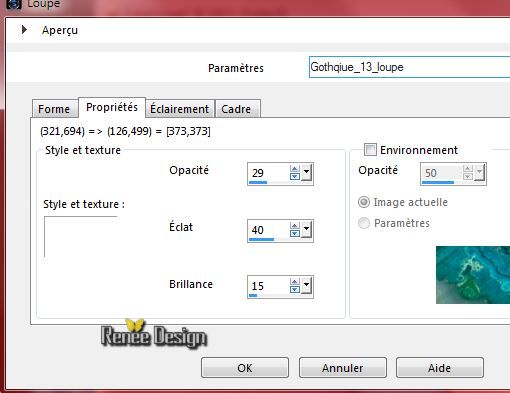 
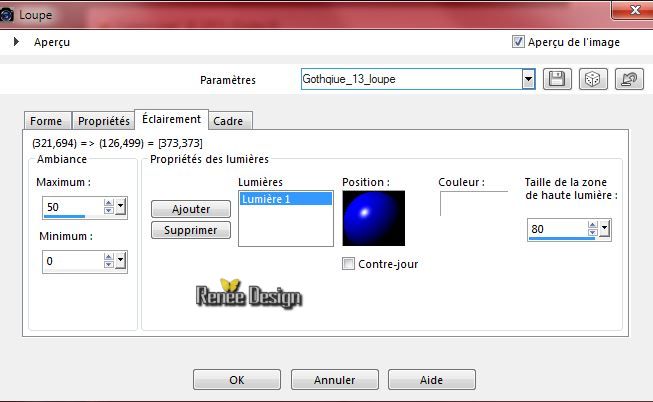 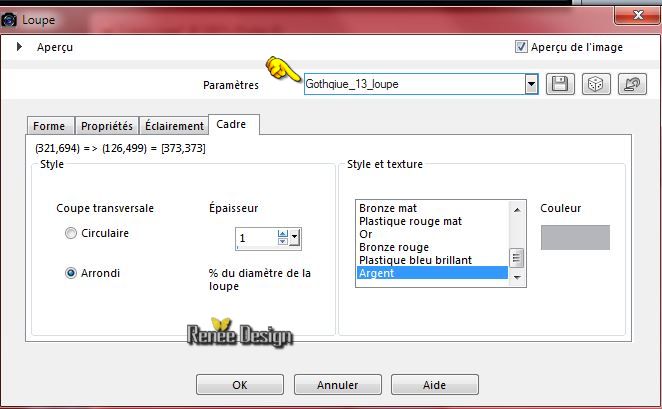
39. Activate Pick Tool (K) –Place on the face of the tube
40. Double click on this layer and set the Blendmode to Hard Light and set the layer opacity of this layer to 65%
41. Activate the tube « gothique-13.-Fenetre » Edit - Paste as new layer on your working area
and move as shown in the example below
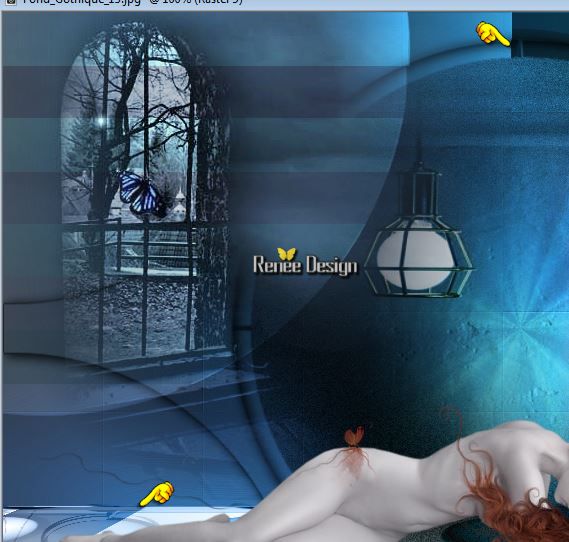
42. Double click on this layer and set the Blendmode to Screen
43. Layers- Duplicate
- Activate the layer underneath =Raster 9 (original )
44.
Effects- Plugins –Mystic Night – Frosted
Glass
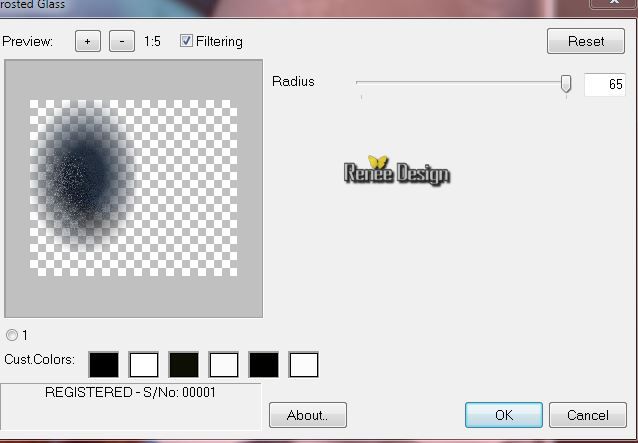
45. Double click on this layer and set the Blendmode to Exclusion
46. Layers- Merge- Merge Visible
- Material of the Foreground: Put the foregroundcolor to #8ba0a3
47. Layers- New raster layer
48.Selections Tool (S) Custom Selection with these settings
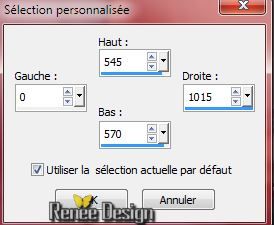
49. Pot of Paint: Change the opacity of the color to 60% – Activate Flood Fill Tool and fill the selection with the foregroundcolor
Selections- Deselect All
50. Effects- Distortion Effects- Wave with these settings
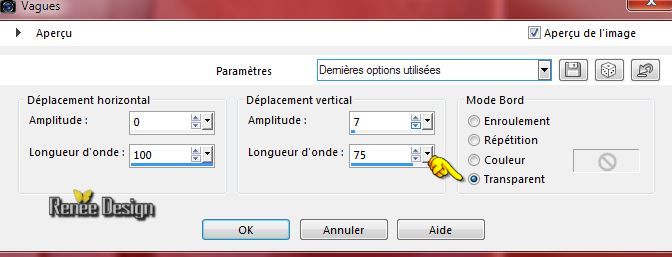
51.
Effects- Plugins –Unlimited 2.0 – Video-Interlace (even
scanlines)
52.
Effects- Plugins – Flaming Pear Flood
Select my file -Preset
‘’Flood settings_gothique_13"
Or manual settings below
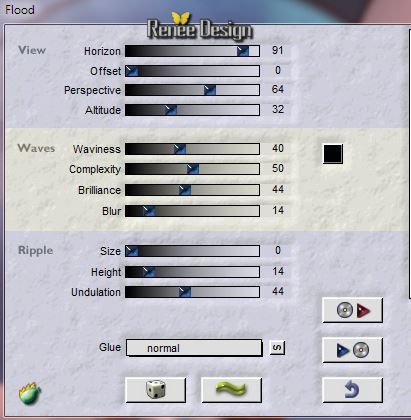
53. Effects- Edge Effects- Enhance More
54. Layers- Duplicate
55.Layers- Merge- Merge Down
56. Layers- New raster layer
57.
Selections - load/save selection - load selection from disk and select my file :‘’ gothique_13_3’’
58.
Activate the tube ‘’Blending material 6- misted tube of A PSP
Devil.pspimage’’
- Edit/copy-Edit paste into selection
Selections- Deselect All
59.
Activate the tube ‘’ Some of the best moments - tubed by A PSP
Devil.pspimage’’
-Image
Resize with 50%
- Edit -/Copy -Edit - Paste as new layer on your working area. With your move tool move to the left side
60. Double click on this layer and set the Blendmode to Hard Light
61. Image - Add borders-Symmetric checked:1 pixel #3a4c50
62. Image - Add borders-Symmetric checked:2 pixels #8ba0a3
63. Image - Add borders-Symmetric checked:55 pixels white
64. Open the tube ‘’element_deco’’on this tube
-Activate the tube
‘’ lettre sang’’ Edit /Copy -Edit - Paste as new layer on your working area and move .
-Activate the tube ‘’coin ‘
Edit /Copy -Edit - Paste as new layer on your working area and move to the bottom left corner -Layers -Duplicate -Image- Mirror-
Layers- Merge- Merge Down-Layers -Duplicate-Image Flip
-Activate the tube
‘’titre ‘ Edit /Copy -Edit - Paste as new layer on your working area and move. Ore write your own text. Text Tool-Font ‘’ A&S Edoras
Bevel 1_0’’
65. Image - Add borders-Symmetric checked:1 pixels #3a4c50
66. Image - Add borders-Symmetric checked:10 pixels white
67. Effects- Plugins -Photo Tools - Gradient sky with these settings
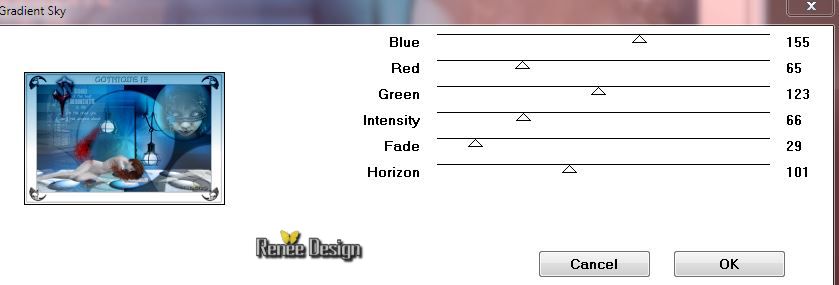
68.Image - Add borders-Symmetric checked:1 pixel black
69. Image
Resize with 995 pixels Width
Save as JPG
I hope you enjoyed this lesson
Renée
This lesson was written by Renée 25/01/2015
Placing
*
Any resemblance with an existing lesson is merely a coincidence *
* Don't forget to thank the people who work for us and with us. I named the tubeurs - Testers and the translators.
Thanks Renée. |