|
Let's start the lesson.
-
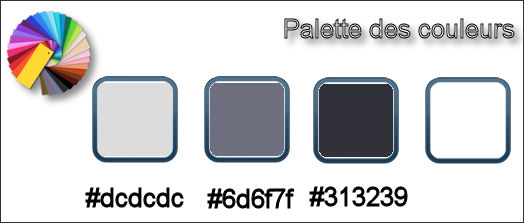
Color-Palette:Set your foreground color to color#dcdcdc Set your background color to color: #6d6f7f
-
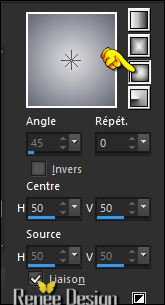
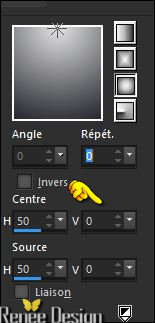
Set your foreground to gradient 'Foreground-background' -Prepare a sunburst gradient configured like this.
1.
File - New - Open a new transparent image 999 x 649 pixels
-
Activate Flood Fill Tool and fill the layer with the gradient
2. Effects –Plugins- Unlimited – VM Distorsion –
Gear… with these settings 50/148
3.
Effects- Edge Effects- Enhance More
4.
Adjust- Blur-Gaussian Blur: Radius: 38
5.
Layers- Duplicate
6.
Effects –Plugins - Unlimited - Visual Manipulation-
Transmission with these settings 195/39/0
7.
Effects – Plugins -AP[lines] Lines
Metal use settings below

8.
Effects- Distortion Effects- Warp with these settings

9.
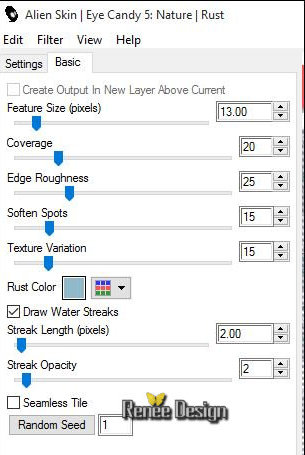
Effects – Plugins - EyeCandy 5 Nature – Rust–tab Settings/User settings choose my preset:‘’hello_printemps_rust »
10. Effects
–Plugins- Unlimited –Mirror Rave Quadrant Flip (using the default settings )133/120/125/122
11.
Activate Selection Tool -Custom Selection (S) Rectangle with these settings
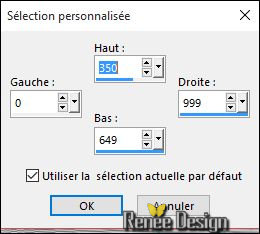
Do not take a new raster layer
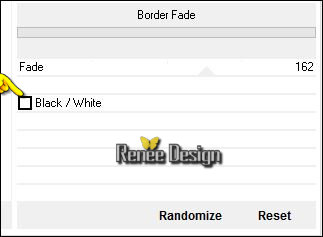
12. Effects
–Plugins- Unlimited - Photo Aging Kit- Border Fade
13.
Effects –Plugins - Unlimited -Photo Aging Kit – Cracked
paper a 151/77
Selections- Deselect All
- Color-palette:Set your background color to color #313239
Set your foreground to gradient 'Foreground-background' -Prepare a sunburst gradient configured like this.
14. Layers- New Raster Layer
15. Activate Flood Fill Tool and fill the layer with the gradient
16. Effects
- Plugins – Neology – Turnaround
17. Activate the Pick Tool/Deformation tool (K) -select my file ’’hello_printemps_Deformation’’
Apply and effect will be performed
-
Hit the M key of your Keyboard to remove the Nodes
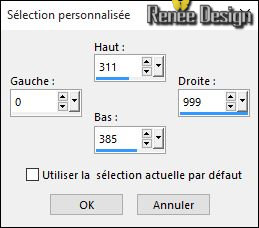
18.
Activate Selection Tool -Custom Selection (S) Rectangle with these settings
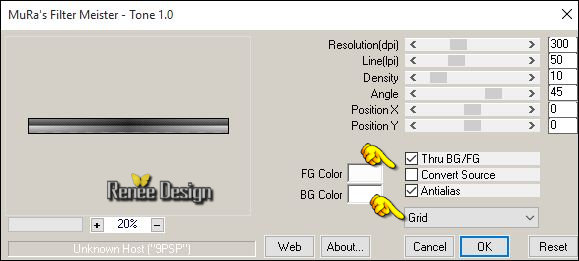
19. Effects
– Plugins – Mura’s meister – Tone use settings below
Selections- Deselect All
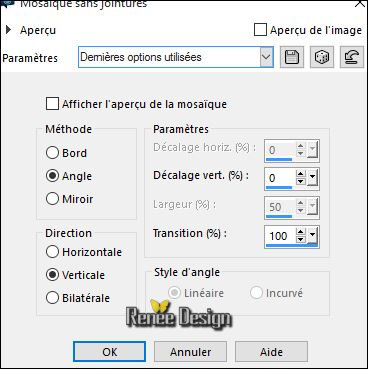
20.
Effects – Plugins – Flaming pear – Make Cube
Tile
21. Effects –3D Effects- Drop Shadow with these settings : 1/1/100/27 black
22. Layers- Duplicate
23.
Effects- Image Effects-Seamless Tiling with these settings
- In the Layer-Palette-activate the layer underneath = Raster 2
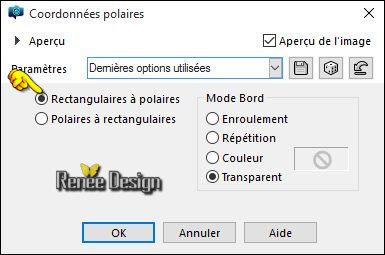
24.
Effects- Distortions Effects-Polar Coordinates-Rectangular to Polar
25. Effects- Edge Effects- Enhance More
Activate the top of the layer palette (Copy of Raster 2)
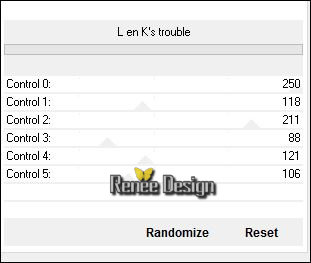
26.
Effects –Plugins-Unlimited - L & K's /Trouble use settings below
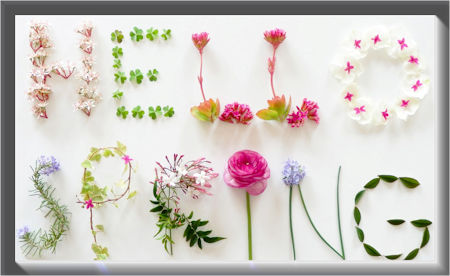
27. Activate the tube ‘’ hello_spring.png’’
- Edit/ Copy-Edit - Paste as new layer on your working image
- Do not move it is in the right place
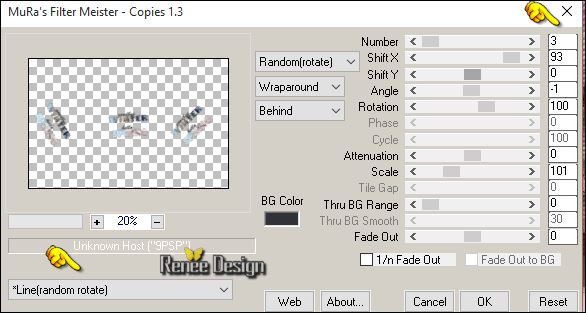
28. Effects-
Plugins – Mura’s Meister – Copies use settings below
29. Effects- Image Effects-Offset with these settings: H= 0 and V = 200 /
transparent
30. Effects –3D Effects- Drop Shadow with these settings : 1/1/100/1 black
31. Activate the tube « home.png’’
- Edit/ Copy-Edit - Paste as new layer on your working image (do not move it is in the right place)
32. Activate the tube « spring_demi_cercle.png’’
- Edit/ Copy-Edit - Paste as new layer on your working image (do not move it is in the right place )
33. Layers- Arrange- Move 2x Down
You should have this result as shown in the print screen below
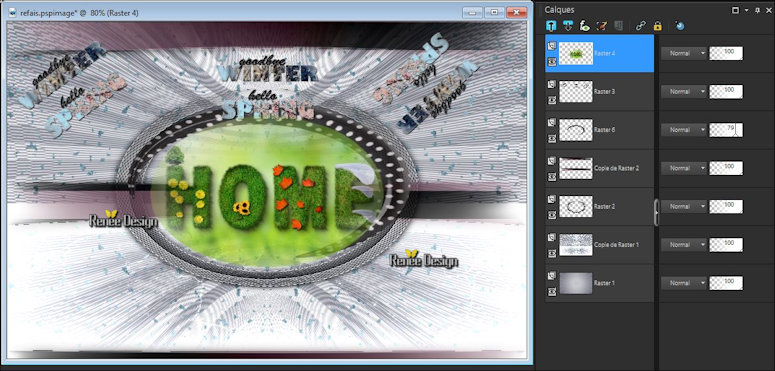
- Activate the top of the layer palette
34. Layers- New Raster Layer
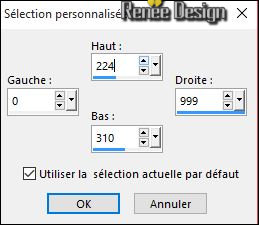
35.
Activate Selection Tool -Custom Selection (S) Rectangle with these settings
36. Activate Flood Fill Tool and fill the selection with the foregroundcolor
Selections- Deselect All
37.
Effects –Plugins- Unlimited - It@lian Editors Effect- Effetto
Fantasma a 0/26
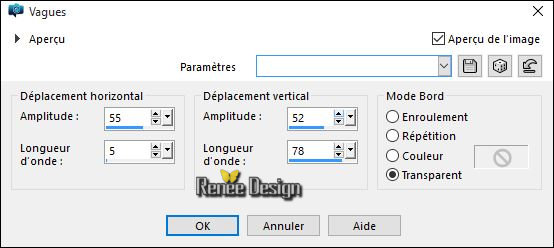
38.
Effects – Distortion Effects- Wave with these settings
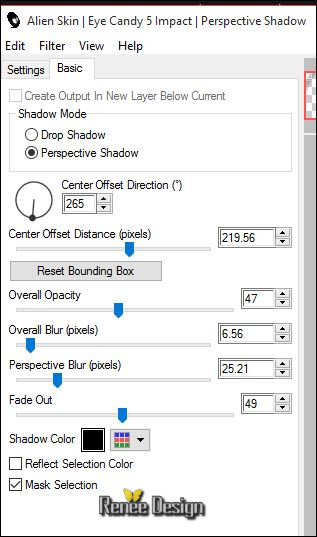
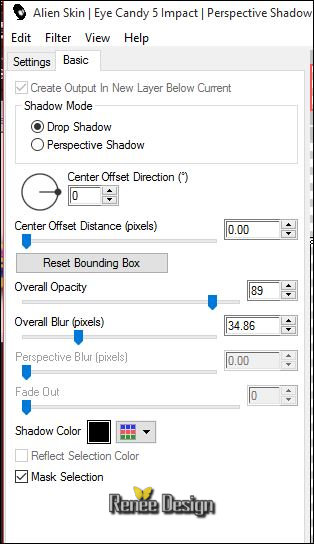
39.
Effects – Plugins – EyeCandy 5 Impact – Perspective
Shadow–tab Settings/User settings choose my Preset
”
Hello_printemps_perspectiveshadow’’
Do you have problems with this- PNG image « effets Perspective
shadow .png» is into the zipfile and paste as a new layer on your working area
-
In the Layer- Palette- Double click on this Layer and set the Blend Mode to "Hard Light"
40. Activate the tube ‘’ hello_printemps_boutons »
- Edit/ Copy-Edit - Paste as new layer on your working image
-and move to the right place
41. Activate the tube ‘’patroline’’
-Select flowers to choose and paste as new layer on your working image and move
-
merge into one single layer if you select more than one
42. Effects –3D Effects- Drop Shadow with these settings : 1/1/100/1 black
In the Layer-Palette-Make (Copy of Raster 1)active
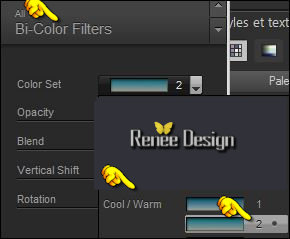
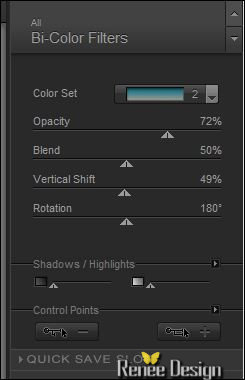
43.
Effects –Plugins – Nick Color Effex pro.3- Bi Color
Filters use settings below
44.
Set the layer opacity of this layer to 79%
45. Layers- Merge- Merge Down
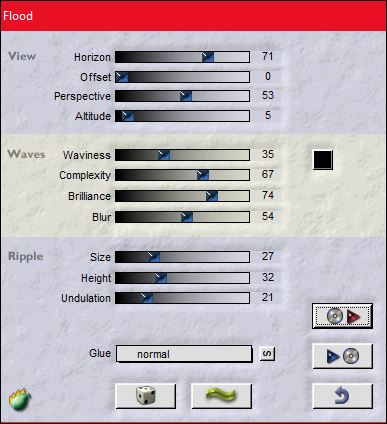
46.
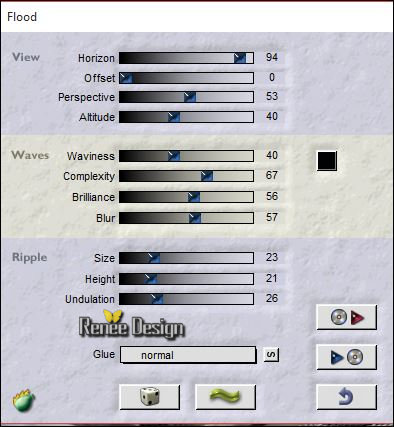
Effects- Plugins - Flaming pear / Flood-click on the red arrow>>select my file preset
- Hello _Printemps _Flood settings-Preset
‘’can be used in any folder of your choice by clicking it. 3. Open it will be ok in your filter Hello _Printemps _Flood settings-Preset
‘’can be used in any folder of your choice by clicking it. 3. Open it will be ok in your filter
- Activate the top of the layer palette
47. Activate the tube ’hello_printemps_etiquettes’’
- Edit/ Copy-Edit - Paste as new layer on your working image
- Move Tool-Move to the bottom right corner
-
In the Layer- Palette- Double click on this layer and set the Blend Mode to "Mulptiply"
48. Image - Add borders-Symmetric checked:1 pixel #6d6f7f
49. Image - Add borders-Symmetric checked:50 pixels #dcdcdc
50. Activate the tube ‘’ Renee_tube_Bal_Szwan.pspimage’’
-Image
Resize to 75%
- Edit/ Copy-Edit - Paste as new layer on your working image
- Move Tool-Move to the bottom left corner
51. Effects
– Plugins - EyeCandy 5 Impact – Perspective
shadow use settings below
52. Image - Add borders-Symmetric checked:1 pixel #6d6f7f
53. Image - Add borders-Symmetric checked:45 pixels #dcdcdc
54. Layers- New Raster Layer
55.
Effects – Plugins– EyeCandy 5 – Glass -tab Settings/User settings choose my preset: ‘’ Hello_printemps1’’
56. Pot of Paint: Change the opacity of the color at 50%- Activate Flood Fill Tool and fill the selection with the foreground color
Selections- Deselect All
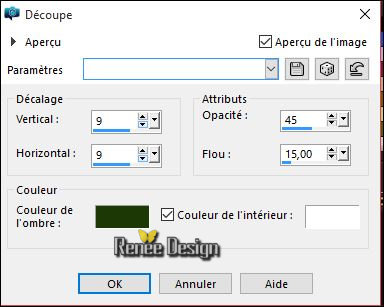
57. Effects- 3D Effects- Cutout with these settings-Shadow Color: #25430b -Fill Interior with color white
- Activate the bottom of the layer palette
58.
Effects Plugins –Flaming Pear Flood use settings below
59. Activate the tube ‘’
Hello_printemps_deco »Edit/Copy -Edit paste as new layer on your working image
-place at the top of your work
60. Open the tube " texte"-Edit paste as new layer on your working image and move to the bottom right corner -Ore write your own text
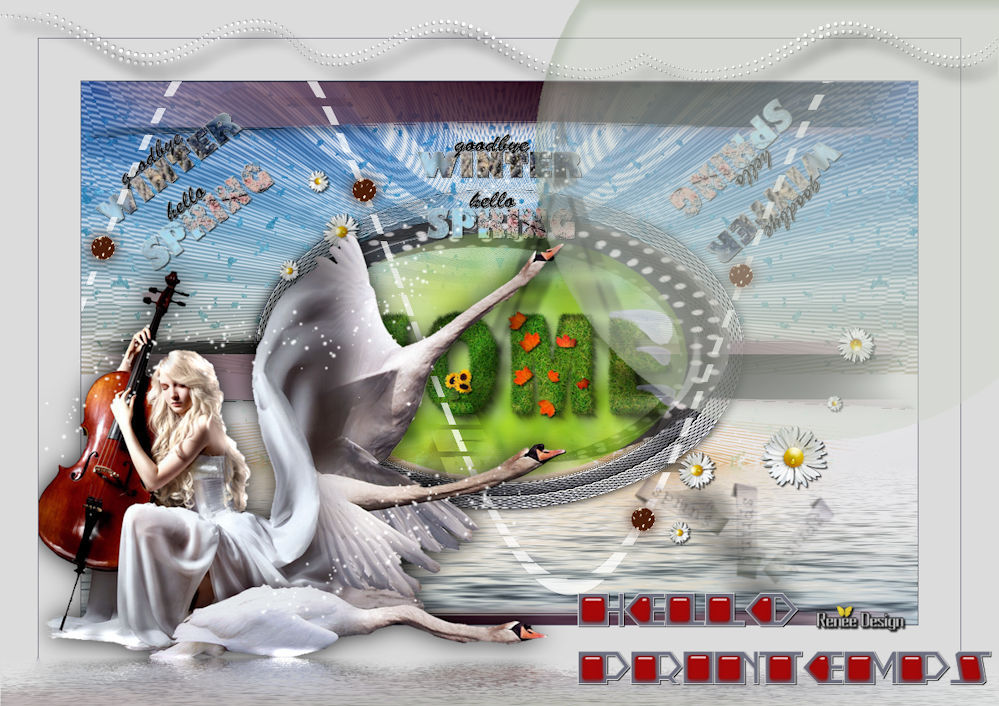
61. Layers- Merge- Merge All
62. Image
Resize to 999 pixels width
Save as JPEG
I hope you enjoyed this lesson Renée
Renée
This lesson was written by Renée 28/02/2016
edited and update
2016
*
Any resemblance with an existing lesson is merely a coincidence *
* Don't forget to thank the people who work for us and with us. I named the tubeurs - Testers and the translators.
Thanks Renée.
*
| 
 Translations


 When you see this logo the filter is imported in Unlimited

 All rights reserved