|
Let's start the lesson
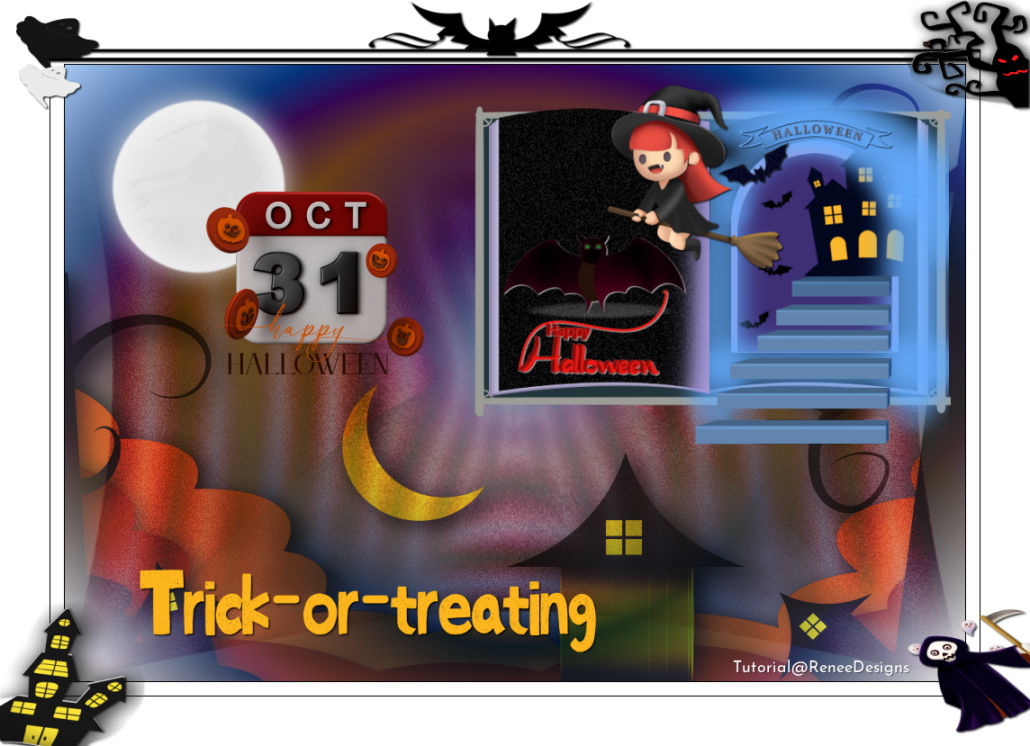
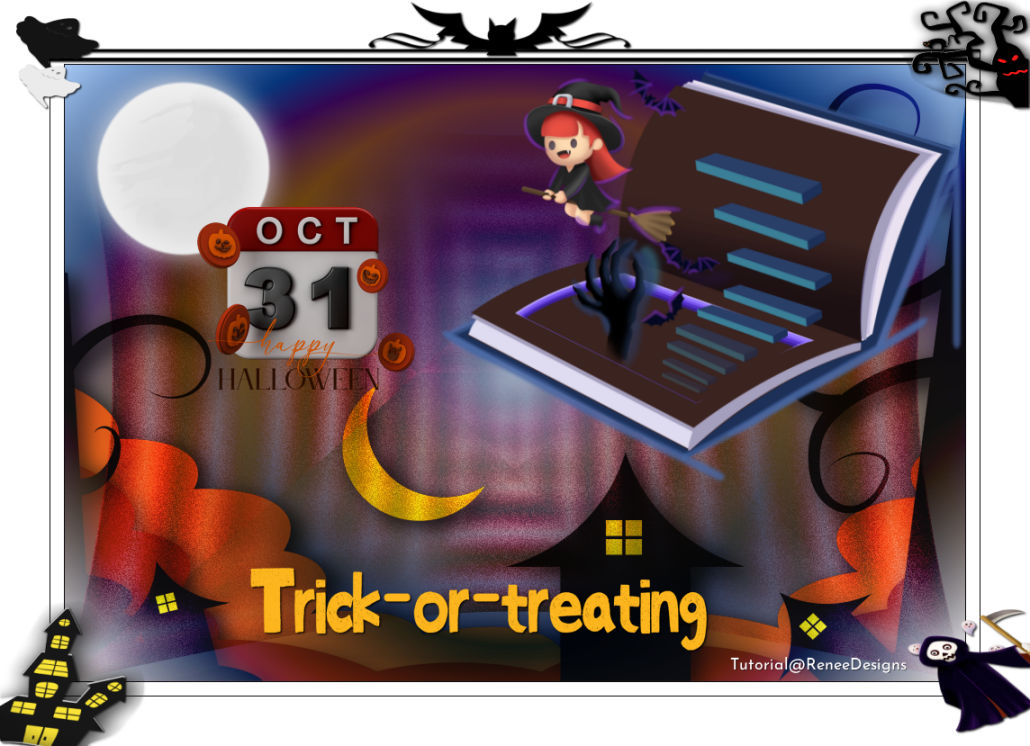
Halloween 31 Octobre
2021
Renée made two different variations. You can choose what you like
- Preparation
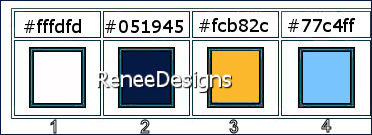
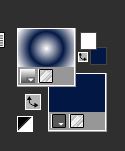
-Material Properties: Set your foreground color to color #fffdfd = 1- Set your background color to color #051945 =2
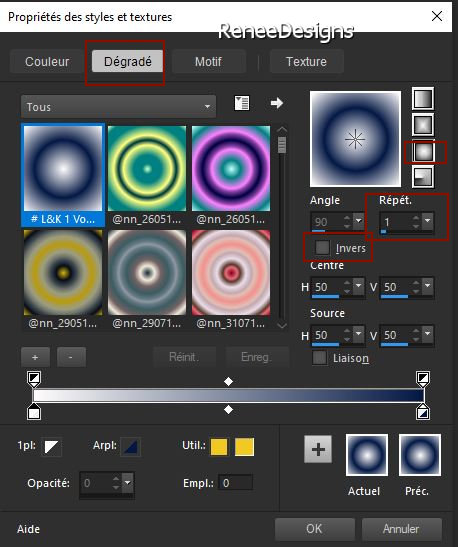
- Put your foreground color on gradient and select ‘’# L&K 1 Voorgrond-achtergrond’’
- Prepare a Foreground sunburst gradient configured like this
1. File:Open a new transparent Image of 1000 x 685 Pixels - Transparente
2. Flood Fill Tool
 -
fill the layer with the gradient -
fill the layer with the gradient
3. Layers - Duplicate
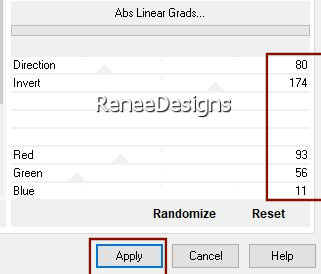
4. Effects –Plugins-
Unlimited 2.0 - Alf's Power Grads - Abs Linear Grads..use the settings below.
5. Layers -
Duplicate
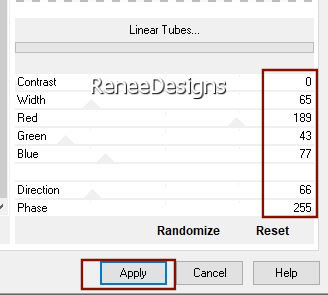
6. Effects –Plugins-
Unlimited 2.0 - Alf's Power Grads - Linear Tubes..use the settings below.
7. Effects –Plugins-
Unlimited 2.0 – Simple- Pizza Slice Mirror
8. Layers - Duplicate
9. Image - Mirror - Mirror Horizontal (Image - Mirror in older versions of PSP)
10. Layers- Merge- Merge- Down
11. Effects-3 D Effects- Drop Shadow with these settings: 10/10/80/30 Color Black
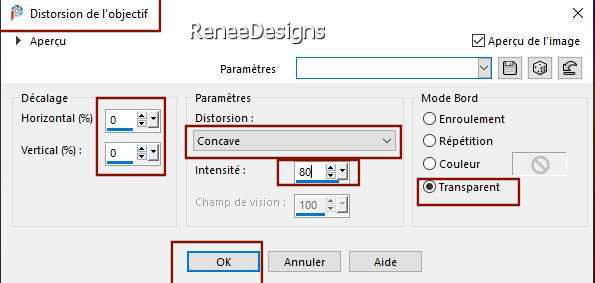
12. Effects – Distortion Effects– Lens Distortion -"Distortion type-Pincushion" with these settings
13. Layers- Arrange-Move Down
14. Layers-Properties-Change the Blend Mode to " Overlay "
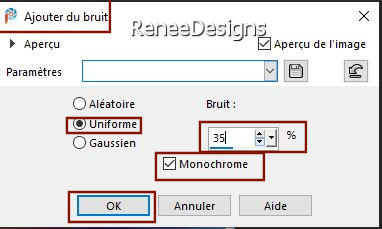
15. Adjust –
Add/Remove Noise-Add Noise use the settings below
- To replace the top of the layer-palette
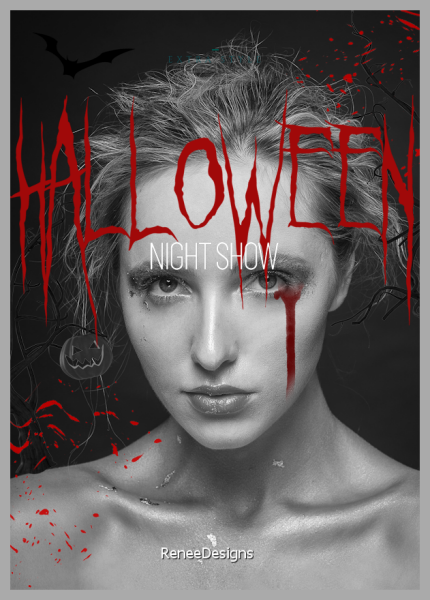
16. Open the tube ‘’
Renee-Halloween-2021-Image 1’’ -Edit - Copy- Activate your work -Edit - Paste as a new layer
17. Objects – Align
– Bottom
-Color-Palette-Set the Foreground color to color #fcb82c=3
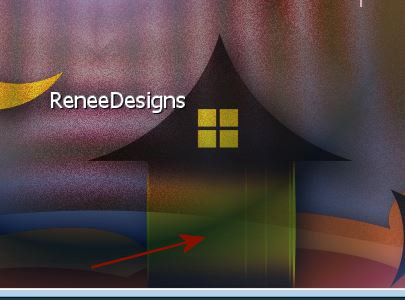
18. Open the Airbrush Tool
with these settings:Size 100-Hardness 40-Step 13-Trickness 1 -Opacity 75 -Blend Mode: Hard Light-Rate 22

- You stand like this
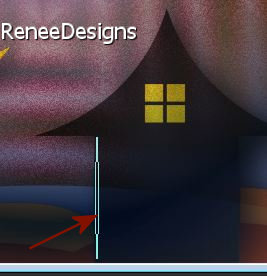 and you pull to the right to get this(see red arrow) and you pull to the right to get this(see red arrow)
Layer Palette- Activate Copy (2) of Raster 1
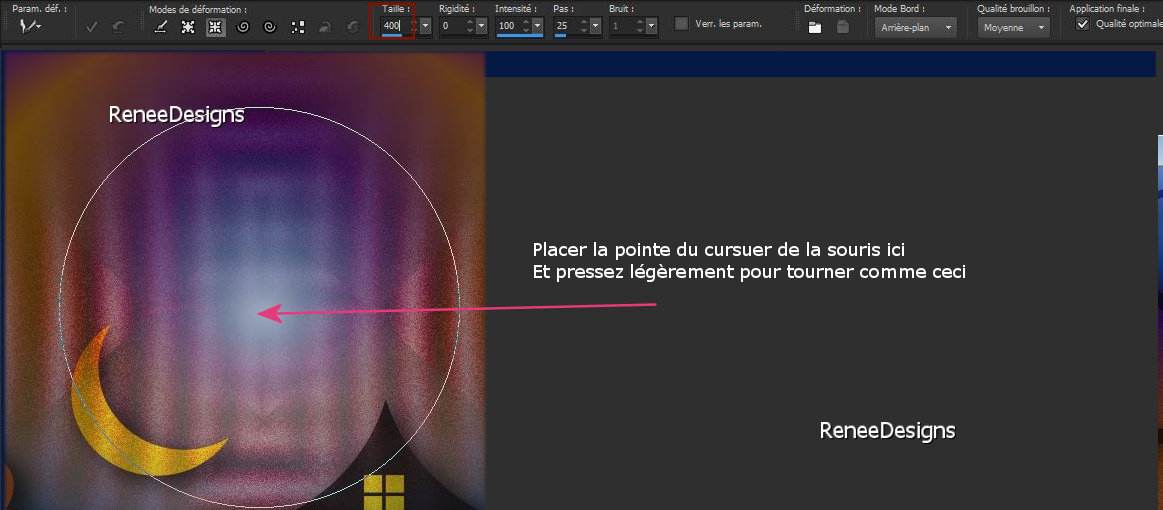
19. Activate - Warp brush use the settings below
- To place and press -Be careful with this tool, the more you press the tool, the more it marks the effect
- To replace the top of the layer-palette
- WE LEAVE THIS WORK FOR THE MOMENT( DO NOT CLOSE)
-
We open the file : Construction livre-fenetre
-Open the color palette ‘‘Palette-Construction de la petite image-
livre-fenetre ‘’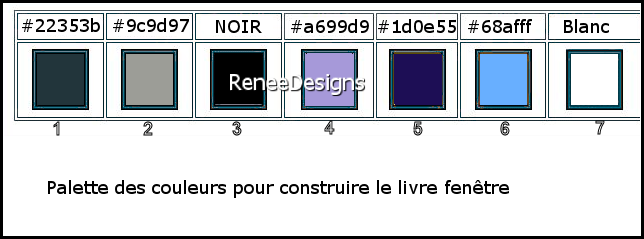
20. File:Open a new transparent Image of 600 x 600 Pixels
21. Selections –load/save selection –load selection from disc and select my selection: ’’ Halloween-fenetre-1’’
Color-Palette-Set the Foreground color to color #22353b=1
- Flood Fill Tool
–
fill the selection with the foreground color = 1
The selections will be cancelled by loading the following selection
22. Layers- New Raster Layer
- Selections –load/save selection –load selection from disc and select my selection: ’’ Halloween-fenetre-2’’
Color-Palette-Set the Foreground color to color #9c9d97=2
Flood Fill Tool
–
fill the selection with the foreground color = 2
23. Layers- New Raster Layer
- Selections –load/save selection –load selection from disc and select my selection: ’’ Halloween-fenetre-3’’
Open the tube ‘’Fenetre-Image-1’’ - Edit - Copy- Activate your work -Edit - Paste into selection
24. Layers- New Raster Layer
- Selections –load/save selection –load selection from disc and select my selection: ’’ Halloween-fenetre-4’’
Color-Palette-Set the Foreground color to color #000000=3
Flood Fill Tool
–
fill the selection with the foreground color = 3
25. Layers- New Raster Layer
- Selections –load/save selection –load selection from disc and select my selection: ’’ Halloween-fenetre-5’’
Color-Palette-Set the Foreground color to color #a699d9=4
- Flood Fill Tool
–
fill the selection with the foreground color = 4
26. Layers- New Raster Layer
- Selections –load/save selection –load selection from disc and select my selection: ’’ Halloween-fenetre-6’’
-Color-Palette-Set the Foreground color to color #1d0e55=5
Flood Fill Tool
–fill the selection with the foreground color =5

27.In the layer-palette-activate
raster 5
– Layers-Duplicate
- Layers-Arrange-Bring to Top (above
Raster 6)
- Layers-Properties -Lower the Opacity of the layer to 24%
28.Open the tube ‘’ Fenetre-Image-2.’’ -Edit - Copy- Activate your work -Edit - Paste as a new layer
29. Pick Tool: (K) on your keyboard -Enter these parameters on the toolbar
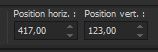 417/123 417/123
Press ( M ) to close the Pick Tool
30. Layers- New Raster Layer
- Selections –load/save selection –load selection from disc and select my selection: ’’ Halloween-fenetre-7’’
-Color-Palette-Set the Foreground color to color #000000
Flood Fill Tool
–
fill the selection with the foreground color #000000
31. Open the tube ‘’ Fenetre-Image-3’’ -Edit - Copy- Activate your work -Edit - Paste as a new layer
32. Pick Tool: (K) on your keyboard -Enter these parameters on the toolbar
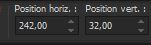 242/32 242/32
33. Layers- New Raster Layer
- Selections –load/save selection –load selection from disc and select my selection: ’’ Halloween-fenetre-8’’
- Flood Fill Tool
–fill the selection with the foreground color #000000
34. Adjust – Add/Remove Noise-Add Noise use the same settings
35. Layers- New Raster Layer
- Selections –load/save selection –load selection from disc and select my selection: ’’ Halloween-fenetre-9’’
-Color-Palette-Set the Foreground color to color #a699d9=4
Flood Fill Tool
–
fill the selection with the foreground color =4
36. Open the tube ‘’ Fenetre-Image-4’’ -Edit - Copy- Activate your work -Edit - Paste as a new layer
Pick Tool: (K) on your keyboard -Enter these parameters on the toolbar
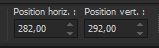 282/292 282/292
37. Layers- New Raster Layer
- Selections –load/save selection –load selection from disc and select my selection: ’’ Halloween-fenetre-10’’
-Color-Palette-Set the Foreground color to color #68afff=6
Flood Fill Tool
–
fill the selection with the foreground color = 6
38.
Effects- 3D Effects- Drop Shadow with these settings: 1/1/80/1 Color Black
39. Open the tube ‘’ Fenetre-Image-5.’’ -Edit - Copy- Activate your work -Edit - Paste as a new layer
Place in the ribbon (see finished image)
40.Open the tube ‘’
Fenetre-Image-6’’ -Edit - Copy- Activate your work -Edit - Paste as a new layer
(it does not matter which one you take first)
41.Apply on these 2 tubes a shadow of your choice
42. Open the tube "titre' -Edit - Copy- Activate your work - Paste as a new layer -Or write your own text
Effects- 3D Effects- Drop Shadow with these settings: 1/1/80/1 WHITE
Is all in place?
43. Layers- Merge- Merge Visible
44. Image - Resize to 89 %
45. EDIT- COPY
Activate your minimized image from point 19
45.-Edit - Paste as a new layer
-Move it in the right place
Open the map TUBES du tuto
46. Open the tube ‘’
Renee-Halloween-2021-Image- lune’’ -Edit - Copy- Activate your work -Edit - Paste as a new layer
- Move the moon to the top left corner
47. Open the tube ‘’Renee-Halloween-2021-Image- calendrier.’’ Edit - Copy- Activate your work -Edit - Paste as a new layer
- Place next to the moon (see large example)
48.Open the tube ‘Renee-Halloween-2021-Trick-et’’ -Edit - Copy- Activate your work -Edit - Paste as a new layer
or another one of your choice
49. Image - Add borders-Symmetric checked: 1 pixel Black
Image - Add borders-Symmetric checked: 15 Pixels White
Image - Add borders-Symmetric checked: 1 Pixel Black
Image - Add borders-Symmetric checked: 55 Pixels White
50. Open the tube "Cadre"- Edit - Copy- Activate your work -Edit - Paste as a new layer
Do not move
51. Place your watermark and copyright on the image
52. Layers- Merge- Merge Visible
53. Image resize a 90%
If you want to create the second picture book it is here
How to create the second book
- Open the folder
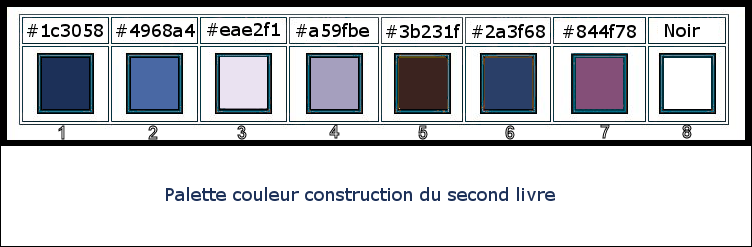
- Construction second livre
-Open the color palette ‘’couleur palette-second –livre’’
1. File:Open a new transparent Image of 600 x 600 Pixels
2. Layers- New Raster Layer
Selections –load/save selection –load selection from disc and select my selection: ‘’Halloween-second-livre 1’’
-Color-Palette-Set the Foreground color to color #1c3058=1
Flood Fill Tool
-
fill the selection with the foreground color =1
3. Layers- New Raster Layer
Selections –load/save selection –load selection from disc and select my selection: ‘’Halloween-second-livre 2’’
-Color-Palette-Set the Foreground color to color #4968a4=2
Flood Fill Tool
-
fill the selection with the foreground color= 2
4. Layers- New Raster Layer
Selections –load/save selection –load selection from disc and select my selection: ‘’Halloween-second-livre 3’’
-Color-Palette-Set the Foreground color to color #eae2f1=3
Flood Fill Tool
-
fill the selection with the foreground color= 3
5. Layers- New Raster Layer
Selections –load/save selection –load selection from disc and select my selection: ‘’Halloween-second-livre 4’’
-Color-Palette-Set the Foreground color to color #a59fbe=4
Flood Fill Tool
-
fill the selection with the foreground color= 4
6. Layers- New Raster Layer
Selections –load/save selection –load selection from disc and select my selection: ‘’Halloween-second-livre 5’’
-Color-Palette-Set the Foreground color to color #3b231f=5
Flood Fill Tool
-
fill the selection with the foreground color= 5
7. Layers- New Raster Layer
Selections –load/save selection –load selection from disc and select my selection: ‘’Halloween-second-livre 6’’
-Color-Palette-Set the Foreground color to color #eae2f1=3
Flood Fill Tool -
fill the selection with the foreground color= 3
8. Layers- New Raster Layer
Selections –load/save selection –load selection from disc and select my selection: ‘’Halloween-second-livre 7’’
-Color-Palette-Set the Foreground color to color #3b231f=5
Flood Fill Tool
-
fill the selection with the foreground color= 5
9. Open the tube ‘’ construction du
second livre-Image 1’’ -Edit - Copy- Activate your work -Edit - Paste as a new layer
10. Pick Tool: (K) on your keyboard -Enter these parameters on the toolbar
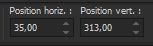 35/
313 35/
313
Press ( M ) to close the Pick Tool
11. Layers- New Raster Layer
Selections –load/save selection –load selection from disc and select my selection: ‘’Halloween-second-livre 8’’
- Flood Fill Tool
-
fill the selection with the foreground color= 5
12. Open the tube ‘’construction du
second livre-Image 2.’’ -Edit - Copy- Activate your work -Edit - Paste as a new layer
Pick Tool: (K) on your keyboard -Enter these parameters on the toolbar
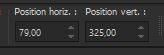 79/325 79/325
13. Open the tube ‘’construction du
second livre-Image 3.’’ -Edit - Copy- Activate your work -Edit - Paste as a new layer
- Place according to your taste
14.open the tube ‘’construction du
second livre-Image 4.’’ -Edit - Copy- Activate your work -Edit - Paste as a new layer
15. Pick Tool: (K) on your keyboard -Enter these parameters on the toolbar
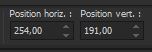 254/191 254/191
16. Layers- New Raster Layer
Selections –load/save selection –load selection from disc and select my selection: ‘’Halloween-second-livre 9’’
-Color-Palette-Set the Foreground color to color #000000
Flood Fill Tool
-
fill the selection with the foreground color #000000
17. Layers- New Raster Layer
Selections –load/save selection –load selection from disc and select my selection: ‘’Halloween-second-livre 10’’
-Color-Palette-Set the Foreground color to color #2a3f68=6
Flood Fill Tool
-
fill the selection with the foreground color= 6
18. Open the tube ‘’ tube de la petite sorcière ‘’ -Edit - Copy- Activate your work -Edit - Paste as a new layer
Pick Tool: (K) on your keyboard -Enter these parameters on the toolbar
 98/110 98/110
19. Layers- New Raster Layer
Selections –load/save selection –load selection from disc and select my selection: ‘’Halloween-second-livre 11’’
-Color-Palette-Set the Foreground color to color #8230c3
Flood Fill Tool
-
fill the selection with the foreground color #8230c3
20. Layers- Merge- Merge Visible
Resize to your design and paste in place
Then finish the tutorial like the previous one from line 43 to 53
Save as JPG
If you wish
I added a folder ''Poster-Halloween'' they are in Pspimage
So you can decorate them - Edit and create your Halloween Party Invitation poster to your liking

That's it - Thank you / I hope you enjoyed this lesson
Renée
This lesson was written by Renée 10/08/ 2021
Edited and Update
2021
*
Any resemblance with an existing lesson is a coincidence
* Do not forget to thank the people who work with us and for us
-I have appointed the tubeurs and translators
Thanks
*
|

 Translations