|
Let's start the lesson.
 
Halloween_2018
Let's start the lesson.
-
Preparation - Material Properties:
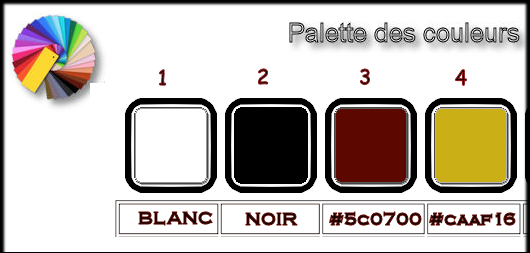
Set your foreground color to color white- Set your background color to color black
1.
Open the Backgroundimage ‘’Halloween_2018_Fond’’ / –Window - Duplicate (or shift+D) - Close the original and proceed on the copy -Promote Background Layer =Raster 1
2.
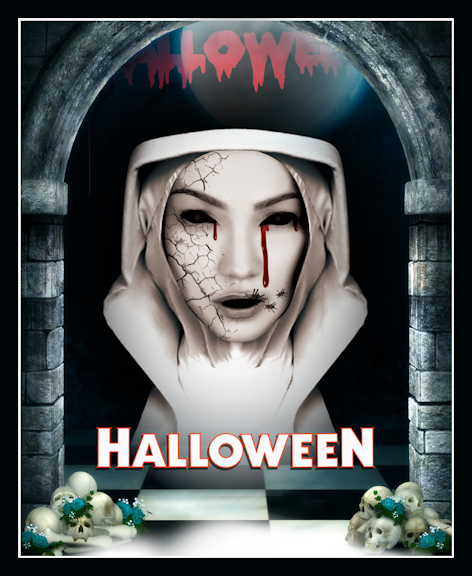
Activate the tube ‘’Halloween-2018-Image 1’’
-
Edit - Copy- Activate your work -Edit - Paste as a new layer
-
Do not move, it is in the right place
3.
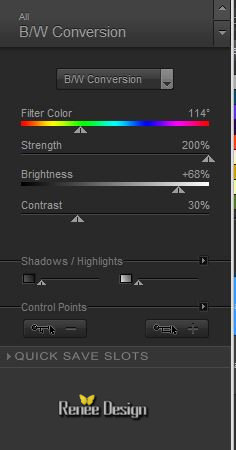
Effects – Plugins – Nick Color Effex-pro3 –B/W
Conversion use the settings below
4.
Effects- Edge Effects-Enhance More
5.
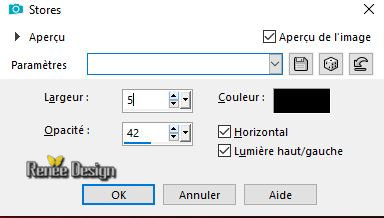
Effects – Texture Effects Blinds use the settings below-Color black
6.
Layers-Duplicate
7.
Effects- Image Effects- Offset with these settings: H = 0 and V = - 12
8.
Effects – Texture Effects Blinds with the same settings-Color white
9.
Layers- Merge- Merge Down
10.
Effects- 3 D Effects- Drop Shadow with these settings: 4/4/42/12 Color black
11.
Repleat : Drop Shadow- Negative: - 4/-4/ 42/12 Color black
12.
Layers-Properties-Set the Blend Mode to " Overlay "
-
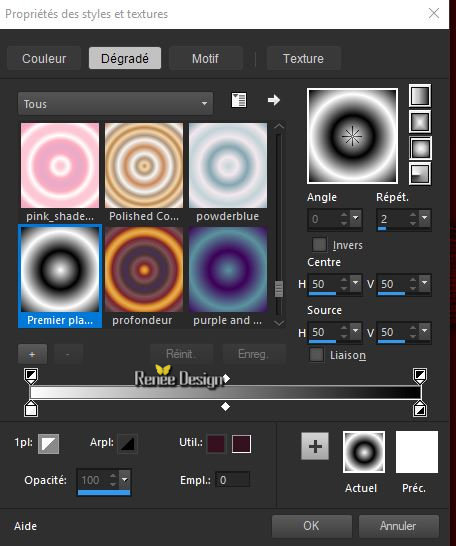
Material of the foreground:Set your foreground to gradient 'foreground-background' sunburst gradient configured like this.
13.
Layers- New Raster Layer
14.
Activate Flood Fill Tool  –
Flood Fill the layer with the gradient –
Flood Fill the layer with the gradient
15.
Effects –Plugins – Mura’s Meister – Perpsective
Tilling using the default settings
16.
Layers-Properties-Set the Blend Mode to " Soft Light "
17.
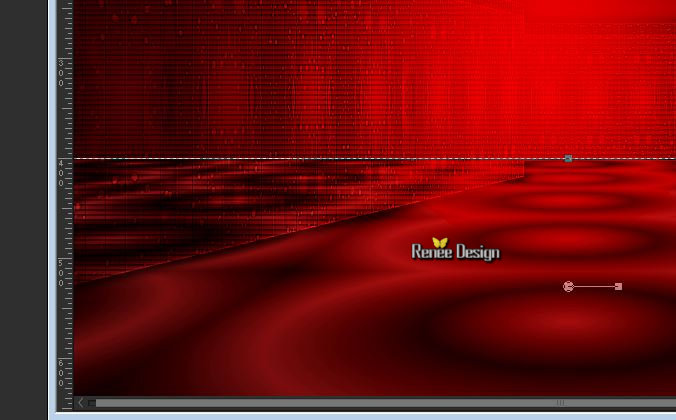
Activate your Pick Tool ( K)- Mode Scale- Pull the top Node down to 400
pixels
18.
Open the Brushimage ‘’ Pinceau
_Sapin_Halloween 2018’’ in your Psp
-
File- Export Custom Brush (Give it a name) – ‘’ Pinceau
_Sapin_Halloween 2018’’
19.
Activate Brush Tool (B) and select my file ‘’ Pinceau _Sapin_Halloween 2018’’

-
Layers- New Raster Layer
-
Place the brush with the gradient as in example below
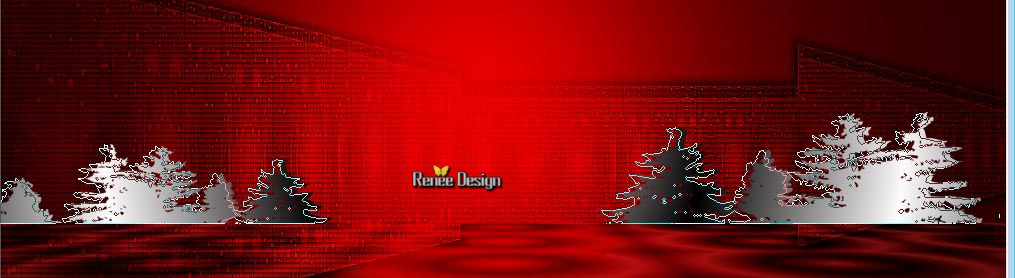
20.
Layers- New Raster Layer
Repeat: Activate Brush Tool (B) and select my file ‘’ Pinceau _Sapin_Halloween 2018’’ -
Place the brush with the background color black as in example (move it slightly to the right)
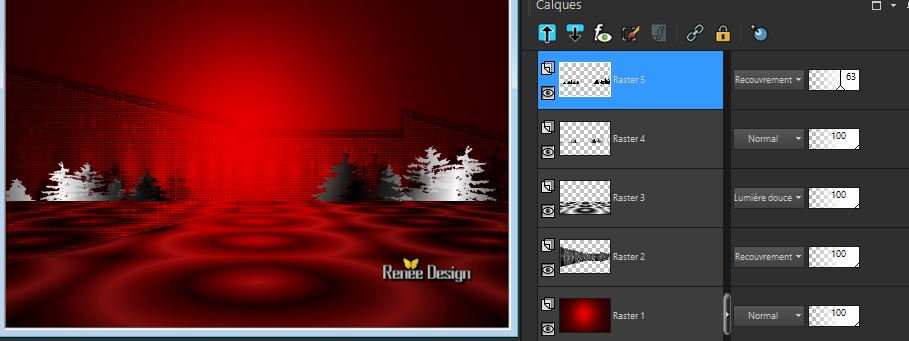
21.
Layers-Properties-Set the Blend Mode to " Overlay "- Lower the Opacity of the layer to 63
%
-
Your work and Layer Palette look like this now-You should have this result
22.
Layers- New Raster Layer
-
Color Palette: Set your foreground color to #ffffff
23.
Selections –load/save selection –load selection from disc and select my selection: ‘’ Halloween_2018_1’’
24. Activate the Flood Fill Tool fill the selection with the foreground color #ffffff(2 clicks)
Selections- Deselect all
25.
Layers-Properties-Set the Blend Mode to " Overlay "
26.
Adjust-Blur- Gaussian Blur-Radius 13
-
Activate the bottom layer in the layer palette = Raster 1
27.
Activate the tube ‘’ Halloween_2018_Image
2.png’’
-
Edit - Copy- Activate your work -Edit - Paste as a new layer
28.
Effects- Image Effects- Offset with these settings H = 0 and V =
93
29.
Selections –load/save selection –load selection from disc and select my selection: ‘’ Halloween_2018_2’’
DELETE
Selections- Deselect all
30.
Effects- 3 D Effects- Drop Shadow with these settings: 31/0/42/12 Color
#caaf16
-
To replace the top of the layer-palette
31.
Layers- New Raster Layer
32.
Selections –load/save selection –load selection from disc and select my selection: ‘’ Halloween_2018_3’’
33.
Activate the tube ‘’ Halloween_2018_Image
3.png’’
-
Edit - Copy- Activate your work -Edit - Paste-Into Selection
Selections- Deselect all
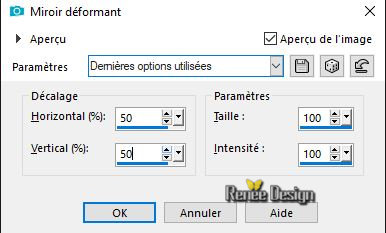
34.
Effects- Distortion Effects- Warp use the settings below
35.
Layers- Duplicate
-
Image - Mirror - Mirror Horizontal (Image - Mirror in older versions of PSP)
36.
Layers- Merge- Merge Down
37.
Effects- 3 D Effects- Drop Shadow with these settings: -8 /0 /36 /12 Color
#caaf16
38.
Layers- Duplicate
39.
Effects-Distortion Effects-Wind/Winddirection From left-Wind Strength 86
-
Repeat:Effects-Distortion Effects-Wind/Winddirection From right -Wind Strength 86
40.
Layers-Properties-Set the Blend Mode to " Hard Light "
41.
Activate the tube ‘’ Halloween_2018_Image
4.png’’
-
Edit - Copy- Activate your work -Edit - Paste as a new layer
-
Activate Move Tool (M) place at the top right of your image
42.
Layers-Properties-Set the Blend Mode to " Overlay "
43.
Activate the bottom layer in the layer palette = Raster 1
44.
Layers- Duplicate
45.
Effects - Plugins -Unlimited 2.0 -Filter Factory Gallery N-
Bulging
Edge Twirl... : 255
46.
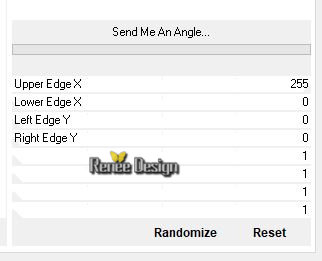
Effects - Plugins-Unlimited 2.0 - Filter Factory Gallery L - Send
Me An Angle...
47.
Repeat this filter -Filter Factory Gallery L - Send
Me An Angle...
48.
Effects- Plugins-Unlimited 2.0 - Filter Factory Gallery N -
FlipChop Radial...: 128/128
49.
Effects -Plugins-Unlimited 2.0 - Filter Factory Gallery N – Wee
Scratches... : 255
50.
Selections –load/save selection –load selection from disc and select my selection: ‘’ Halloween_2018_4’’
DELETE
Selections- Deselect all
51.
Effects -Plugins-Unlimited 2.0 - Filter Factory Gallery N – Wee
Scratches... : 255
52.
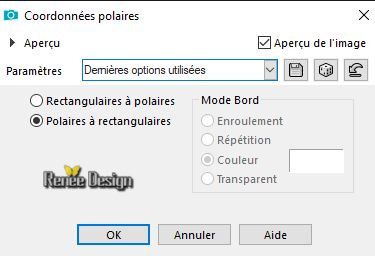
Effects – Distortions Effects-Polar Coordinates-Polar to Rectangular
53.
Layers-Properties-Set the Blend Mode to " Screen " – Lower the Opacity of the layer to 68%
-
To replace the top of the layer-palette
54.
Activate the tube ‘’ Halloween_2018_Image 5.png’’
-
Edit - Copy- Activate your work -Edit - Paste as a new layer
-Place the tube in front of the house (see finished image )
55.
Activate the tube ‘’ Halloween_2018_arbre.png’’
-
Edit - Copy- Activate your work -Edit - Paste as a new layer
56.
Effects- Image Effects- Offset with these settings H = - 313 and V =
129
57.
Activate the tube ‘’ Halloween_2018_Image 6.png’’
-
Edit - Copy- Activate your work -Edit - Paste as a new layer and move in the right place
58.
Activate the tube ‘’ Halloween_2018_Image 7.png’’
-
Edit - Copy- Activate your work -Edit - Paste as a new layer and move in the bottom left corner
59.
Activate the tube ‘’ Halloween_2018_Image 8.png’’-
Edit - Copy- Activate your work -Edit - Paste as a new layer
60.
Objects-Align- Bottom
61.
Layers-Properties-Set the Blend Mode to " Soft Light "
62.
Layers-Duplicate- Layers- Merge- Merge Down
63.
Activate the tube ‘’ Halloween_2018_Image 9.png’’
-
Edit - Copy- Activate your work -Edit - Paste as a new layer and move in the bottom right side
64.
Image - Add borders-Symmetric checked 5 pixels Color black
65.
Selections- Select All
66.
Image - Add borders-Symmetric checked 50 Pixels Color white
67.
Selections- Invert
68.
Layers- New Raster Layer
69.
Color Palette: Set your foreground color to #5c0700
ATTENTION !-If you use the filter Redfield, then floodfill the selection with # 5c0700
70.
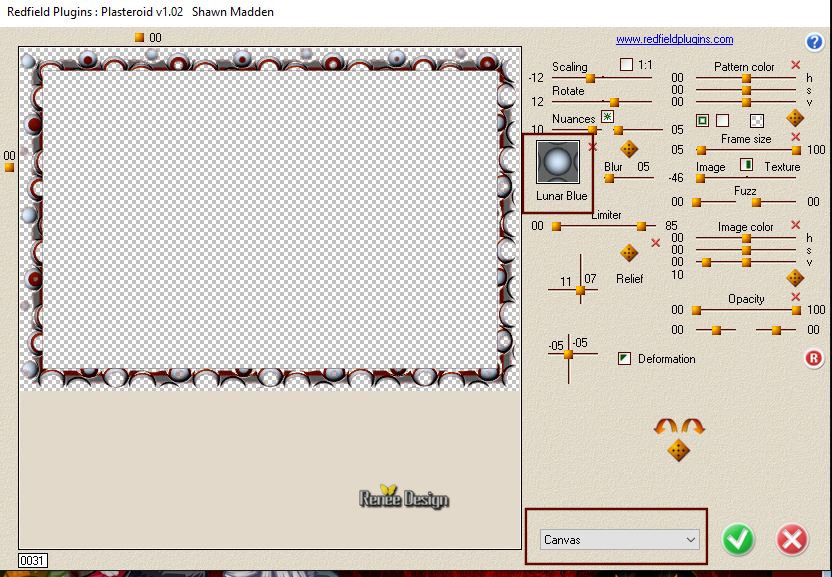
Effects – Plugins – Redfield Plugins –
Plasteroid use the settings below
If you use the tube cadre redfield,(is included in the zipfile) and paste into selection, then leave the border white and do not fill the selection with color # 5c0700)
Selections- Deselect all
71.
Image - Add borders-Symmetric checked 10 Pixels Color #ffffff
72.
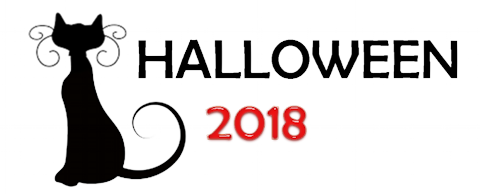
Open the tube ‘’titre‘’ and paste as a new Layer and move
73.
Layers- Merge- Merged All ( flatten)
74.
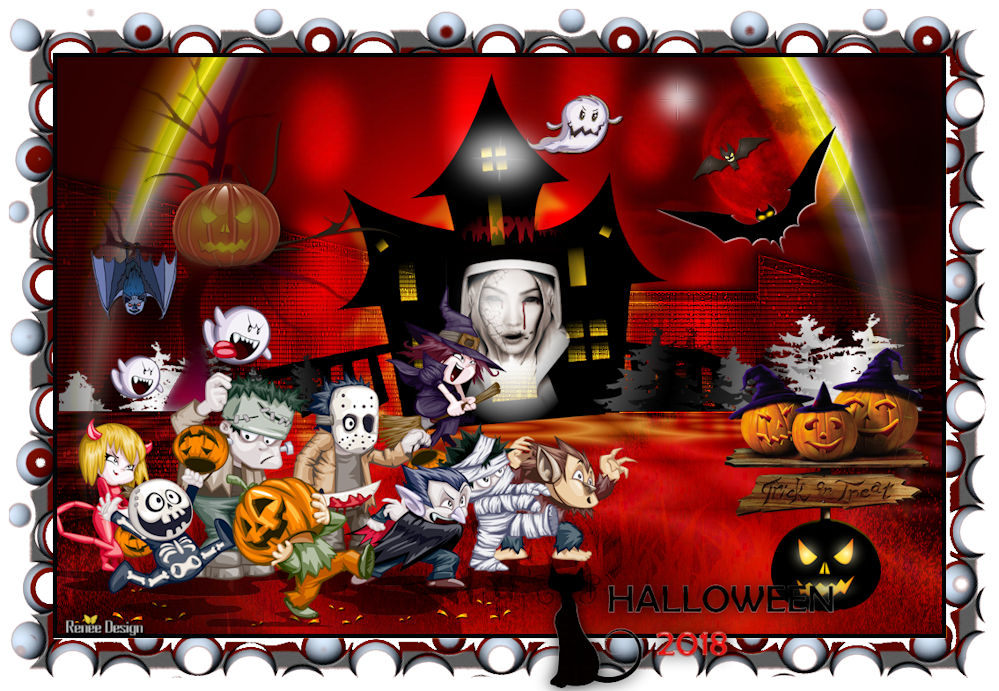
Image –Resize to 999 Pixels width.
Save as JPG
I hope you enjoyed this lesson
Renée
This lesson was written by Renée 07/09/2018
Edited and Update
2018
Any resemblance with an existing lesson is a coincidence
* Do not forget to thank the people who work with us and for us I have appointed the tubeurs and translators
Thanks
*
| 
 Translations


 If a plugin supplied appears with this icon it must necessarily be imported into Unlimited *