|
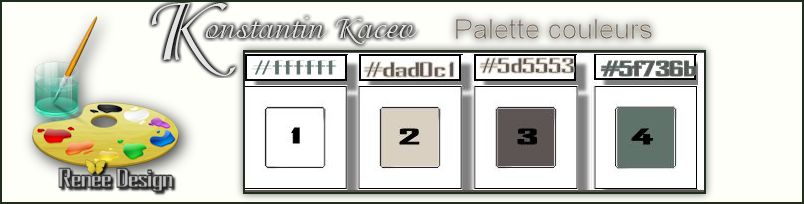
Let's start the lesson. Open the Color-Palette
-
- Material Properties: Foreground color to this color:#dad0c1 Background color to this color : #5d5553
1. Open File- New Transparent Image of: 995
x 625 pixels
2.
Put your foreground/background radial gradient with settings below
Foreground/Background is Corel 06-029 in your PSP- Activate Flood Fill Tool and fill the layer with the gradient
 
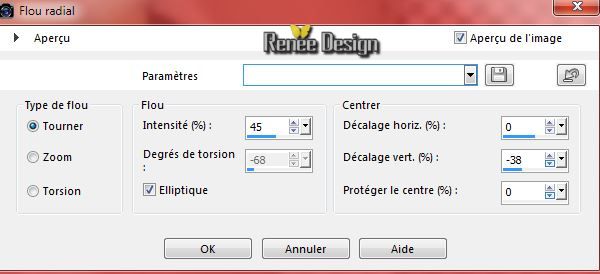
3. Adjust-Blur-Radial Blur with these settings
4. Layers- New raster layer
5. Selections- Select All
6. Open the tube ''nicole-abstrait2-2013''-
Edit/Copy-Edit paste into selection
Selections- Deselect All
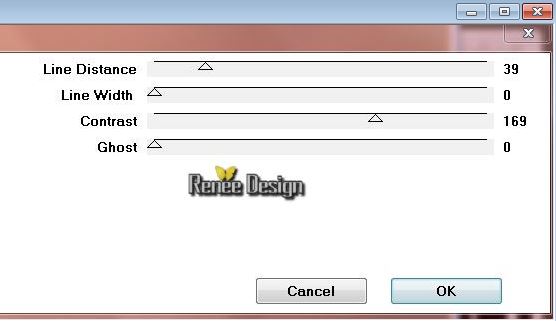
7. Adjust-Blur-Radial Blur with these settings (with the same settings)
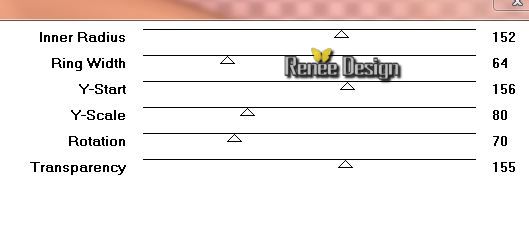
8. Effects- Plugins
- Déformation - Circulator use settings below
9. Layers- Merge- Merge Down
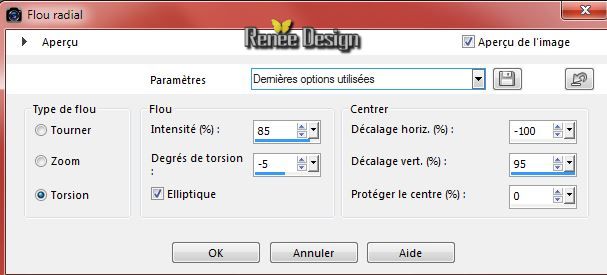
10. Adjust-Blur-Radial Blur with these settings
11.Effects- Plugins - Penta Com - VTR2
12.Layers- New raster layer
- Activate Flood Fill Tool and fill the layer with the background color
13. Layers- New Mask layer from Image and choose Mask: "Masque
corinne.vicaire - 002 - 2014.jpg"
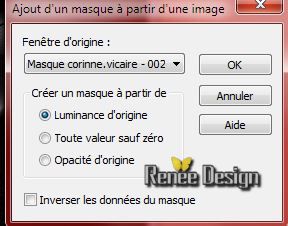
- Layers- Merge- Merge Group
14. Layers- New raster layer
15. Selections - load/save selection - load selection from disk and choose my selection: ''kacev_1''
- Activate Flood Fill Tool and fill the selection with the foreground color #dad0c1
16. Layers- New raster layer
-Selections- Modify-Contract 8 pixels
-Activate Flood Fill Tool and fill the selection with the background color#5d5553
- Stay on this layer
17. Material of the foreground-Texture and select my file in the list "texture_09" with these settings
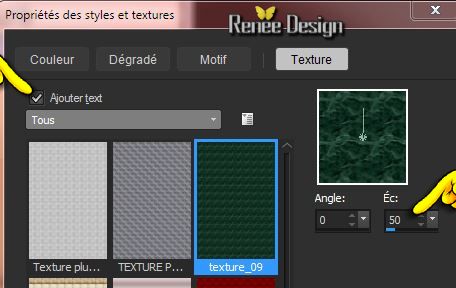
18. Pot of Paint-Opacity 55% - Activate Flood Fill Tool and fill the selection with the foreground/texture
19. Effects-Edge Effects- Enhance
Selections- Deselect All
20. Open the tube
''kacev_image1''
-Edit/copy-Edit paste as a new layer on your working area /Do not move it is the right place
21.Effects- Plugins - Graphic plus - Cross shadow
22. Layers- New raster layer
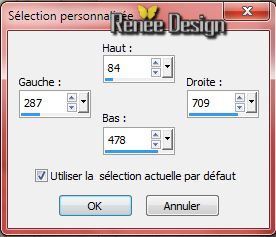
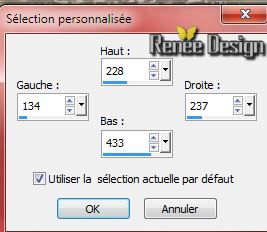
23. Selection Tool ( S ) Custom selection use settings below
24. Pot of Paint- Opacity 100%
-Activate Flood Fill Tool and fill the selection with the foreground
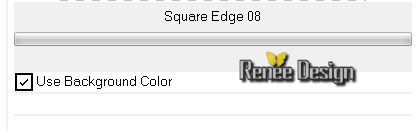
25. Effects- Plugins - Unlimited
ICNET FITERS - Edges square - Square Edge 08
Selections- Deselect All
26.
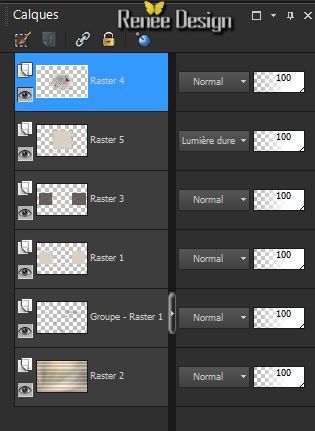
Layers- Arrange- Move Down. Layer Palette -Double click on this layer and set the Blendmode to Hard Light
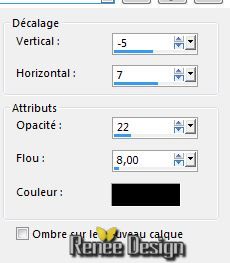
27.Effects- 3D Effects-Drop Shadow with these settings:
Layer Palette look like this now:
Activate the top of the layer-Palette
28.
Layers- New raster layer
29.
Selections - load/save selection - load selection from disk and choose my selection:'' kacev_2''
30.
Activate Flood Fill Tool and fill the selection with the background color (Click 4 times into selection )
Selections- Deselect All
31.Properties Foreground: Prepare a linear gradient configured like this.

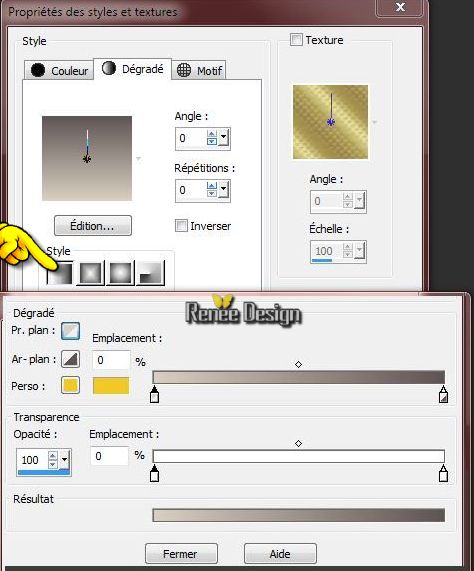
31.
Layer-New Raster Layer
32.
Selections - load/save selection - load selection from disk and choose my selection: ''Kacev_3'' -Activate Flood Fill Tool and fill the selection with the gradient
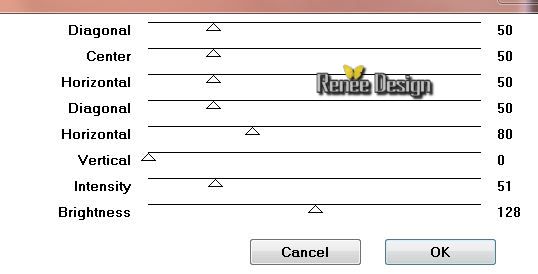
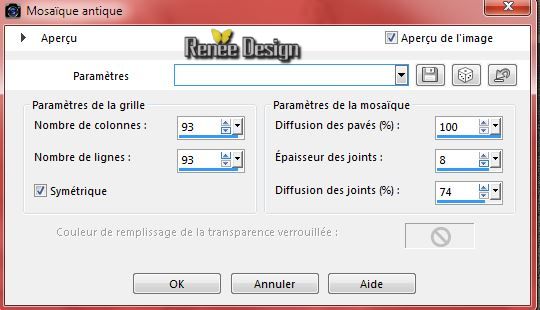
33.
Effects- Texture Effects- Mosaic-Antique with these settings
34.
Layers- New raster layer
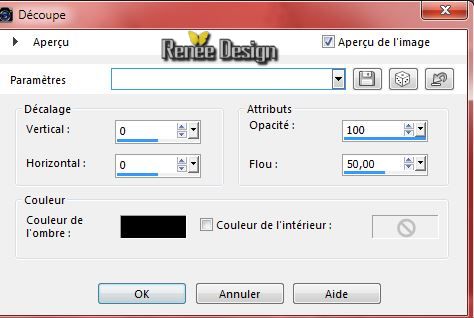
35.
Effects- 3D Effects- Cutout with these settings
Selections- Deselect All
36.
Image Resize 95 % (Resize all the layers not checked)
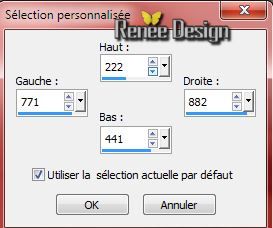
37.
Selection Tool ( S ) Custom selection use settings below
38.
Activer image ''kacev_image2''
-Edit/copy-Edit paste as a new layer and move -
-
Selections- Invert
Hit the delete key of your keyboards

Selections- Deselect All
39.
Layers- Duplicate
Layer Palette: activate the layer underneath (Raster9 )
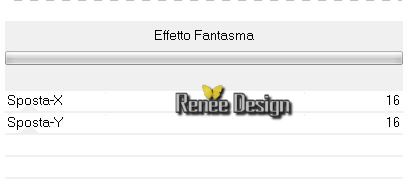
40. Effects- Plugins - Unlimited 2.0-
It@lian Editors Effect - Effeto Fantasma
41.
Effects- Edge Effects- Enhance More
-
Activate the top of the layer-Palette
42.
Layers- New raster layer
43.
Selection Tool ( S ) Custom selection use settings below
42.
Open the tube ''kacev_image3.pspimage''-Edit/copy-Edit paste into selection
Selections- Deselect All
43.
Layers- Duplicate
Layer Palette: activate the layer underneath
44. Effects- Plugins - Unlimited 2.0-
It@lian Editors Effect - Effeto Fantasma
45.
Effects- Edge Effects- Enhance More
46.
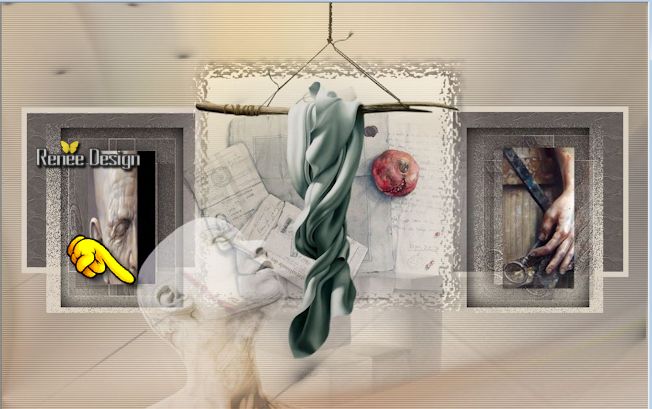
Open the tube "KRYSSUREALISME-29-10-2014-233" -Erase the signature Edit/copy-Edit paste as a new layer on your working area
47.
Open the tube ''KRYS-06-07-14-Cybernetique-031.pspimage''
-Image Resize 50%
48.
Edit/copy-Edit paste as a new layer and move
Erase the signature
49.
Layer Palette -Double click on this layer and set the Blendmode to Luminance and set the layer opacity of this layer to 87%
Place like this
50.
Open the tube ''calguispomgranada10092011.png''-
Edit/copy-Edit paste as a new layer on your working area and move
-Layer Palette -Double click on this layer and set the Blendmode to Luminance Legacy
51.
Open the tube ''kacev_abre_nuage''- Edit/copy-Edit paste as a new layer on your working area
-
With your move tool move to the upper right corner
52.
Open the tube ''elements_decos_nuages_mains"
-
Open the nuages (Clouds)( activate raster 2 _raster 3 and
raster 4 )/Edit/copy-Edit paste as a new layer on your working area .With your move tool move to the left
-
Layers-Merge- Merge Down and Repeat
53.
Open the same tube activate Raster 5 and Raster
6 (those hands )
-Edit/copy-Edit paste as a new layer on your working area
-
Place like this

54.
Layers-Merge- Merge Visible
55.
Image - Add borders-Symmetric checked: 2 pixels color 2
56.
Image - Add borders-Symmetric checked: 1 pixels color 3
57.
Image - Add borders-Symmetric checked: 75 pixels color 1
58.
Open the tube ''kacev_cadre_deco ''
-Edit/copy-Edit paste as a new layer /Do not move it is in the right place
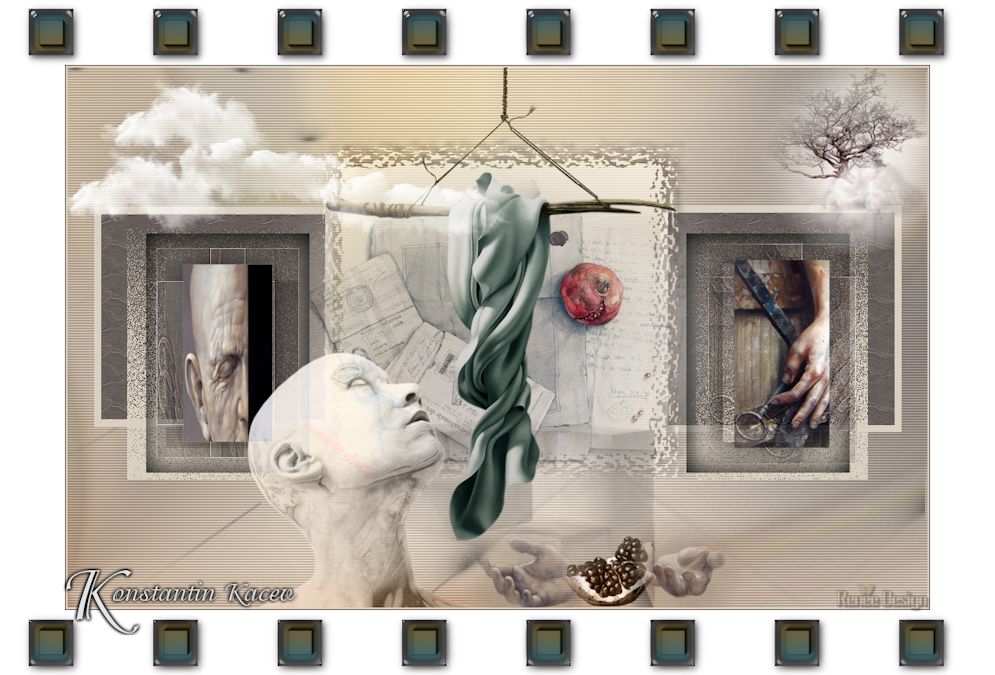
59.
Open the logo du titre/ Edit/copy-Edit paste as a new layer on your working area .Ore write your own text
60.
Layers- Merge- Merge All
61.
Image Resize 995 pixels Width
I hope you enjoyed this lesson
Renée
This lesson was written by Renée 30/10/2014
Placing
11/2014
Any resemblance with an existing lesson is merely a coincidence *
* Don't forget to thank the people who work for us and with us. I named the tubeurs - Testers and the translators.
Thanks Renée.
|
 Translations


 When you see this logo the filter is imported in Unlimited

 All rights reserved