|
Copy the selections to your Selections
folder.
Double Click on the Eye Candy Preset, it will be
imported automatically
Copy the preset to your Presets folder
Let's begin
Open the color palette from the tubes folder, this is
included for your convenience
1. Open a new image 995 x 665 pixels in WHITE
2. Set your foreground color to #fcfae1 and background
to #b9121b
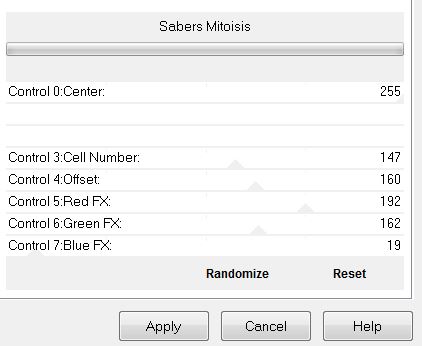
3. Effects - Filters Unlimited 2.0 -Render/ Sabers
Mitoisis
4. Adjust - Blur/ Gaussian Blur to 38
5. Layers - Duplicate
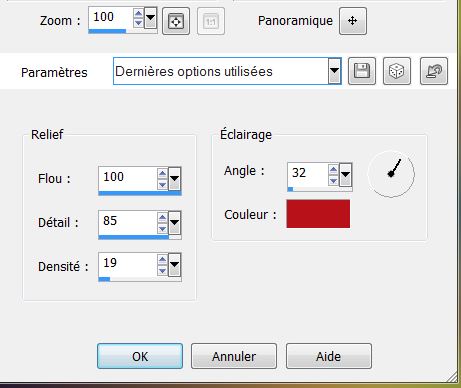
6. Effects - Artistic effect - Enamel / background color
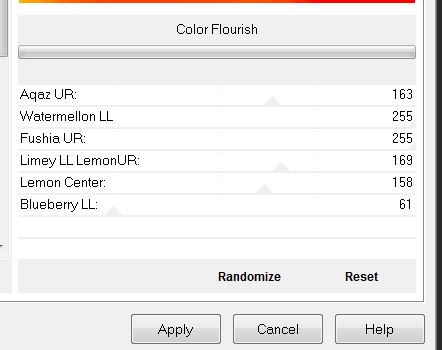
7. Effects - Filters Unlimited 2.0 - &<Sandflower
Specials V>/ Color Flourish
8. Set the layer to Hard Light mode and
opacity to 81
9. Effects - AAA Frames - Foto Frame

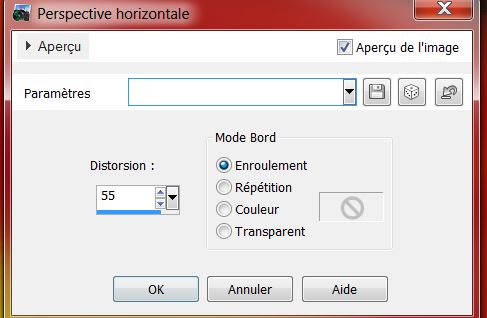
10. Effects - Geometric effect -
Perspective Horizontal
11. Effects -Simple/ Top left Mirror
12. Layers - add a new layer
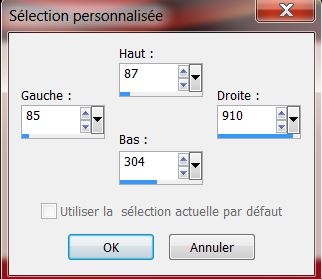
13. Selection tool - Customised selection
Using the colour palette provided
14. Set Foreground color to the No.4 (color palette) and
Background to the No. 3 color (color palette)
15. Prepare a linear gradient configured like this
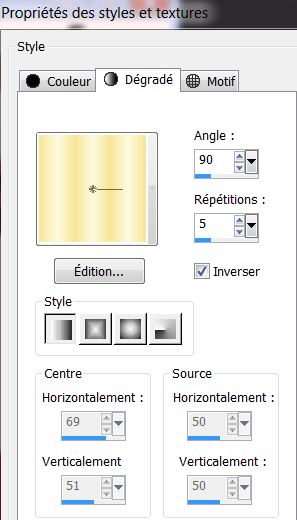
16. Fill the selection with the linear
gradient
17. Selections - select none
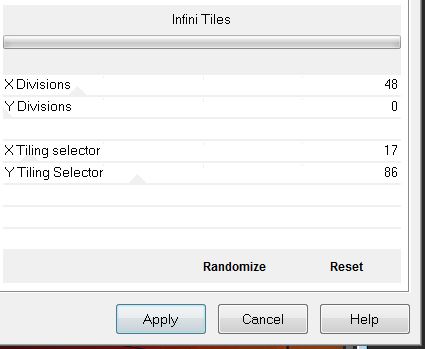
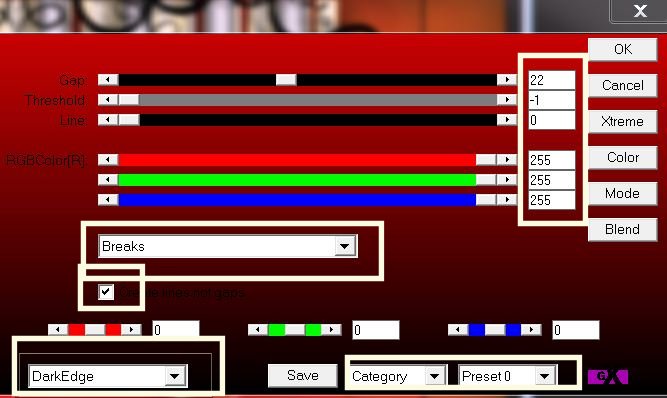
18. Effects Filters Unlimited 2.0 - Filter Factory D/
Infini tiles
19. Selections - load the selection
"la_muscienne_1" / DELETE
20. Selections - select none
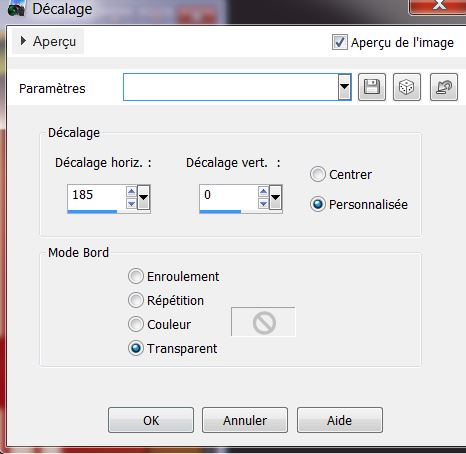
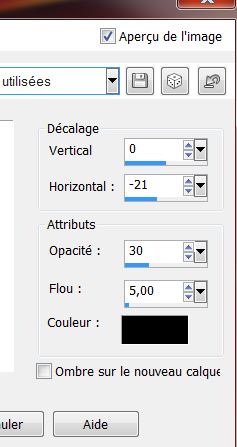
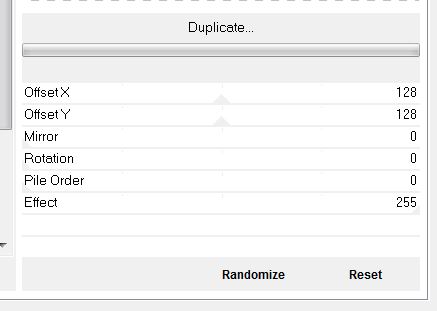
21. Effects - Image Effects/ Offset
22. Effects - 3D effects/ Drop Shadow
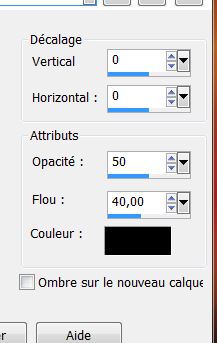
23. With your selection tool (S) -
rectangle/ Select the bottom part as shown
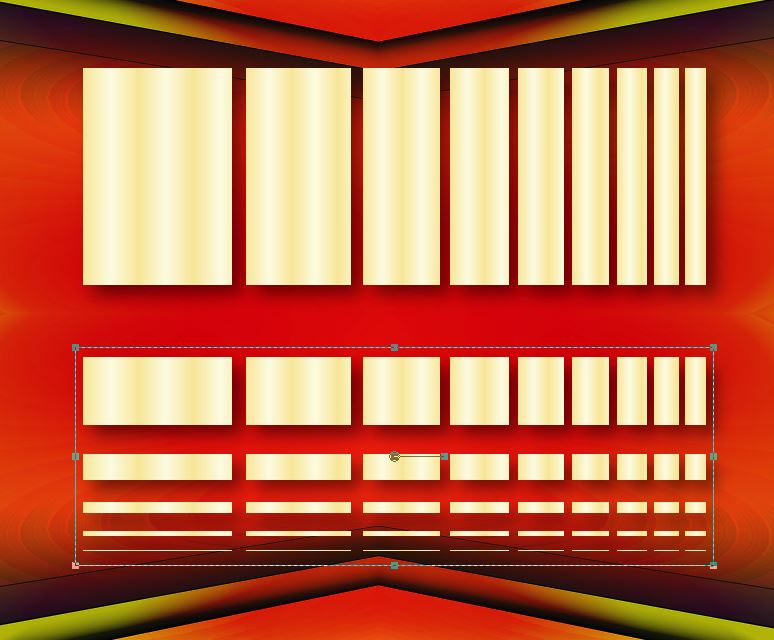
24. Selections - Transform selection to
layer
25. Go back to the raster 1 layer - hit the delete key
on your keyboard
26. Selection - select none
27. Go back on the top layer = (Promoted Selection)
28. Open selection tool (K) - locate the deformation
preset "la_musicienne_deform"/ click to apply
29. Layers - duplicate/ Mirror Image
30. Layers - merge down
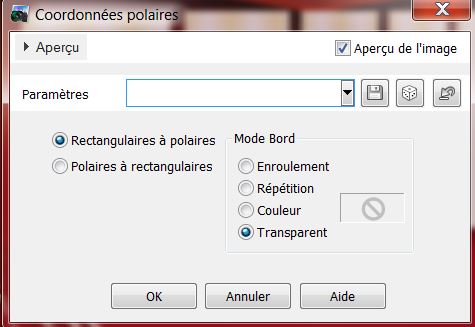
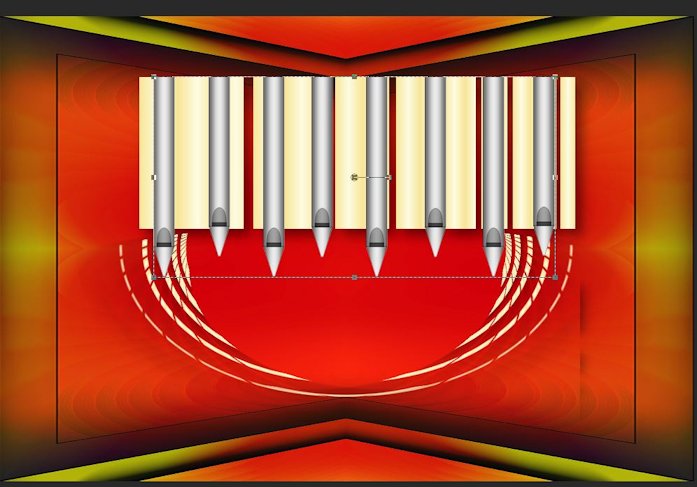
31. Effects - distortion effects/ Polar Coordinates
32. Open the tube "renee_la_muscienne_tubes_orgue"
- copy and paste as new layer/ move up
* Like this
33. Go back to the Promoted Selection
layer
34. Effects - 3-D effects/ Drop Shadow
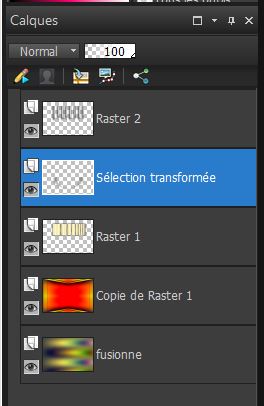
Your layer palette should look like this
35. Go back to the top of the Layers
palette
36. Layers - Add a new raster layer
37. Selections - load the selection "la_muscienne_2"
38. Fill with #5 on the color palette (#000000)
39. Selections - select none
40. Use the same drop shadow as before. It should be in
memory
41. Change the foreground color to #2 (the color
palette)
42. Layers, add a new layer
43. Selections - load the selection "la_muscienne_3" and
fill with this color #2 (note: Click in every part of
the selection)
44. Selections - deselect
45. Effects - AP01 Innovation - lines / Silverlining
46. Effects - Edge effect/ enhance more
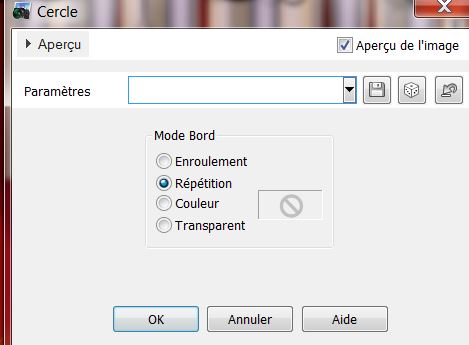
47. Effects - Geometric Effect- Circle
48. Set the blend mode to hard light
49. Effects - Edge effect/ enhance more
50. Layers - Duplicate Layer
51. Effects - Filter Mura's Seamless / Duplicate
52. Open the tube "la_muscienne_bulles" copy and paste
as a new layer/ move to the right as shown
53. Layers - add a new layer
54. Selections- load selection "la_muscienne_4"/ fill
with color #4 (the pallet)
55. Effects EyeCandy5 Impact-Glass / Preset "la_musicienne_glass"
56. Selections - Select none
57. Open the tube ''Alies588 drawn_art girl singing-06052011''/
resize to 70% . Copy and paste as new layer as shown
58. Layers - Arrange/ move down
59. Open the tube "la_musicienne_nuage"/ Copy and paste
as a new layer and move into place
60. Open the text tube ''lifeisa song''.
Copy and paste as a new layer
61. Layers - merge all layers
62. Image - add borders 3 pixels color #5
63. Image - add borders 40 pixels color #4
64. Image - add borders 5 pixels color #1
65. Image - add borders 5 pixels color #4
66. Image - add borders 5 pixels color #1
67. With your magic wand select the 40 pixels border
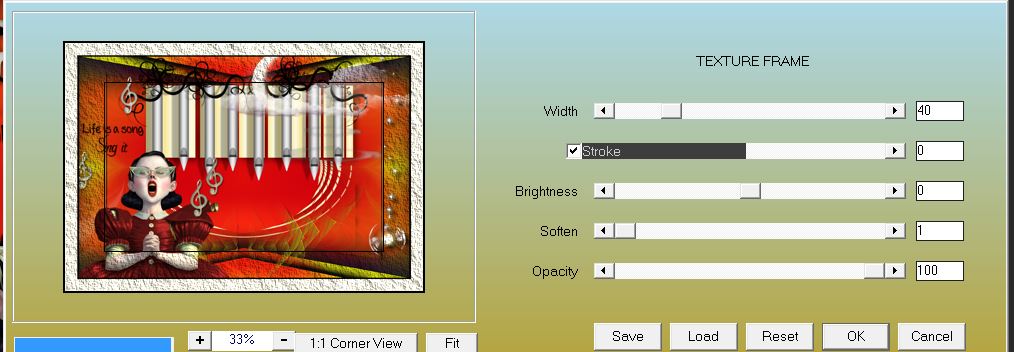
68. Effects - AAA Frame / Texture Frame / Stroke box
ticked
69. Selections - select none
70. Layers - Add a new layer
71. Fill with color #3 (color palette)
72. Layers - new mask layer from an image
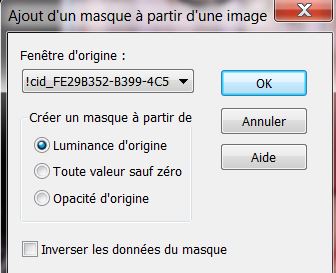
73.
Layers - merge group
74. Paste the tube in place as shown
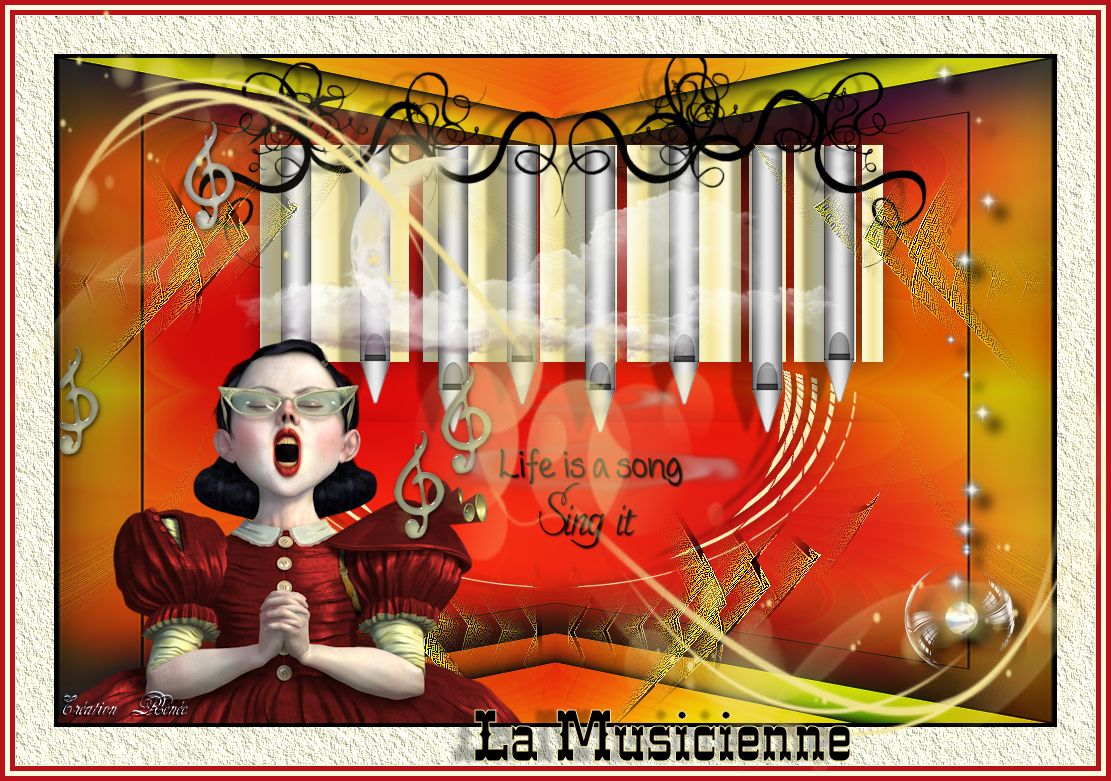
75. Layers - merge all
All finished
Thanks Sally

|
 The
Musician
The
Musician
 Translate
by Sally
Translate
by Sally