|
Let's begin
1. Open a new transparent image 995 x 625 pixels
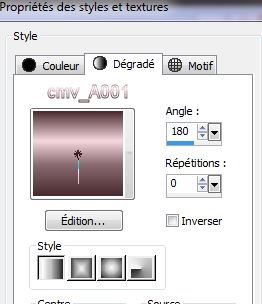
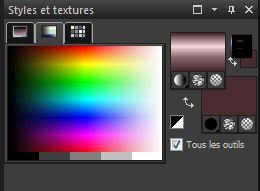
2. Color Palette - In the foreground open your gradient
''cmv_A001'' / linear and configured like this
and background color as #4A2C30
3. With the paint tool - Fill the blank image with the
foreground gradient
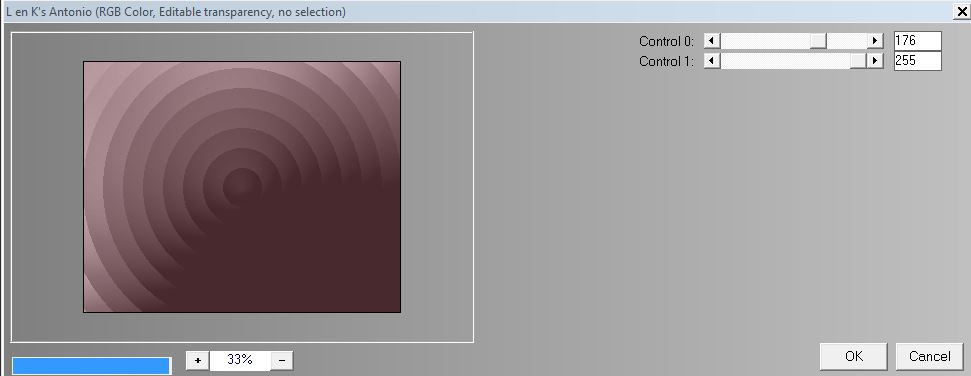
4. Effects - L and K's - Antonio
5. Layers - duplicate
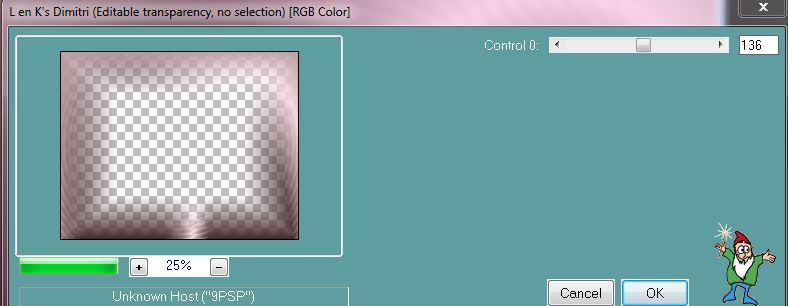
6. Effects - Filter L and K's - Dimitri
7. Change the blend mode to hard light
8. Layers - add a new layer
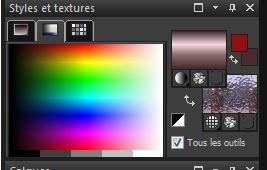
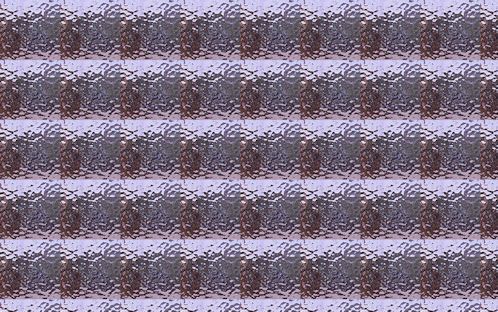
9. Open pattern "015_glass" and find it as a background
pattern in your colour palette like this
10. Fill the layer with the pattern (right-click with
your mouse)
11. Effects - Art Media
effects - Brush strokes (allow time to complete the
effect)

12. Layers - Arrange move down / change blend mode to
hard light
12. Activate the top of the Layers palette
13. You are here

14. On both Raster 1 on Copy of Raster 1 / >> Image -
Negative Image
15. Activate on the Copy Raster 1
16. Layers - duplicate
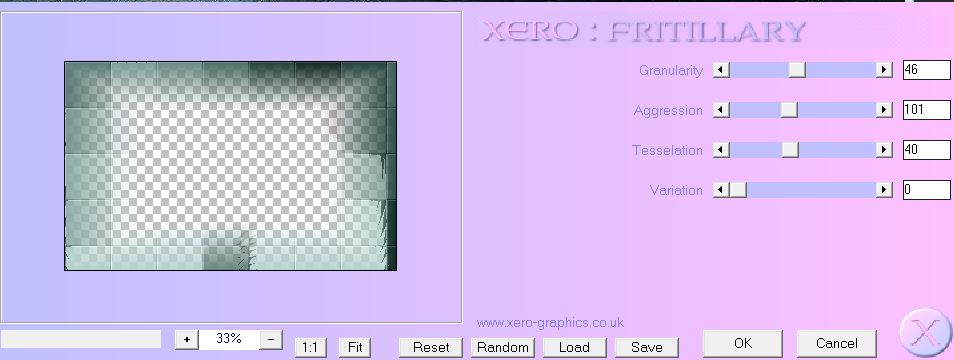
17. Effects - Filter - Xero Fritillary on the Copy
layer(2) of Raster 1
18. Effects - edge effects - Enhance
19. Effects - Mura's Meister - pole transformation (tick
inverse)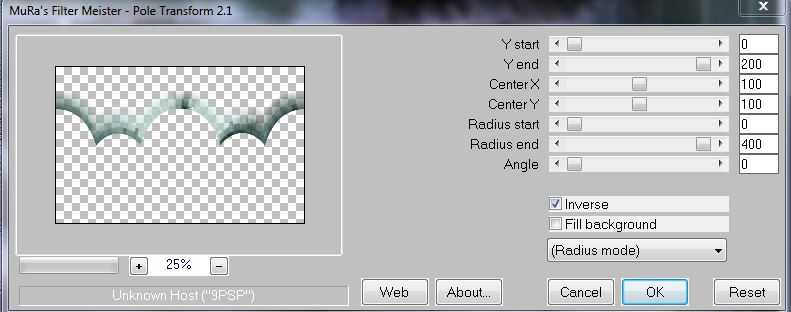
20. Effects - 3 D
Effects - Drop Shadow
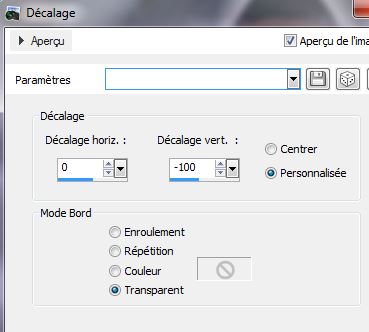
21. Effects - Image Effects - Offset

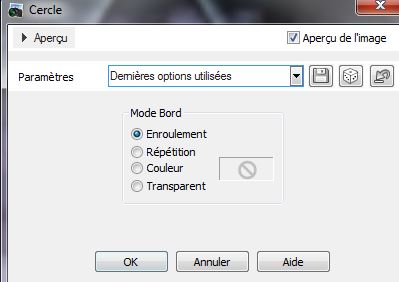
22. Effects - Geometric effects - Circle / Check wrap
23. Change the Blend mode to Screen
24. Activate the top of the Layers palette
25. Open tube "Betsie_721_ 13_07_2011" / resize image to
125% - copy Edit - Edit Paste as new layer
26. Effects - Image effects - Offset
27. Activate the tube layer (raster3)
28. Selection tool - Custom selection
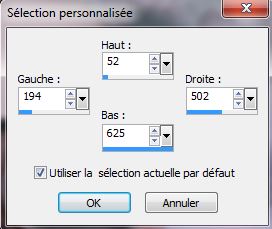
29. Selections - Promote selection to layer
30. Effects - FiltersUnlimited2.0 - It@lian Editors
Effect/ "disturbo con-Dissolvenza sui Bordi" - @201 and
124
31. Set the layer to Luminance mode and opacity to 67
32. Selection - Deselect
33. You are here in your work

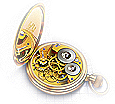
34. Open the tube "yeux_marchetti_image" Paste as a new
layer. No need to move
35. Change this blend mode to screen and opacity to 75
36. Layers - new raster layer
37. Selections - Load Selection from Disk "marchetti1"
38. Fill with the color #B9B83B
39. Effects - Eye Candy5 Impact - chrome preset
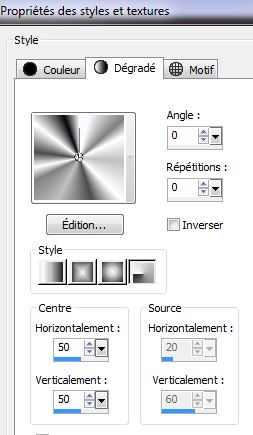
"marchetti_chrome1"
40. Selections - select none
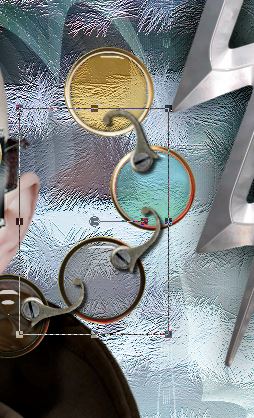
Please note that we will edit the circles on here
41. With your magic wand set like this

42. You will click on each circle keeping track of the
numbering as on capture below
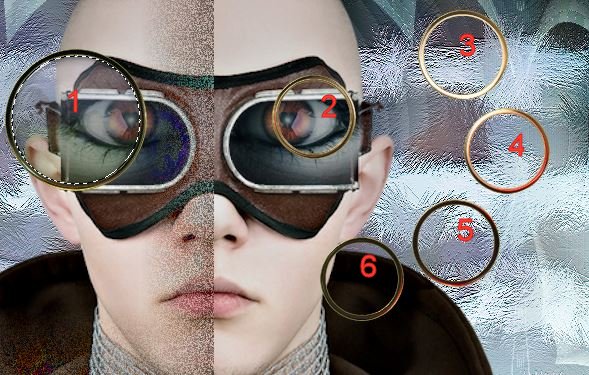
43. Circle 1 -
select with magic wand / Effects - Filter - EyeCandy 5
glass - Preset ''marchetti_glass_1 / deselect
44. Circle 2 - select with magic wand / Effects - Filter
- EyeCandy 5 glass - Preset "marchetti_glass_2" /
deselect
45. Circle 3 - select with magic wand / Effects - Filter
- EyeCandy 5 glass - Preset "marchetti_glass_3" /
deselect
46. Circle 4 - Select with the magic wand / Effects -
Filter - EyeCandy 5 glass - Preset "aqua with reflection"
/ deselect
47. Cercle5 - select with magic wand / Effects - Filter
- EyeCandy 5 glass - Preset "marchetti_glass_4" /
deselect
48. Circle 6 - select with magic wand / Effects - Filter
- EyeCandy 5 glass - Preset "marchetti_glass_5" /
deselect
49. Open the tube "marchetti_image_cercle"/ paste it in
place as a new layer
50. Open the tube "Idavi_thepoet" paste as a new layer
51. Open the tube "marchetti_loupe" Edit/ Copy Special -
copy merged - paste as a new layer and move as shown
52. Layers
- Merge down
53. Activate the top of the Layers palette
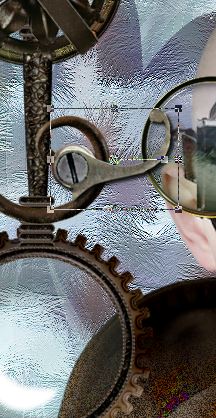
54. Open tube "marchetti_manivelle" Paste as new layer
as finished
55. Stay on the top layer
56. Layers
- Add a new layer
57. Selections - load selection "marchetti_2"
58. Open the gradient "argent" and configure like this
59. Fill the selection with the radial gradient
60. Effects - Filter Eyecandy 5 - Impact - Chrome /
Preset "marchetti_chrome_fleche"
61. Selections - deselect
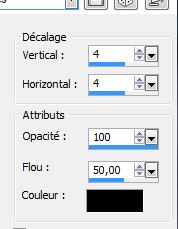
62. Effect 3D effects - Drop Shadow - Black 4/4/100/50
63. Open up the tube "marchetti_attache" Paste and place
like this
64. Paste in place the tube "marchetti_3attaches"
65. Open the tube "marchetti_anneau" and paste as a new
layer like this
Make sure everything is in place
66. Layers - merge visible
67. Change the foreground color to #C0C0C0 and
background to black
68. Text tool - Write the title with the attached font /
Size 50
69. Effects - 3-D effects - Drop Shadow / white

70. Image - add borders 1 pixel black
71. Image - add borders 60 pixels white
72. Select the 60 pixel border with your magic wand -
Selections invert
73. Effects - 3-D effect - Drop Shadow default
10/10/50/5 black Repeat with negative -10/-10
74. Selections - deselect
75. Image - add borders 3 pixels black
76 Open the tube "taches" Paste as a new layer and place
to your taste
*
All
finished
Thanks Sally
*
25/05/2013
|